How to Fix “Not connected – No connections are available” Error in Windows
The “Not connected – No connections are available” error prevents from connecting to the internet and does not display any available internet connections. On Windows, this error can be caused by outdated drivers, the network device being disabled, a corrupt DNS cache, or power saving settings in the power options. Moreover, if you are working from home this can completely put a stop to your work.
In this write-up, we will discuss the multiple solutions to fix the mentioned connection error in Windows.
How to Fix/Resolve the Windows “Not connected – No connections are available” Error?
To fix the specified connections error in Windows, try the following fixes:
Method 1: Reset the Network Adapters
Resetting the Network adapter might fix any network-related problems. Follow the instructions provided below for the corresponding purpose.
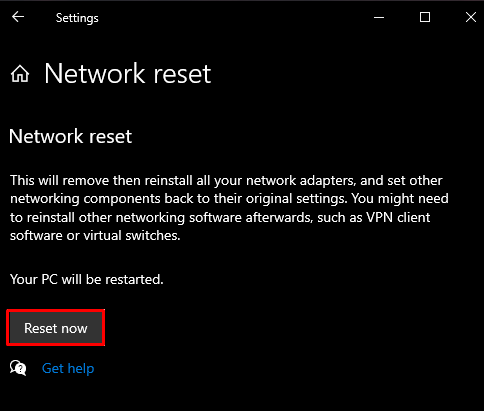
Step 1: Navigate to “Network reset”
Open up “Network reset” with the help of the Startup menu:

Step 2: Reset Now
Press the “Reset now” button to completely reset the network:
Method 2: Enable Network Device
Someone might have unwillingly or unknowingly disabled the network device. Therefore, enable it with the help of the provided steps.
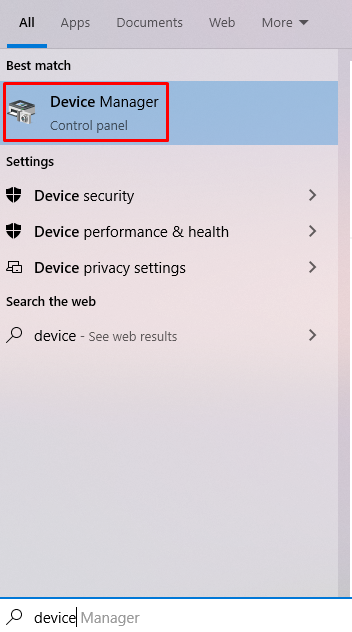
Step 1: Open Device Manager
Start “Device Manager” from the Startup menu as shown below:
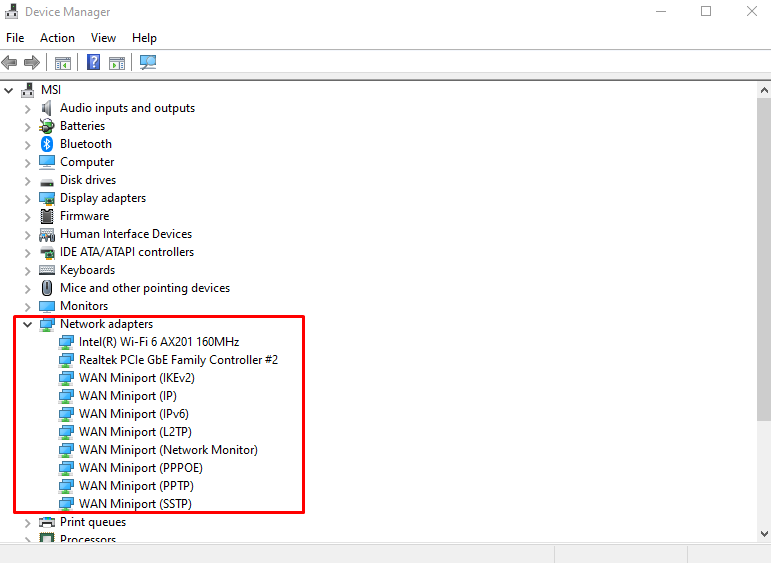
Step 2: Open “Network adapters” Sub-menu
Click on the “Network adapters” to see all the connected and installed network devices on your system:
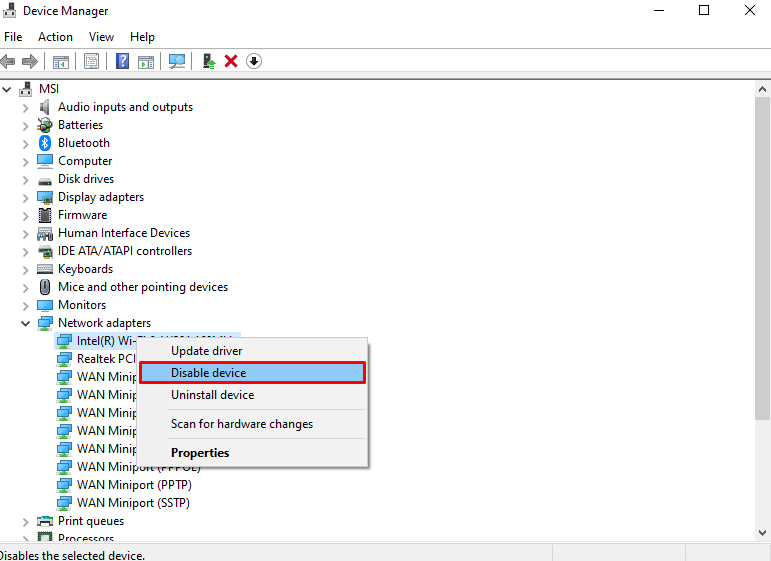
Step 3: Enable the Device
Right-click on the “Network adapter” and press the “Enable Device” button which will be in place of the “Disable device” button as follows:
Method 3: Clear DNS Cache
A corrupted cache can cause many problems which include the mentioned connection problem. Moreover, many of the problems related to the network can be fixed by flushing the DNS. For this, check out the given instructions.
Step 1: Run Command Prompt as Administrator
Type “cmd” in the search box of the startup menu and press the “CTRL+SHIFT+ENTER” keys simultaneously to run “Command Prompt” with administrator rights:

Step 2: Flush DNS
Then, flush the DNS with the help of the following command:

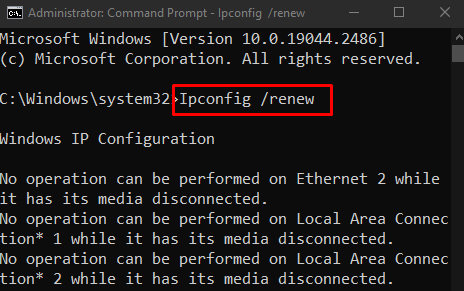
Step 3: Renew the Network IP Configurations
Then, renew the network IP configurations:
Step 4: Reset Winsock
Write out the “netsh” command to reset the “winsock”:

Method 4: Update/Upgrade the Driver of the Network Adapter
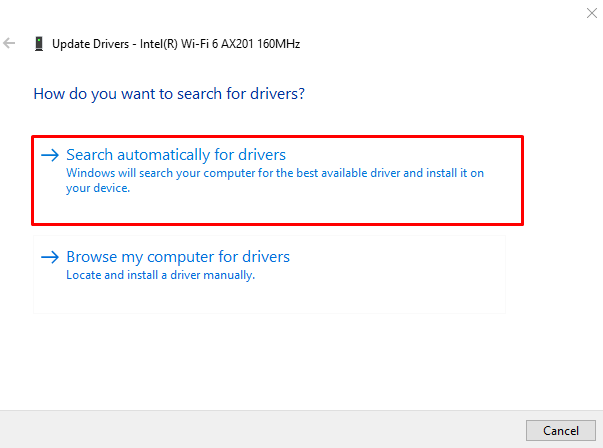
The drivers of your network adapter might be outdated. In such a situation, the relevant manufacturers might be aware of this problem and may have released a fix for it in the new update. The driver of the network adapter can be updated by navigating to “Device Manager” > “Network Adapters”. Right-click on the network adapter and select the “Update driver” option:

Allow Windows to search for the best and latest available drivers for your device by selecting “Search automatically for drivers” option:
Method 5: Reinstall the Network Driver
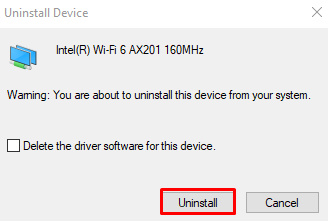
The Network adapter driver might be corrupted so uninstall and reinstall it by re-directing to the “Device Manager” and expanding the “Network Adapters” as previously discussed. Now, right-click on the network adapter and select the “Uninstall device” option:

Hit the “Uninstall” button as shown in the screenshot below:
Restart your system and it will install the network adapter drivers again.
Method 6: Change the Wireless Adapter Settings
Some settings might be limiting the functionality of the network adapter. It might be putting the Wireless adapter in power saver mode while the charger is not plugged in. So, change the wireless adapter settings in the Power options by following the given steps.
Step 1: Edit power plan
Open “Edit power plan” by typing it in the search box of the Startup menu.

Step 2: Change advanced power settings
Press “Change advanced power settings” to open the “Power Options”:

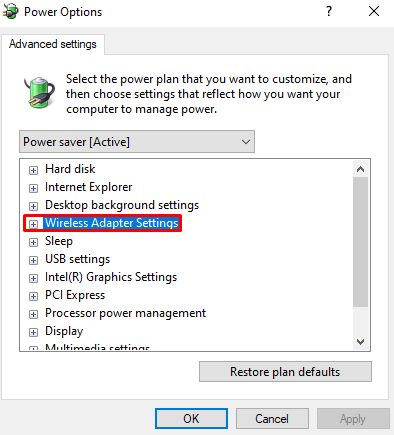
Step 3: Open Wireless Adapter Settings
In the below window, click on “Wireless Adapter Settings” to expand it:
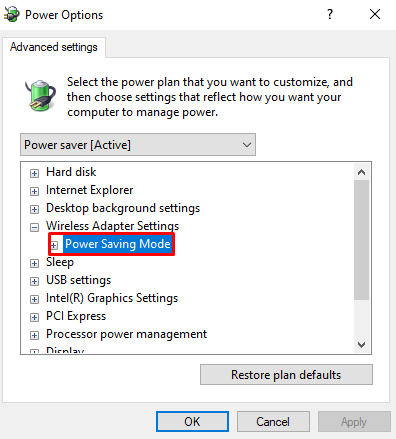
Step 4: Navigate to Power Saving Mode
Click on the “Power Saving Mode” under the “Wireless Adapter Settings” to expand it further:
Step 5: Set to Maximum Performance
Set “On Battery” and “Plugged in” to “Maximum Performance”:

Click “OK” and restart your system. As a result, the mentioned connections issue will get resolved.
Conclusion
The specified connection error in Windows can be fixed by following multiple methods. These methods include resetting the network adapters, enabling the network device, clearing the DNS cache, updating the driver of the network adapter, reinstalling the network driver, or changing the wireless adapter settings in power options. This post offered several solutions for fixing the specified connection issue in Windows.
Source: linuxhint.com