How to Fix “Blurry Font Problem” in Windows 10
Windows 10 has a high-resolution display which might be causing the “Blurry Font Problem”. Your screen might have blurry text because of incorrect scaling settings or ClearType being disabled. Even though you can still read everything on the screen, sometimes the Windows user gets frustrated. However, this issue can be fixed through the settings panel and also the control panel.
This blog will offer multiple fixes for the “Blurry Font Problem” in Windows 10.
How to Fix/Resolve Windows 10 “Blurry Font Problem”?
To fix the blurry font issue in Windows 10, try the following fixes:
Method 1: Change the Scaling Settings
Scaling is referred to the size of the content on your screen measured in pixels. This feature can be utilized by enhancing the font readability of your system.
To manually change the scaling settings by following the detailed step-by-step instructions provided below.
Step 1: Open Settings
Press the “Windows+I” button to open the “Settings” app:

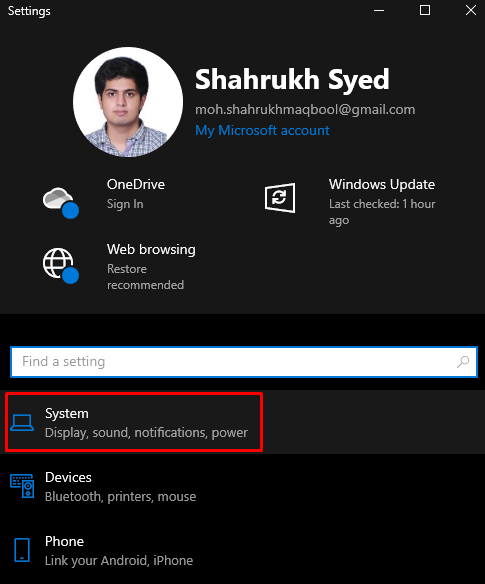
Step 2: Open up the “System” Category
Select the “System” category:
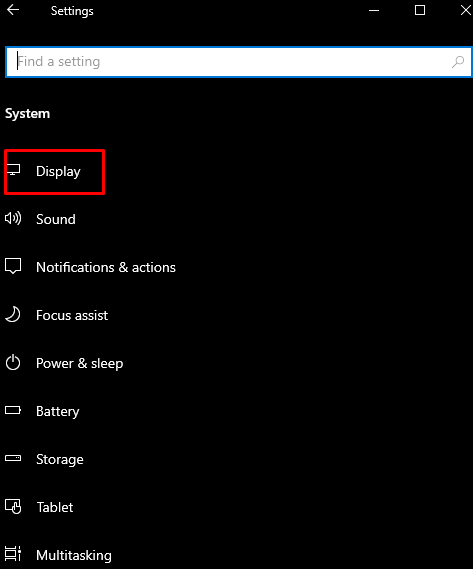
Step 3: Choose “Display”
Choose “Display” from the left side panel:
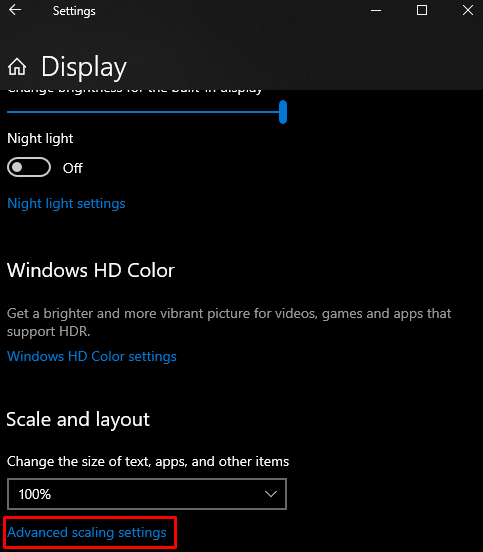
Step 4: Open “Advanced scaling settings”
Click on the “Advanced scaling settings” like shown below:
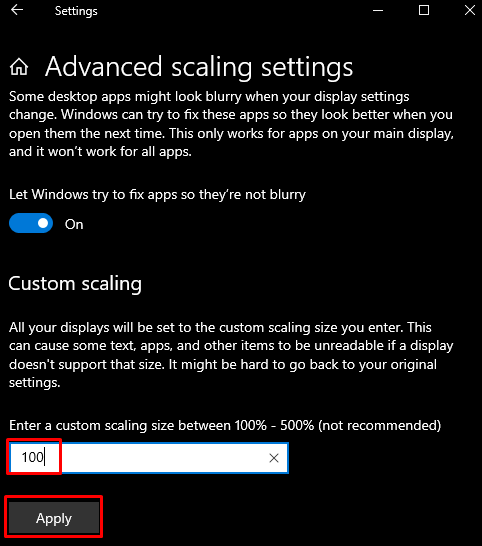
Step 5: Enter the Scaling Size
Under the “Custom scaling” section, enter the custom scaling size:
Method 2: Change Scaling Through the Settings Panel
Change through the settings panel by opening the “Settings” app and navigating to the “Advanced scaling settings” as previously discussed. Now, toggle on the below-highlighted toggle button:

Method 3: Use the Control Panel
You can adjust your System settings for the best appearance with the help of the Control Panel.
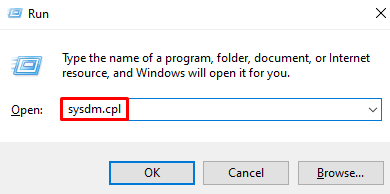
Step 1: Open System Properties
Type “sysdm.cpl” in the Run box and press enter to open System Properties:
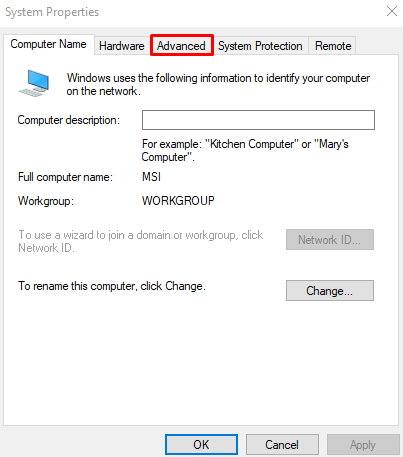
Step 2: Go to the “Advanced” Tab
In the below window, redirect to the highlighted tab:
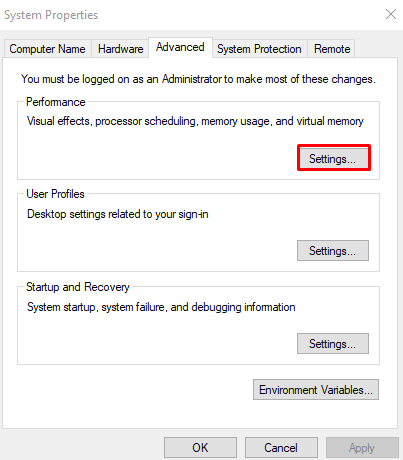
Step 3: Open Settings
Under the “Performance” section in below tab, press the “Settings” button:
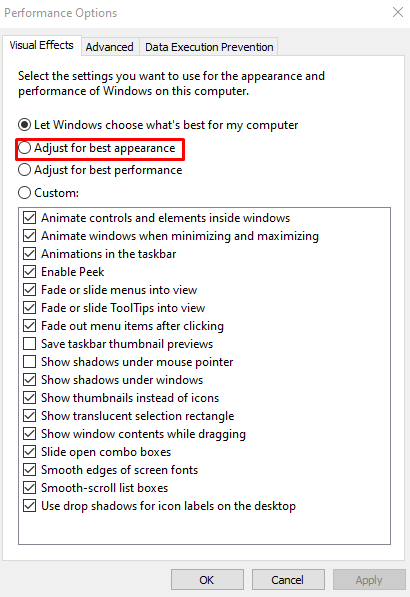
Step 4: Adjust for the best appearance
Click on the “Adjust for best appearance” radio button:
Method 4: Use ClearType
ClearType was designed by Microsoft to improve the quality of the text on our screens. You can use ClearType by following the given-provided instructions.
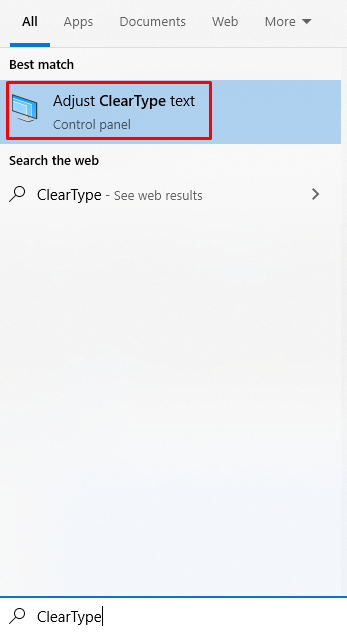
Step 1: Open “Adjust ClearType text”
Open up the “Adjust ClearType text” app by utilizing the Startup menu:
Step 2: Turn on ClearType
Mark the “Turn on ClearType” checkbox:

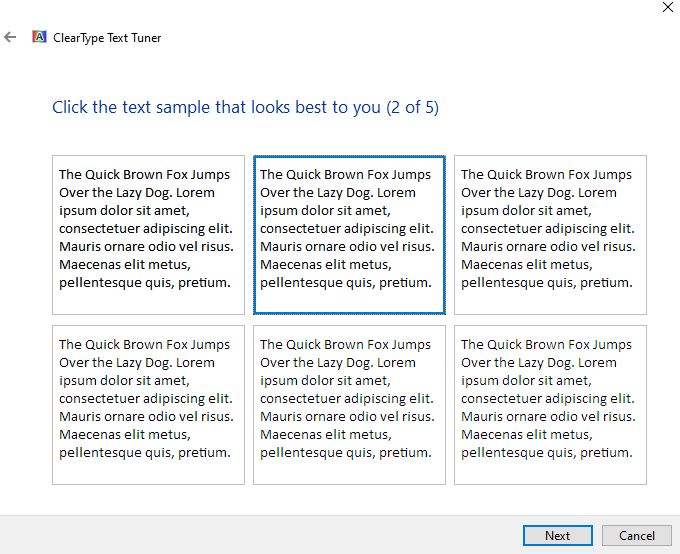
Step 3: Finalization
Follow the onscreen instructions till the process is finished:

Lastly, reboot your system and enjoy the enhanced readability of the text.
Conclusion
The “Blurry Font Problem” in Windows 10 can be fixed by following different methods. These methods include changing the scaling settings, changing the Settings panel, using the Control Panel, or using ClearType. This blog offered multiple solutions for fixing the mentioned blurry font issue in Windows.
Source: linuxhint.com