How to Fix “404 Not Found” Error with “apt-get update” on Old Ubuntu
Fix “404 Not Found” Error with “apt-get update” on Old Ubuntu
The “404 Not Found” error occurs when you can run “apt update” or “apt-get update” command on the old Ubuntu terminal.
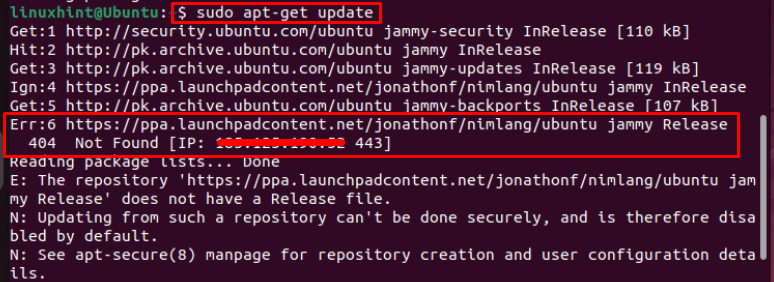
This type of error occurs because the PPA repository you added in the Ubuntu repository list isn’t compatible and as a result it fails to update on your system.
To fix the “404 Not Found” error, then there are two simple methods which can be done on:
Method 1: GUI Method
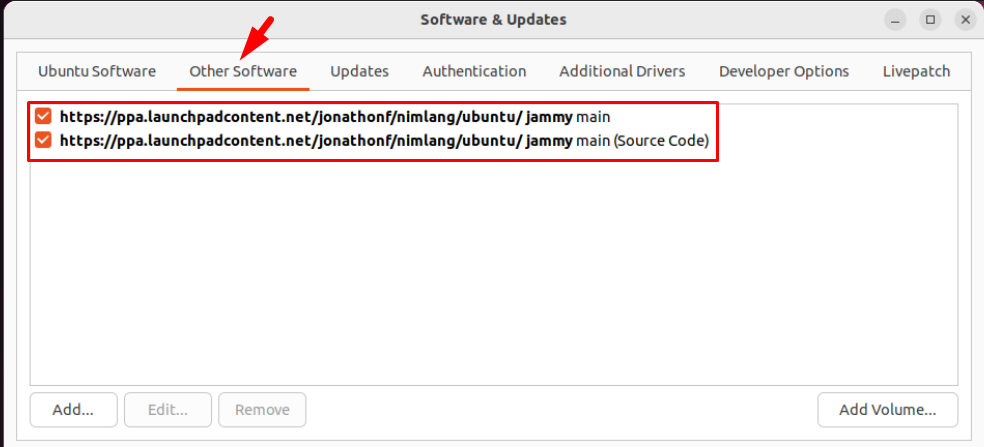
To resolve the “404 Not Found” using the GUI method, go to the Ubuntu Application Menu, find, and open Software & Updates.

Then click onto the Other Software tab, and you will find the list of installed PPA repositories:
From here, you have to remove the ppa repository which is showing “404 Not Found”.
To remove the PPA repository, uncheck the repository you don’t want to remove leaving behind only the repository that is causing the error and then click on the Remove button:
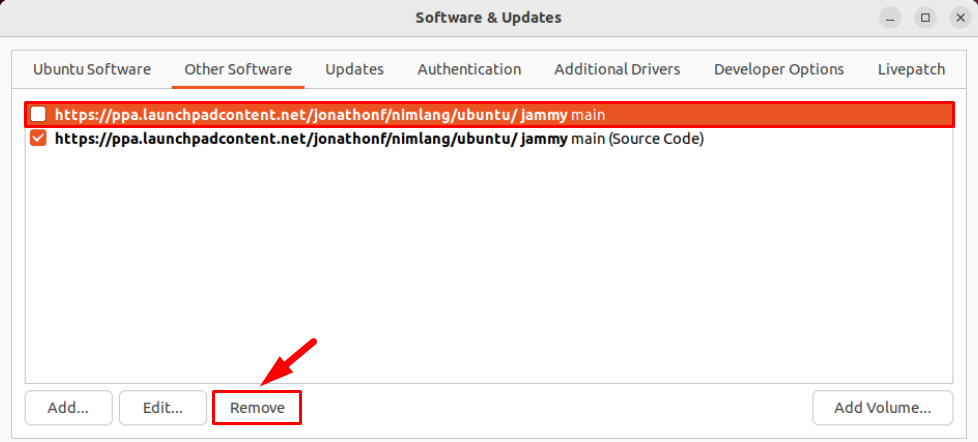
Note: Above screenshot is for demonstration, do not remove the main repositories.
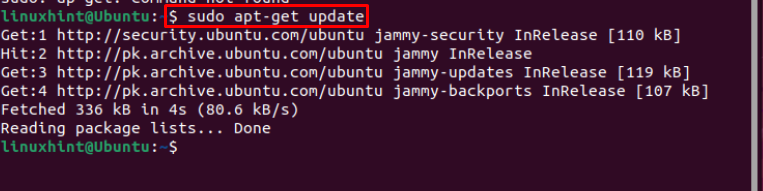
After performing the above steps correctly now when you will run the apt-get update command, the error wouldn’t be there any more:
Method 2: Command line Method
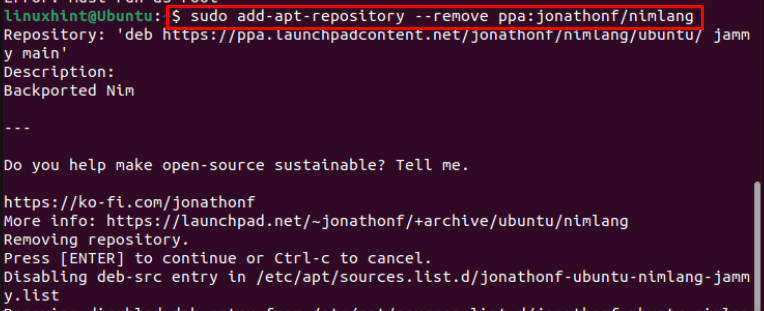
If you do not want to leave the terminal and want to fix “404 Not Found” using command line, you can use this method where you only have to run the below-written command along with the name of ppa repository which is displaying error:
For example:
Then to verify, that the “404 Not Found” has been fixed successfully again run the apt-get update command:
In the output, you can see that the error has been fixed successfully.

Conclusion
Whenever a new PPA repository is installed on an old Ubuntu, it might not be compatible with the system and the users will experience “404 Not Found” while updating the repository. To fix this “404 Not Found”, the users have to remove that erroneous PPA repository from the system by GUI or command line terminal. After that, they can successfully update the old Ubuntu repository with the update command.
Source: linuxhint.com