How to Fill Out PDF Forms on an Android
This article walks readers through each step required to complete PDF forms on Android.
How to Fill out PDF Forms on Android?
The instructions to fill out the PDF Form in Android are listed below.
Step 1: Make sure your Android smartphone has a PDF reader app already set up. There are many popular options to choose from, including Adobe Reader, Google PDF Viewer, and Foxit PDF Reader.

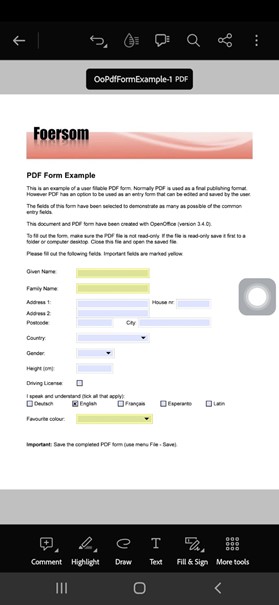
Step 2: Once you have your PDF reader app installed, open the PDF form that you need to fill out.
Step 3: Make sure your gadget is set up for basic input next. This means checking your keyboard settings and making sure that autocorrect and predictive text are turned on.
Step 4: Then open the PDF form in the reader. You can do this by selecting the PDF file from your device’s storage location, or by opening it directly from an email attachment. You will have to enter the password if the form is password-protected to access it.
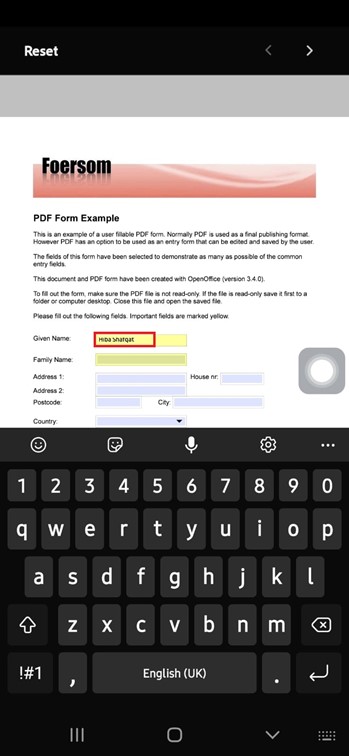
Step 5: After opening the form, navigate to the section that you wish to fill out. In most cases, fields that require input will be highlighted. Tap on the desired field to activate it. Depending on your PDF reader, the input options may differ.
Step 6: If the field requires text input, the keyboard of your device will appear. The necessary data can then be typed in. Some PDF readers may also provide an option to use voice input for text fields.
Step 7: Make careful you adhere to all directions and rules when completing the form. If the field requires selecting an option from multiple choices, tap on the corresponding button to select the desired option. The same will be the case with buttons, or drop-down menus, tap on the corresponding options to select or deselect them.
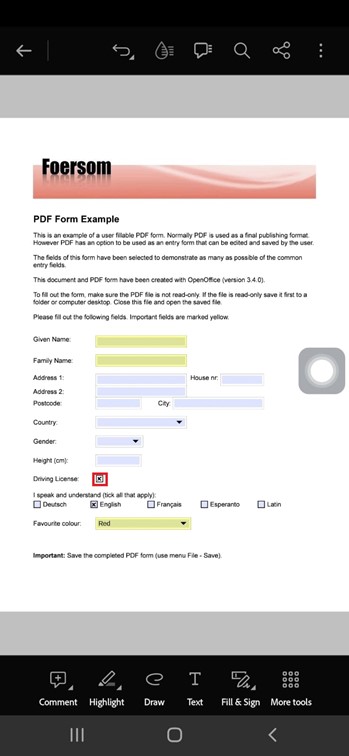
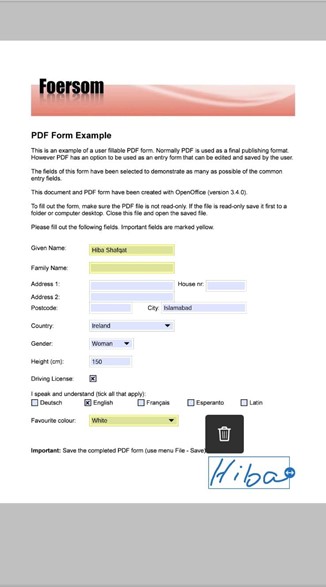
Step 8: After completing the necessary fields, check the form to make sure all fields have been successfully filled out. For example, some fields may require a specific format (such as a phone number or email address), while others may be looking for a specific type of information (such as a date or signature).
Step 9: After completing the necessary fields, check the form to make sure all fields have been successfully filled out. If there are any errors or omissions, simply tap on the field to make the necessary changes.
Step 10: If the PDF form requires a signature, some PDF readers may provide an option to sign the document electronically.
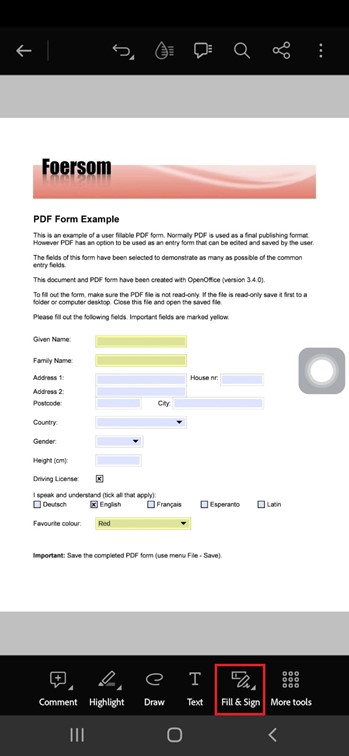
To sign the form, navigate to the Fill & Sign option, and tap on the pen icon.
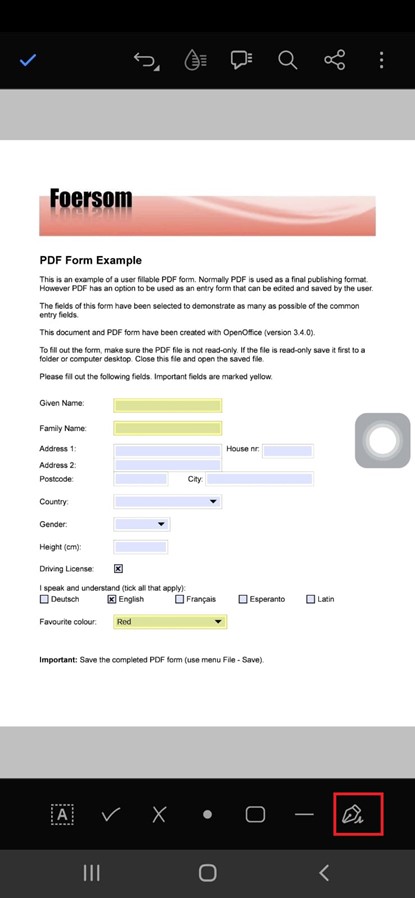
Depending on the needs of the form, you can additionally provide your initials or the signature.

If the PDF reader does not provide an option for electronic signatures, you can print the form and sign it manually. After signing the form, scan the document using your device’s camera and save the scanned copy on your device using the tick option.
Before submitting the completed form, review it again to ensure that all fields have been filled out correctly and all required signatures and initials have been added. Once satisfied, send the completed form to the intended recipient using your chosen method.
Conclusion
Filling out PDF forms on Android devices is a convenient and efficient way to handle important paperwork on the go. By following these simple steps and using the right PDF reader app for your needs, you can streamline the process and save yourself the hassle of dealing with paper forms and in-person appointments.
Source: linuxhint.com