How to Enable Server Discovery on Discord?
With billions of users, Discord has become the most popular forum and anyone can take advantage of it. This platform comes with several features like text, voice, and video chat via personal messaging and servers which are known as community. Discord servers can be public or private and users can join private servers by sending requests or community servers by clicking on the joining link.
In this guide, we will describe the way for enabling server discovery on Discord.
How to Enable Server Discovery on Discord?
Before enabling your server discovery on Discord, some requirements must be met before doing so. These requirements are listed below:
-
- Your server must be at least 8 weeks old to be in discovery.
- Particular servers must have at least 1,000 members to qualify.
- Enable safety requirements for a safe environment.
- Servers in discovery must meet the particular activity requirements.
- Your server’s name, description, and channel name should be clean.
- Enable the 2FA requirement for moderation setting.
Now, try the provided steps to enable the Discord server discovery:
-
- Open Discord and choose the server.
- Redirect to the server settings.
- Access the “Enable Community” tab and hit the “Get Started” button.
- Complete all the necessary procedures and finish the setup.
- Lastly, save all the changes.
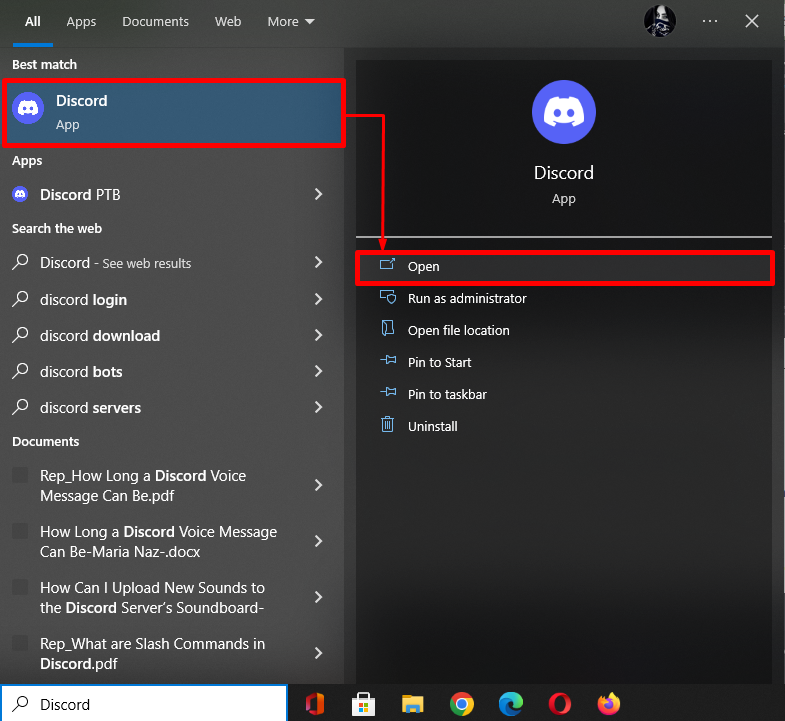
Step 1: Launch Discord Application
First, search and open the Discord application on your device:
Step 2: Choose the Server
Then, click on the dedicated server that you manage and open it. Here, we have selected the “Community Server”:

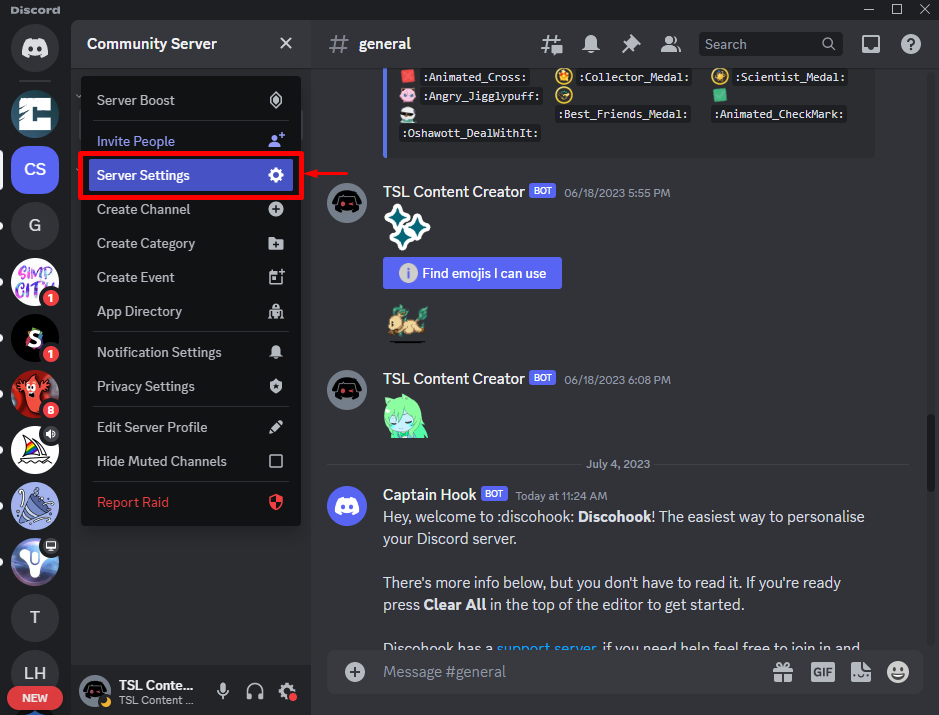
Step 3: Navigate to Server Settings
To open the settings, hit the preferred server name and select the “Server Settings” option from the drop-down menu:
Step 4: Enable Community
To set the server as a community server, hit the “Enable Community” option inside the “COMMUNITY” category and click on the “Get Started” button:
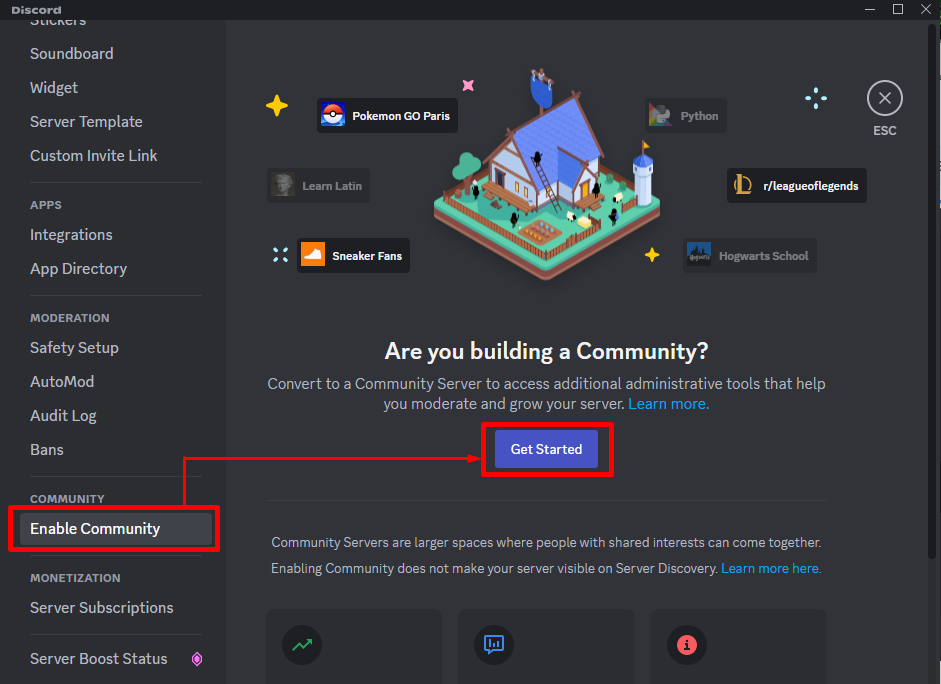
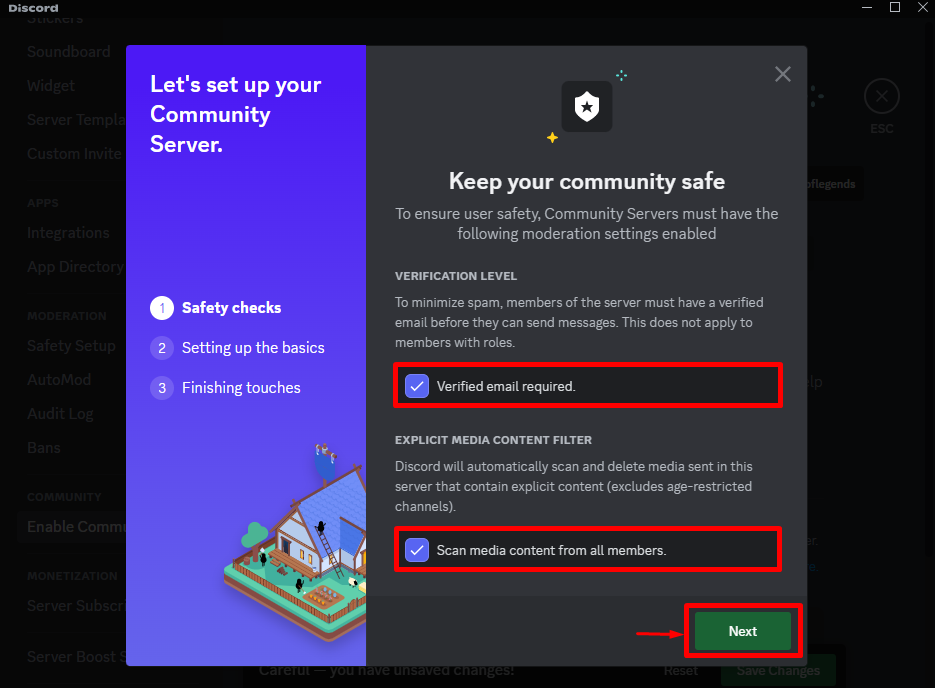
After doing so, you will be prompted to set a few safety requirements which are shown in the following screenshot:
Step 5: Finish Setup
Next, mark the “FOLLOW THE RULES“ checkbox and click on the “Finish Setup” button:
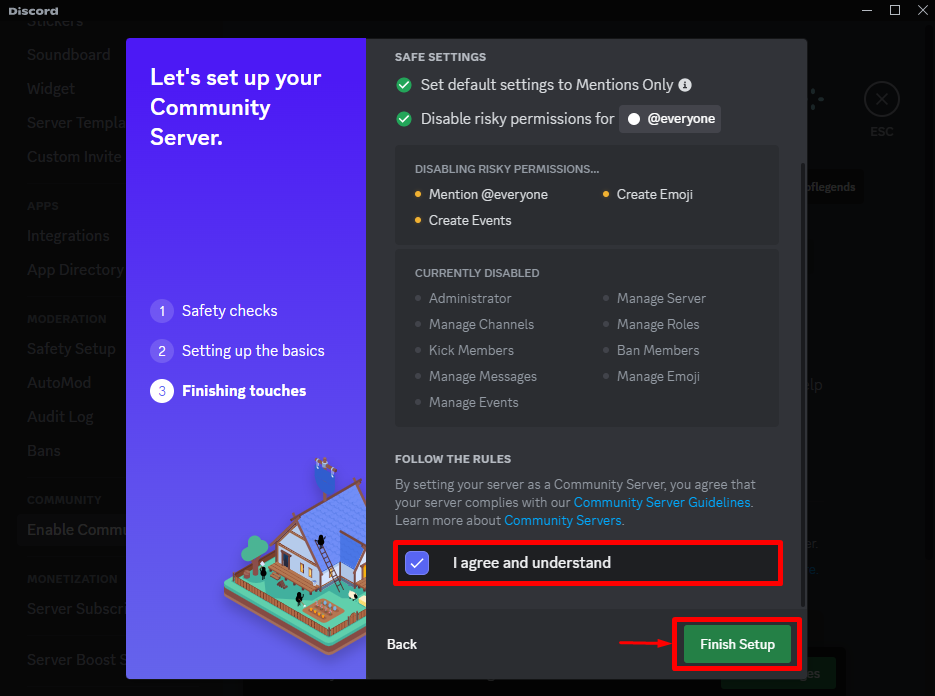
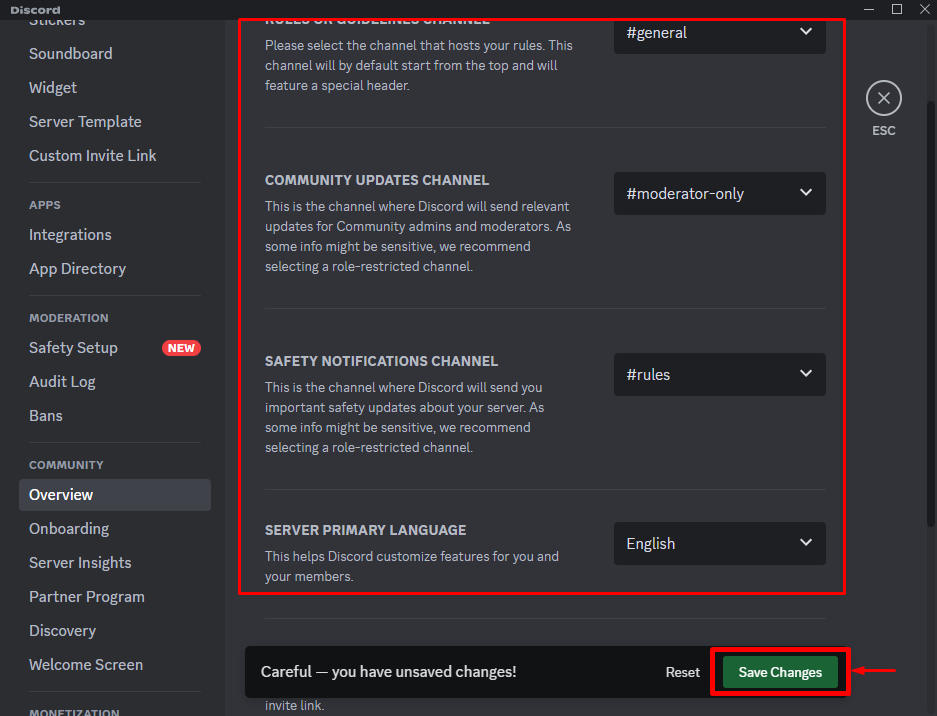
After doing so, save all the added changes by clicking on the “Save Changes” button:
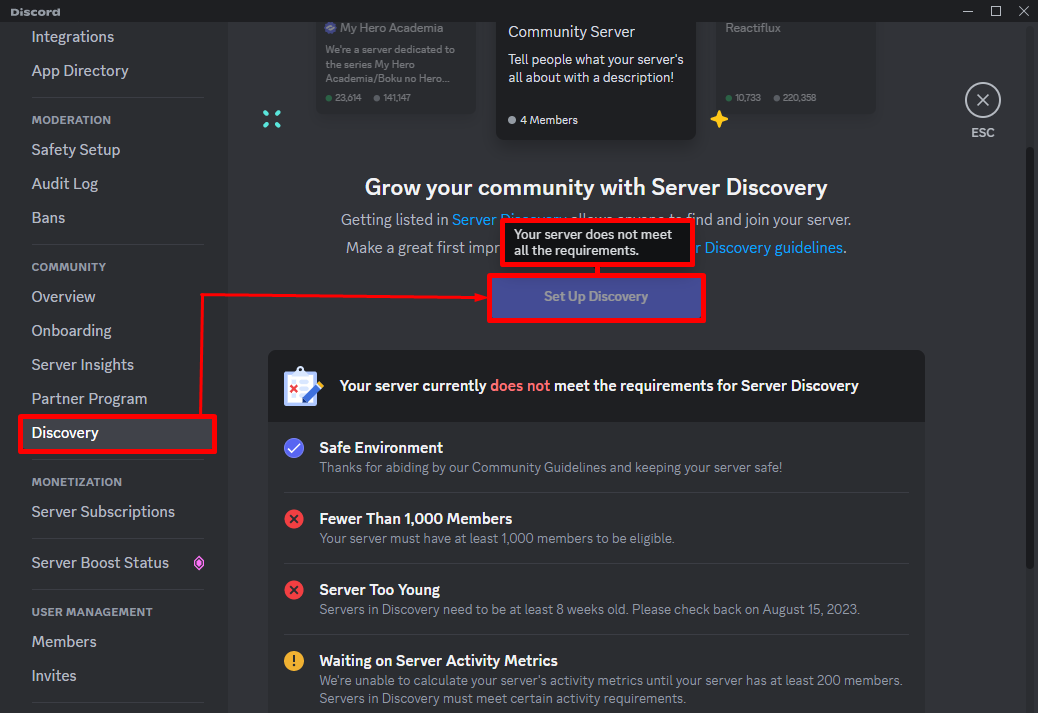
Step 6: Set Up Discovery
Lastly, head to the “Discovery” tab and click the “Set Up Discovery” button. Here, the particular button is disabled because our server has not met the requirements yet:
You have learned the process of enabling server discovery on Discord.
Conclusion
To enable the Discord server discovery, open Discord and choose the server. Then, move to its setting, open the “Enable Community” tab, and press the “Get Started” button. Next, complete all the required procedures and finish the setup. Lastly, save all the changes by hitting the “Save Changes” button. This guide demonstrated the way for enabling server discovery on Discord.
Source: linuxhint.com