How to Enable Hibernate in Ubuntu 22.04 LTS
Hibernate stores the data of the memory/RAM (user session) of a running computer on the disk and shuts it down. The next time the computer is powered on, the data is read back from the disk to the memory/RAM and the user session is restored.
Hibernate does not drain the battery of the device while sleep does, even though sleep serves the same purpose as hibernate. The reason why sleep drains the battery of the device is because sleep does not power off the computer fully and it uses a small amount of power to preserve the contents of the memory/RAM. As the contents of the memory/RAM are preserved, the computer can resume itself faster than hibernate. While sleep can wake up the computer faster, hibernate saves more power. That’s an advantage of hibernate over sleep.
In this article, we will show you how to enable the Hibernate power options in Ubuntu 22.04 LTS.
Topic of Contents:
- Checking the Current Swap and Memory Size
- Creating a New Swap File to Enable Hibernate
- Enabling the New Swap Space on Ubuntu
- Making Sure that Swap is Enabled upon Startup
- Finding the Filesystem UUID and the Physical Offset Number of the Swapfile
- Configuring GRUB to Resume Ubuntu from Hibernate
- Enabling Hibernate in Initramfs
- Adding the Hibernate Option in the System Tray Power Off/Log Out Menu of Ubuntu 22.04 LTS
- Restarting Ubuntu for the Changes to Take Effect
- Hibernating Ubuntu from the Command Line
- Hibernating Ubuntu from the System Tray Power Off Menu
- What If Hibernate Is Not Working?
- Conclusion
- References
Checking the Current Swap and Memory Size
For hibernate to work, the swap size of your Ubuntu machine and the installed memory size of your computer should be the same.
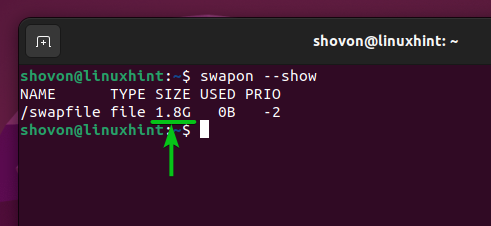
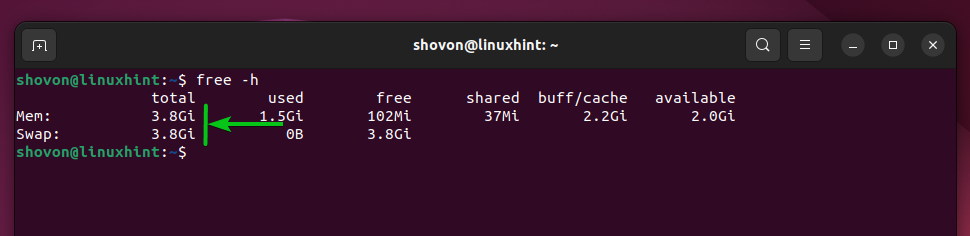
You can find the swap size of your Ubuntu machine with the following command:

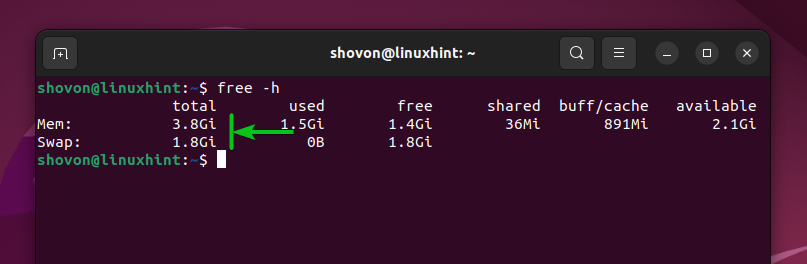
As you can see, the swap size of our Ubuntu machine is 1.8 GB.
The swap size is much smaller than the physical memory of our computer which is 3.8 GB. So, we have to increase the swap size of our Ubuntu machine.
Creating a New Swap File to Enable Hibernate
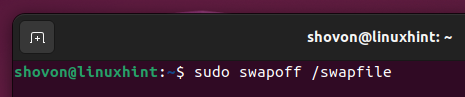
Before you can increase the swap file size, you have to disable/turn off the current swap file with the following command:
To increase the swap file size to 4 GB (let’s say), run the following command:
NOTE: In the command section count=$((4*1024)), 4 is the amount of physical memory of our computer in GB/Gigabyte units. So, if we have 16 GB of system memory installed, we write 16 instead of 4.

The swap file size is being increased. It takes a while depending on how big of a swap file you want.

At this time, the swap file size should be increased.

Once the swap file size is increased, set the swap file permission to only the user readable and writable with the following command:

Format the swap file with the following command:

The swap file should be formatted.

Enabling the New Swap Space on Ubuntu
To enable the newly created swap file, run the following command:

The newly created swap file should be enabled.
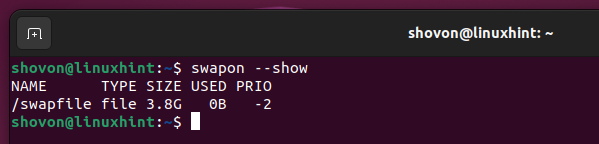
Now, the swap size and the physical memory size of your computer should be the same.
Making Sure that Swap Is Enabled upon Startup
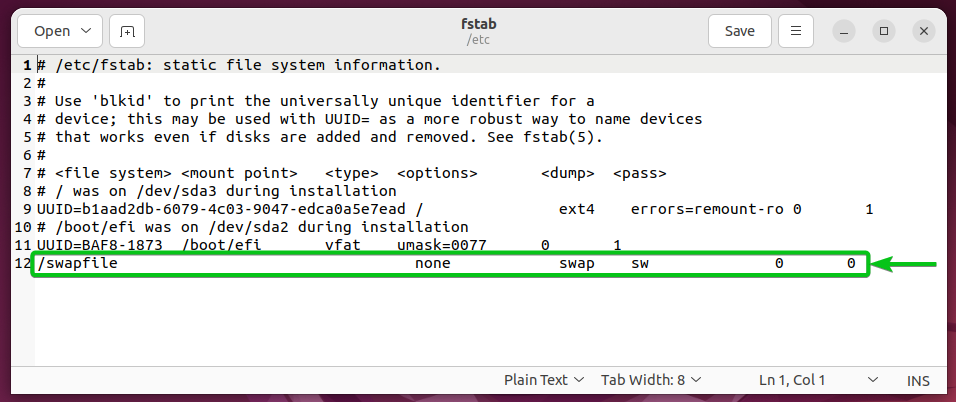
To make sure that swap is enabled when Ubuntu boots, you need to have an entry in the /etc/fstab file to mount the swap file automatically at startup.
First, open the /etc/fstab file with the “gedit” text editor as follows:

Make sure that the marked line is present in the /etc/fstab file. If the line is not present, add it to the /etc/fstab file.
Once you’re done, press <Ctrl> + S to save the /etc/fstab file.
Finding the Filesystem UUID and the Physical Offset Number of the Swapfile
To configure the GRUB bootloader to resume from hibernation, you need to know the UUID of the filesystem where you created the swap file and the physical offset number of the swap file.
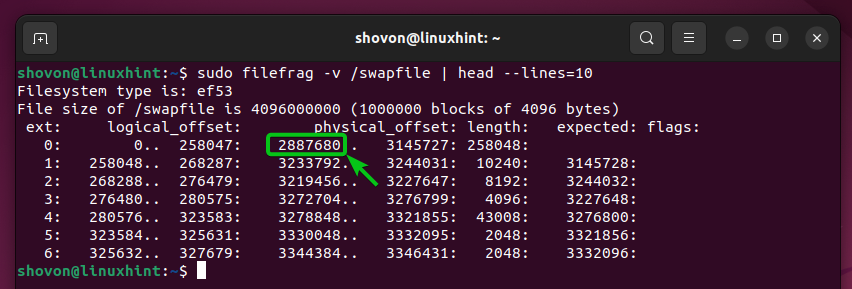
To find the physical offset number of the swap file, run the following command:

The physical offsets of the swap file should be listed. You don’t need all of them; just the first physical offset. The first physical offset of the swap file in our case is 2887680. It will be different for you. So, make sure to replace this number with yours from now on.
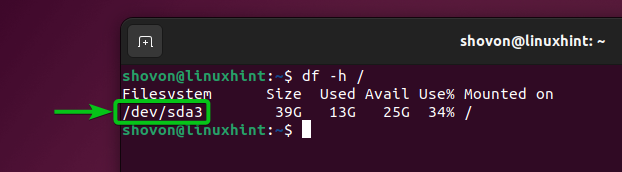
As you create the swap file in the root (/) filesystem, find the device name of the root filesystem with the following command. In our case, the device name of the root filesystem is /dev/sda3. It will be different for you. So, make sure to replace it with yours from now on.
To find the UUID of the root filesystem /dev/sda3 (in my case), run the following command:

The UUID of the root filesystem /dev/sda3 is b1aad2db-6079-4c03-9047-edca0a5e7ead in our case. It will be different for you. So, make sure to replace it with yours from now on.

Configuring GRUB to Resume Ubuntu from Hibernate
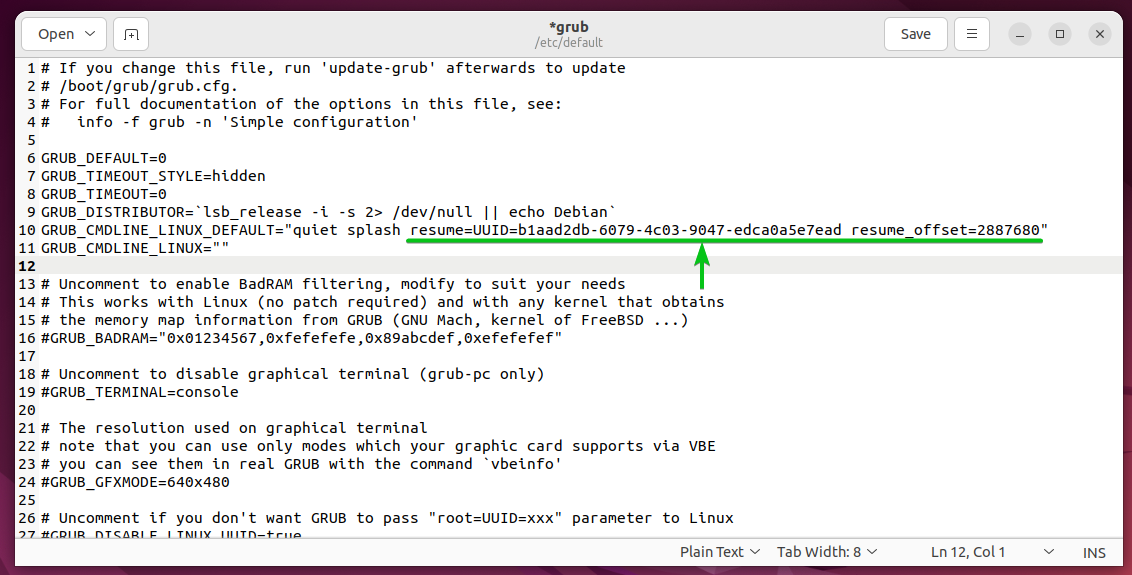
To configure the GRUB bootloader for the hibernation to work, open the GRUB configuration file /etc/default/grub with the “gedit” text editor as follows:

Add the text resume=UUID=<your-root-filesystem-UUID> resume_offset=<swapfile_physical_offset> at the end of the GRUB_CMDLINE_LINUX_DEFAULT as marked in the following screenshot.
Once you’re done, press <Ctrl> + S to save the file.
For the changes to take effect, update the GRUB bootloader configuration with the following command:
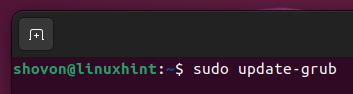
The GRUB bootloader configuration file should be updated.

Enabling Hibernate in Initramfs
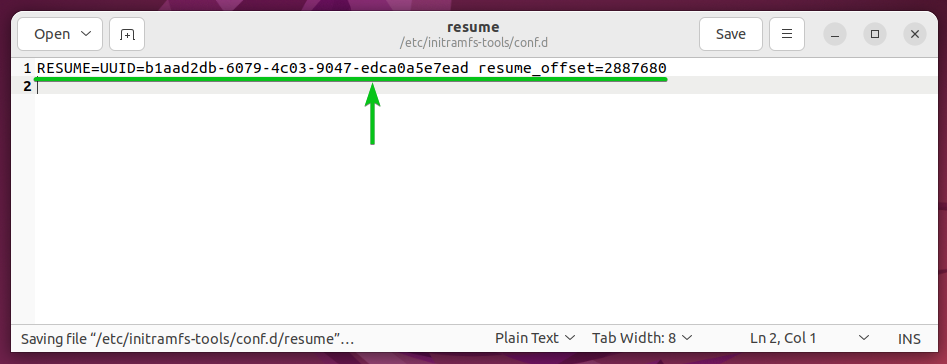
To enable hibernate in the initramfs, create a new initramfs configuration file /etc/initramfs-tools/conf.d/resume with the following command:

Add the text RESUME=UUID=<your-root-filesystem-UUID> resume_offset=<swapfile_physical_offset> in the newly created file.
Once you’re done, press <Ctrl> + S to save the file.
To update the initramfs image, run the following command:

The initramfs image should be updated.

Adding the Hibernate Option in the System Tray Power Off/Log Out Menu of Ubuntu 22.04 LTS
Once you add the hibernate options in the system tray power off/log out menu of Ubuntu 22.04 LTS, you will be able to hibernate the Ubuntu 22.04 LTS very easily with just a few clicks.
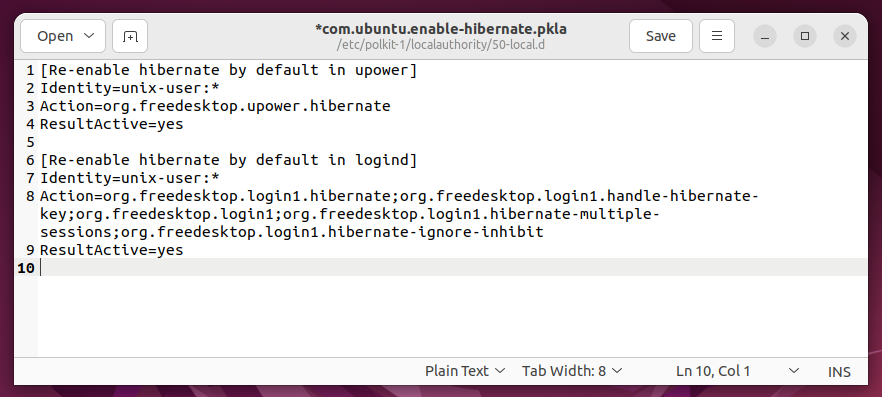
To do that, create a new file which is com.ubuntu.enable-hibernate.pkla in the /etc/polkit-1/localauthority/50-local.d/ directory and open it with the “gedit” text editor as follows:

Type in the following lines of codes in the com.ubuntu.enable-hibernate.pkla file:
Identity=unix-user:*
Action=org.freedesktop.upower.hibernate
ResultActive=yes
[Re-enable hibernate by default in logind]
Identity=unix-user:*
Action=org.freedesktop.login1.hibernate;org.freedesktop.login1.handle-hibernate-key;org.freedesktop.login1;org.freedesktop.login1.hibernate-multiple-sessions;org.freedesktop.login1.hibernate-ignore-inhibit
ResultActive=yes
Once you’re done, save the file by pressing <Ctrl> + S.
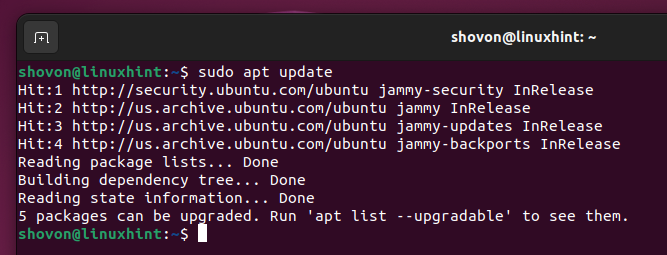
Now, update the APT package repository cache with the following command:
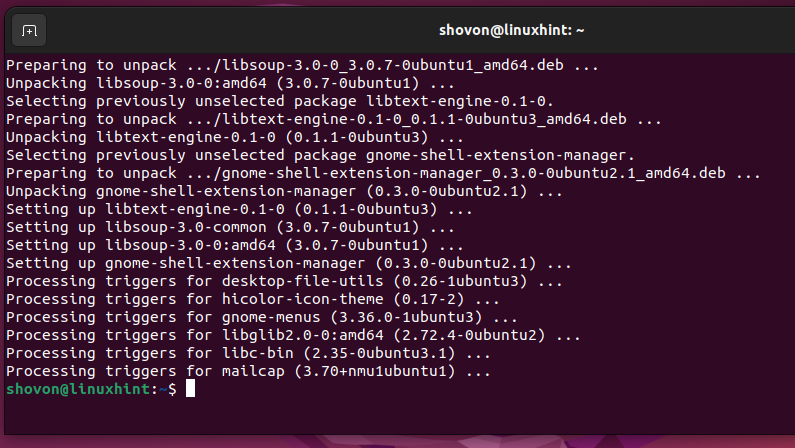
Install the GNOME Extension Manager app with the following command:

To confirm the installation, press Y and then press <Enter>.

The GNOME Extension Manager app should be installed.
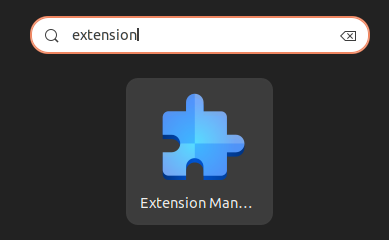
Once the GNOME Extension Manager app is installed, open it from the “Application Menu” of Ubuntu 22.04 LTS.
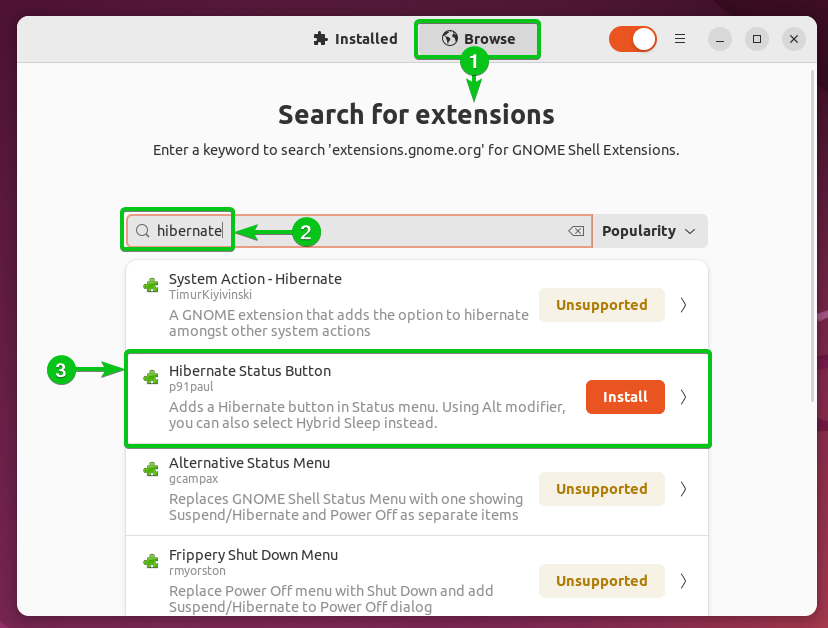
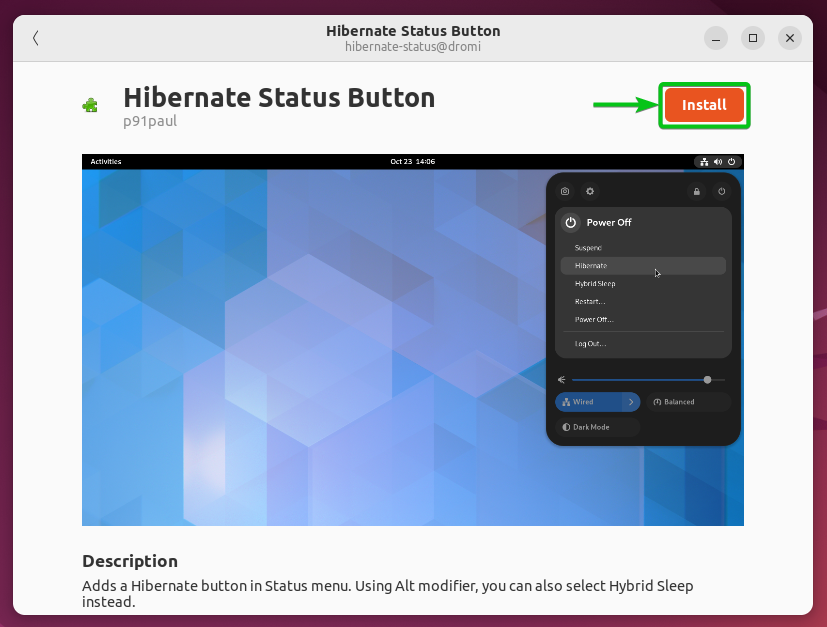
Navigate to the “Browse” section of the GNOME Extension Manager app[1], search for hibernate[2], and click on the “Hibernate Status Button[3]” as marked in the following screenshot:
Click on “Install”.
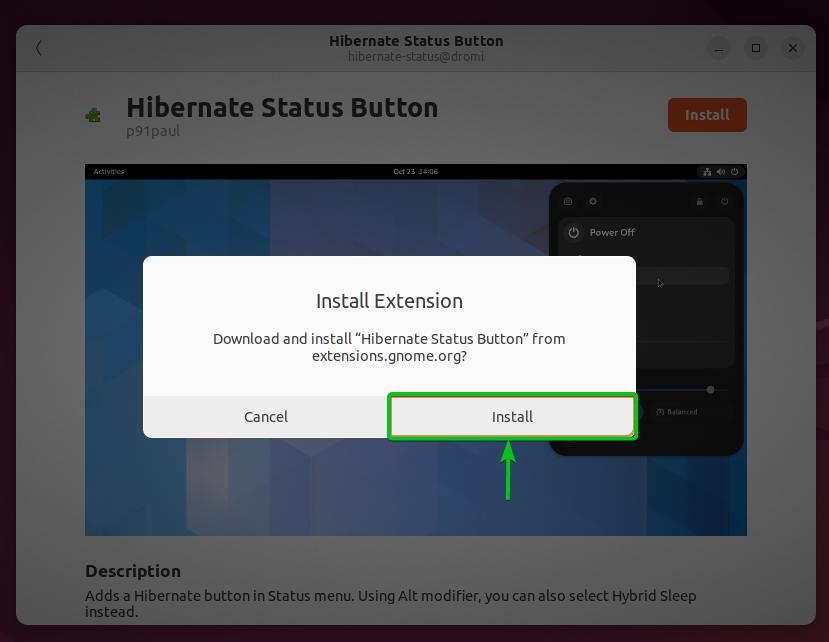
Click on “Install”.
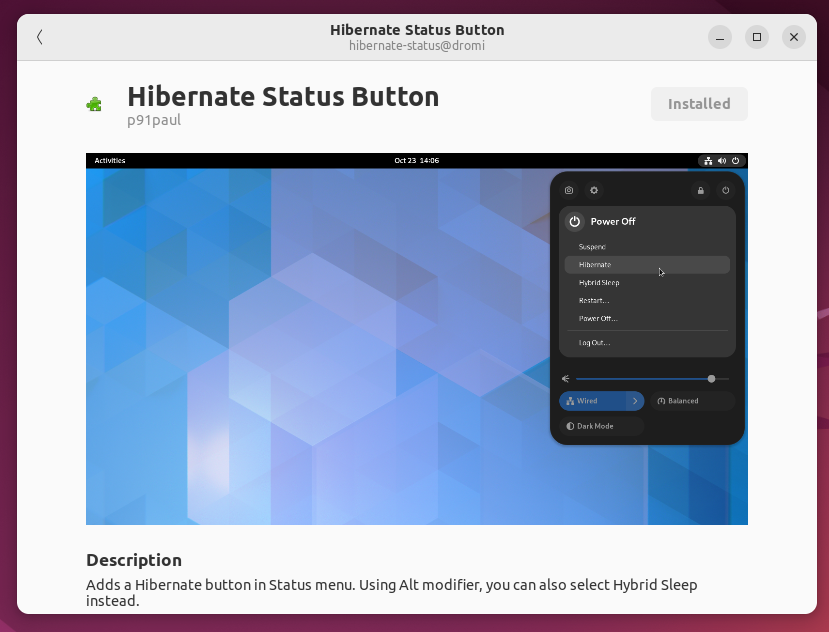
The “Hibernate Status Button” extension should be installed.
Restarting Ubuntu for the Changes to Take Effect
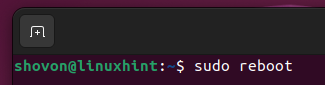
For the changes to take effect, restart your Ubuntu machine with the following command:
Hibernating Ubuntu from the Command Line
To hibernate your Ubuntu machine from the command line, open a Terminal app and run the following command:

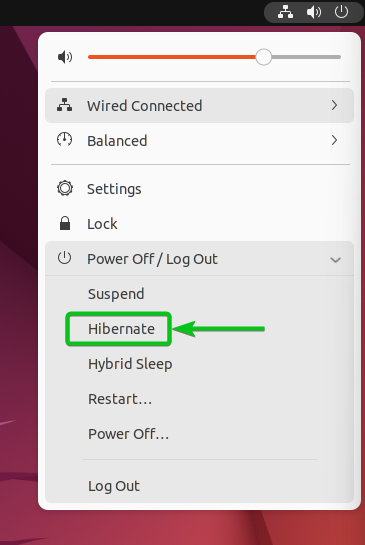
Hibernating Ubuntu from the System Tray Power Off Menu
To hibernate your Ubuntu machine using the graphical user interface, click on the system tray of Ubuntu 22.04 LTS and click on “Hibernate” from the “Power Off/Log Out” section.
What If Hibernate Is Not Working?
In some hardware, hibernate may not work even after following all these instructions. If that’s the case, check if you have the secure boot enabled in the BIOS of your computer. Turn off the secure boot and see if hibernate is working. If it does, secure boot is responsible for the hibernate issue.
Conclusion
We showed you how to enable the hibernate option in Ubuntu 22.04 LTS. We also shoed you how to add the hibernate option in the system tray of Ubuntu 22.04 LTS and how to hibernate Ubuntu from the command line and from the graphical user interface as well.
References:
Source: linuxhint.com