How To Enable 5GHz Wifi On Laptop
Before going towards the main topic let me tell you some of the differences between 2.4GHz and 5GHz bandwidth so you can have a better understanding of which situation you should opt for 5Ghz bandwidth.
Difference between 2.4GHz and 5GHz
- The 2.4GHz band usually covers a large area and is better at passing through the solid object whereas 5GHz has a smaller coverage area and can’t pass through the solid object.
- The 2.4GHz band has a lower speed but it can travel far more distances whereas the 5GHz band has a faster speed and throughput but it can travel shorter distances.
Now in the next section, we will be discussing how you can check and enable the 5GHz band on your laptop.
How to Check if Your Laptop Supports 5GHz Connectivity
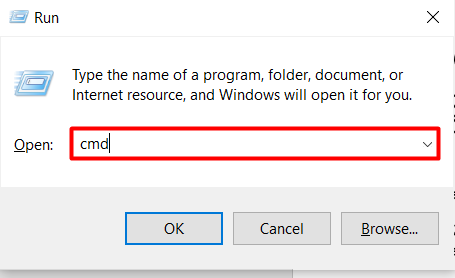
The best way to check whether your laptop supports 5GHz connectivity or not is by opening a command prompt by pressing the “Windows + R” shortcut keys and then type “cmd”:
After opening the command prompt you need to type the following command:
netsh WLAN show drivers
This will open up all the Wifi details and you need to see the “Radio type supported” option. As you can see in the image, my laptop supports 802.11a, 802.11n, and 5Ghz frequencies.

How to Enable 5GHz Wifi on Laptop
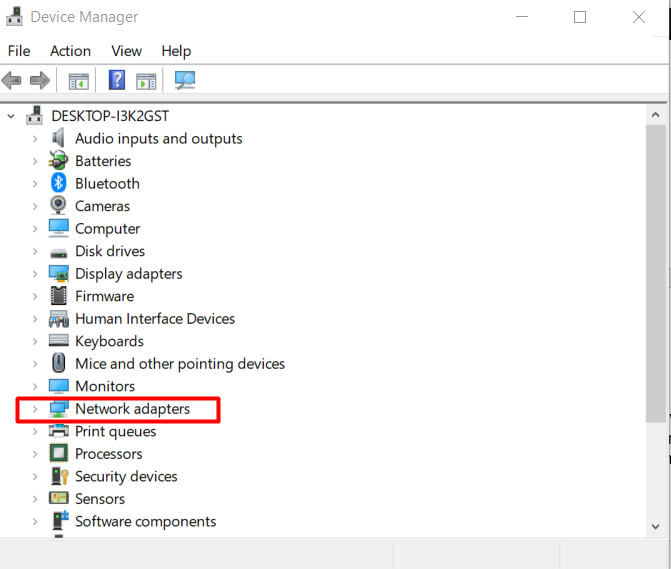
After verifying and confirming that your laptop does support 5GHz Wifi then the next step is to check how you can enable this feature. For that first thing, you can do is to open the “Device Manager” by going into the “control panel” or by directly writing its name on the search bar of the Windows. After opening it you will notice a variety of different settings where you need to select the “Network Adapter Settings” tab as shown below:
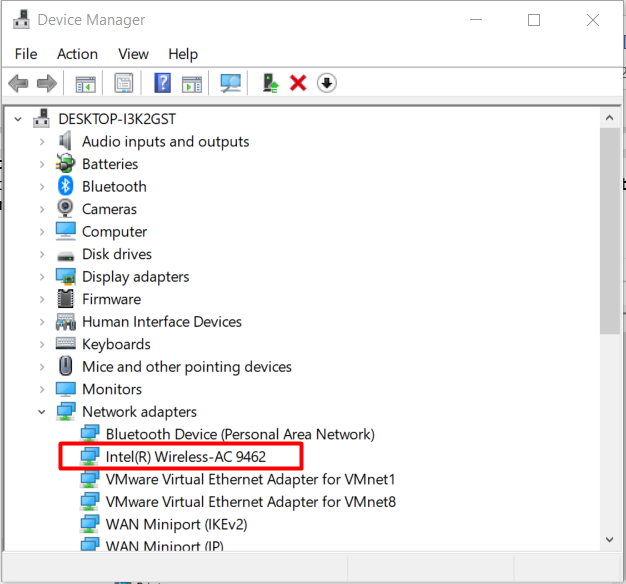
This will open up all the drivers related to your Wifi where you need to select your Wifi adapter as shown.
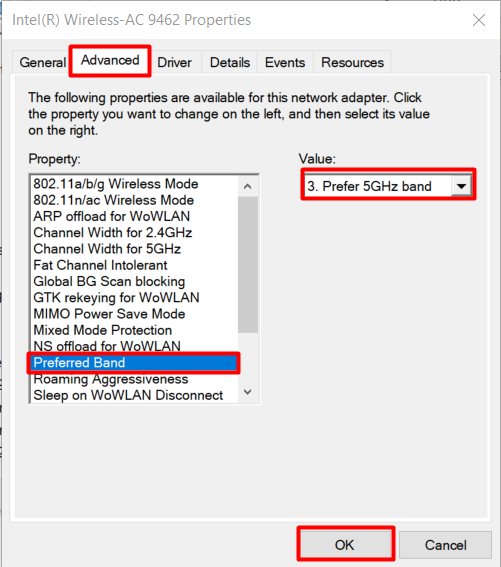
After opening your network adapter settings you need to select the “Advanced‘’ tab and then go to “Prefered band”. After clicking on it you should be able to see the value tab and from there you need to select “Prefer 5 GHz band” which should enable the 5 GHz connectivity on your laptop.
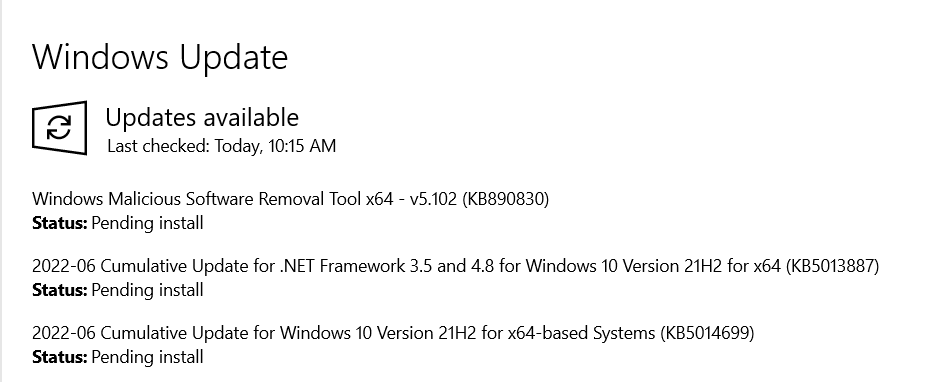
Updating Windows drivers
What if the above method still doesn’t work and you are still not able to use the 5GHz band? In normal situations, this works but if it’s not working then the first possibility is that your drivers are not updated and they are stopping it and creating issues. So you can update windows drivers by going into the settings and selecting the “Update and Security” option.
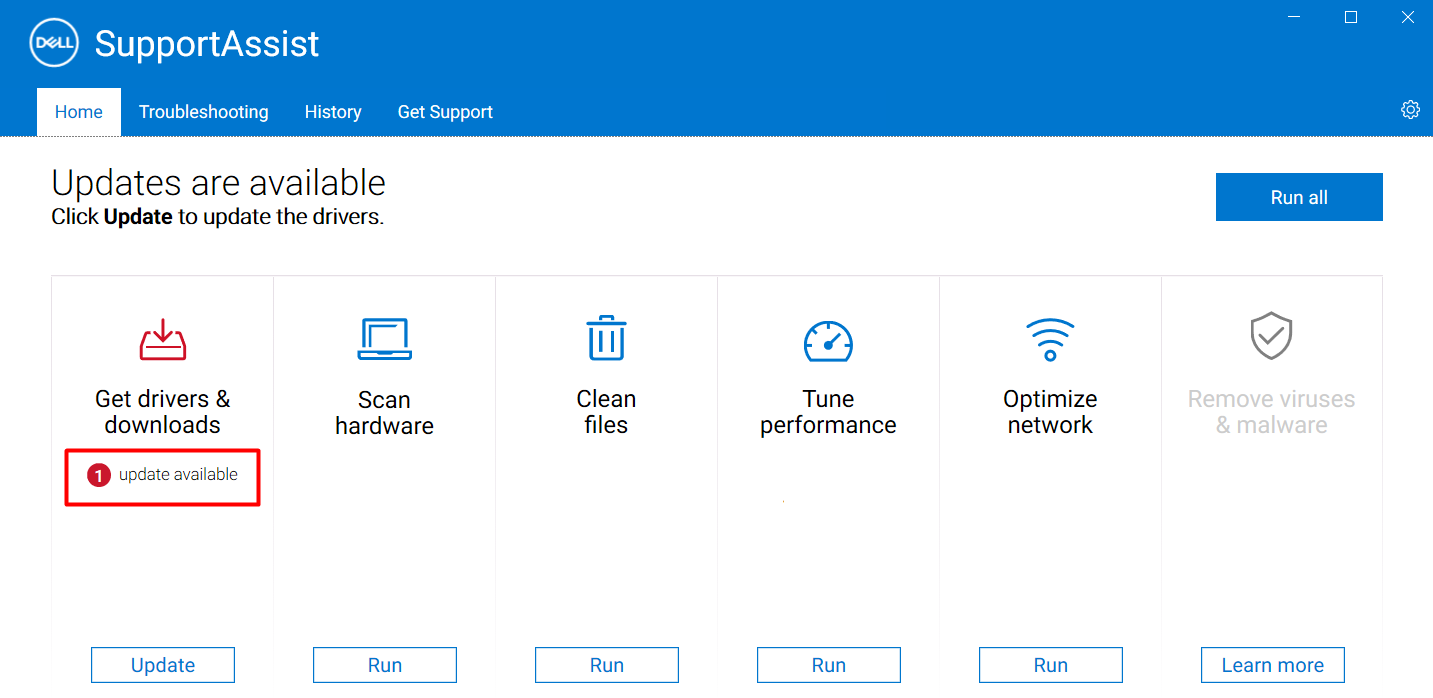
You can also update your system drivers by using the official software update application provided by your laptop company. For example, I am using a Dell laptop and there is software with the name of “Dell Support Assist” that I can use to update my laptop drivers.
Conclusion
Getting not enough internet speed is very common as the default bandwidth has been set to 2.4GHz bandwidth frequency so changing it to 5GHz will increase your internet speed. But it is not available on all the laptops and you need to first verify it only then can enable it if it is available in your system. So if you are one of those lucky guys then we have explained how you can enable the 5GHz Wifi on your laptop.
Source: linuxhint.com