How to Embed a .png Image Into an HTML Page?
The ability to embed images within a message to appear when users view something makes HTML useful for email communication. Since everything is self-contained, you do not need a web server anywhere to host the image. Users can embed any type of image in an HTML document, whether in the form of .png, jpeg, and others.
This blog will explain:
- Method 1: How to Embedding a “.png” Image in HTML With <Image> Tag?
- Method 2: How to Embedding a “.png” Image in HTML With CSS Properties?
Let’s get started with embedding a .png image into an HTML page!
Method 1: How to Embedding a “.png” Image in HTML With <Image> Tag?
To embed a .png image into an HTML page, use the “<img>” tag. Then, insert the “src” attribute and add the “.png” image as the “src” value. For practical implications, follow the steps stated below.
Step 1: Insert Heading
Initially, utilize the HTML “<h1>” tag to add a heading in the HTML document.
Step 2: Design a div Container
Next, design a div container by adding the “<div>” element and insert a class or id attribute according to your choice. Then, set the value of this property for later use.
Step 3: Add “.png” Image
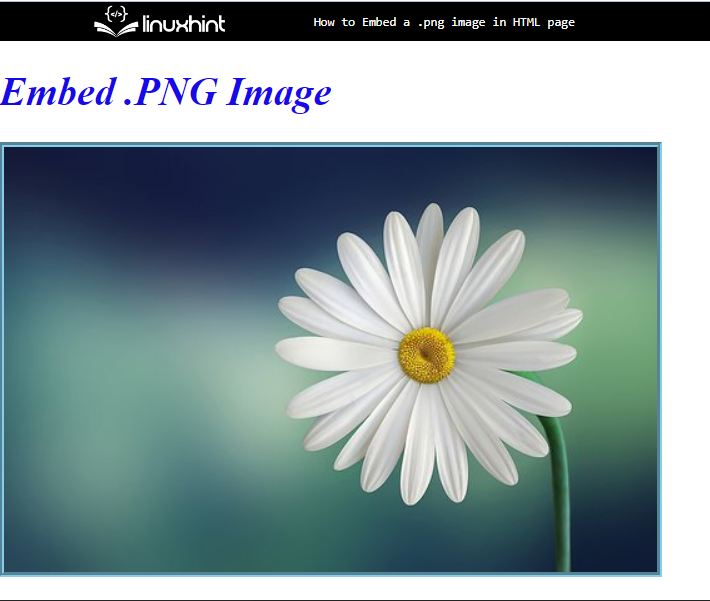
Now, use a “<img>” tag to add any type of media file to the HTML page. To do so, the “src” attribute was added inside the “<img>” tag, and added a png image as the “src” value. Furthermore, you can apply styling by using the inline “style” attribute and setting the CSS properties which you want to apply:
It can be observed that the specified image has been embedded successfully:
Method 2: How to Embedding a “.png” Image in HTML With CSS Properties?
To embed a “.png” image into an HTML page using CSS properties, the “background-image” property can be utilized. For practical implications, try out the stated instructions.
Step 1: Add Heading
In HTML, add a heading with the help of the heading tag from “<h1>” to “<h6>” tag.
Step 2: Create a “div” Container
Then, use the “<div>” tag to create a div container in an HTML document:
Output
Step 3: Add “.png” Image
Access the div container by using the attribute selector with a particular attribute value as “.div-img”:
height: 50%px;
width: 50%px;
background-size: contain;
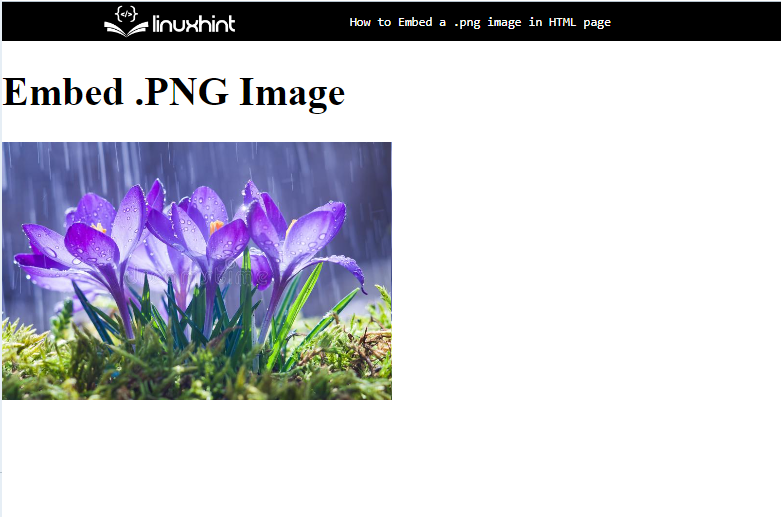
background-image: url(/spring-flowers.png)
}
After that, apply these CSS properties:
- “height” and “width” properties are utilized for setting the size of the stated element
- “background-size” specifies the size of the background image. For that purpose, the value of this property is set as “contain”.
- “background-image” inserts an image by using the “url()” function.
Output
That’s all about embedding a “.png” image into an HTML page.
Conclusion
To embed a “.png” image into an HTML page, the “<img>” tag is utilized. Then, add the “src” attribute and insert the “.png” image as the value of “src”. You can also utilize the “background-image” CSS property to add a “.png” image on an HTML page. This tutorial has demonstrated all about embedding the .png image into an HTML page.
Source: linuxhint.com