How to Download Microsoft Safety Scanner?
This guide will elaborate on the process to download and install Microsoft safety scanners.
How to Download Microsoft Safety Scanner?
The tool Microsoft Safety Scanner does not appear in the Start menu because it is portable software. One needs to open the downloaded file to use the scanner every time.
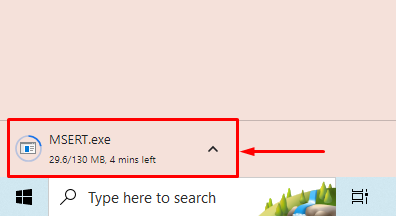
Step 1: Download Microsoft Safety Scanner
Download the Microsoft Safety Scanner according to your system architecture by clicking on the below links:
Or visit the official site here.
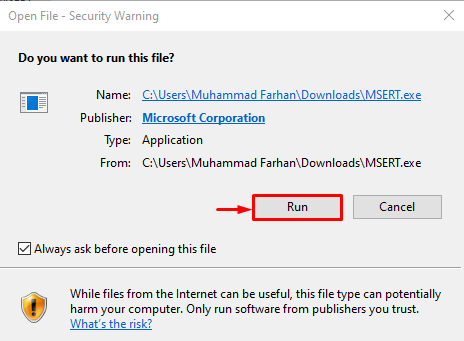
Step 2: Run the Microsoft Safety Scanner Executable
Move to the directory where the setup file is downloaded. Then, right-click on the executable file and select the “Run as administrator” option:

Click on the “Run” button to run the app with administrative privileges:
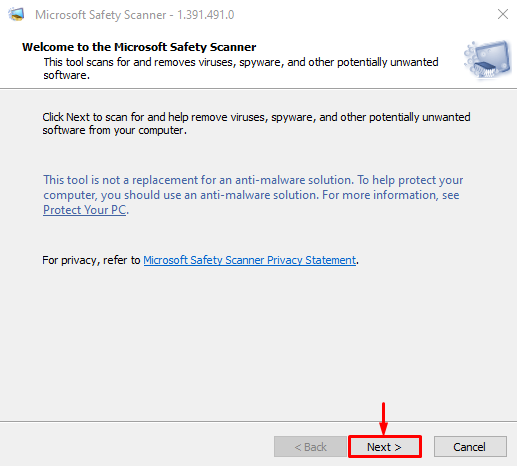
Step 3: Accept the License Agreement
Mark the checkbox and hit the “Next” button to accept the policy:

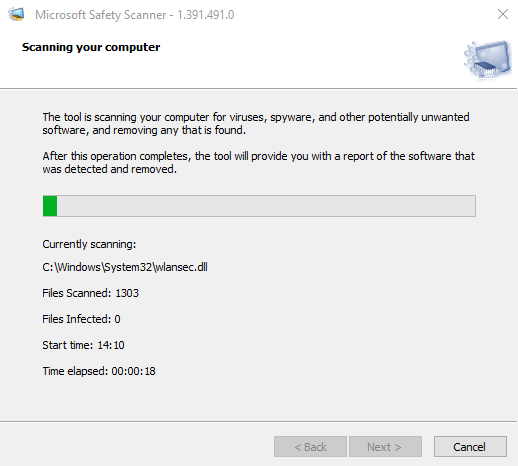
Step 4: Start the Scan
Trigger the “Next” button to initialize the scanning process:
Step 5: Select the Scan Type
Choose a scan type according to the user’s preference and click on the “Next” button:

As it can be observed that the scan has been started:
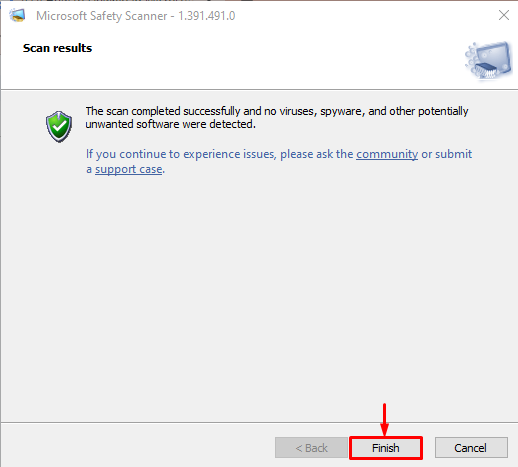
Click on the “Finish” button to finish scanning the Microsoft Safety Scanner:
That’s all! You have learned the procedure to download the Microsoft Safety Scanner on Windows.
Conclusion
To download the Microsoft Safety Scanner, first, click on the 32-bit or 64-bit link according to your system architecture. After downloading the scanner, run the installer from the folder where the executable file is downloaded and perform the scan. This tutorial elaborated on the procedure to download and run the Microsoft Safety Scanner in Windows.
Source: linuxhint.com