How to Display Tables in MySQL Workbench?
How to Display Tables in MySQL Workbench?
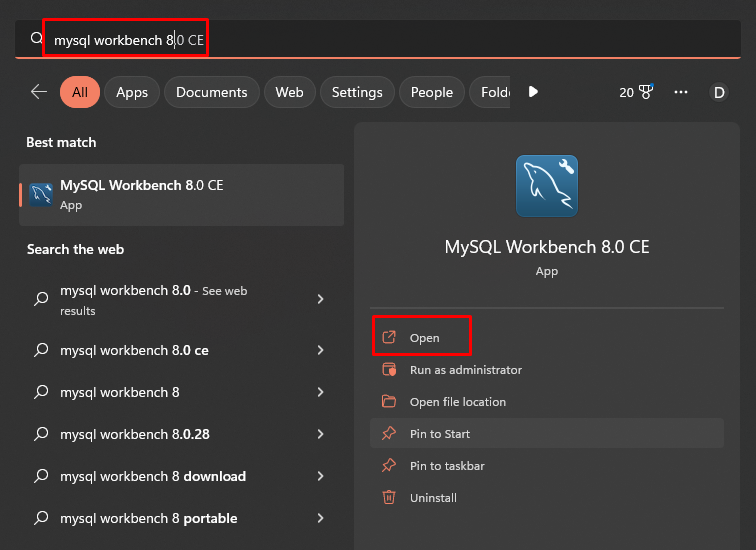
To display the tables in MySQL Workbench, open the MySQL Workbench application by pressing the “Windows Logo + S” key. Type “MySQL Workbench” and click on the “Open” button:
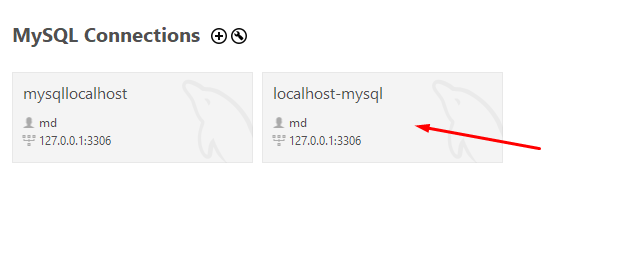
Click on the already MySQL server containing the database that you want to work on. Type the credentials to open it:
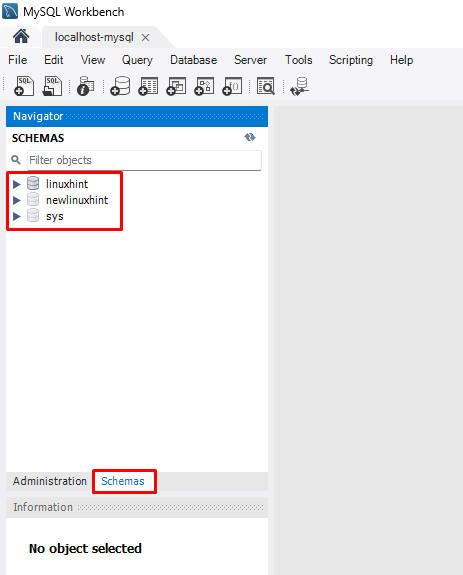
Once you are inside the database, select the “SCHEMAS” tab, to show all the available databases:
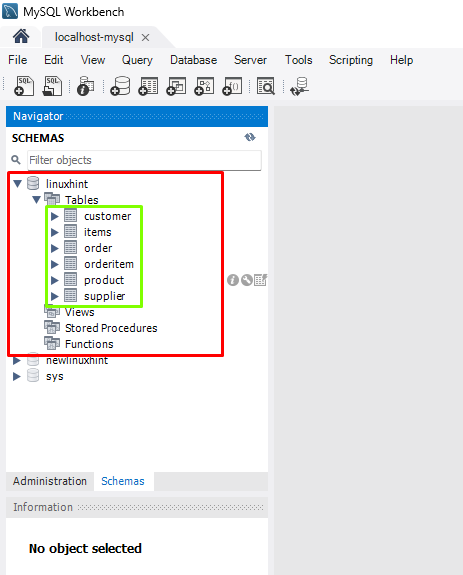
Click on the “Arrow” icon to expand the desired “Database”. It will display different options and expand the “Tables”:
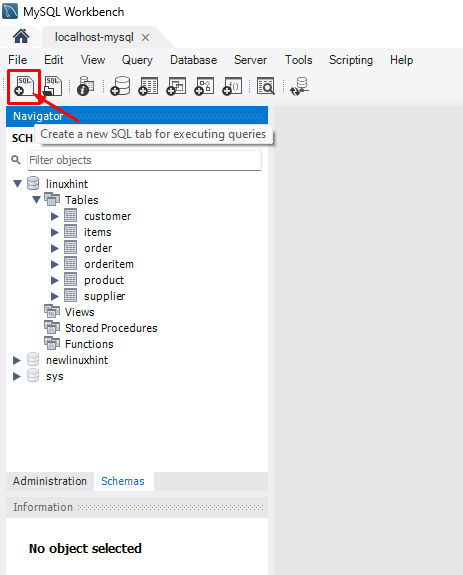
The next step is to create a SQL tab to run a query for displaying tables, click on the “Create new SQL tab for executing queries”:
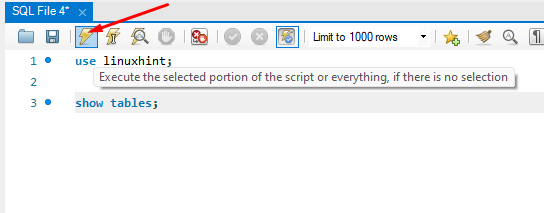
Run these queries to display all the tables available in a Schema:
show tables;
Provide the name of Schema, for this post name of the database, is “linuxhint”. Click on the “Execute” button:
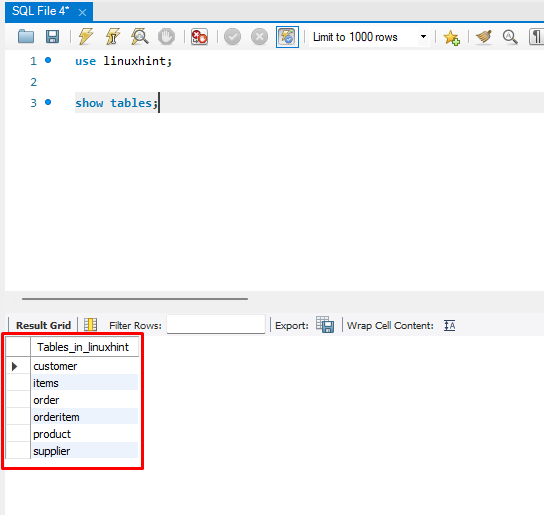
The output will display the tables:
Conclusion
Open the MySQL Workbench application and log in to the MySQL server containing the desired database. Select the database from the “SCHEMAS” tab and add a query “show tables;”, it is utilized to list all the available non-temporary tables in the database.This guide demonstrated how to display tables in MYSQL Workbench.
Source: linuxhint.com