How to Display Image With JavaScript
This article will describe the process for displaying images using JavaScript.
How to Display an Image With JavaScript?
For displaying images with JavaScript, use the “createElement()” method to create an HTML element node. To achieve this, it takes “img” as a parameter.
Syntax
For creating an element node, use the given syntax:
Example 1: Display Image With JavaScript
In this example, there is no need to add an HTML code because we will add an image using JavaScript. For this purpose, write out the following code in the JavaScript file:
var img = document.createElement("img");
img.src = src;
img.width = width;
img.height = height;
document.body.appendChild(img);
}
In the above code snippet:
- Define a function “displayImage()” with image source “src”, “width”, and “height” as a parameter.
- Add an image tag or element in JavaScript utilizing the “createElement()” method.
- Set the image properties like source, width, and height of an image.
- Then, add the image to the HTML body using the “document.body.appendChild()” method.
Now, call the function “displayImage()” and pass the height, width, and source of an image as an argument:
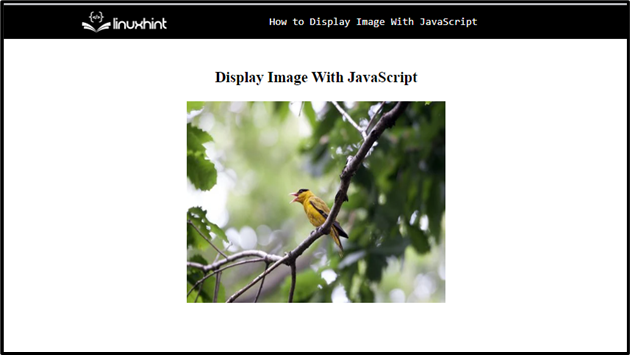
Output
In the next example, check out how to show an image on a button click.
Example 2: Display Image on Button Click With CSS Class
This example is all about how a CSS class can be used to display an image in JavaScript and how the image will appear when the button is clicked. First, we will create a button in an HTML file that calls the “displayImage()” function when the button is clicked:
Let’s create a CSS class “imageFeatures” to set the image attributes such as “length”, and “width” of an image:
{
width: 320;
height: 250;
}
Define a function “displayImage()” with a single parameter src. Then, add an image element using the createElement() method, and set the source of an image. Now, add the class “imageFeatures” for setting the image attributes using the “classList.add()” method. Finally, append the image tag in a document using the “document.body.appendChild()” method:
var img = document.createElement("img");
img.src = src;
img.classList.add("imageFeatures");
document.body.appendChild(img);
}
As you can see, the image is displayed on the button click without any delay:

We have displayed the image with the help of JavaScript.
Conclusion
To display an image with JavaScript, use the “createElement()” method for creating an image tag. More specifically, the createElement() method is used to create an element node. In this article, we described the process for displaying images using JavaScript.
Source: linuxhint.com