How To Display and Change Fan Speed in Ubuntu
This open-source CLI tool provides drivers and commands for monitoring GPU/CPU fan speed, voltage, and temperature and changing them accordingly. In this guide, we go through the installation process of lm_sensors and explain how to display and change the fan speed in Ubuntu.
How To Display and Change Fan Speed in Ubuntu
You can display the fan speed in Ubuntu by following simple steps. Here, we explain two methods by which you can exactly understand the fan speed and its temperature.
Using Command-Line Interface
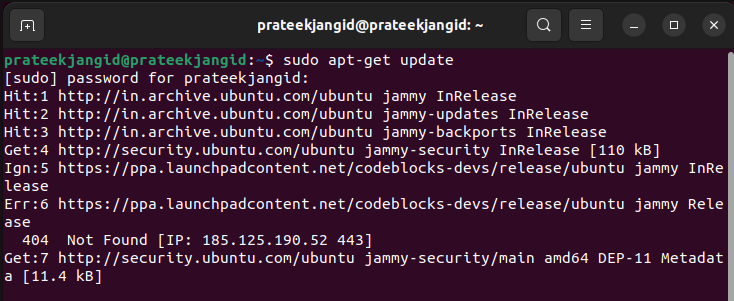
You can install the lm-sensors package through the package manager. To install the lm-sensors in Ubuntu, update the database of your system through the following command:
To install lm-sensors in Ubuntu, type and execute the following command:

After the successful installation of lm-sensors, you can generate and detect a list of kernel modules using the following command:
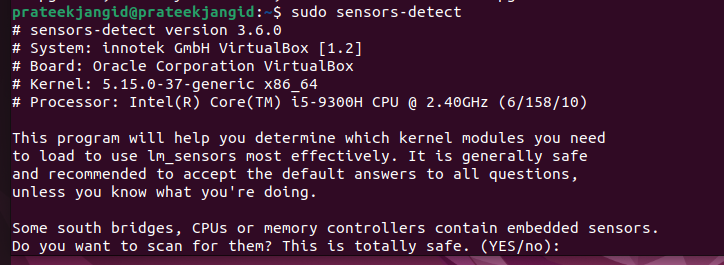
Hardware probing will start after running the previous command. To create the /etc/sensors3.conf file, you must press the Enter key to all the questions. This file starts service automatically at boot time and loads Linux kernel modules.
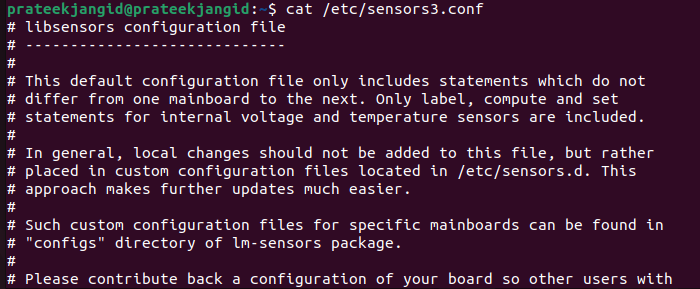
You can display the /etc/sensors3.conf file using the following cat command:
To display the fan speed in Ubuntu, please type the following command into the terminal:
The previous output shows the fan speed and temperature that you need.
Alternatively, you can use the grep command to filter the previous data.
You can also display the fan speed on the screen using one of the following watch commands:
watch -n1 -d' sensors | grep fan'
watch -n1 -d 'sensors | egrep "fan|temp" | grep -v "0.0"'
Using Graphical-User Interface
Ubuntu offers many applications through which you can easily view the fan speed. Several are Psensors, xsensors, plugin, applet, and Plasma 5 applet. You can easily install one and display the fan speed using a graphical user interface.
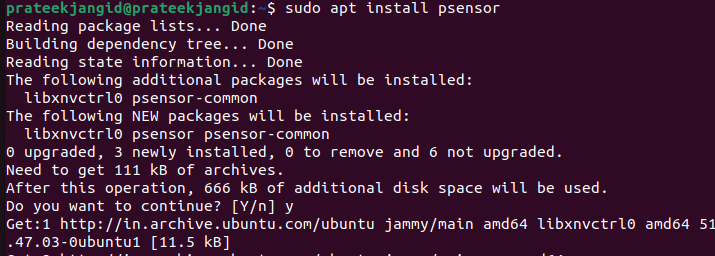
Now, we will install the Psensor and explain the GUI method by which you can display the fan speed.
First, install the previous application using the following sudo command:
.
To open the Psensor application, search it in the application menu or execute the following command:
Now, you can easily see the fan speed in Ubuntu by simply opening one application.
You can also install the GKrellM GUI tool to get information about the fan speed to control them. Execute the following command in the terminal to install GKrellM in Ubuntu:
Once you install GKrellM, run the following command in the terminal to open it:
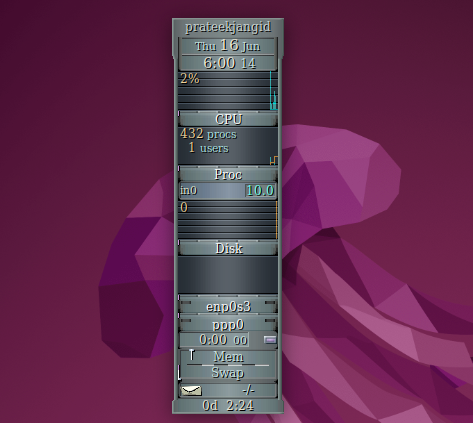
First, right-click on your username and then click on Configuration to configure the tool.

Now, click on the sensors. Here, you can configure the fan speed and control according to your system requirements:

It will help you to change and check the fan speed in Ubuntu.
Conclusion
Checking and controlling the fan speed is easy in Ubuntu because you only need to configure the sensors in the system. In this guide, we explained different methods to display and control the fan speed. First, we installed lm_sensors in the CLI method and saw how you could display the fan speed and other parameters. On the other hand, with the GUI method, you can install any of the applications previously mentioned and measure the fan speed directly through said application.
Source: linuxhint.com