How to Disable Automatic Windows 11/10 Restart After Updates?
Windows 11 continues to receive latest updates to improve security and user experience, fix bugs and enhance performance. While it is necessary to update the Windows occasionally, it is one of the most frustrating features as the updates are followed by the restart of the Windows.
This article provides a demonstration of multiple methods along with a step-by-step guide to prevent Windows 11 from restarting after updates.
How to Disable Automatic Windows 11/10 Restart After Updates?
Most of the users of Windows show disregard for the automatic restart of Windows. While being in the middle of a download or installation or meeting critical deadlines, Windows updates can be annoying when followed by an automatic restart.
If you want to keep up with the updates while disabling the automatic restart, this article can be a great help as it provides multiple methods for it. Following are some methods mentioned to disable the automatic restart of Windows after updates:
Method 1: Using sysdm.cpl File
One of the methods of disabling the automatic restart of Windows after updates are possible through the sysdm.cpl file. Sysdm.cpl file stands for System Device Manager Control Panel Applet are an executable file that contains all the essential properties of the system along with the machine code to ensure the proper functioning of the system.
By following the below-mentioned steps, disable the automatic restart feature of Windows:
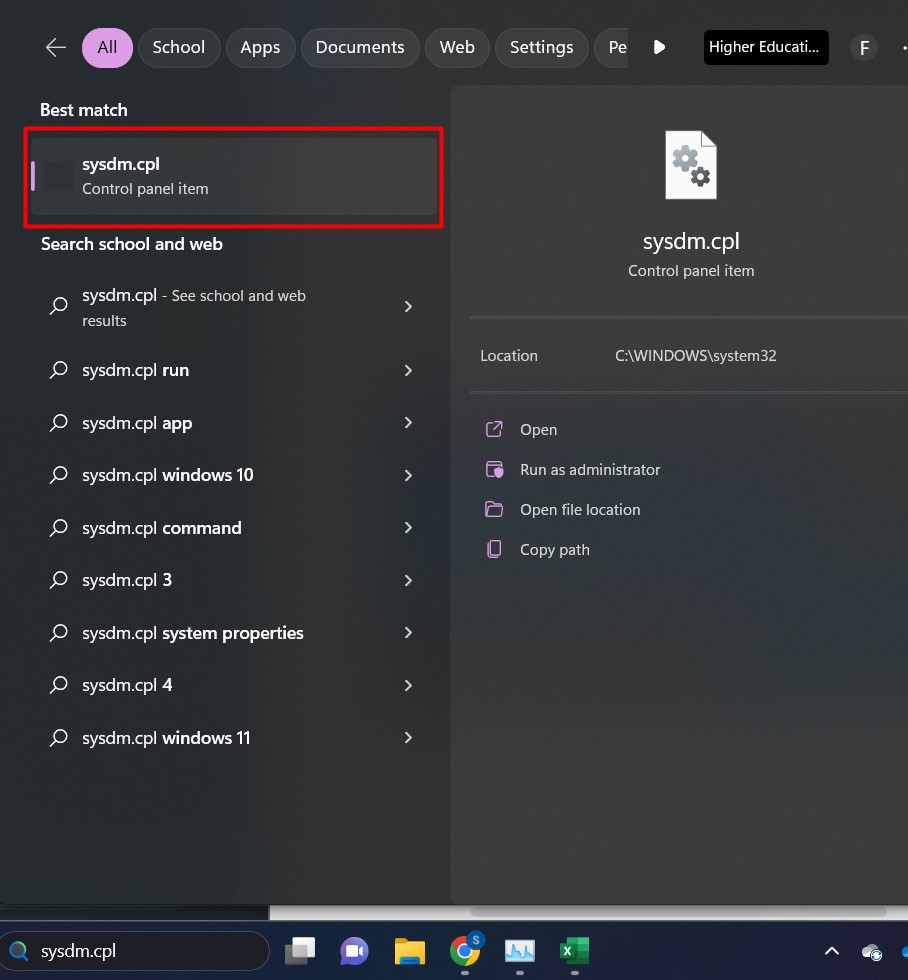
Step 1: Open the sysdm.cpl File
From the start menu, type “sysdm.cpl” file and double-click on it to open it:
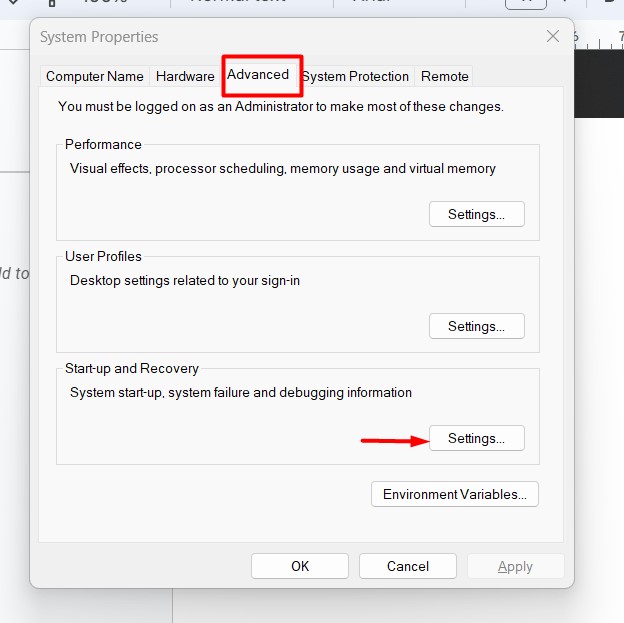
Step 2: Click the “Advanced” Tab
In the sysdm.cpl file, click on the “Advanced” tab, and then click on the “Settings” button afterward:
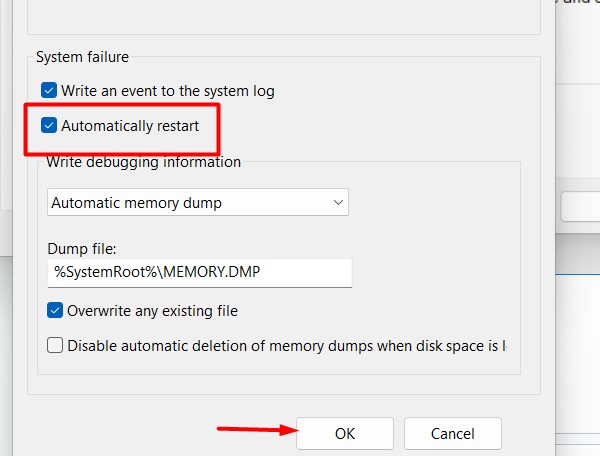
Step 3: Disable Automatic Restart
Uncheck the “Automatically restart” option to disable this functionality. Press the “OK” button to save and apply changes:
Method 2: Using System Settings
To prevent the automatic restart of Windows after updates, schedule them when the system is idle. By scheduling updates, the system will be updated only at a specific time.
Following are the steps for this functionality:
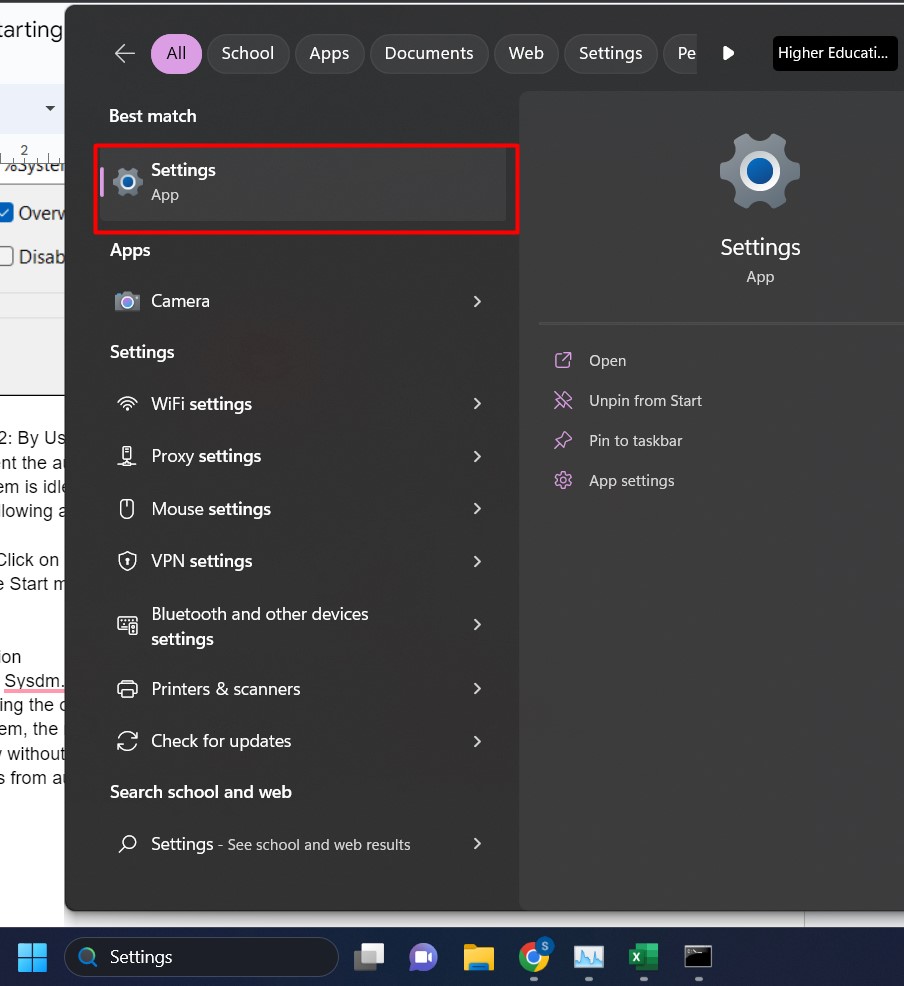
Step 1: Click on Setting
In the Start menu, type “Settings” in the Search Bar and click on it:
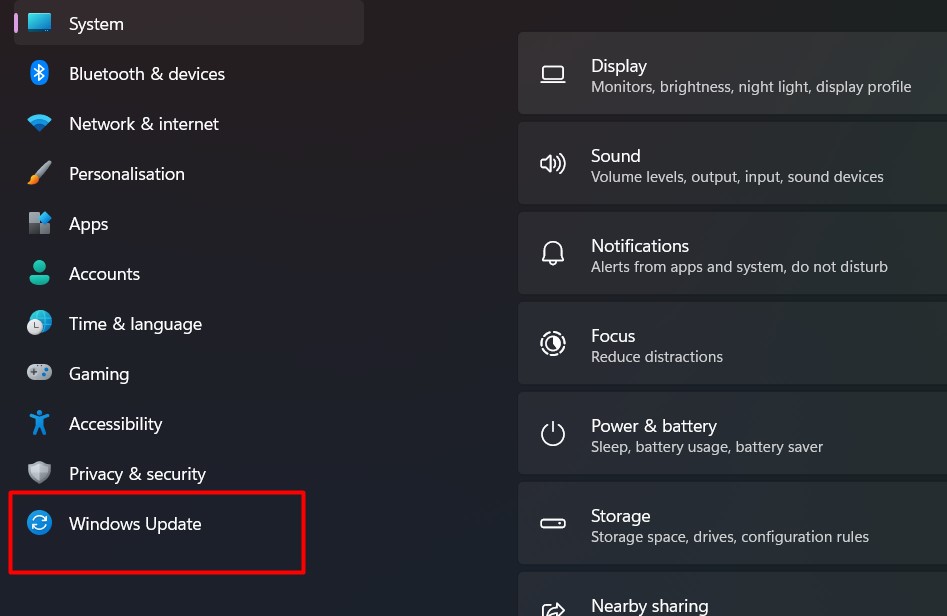
Step 2: Tap the “Windows Update” Option
From Settings interface, click on the “Windows Update” option located on the left sidebar:
Step 3: Schedule Update
Under the “More Options” section, you can schedule updates for up to 5 Weeks. Select an option of your preference:

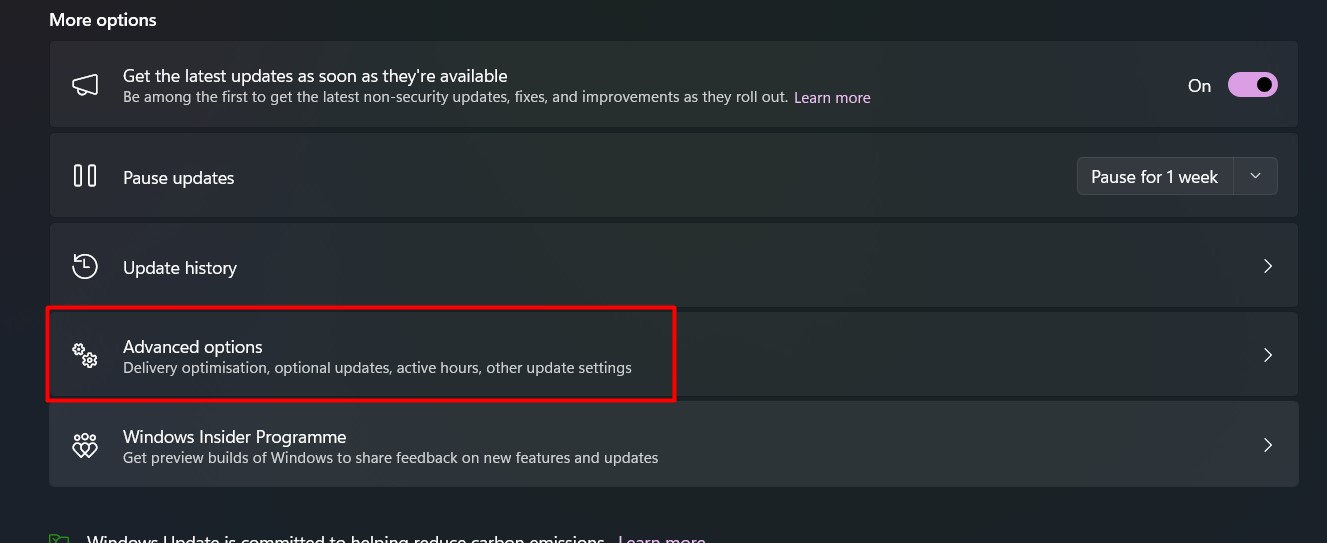
Step 4: Click “Advanced Options”
Click on “Advanced options” to configure active hours:
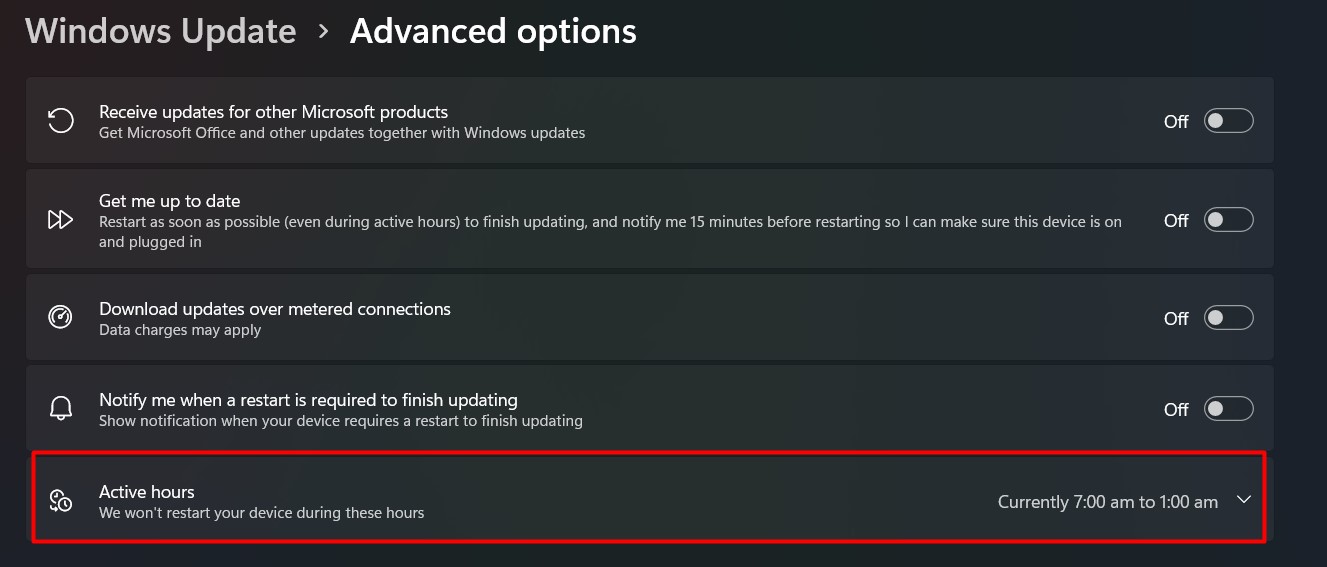
Step 5: Configure Active Hours
Click on the “Active hours” option and select a time span. During this scheduled time, your computer will not be restarted automatically:
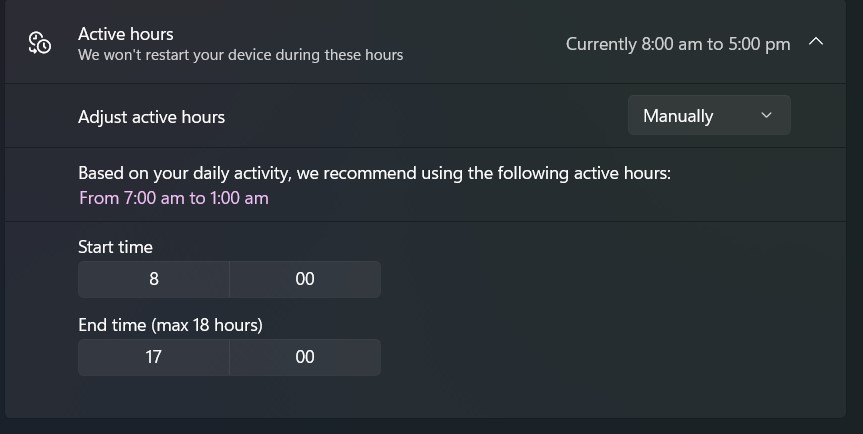
Step 6: Manually Adjust Hours
Click on the “Adjust hours” section and select the “Manually” option:

After entering hours, close the settings. It will automatically save them. The max time span can be of 18 hours:
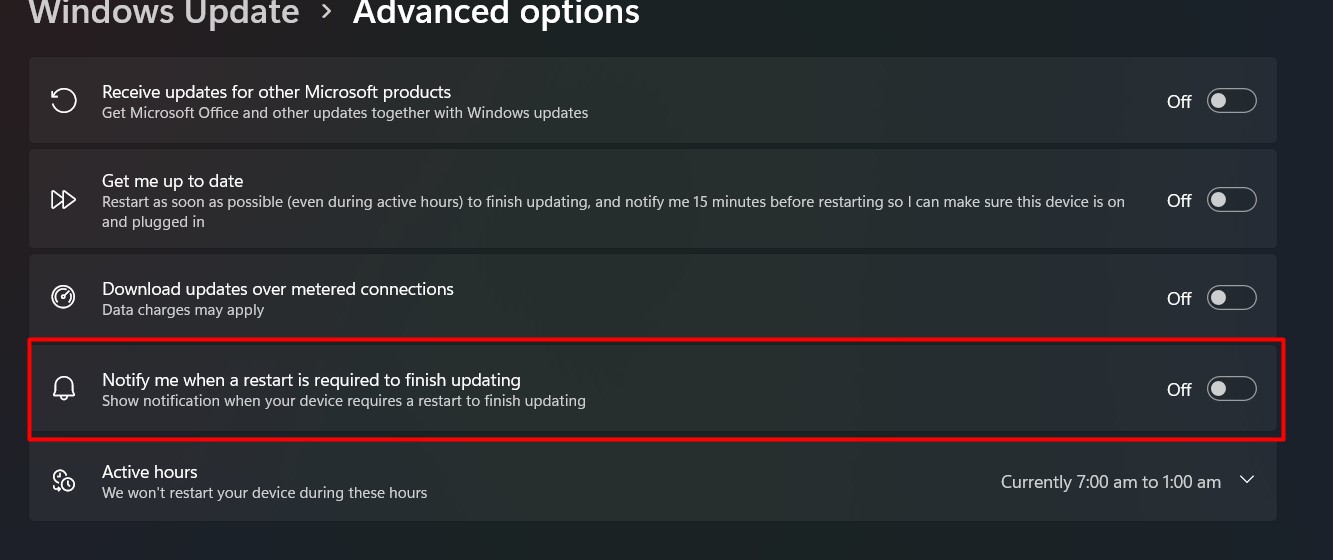
Bonus Tip: Turn on the “Notify me when restart is required to finish updating” option to be notified before restarting the system:
That is all from this guide.
Conclusion
Using sysdm.cpl file or System Settings, users can disable the automatic restart feature by unchecking the option or scheduling them for later. Although updates are essential for the System, the restart feature of Windows updates can be disabled to ensure a smooth workflow without any interruption. This article covers the aspect of how to prevent Windows from automatic restart after updates.
Source: linuxhint.com