How to Delete Unwanted Extensions on Google Chrome
Check the Existing Extensions
Within the Google Chrome browser, you might have seen three dots which are placed next to each other at the topmost right corner of the window. Click on the three dots which are shown in the following image and expand the “More tools” option. It displays more options in your Chrome window. You can see the “Extension” option within the list of options. Pat on it to display Chrome’s extension settings.

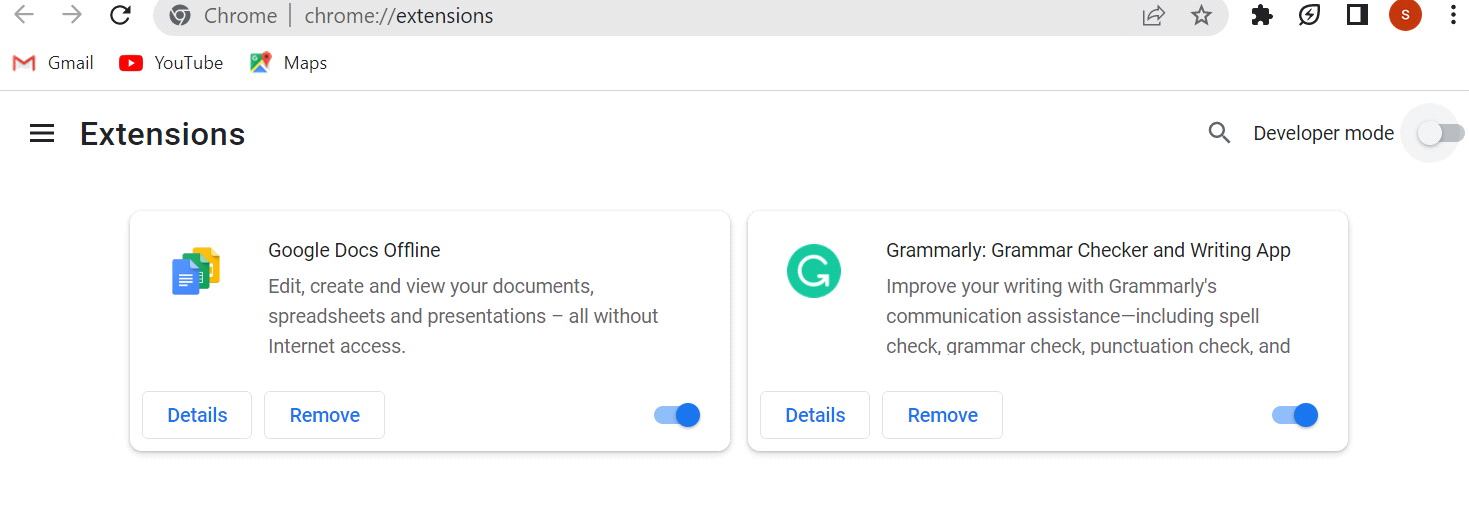
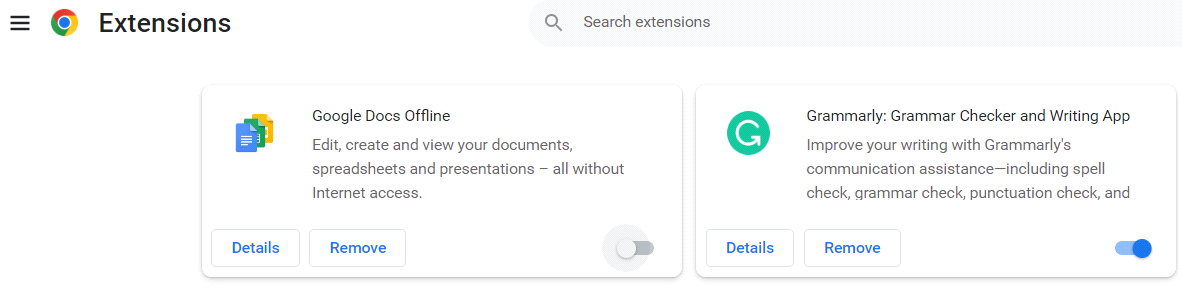
Now, we are at the “Extensions” page of the Google Chrome browser as displayed. There is a single extension that is currently enabled for the Google Chrome browser, like the Google Docs Offline, to edit the Google documents while offline. The blue toggle button shows that this extension is currently enabled on the Chrome browser.
Add New Extension
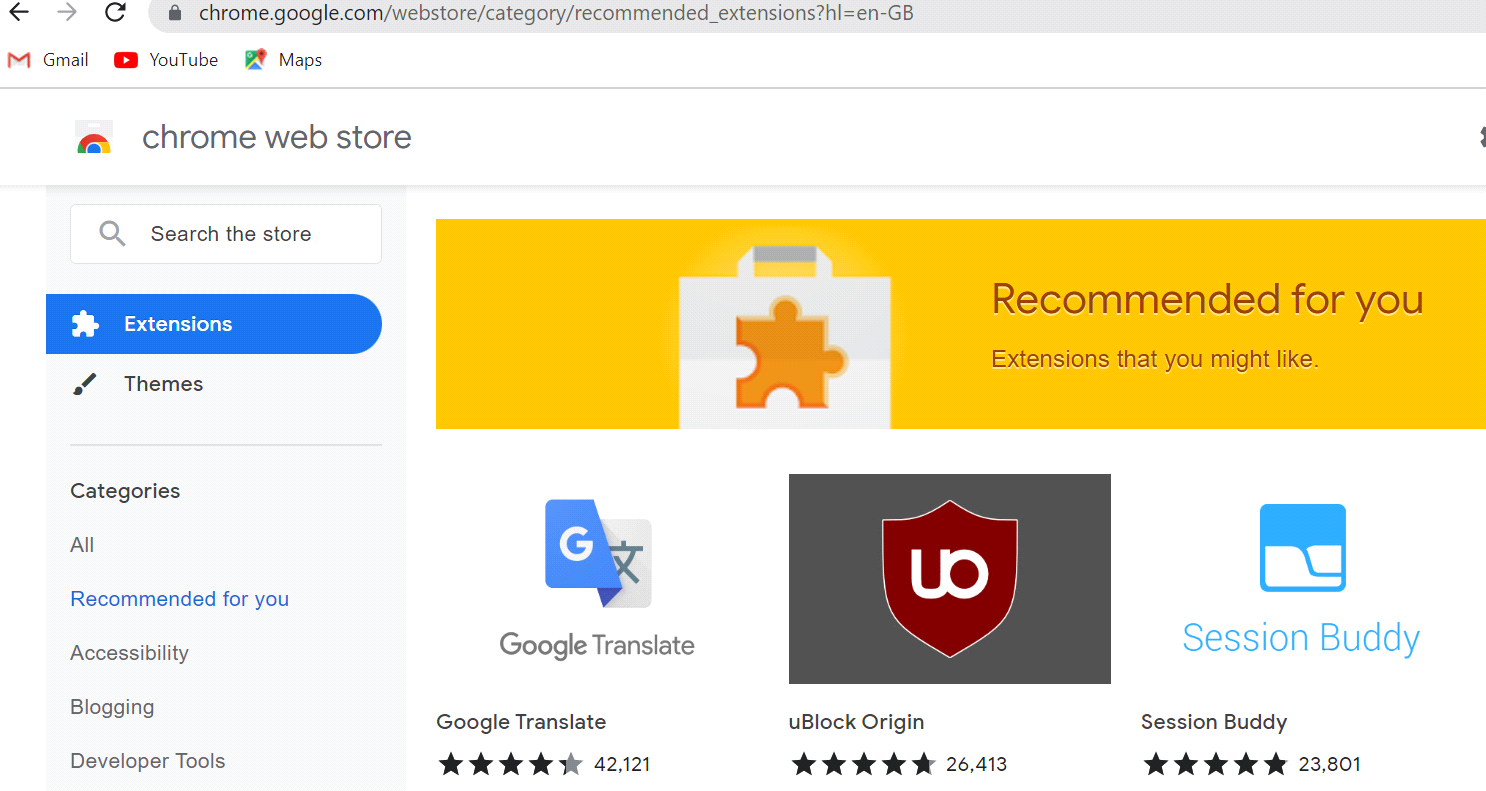
Before knowing about the removal of extensions from the Google Chrome browser, you must have additional knowledge on how to add extensions to it. Therefore, you must search for “Chrome web store” on the Google search engine using your Google Chrome browser. Open the Chrome web store using the returned URL by a Google search engine and you will get a screen as shown in the following. The “Extensions” menu displays many extensions that are available and recommended for your Google Chrome. You can look for the extension of your choice.
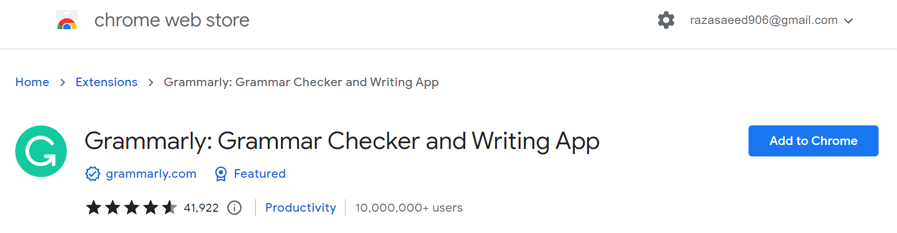
Let’s say we want to add the “Grammarly” extension to check the grammar and writing mistakes in our content while using Google Chrome. We search for this extension. Here, it is displayed on the Chrome web store. The “Add to Chrome” button in front of the Grammarly extension is used to add the extension to the Google Chrome browser.
After clicking on the “Add to Chrome” button, Google Chrome displays a pop-up notification on the topmost corner of your Chrome window as shown in the following image. It’s a precautionary step to add extensions on any browser to avoid any inconvenience shortly like accidentally adding some unwanted extensions. The notification shows that the extension can have access to all your data on different websites. To allow this extension on your browser, tap on “Add extension”.

After this, the Google Chrome browser takes a while to check this extension. After the checking is done by the Chrome browser, you will see that the “Grammarly” extension is added successfully to the list of extensions for the Google Chrome browser.
Disable the Existing Extension
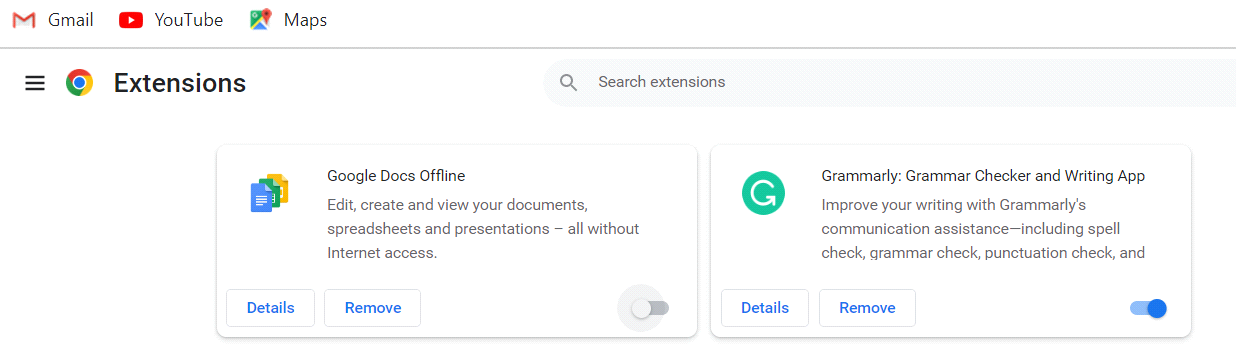
To disable a currently enabled extension in Google Chrome, you must have the knowledge and hands-on experience on how to check the extensions first as explained previously. Let’s say we want to temporarily disable the already active “Google Docs Offline” extension for a time being, and we enable it after a while for a certain reason. For this, we tap on the toggle button at the bottom corner of an extension. The toggle button turns grey which shows that it is successfully disabled for now. To enable it, tap on it again if required.
Remove Unwanted Extension
We have seen how an extension can be temporarily disabled by the Google Chrome browser. You can permanently disable or remove an unwanted extension from the Google Chrome browser using the same extension setting. Let’s suppose we want to permanently delete the “Google Docs Offline” extension from Chrome instead of temporarily disabling it as it is not needed anymore. For this, tap the “Remove” button beside the “Details” button of this extension.
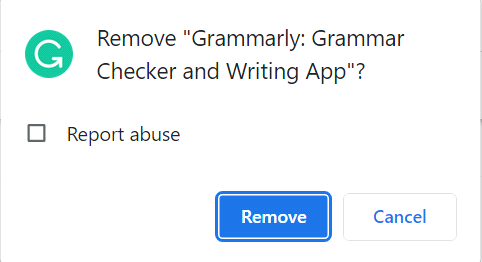
After tapping the “Remove” button, a pop-up notification is generated and displayed by Google Chrome to confirm whether you want to remove it or not. Also, a “Report Abuse” checkbox is displayed within it so that you can mark the certain extension as abuse in case you find it doing some unusual and unethical things with your browser data. Checkmark the “Report Abuse” checkbox if required followed by the “Remove” button to permanently delete it.

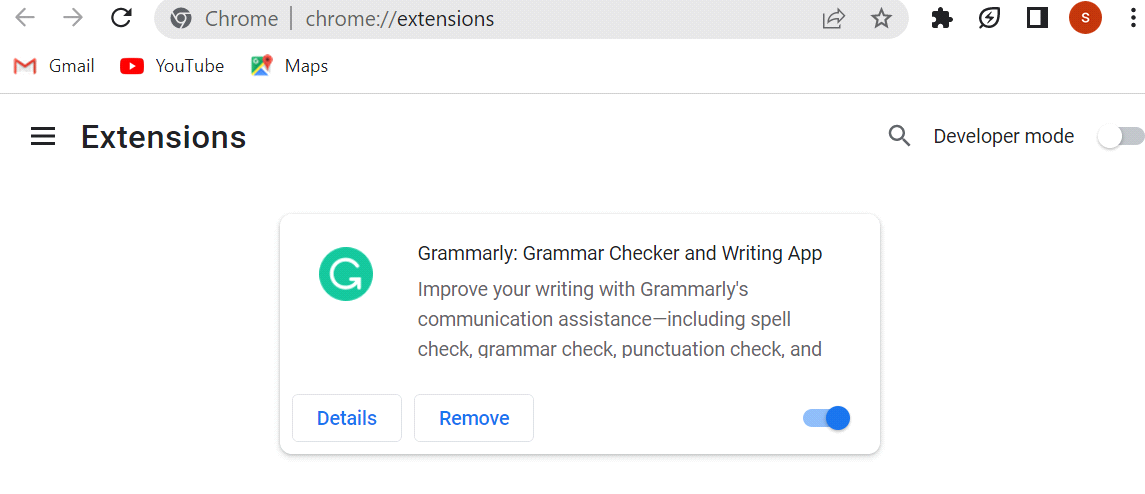
You will see that the Google Docs Offline extension is not here in the “Extensions” list.
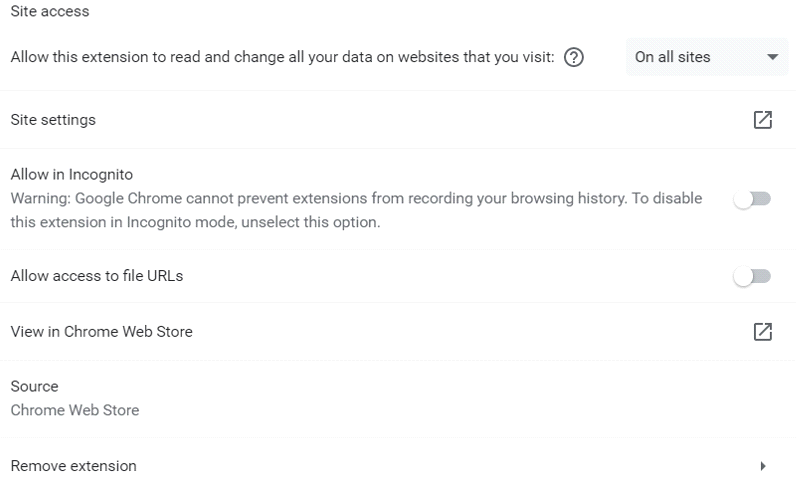
Another way to remove an extension from the Chrome browser is to use the “Details” button beside the “Remove” button. Let’s remove the Grammarly extension for now and tap the “Details” button to see how we can do it. It displays a detailed view of the size, version, and every access that this extension holds in the Chrome browser. You can make changes to the access the limit of an extension by updating the “Site access” and holding it to record your browsing history using the incognito mode. The “Remove Extension” option at the end allows you to remove it.
Here, you will encounter the same pop-up message. Tap on “Remove” to delete it permanently.
Conclusion
Google Chrome extensions offer the users with the ability to enhance their browsing experience by adding various functionalities and features to the browser. Whether it’s blocking ads, managing passwords, or improving productivity, extensions provide a customizable approach to meet the individual needs and preferences. This guide provides a step-by-step instruction on checking the existing extensions, adding new ones from the Chrome Web Store, disabling active extensions, and permanently removing unwanted extensions. By following these instructions, the users can effectively manage their extensions in Google Chrome and ensure a streamlined and personalized browsing experience that is tailored to their requirements.
Source: linuxhint.com