How to Delete a Stash Created with “git stash create”?
Git is a well-known platform for DevOps project management. It provides many components, such as Git repository, Git stash, and Git branches, that are utilized to manage and maintain different versions of code. Git stash is like shelves that store users’ current working files and repository indexes when developers need to work on multiple branches to implement important functions or fix bugs.
This blog will demonstrate the method to remove a stash created with the “git stash create” and “git stash” commands.
So, let’s start!
How to Delete a Stash Created with the “git stash create” Command?
The stash created with the “git stash create” command does not require deletion as it creates a stash entry and returns its object name without storing it in the ref namespace.
To create a Git stash through the “git stash create” command, follow the provided step.
Step 1: Launch Git Terminal
First, launch the “Git Bash” terminal from the Startup menu:
Step 2: Move to Git Repository
Utilize the “cd” command to open the Git local repository:

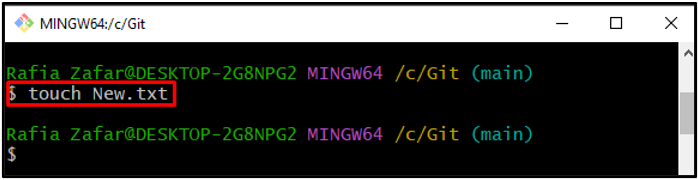
Step 3: Create a New File
Create a new file by utilizing the “touch” command:
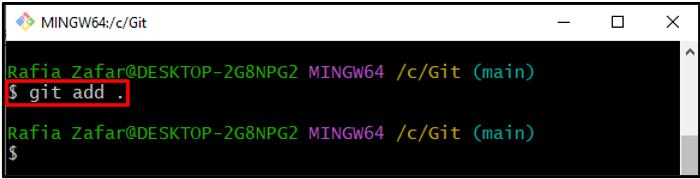
Step 4: Add File to Stage
After that, add the file to the staging area with the help of the “git add” command:
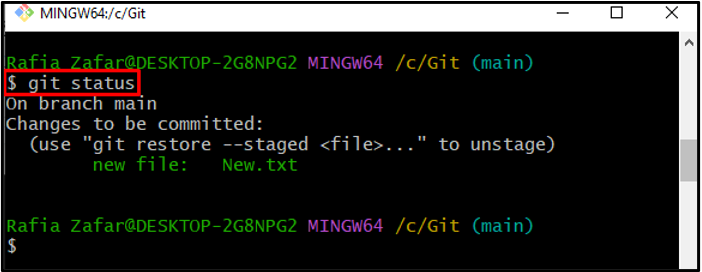
Now, verify if the file is added to the staging environment or not by using the provided command:
Step 5: Create Stash
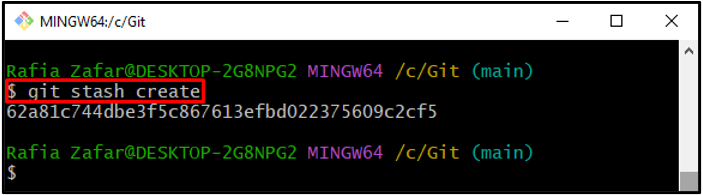
In order to store the repository index or repository’s current work state, create a new stash through the “git stash create” command:
The stash is created with a regular commit object and does not require any reference namespace:
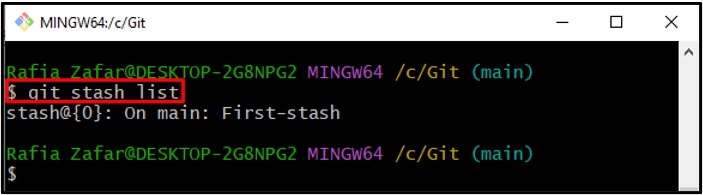
List all stash to see if it uses any ref namespace or not. The output below indicates that the stash created by the “git stash create” command is not required to be stored in the ref namespace:
Step 6: Delete Stash
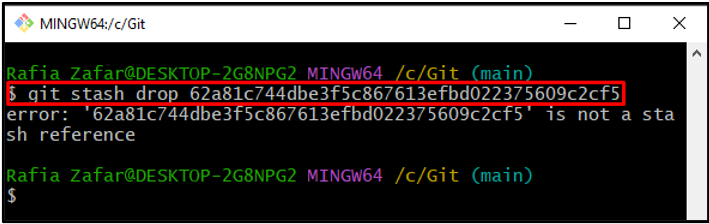
Next, utilize the “git drop <commit id>” to delete stash:
We have encountered the error “62a81c744dbe3f5c867613efbd022375609c2cf5 is not a stash reference”, which means that the stash created by the “git stash create” command does not need to be deleted because it does not take up space in the ref namespace:
Step 7: Apply Stash
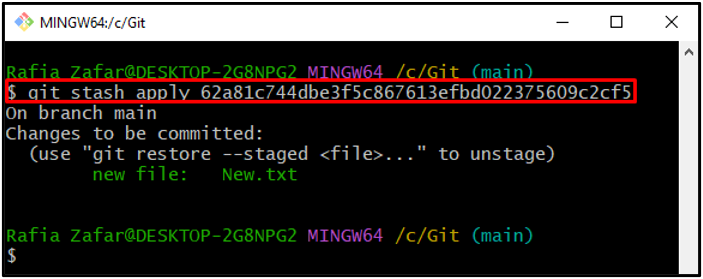
To apply the stash created by the “git stash create” command, check out the below-provided command:
The below output shows that we have successfully retrieved the repository index from Git stash:
How to Delete a Stash created with the “git stash” Command?
A stash created with the “git stash” command is saved to the stash reference namespace and can be removed with the “git stash drop” command.
To delete a stash, utilize the given procedure.
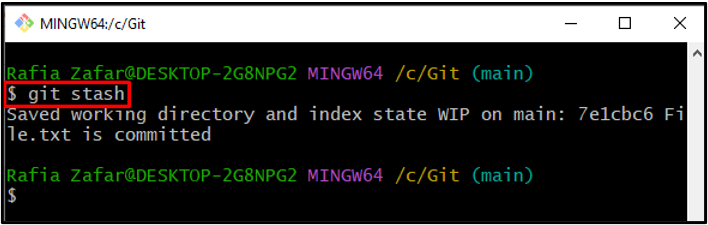
Step 1: Create Stash.
Create a new stash by utilizing the “git stash” command:
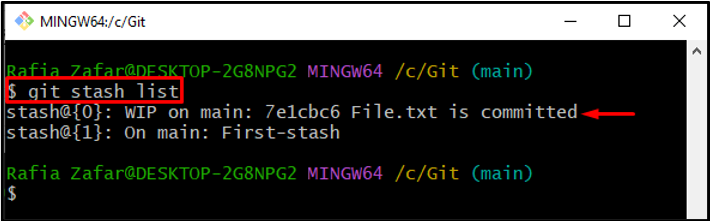
Step 2: List Down Git Stash
Verify whether the stash created with the “git stash” command was saved in ref’s/stash or not:
You can see that stash is successfully saved in the referenced namespace:
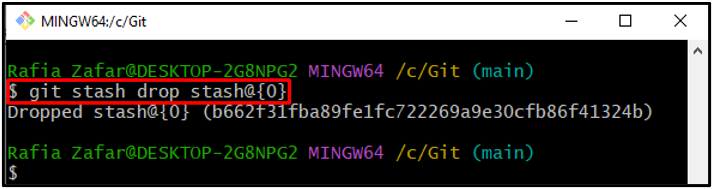
Step 3: Delete Stash
To delete the Git stash, utilize the “git stash drop stash@{reference-number}” command as shown below:
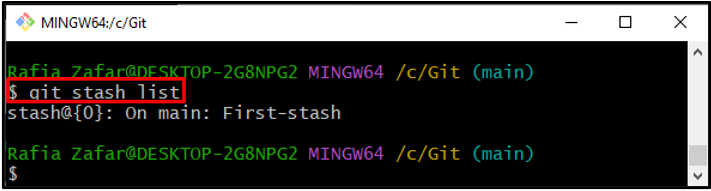
Again, check the stash list to verify if the stash is deleted or not:
We have elaborated on how to delete a stash created with the “git stash create” command.
Conclusion
The stash created with the “git stash create” command does not need to be deleted because it is not stored anywhere in the stash reference namespace. Use the “git stash apply <commit id>” command to use the stash created by the “git stash create” command. The stash created by the “git stash” command is saved in the stash reference space and can be deleted with the “git stash drop stash@{reference-number}” command. In this write-up, we have elaborated on how to remove a stash that was created with the “git stash create” command.
Source: linuxhint.com