How to Customize Windows 11 Themes
This blog will demonstrate how to customize Windows 11 themes.
How to Set the Theme on Windows 11?
Windows 11 provides eight built-in themes that users can set to customize Windows displays. In order to set built-in themes, go through the listed instructions.
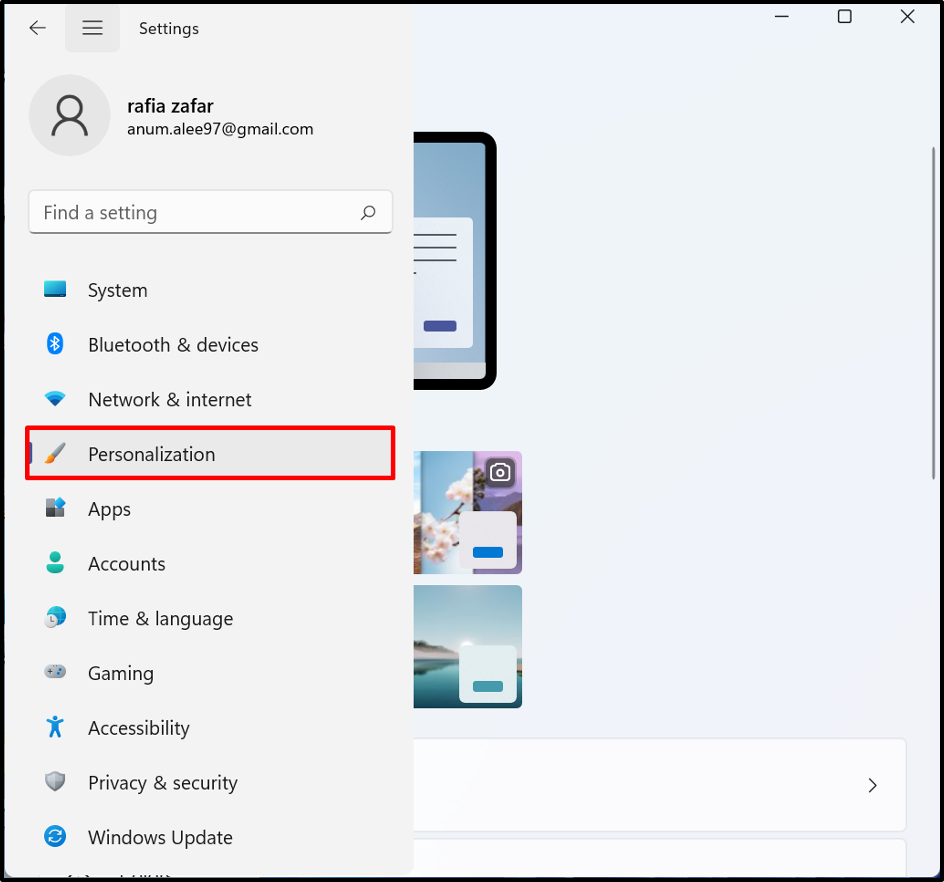
Step 1: Open Personalization Settings
First, open the Windows Settings by utilizing the “Window+I” key. After that, open the “Personalization” settings from the Settings menu:
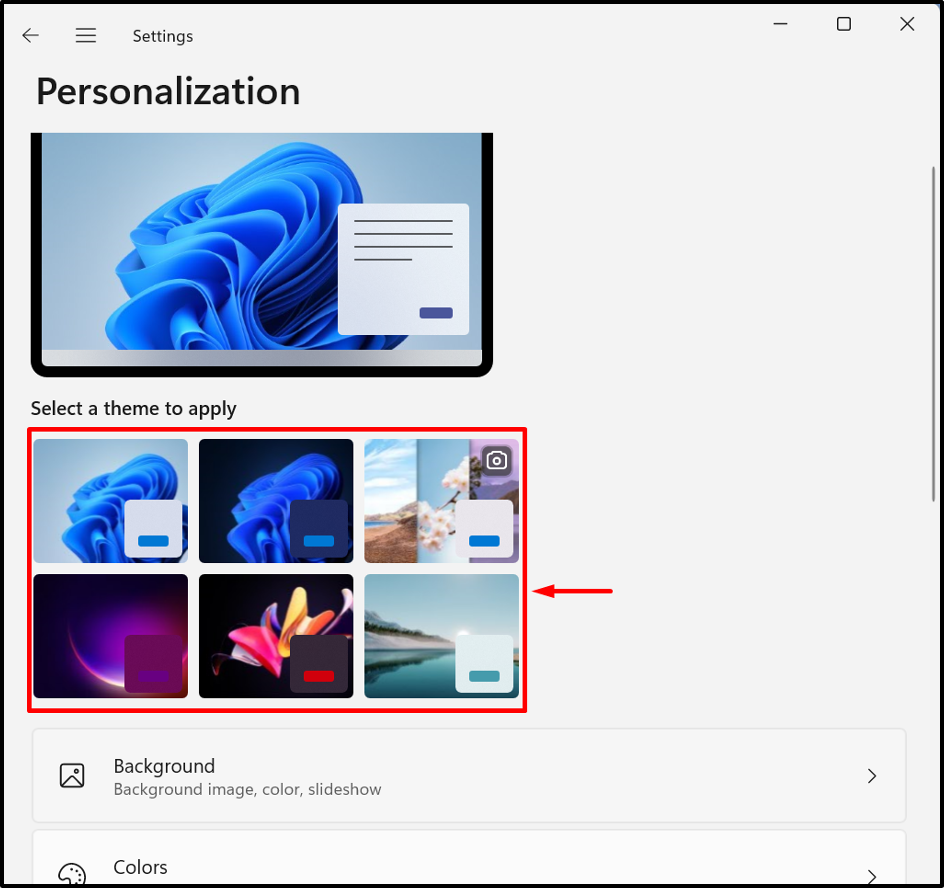
Step 2: Change the Theme
Here, users can see different themes. To apply any one of the, just click on the theme:
Here, you can see we have successfully set the theme for Windows 11:

How to Customize the Theme on Windows 11?
To customize the Windows 11 theme, the Windows community provides many customization options such as setting the background, changing theme color, themes, and so on as highlighted below:
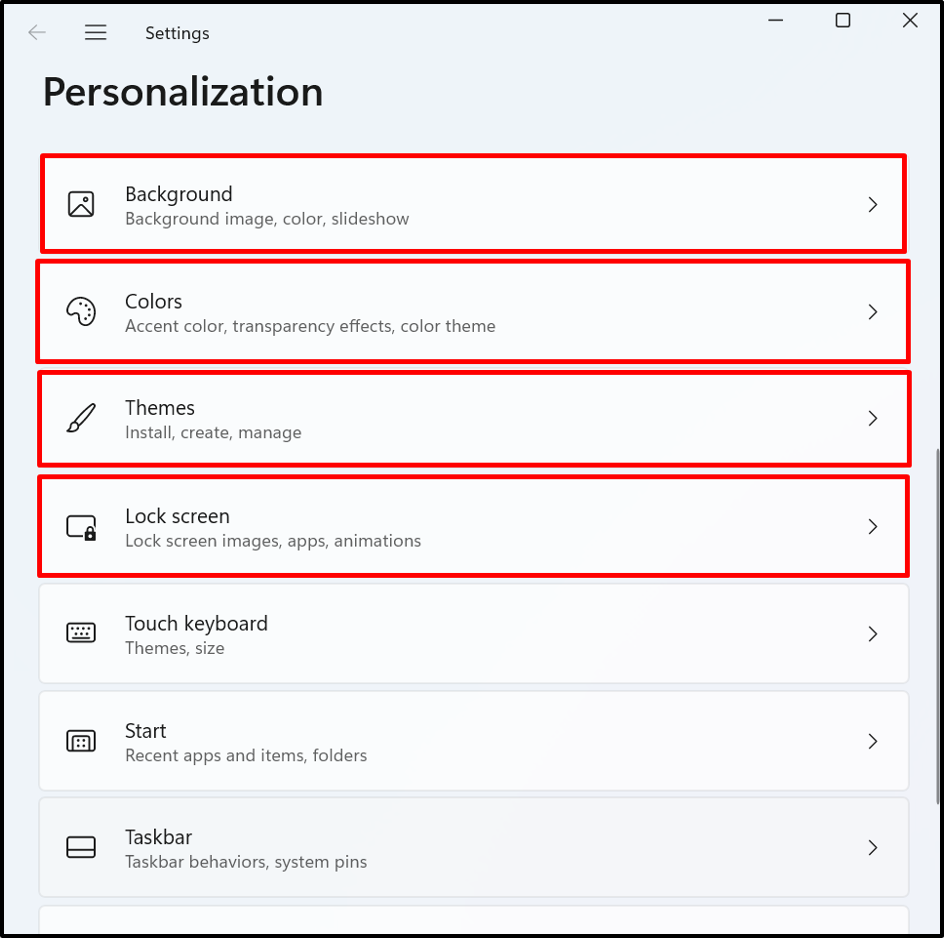
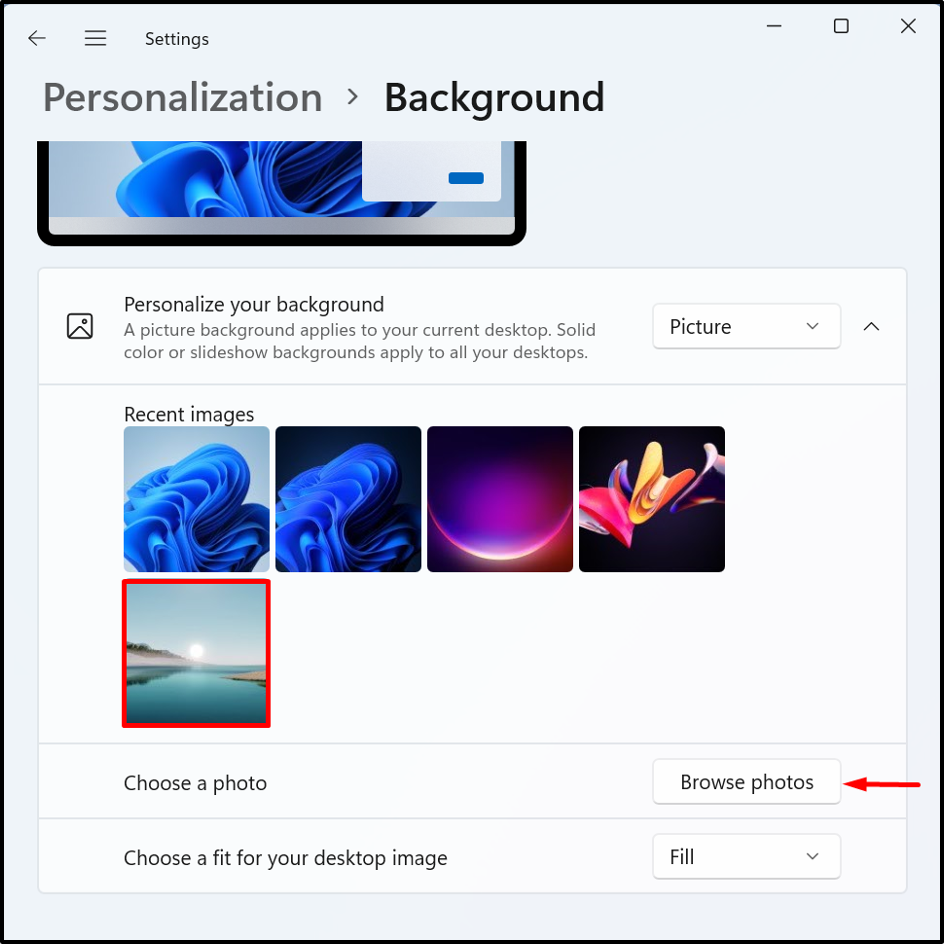
Customize the Background Image
To customize the Windows background, open the “Background” settings. Choose the image you want to set the background. Here, users can browse Background images from Windows local drive:
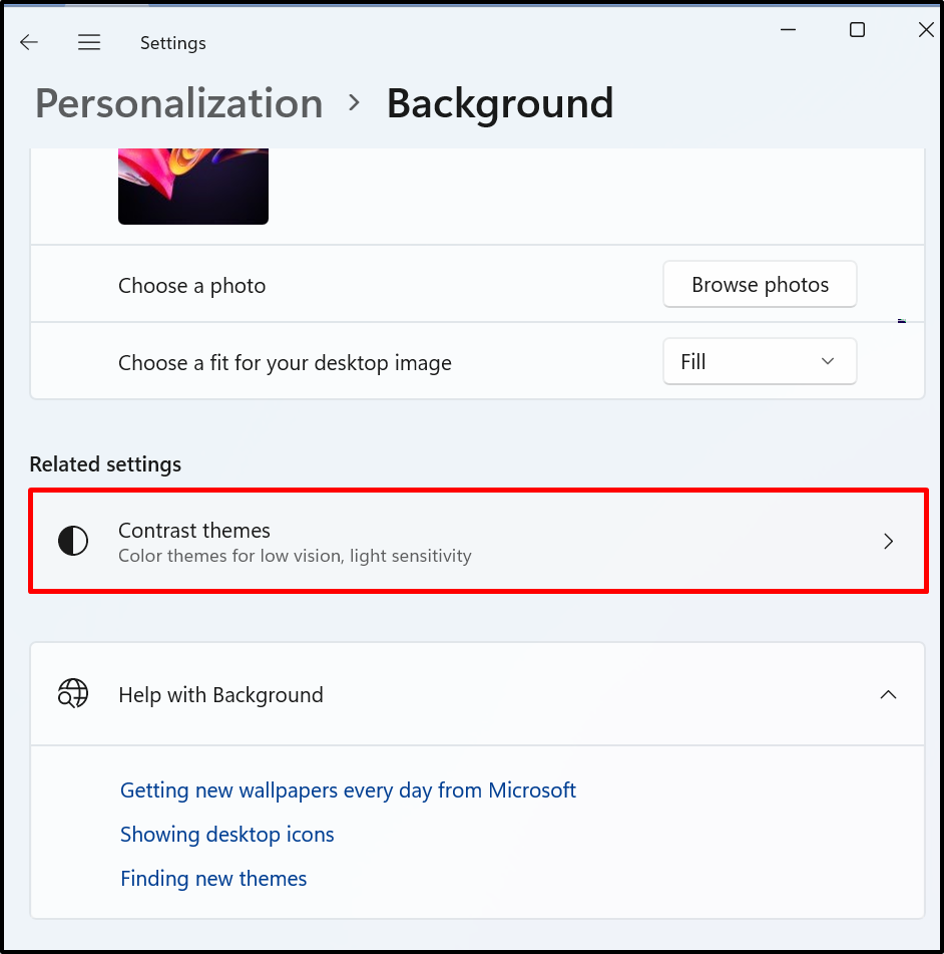
Customize Contrast Theme
From the “Background” settings, users can also set the Contrast themes. For this purpose, open the “Contrast themes” option:
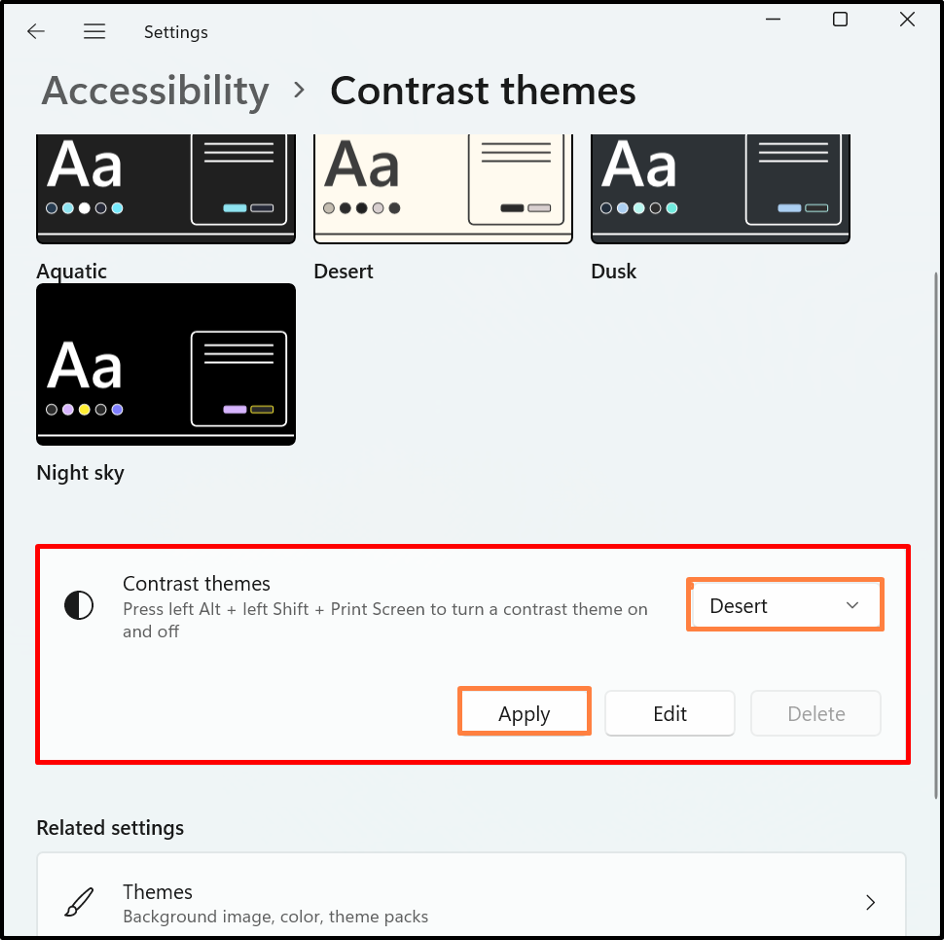
From the Contrast themes drop-down menu, the user can choose the theme according to their requirements. After that, choose the “Apply” button:
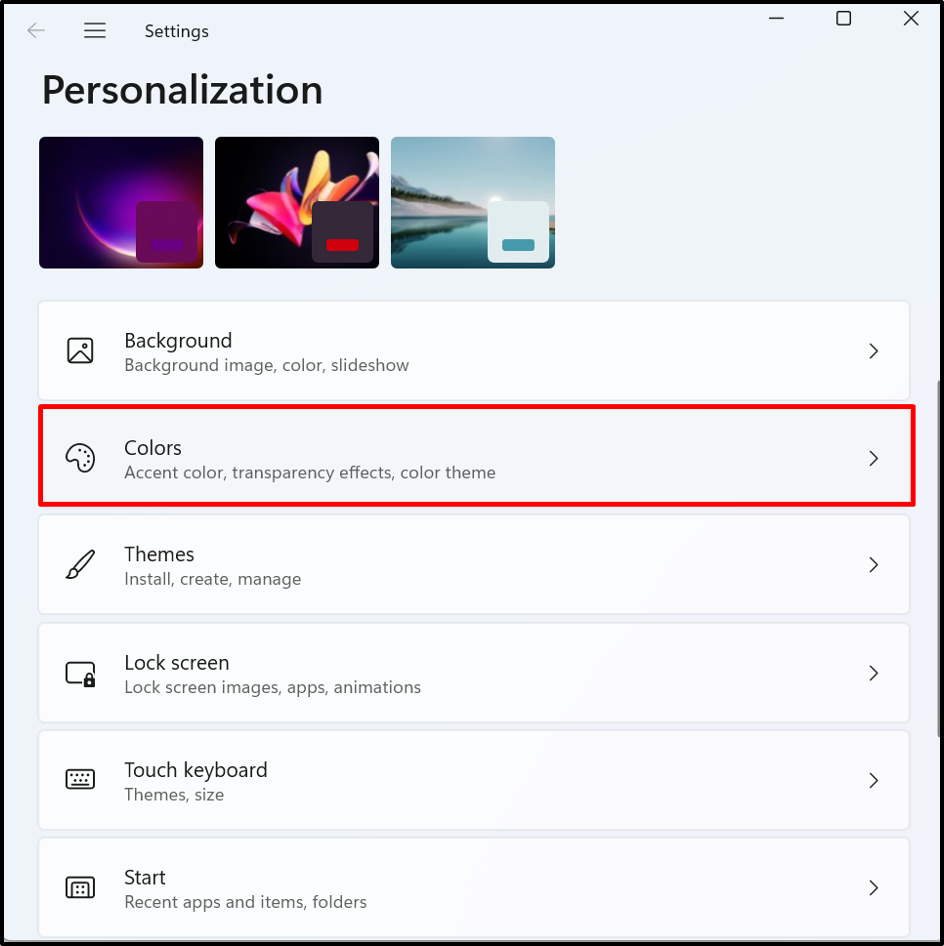
Customize Display Color
From the “Colors” menu, users can choose the color to apply the transparency effect, color theme, Taskbar color, and so on:
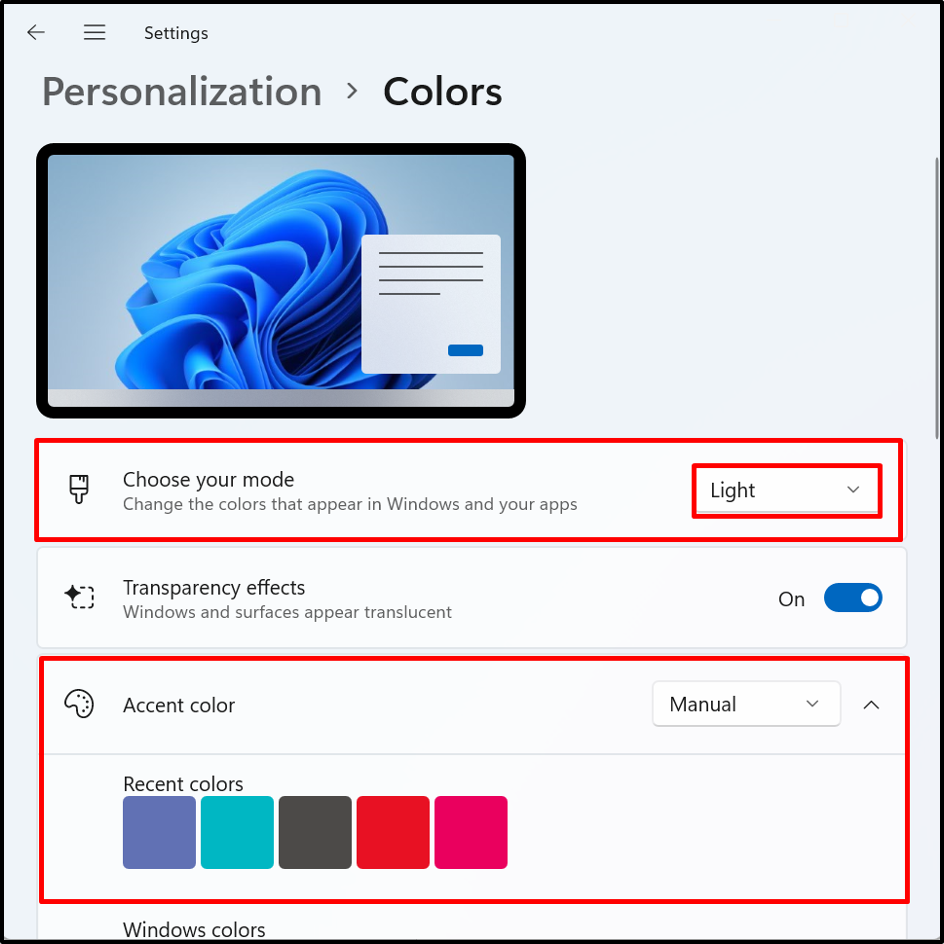
For the “Color” settings, the user can choose the Windows themes to “Light”, “Dark”, or “Custom”. Also, enable or disable the “Transparency” effect:
Browse Theme and Customize Desktop Icon
From the below highlighted “Current theme” drop-down, users can change the theme.

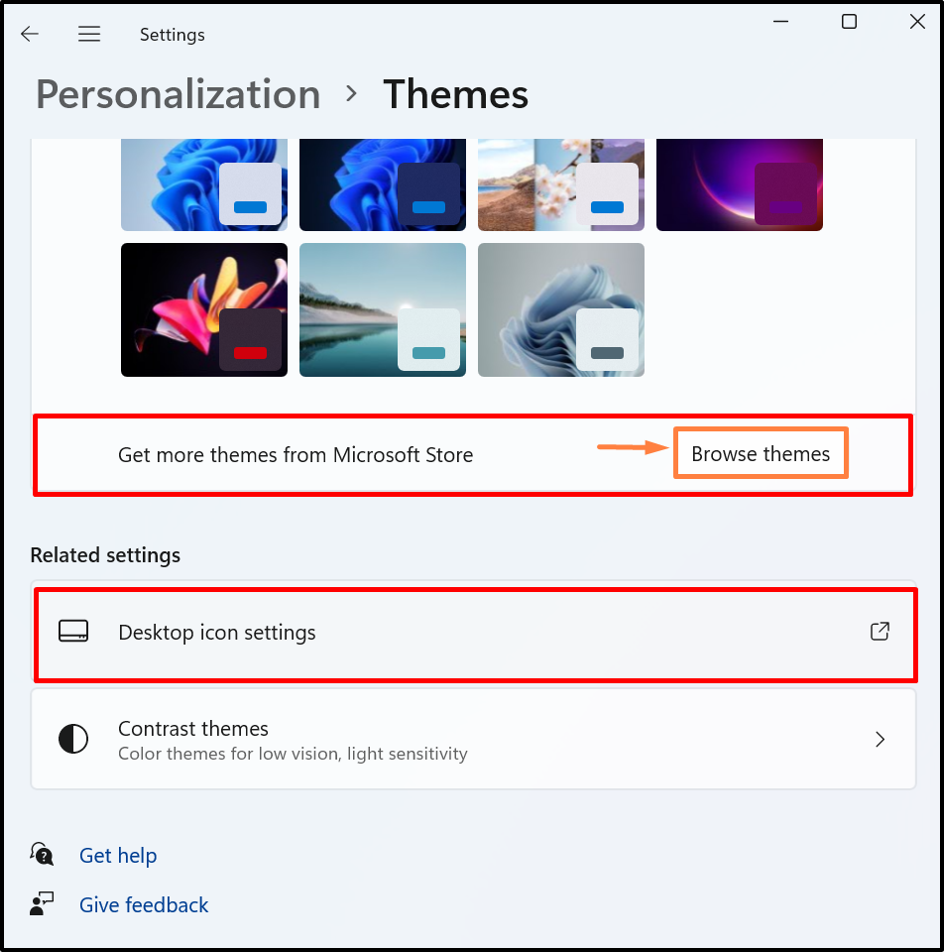
In order to download the new Windows theme from Microsoft Store, hit the “Browse themes” button. This will navigate you to Microsoft Store to download the theme.
In order to customize the Desktop icons, press the “Desktop icon settings”:
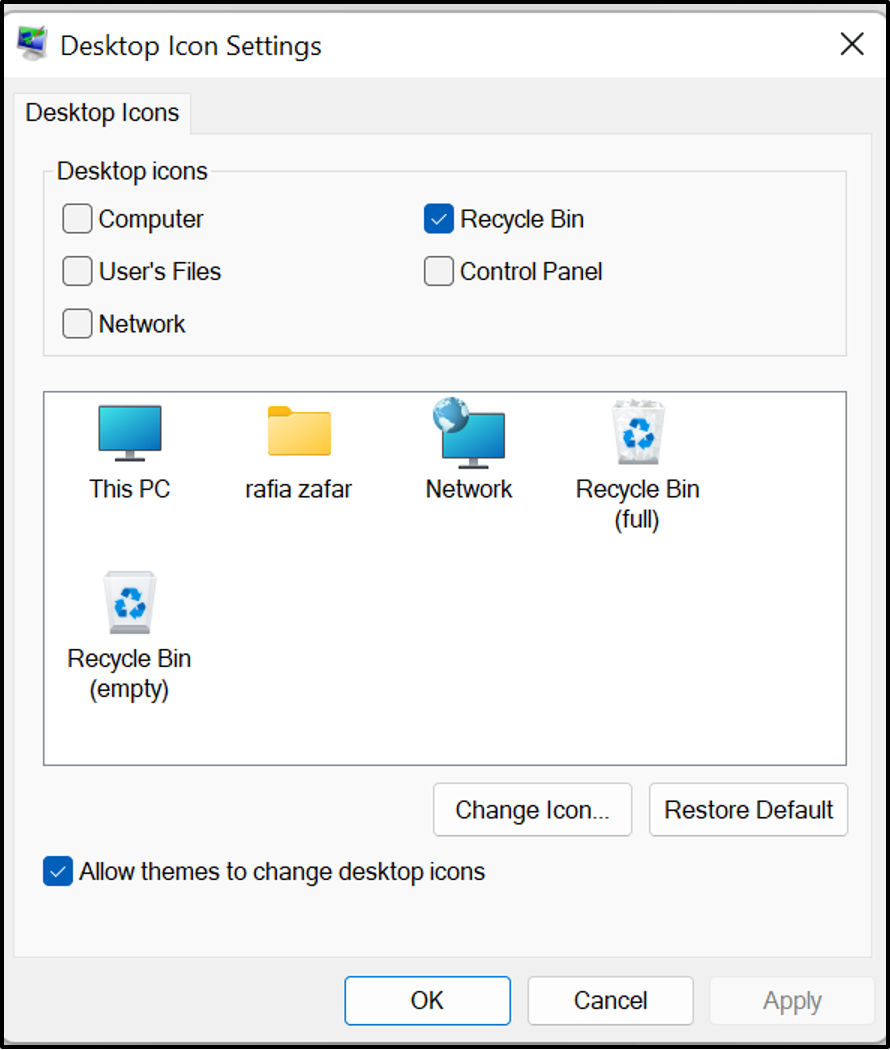
From the “Desktop Icon Settings” wizard, the user can set or remove the default icon. After that, hit the “OK” button:
That is all about customizing Windows 11 themes.
Conclusion
To customize the Windows 11 themes, first, open the Windows Settings. After that, navigate to the “Personalization” settings. Here, users can see the Background, Color, Themes, and so on. You can also download and install the Windows theme from Microsoft Store. This blog will demonstrate how to customize Windows 11 themes.
Source: linuxhint.com