How to Create Your First Container in Fargate?
AWS Fargate uses Elastic Container Service (ECS) to build serverless containers for running services and tasks. The primary purpose of using the Fargate container is to focus on the application rather than focusing on managing, configuring virtual servers or servers, and worrying about buying the right services for the task, as it is a pay-as-you-go service.
This post will provide a step-by-step solution for creating your first container in AWS Fargate.
Create a Container in AWS Fargate
In the Amazon Management Console, search “Elastic Container Service” and click on “Clusters”:
 Click on the “Create cluster” button:

Provide the name for your Cluster:
 Leave the Networking settings as default:

Select the Infrastructure as “AWS Fargate (serverless)” and click on the “Create” button:

A success message will show on the screen once the Cluster will create successfully:

Task Creation on the Container
There is no task currently running on this cluster:

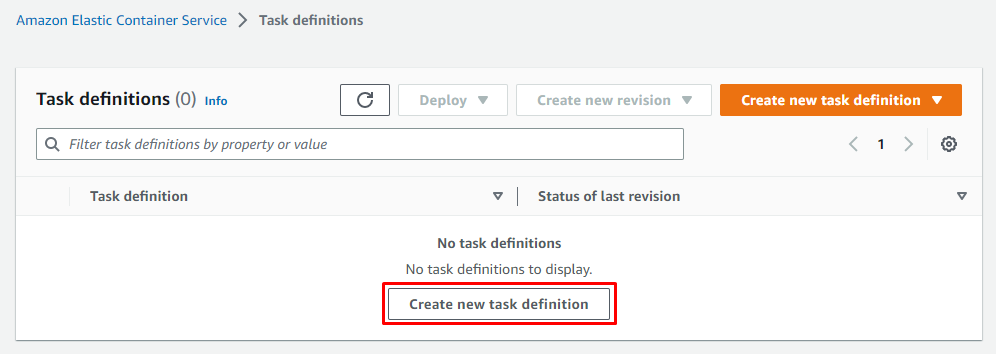
In the sidebar, click on the option “Task definition”:

Click on the button “Create new task definition”:
Provide a name for your task:

The next step is to give a “Name”, “Image URI”, and “Port name” for the task and click on the “next” button:

Choose the App environment as AWS Fargate and leave the rest of the settings as default:

Click on the “Next” button:

Review the settings and Press the “Create” button after reviewing:

On the successful creation of the task, a Success message will appear:

Go to the Cluster dashboard and now you will be able to see the task created is not attached to this cluster, click on the name of the cluster for details:

So go to the Tasks tab to attach the task in this cluster:

Click on “Run new task”:

In the Run task wizard, leave the Environment settings as default:

Choose the application type as “Task”, and select the task that you created in Family option:

Leave the rest of the settings as default but make sure in Network settings, copy the Security Group:

Click on the “Create” button:

A success message will display on the successful launch of the task in the cluster:

Search and open the Security groups:

Now, select the Default Security group ID and open it

Note: This is the Security group that you noted while launching the Task in the cluster.
Go to the “Inbound rules” and click on “Edit inbound rules”:

Click on Add rule then select type as HTTP, select the Source to Anywhere, and click on “save rules”:

The next step is to verify if the task is running or not, so go to the Cluster dashboard, and open the cluster:

Click on the “Tasks” tab and open the Task:

Click on its Public IP address:

And it will open this IP address:

In the output above, it is visible that the Task on the Container is running successfully.
Service Creation on the Container
Let’s create a service on this Cluster now but before this stop, the task, by going to the Task tab, select the task, and from the Stop drop-down list choose the option Stop selected:

Click the “Stop” button:

Click on the “Services” tab, and click on the “Create” button:

Leave the Environment settings as default:

In the Deployment Configuration, choose the Application type as “Services” and the Task definition family as the available task, and name this Service:

Specify the number of tasks you want to create, for this post the Desired task is 3:

Click on the “Create” button:

On the successful creation of Services, a success message will appear:

In the Services tab, Deployments and tasks is showing that “3/3 Tasks running”:

In the Tasks tab, all three tasks are running:

To confirm that each task service is running or not, select one task and click on its “Open address” button:

It will open this IP in the Browser:

In the output above, it is visible that the Service task is running successfully.
The same way test the other tasks:

It is visible that all these Service tasks are running successfully.
Delete the Service On the Container
To delete the service, select it:
Click on the button “Delete service”:

Select the option “Force delete service”, type delete in the text input field, and click on the “Delete” button:

A success message will appear on the successful deletion of service:

You can create your first container and run services and tasks easily using the teaching of this post.
Conclusion
AWS Fargate allows you to create serverless containers to run services and tasks. To create a Fargate, go to “Elastic Container Service” and create a “Cluster”, with infrastructure as “AWS Fargate (serverless)”. Make sure to note the Security Group and create the cluster. After its creation, go to security groups and edit its “Inbound rules” for “HTTP” and its source to “Anywhere”, you can create tasks and services in the container.
Source: linuxhint.com