How to Create Previous and Next Button and Non-Working on End Position Using JavaScript
Step 1: Set-up the HTML document
In the HTML document, create a center tag, and in that tag, create a <p> tag that is going to display the current value, and then create two buttons with different ids with the following lines:
<p id="number">1</p>
<button id="back" onclick="back()">Back</button>
<button id="next" onclick="next()">Next</button>
</center>
There are a few things to note over here:
- <p> tag contains the value 1, because the value range for this example is going to be from 1 to 7 and those are also going to be the end position.
- Upon the press of the next button, the next() function is being called from the script
- Upon the press of the back button, the back() function is being called from the script
- For referencing, all three elements have separate IDs assigned to them
After that, the webpage loads with the default value set to “1” therefore the back button should be disabled from the start of the webpage. For this, simply include an “onload” property on the <body> tag and set it equal to the ready() function from the script file as:
<!-- above code is written inside the body tag -->
</body>
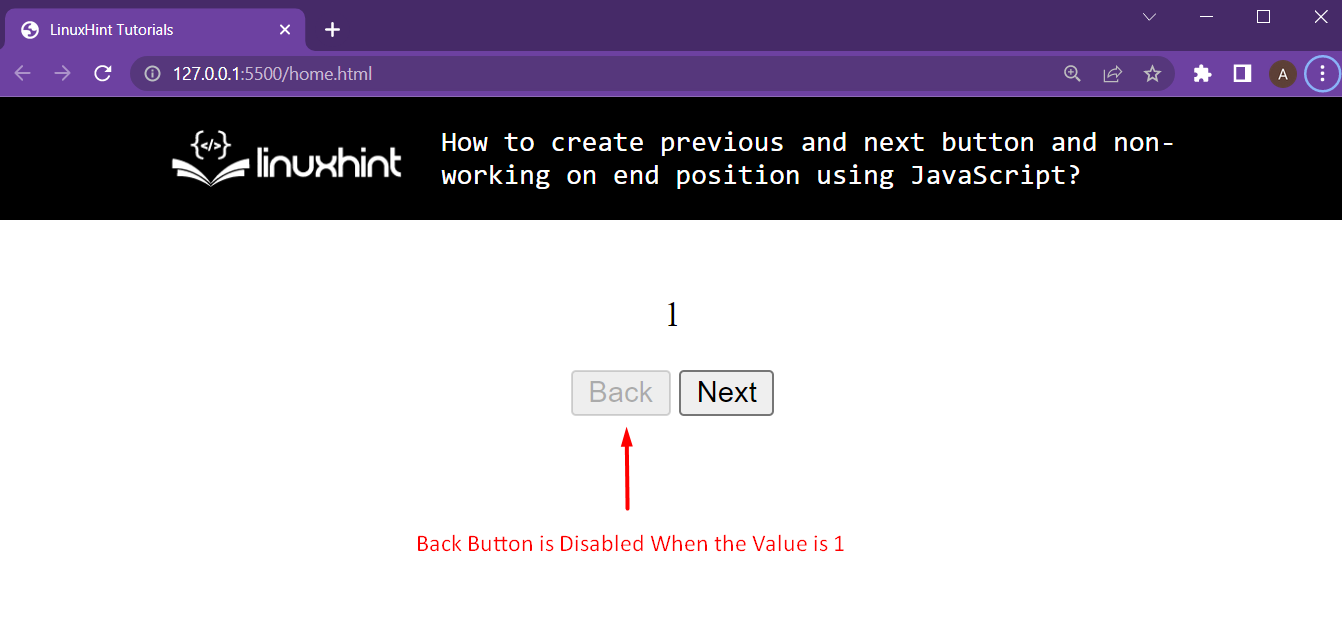
The basic HTML template is set up, executing this HTML file is going to provide the following outcome on the browser:

The browser shows up the two buttons and the <p> tag is displaying the current value.
Step 2: Disabling Back Button on Webpage’s Complete Load
As mentioned before, the back button should be disabled when the webpage is loaded because the value is at 1, which is an end-position. Therefore, inside the script file, reference the 3 elements of the HTML webpage using their IDs and store their reference in separate variables.
nextButton = document.getElementById("next");
number = document.getElementById("number");
Also, create a new variable and set its value equal to 1. This variable is going to be showcasing the value of the <p> tag for the script file:
After that, create the function ready(), which will be called upon the complete loading of the webpage, and in that function simple disable the back button using the following lines:
backButton.disabled = true;
}
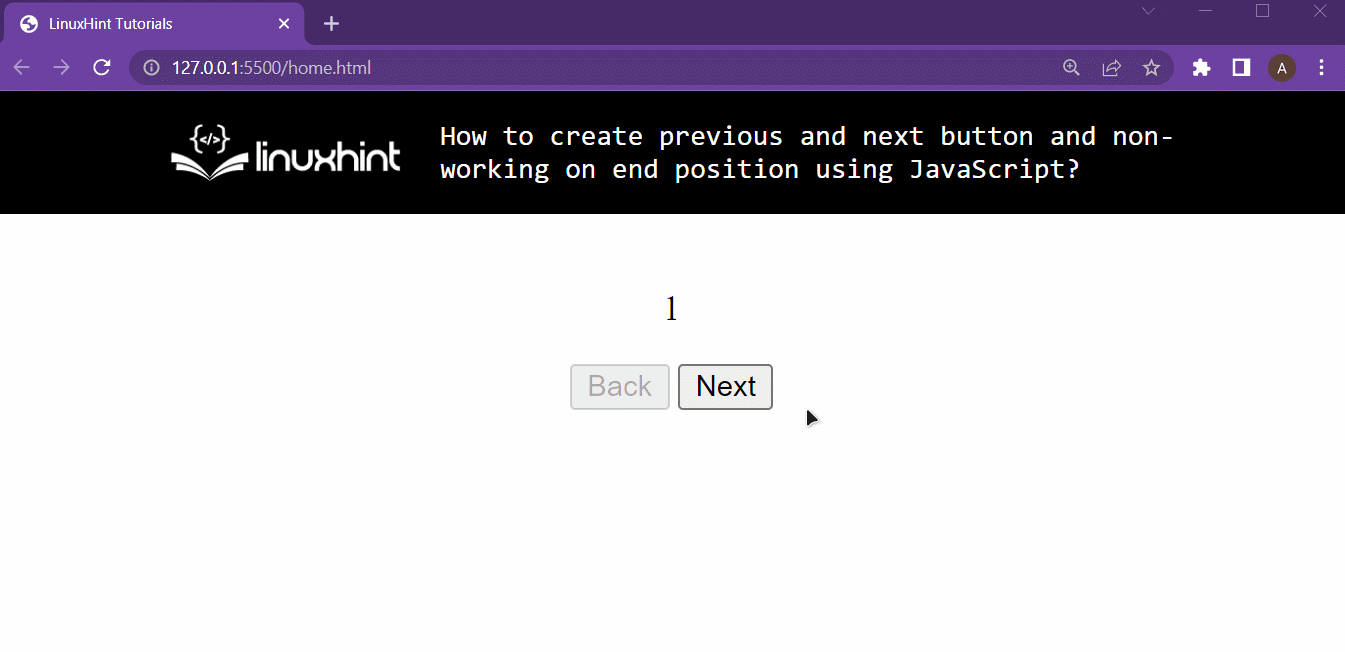
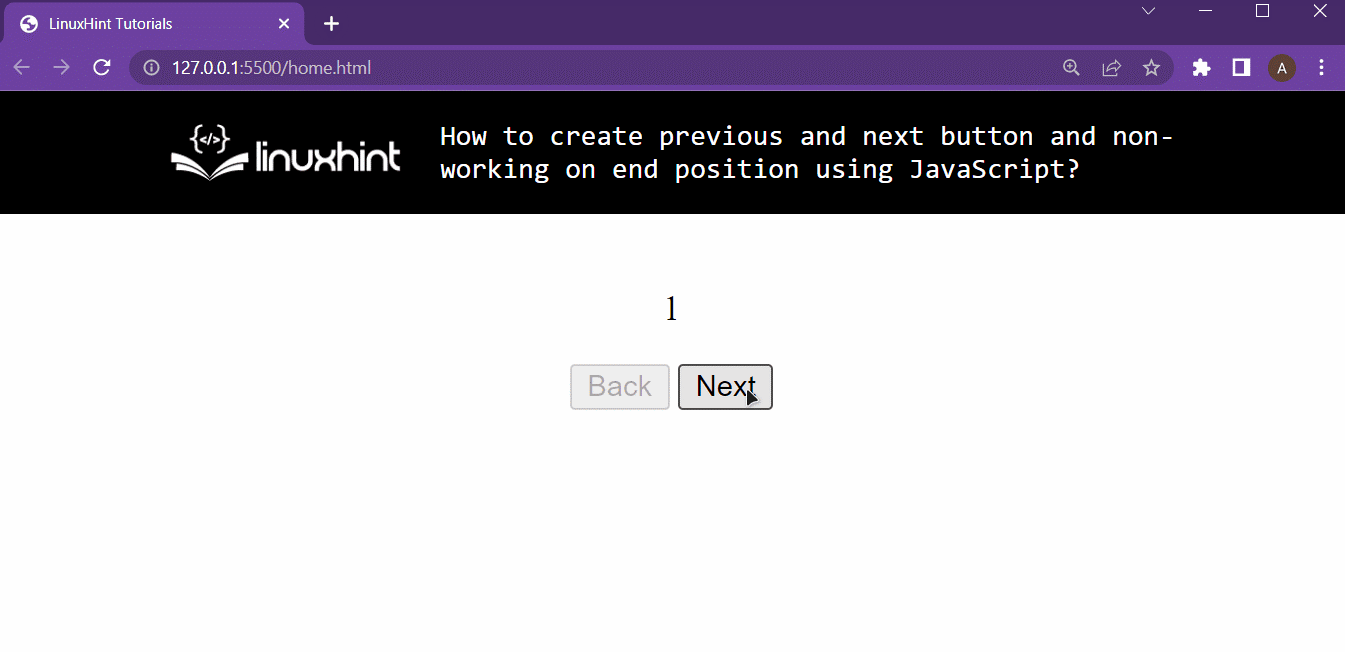
At this point, the HTML looks like the following when loaded:
Step 3: Adding functionality to the next button
To add a function to the HTML webpage, create the next() function that is going to be called upon clicking the next button and the full working functionality with the following lines:
i++;
if (i == 7) {
nextButton.disabled = true;
}
backButton.disabled = false;
number.innerHTML = i;
}
In this code snippet, the following things are happening:
- Firstly, increase the value of the “i” variable by 1 because if the next button is not disabled, then that means the end position has not been reached yet
- Then check if increasing the value of the “i” variable has caused it to reach the end position value (which in this case is set at 7), if yes, then disable the “nextButton” by setting the disabled property to true
- If the next button was clicked that means the value is no longer at one, meaning that the back button must be enabled, therefore, set its disabled property to false
- At the end, change the value inside our <p> tag by setting its innerHTML value to “i”
At this point, the HTML webpage will give the following output:
It is clear from the output that when the value changes from 1(lower end position) the back button is enabled. And also, when the value reaches 7 (maximum end position), the next button is enabled.
Step 4: Adding Functionality to the Back Button
Create the back() function that is going to be called upon clicking the back button and implement the full working functionality with the following lines:
i--;
if (i == 1) {
backButton.disabled = true;
}
nextButton.disabled = false;
number.innerHTML = i;
}
The following things are happening in this code snippet:
- Firstly, decrease the value of the “i” variable by 1 because if the back button is not disabled, then that means the lower end position has not been reached yet
- Then check if increasing the value of the “i” variable has caused it to reach the lower end position value (which in this case is set at 1), if yes, then disable the “backButton” by setting the disabled property to true
- If the back button was clicked that means the value is no longer at 7, meaning that the next button must be enabled, therefore, set its disabled property to false
- At the end, change the value inside our <p> tag by setting its innerHTML value to “i”
At this point, the HTML has complete functionality as displayed below:
It is clear from the output that both of the buttons are working perfectly and the non-working on end position is also working.
Conclusion
This article has explained how to create two buttons on an HTML webpage and implement their working. And also, implement a non-working logic to disable the button when the end position is reached. To implement the non-working buttons, simply set the disabled property of the HTML element using the JavaScript
Source: linuxhint.com