How to Create Persistent Live USB of Ubuntu

What if I tell you you can carry a complete Ubuntu system in a removable disk drive?
Installing Ubuntu on an external USB is a complicated process. The simpler option is to make a live USB but with persistent storage that will save all the changes you make to it.
And trust me; the process is similar to using BalenaEtcher or any flashing tool to make a bootable drive.
But before that, let's have a look at what persistent live USB means.
What is a persistent live USB?
When you use a live Linux USB, any changes you made in the live session are lost. If you boot from it again, you'll have to connect to WiFi again, your downloaded files and installed apps won't be there. A persistent live USB will save all those changes.
This way, you can keep using that USB drive as an external operating system that saves all the changes you've made like creating a user account, installing packages, and all sorts of things that you generally do with a normal computer.
Of course, the number of files would depend on the size of the disk you use!
But you got the point. Right? Let's see about creating a live Ubuntu USB with persistence.
How to create a persistent Ubuntu drive
In this tutorial, I will walk you through the process of creating a persistent Ubuntu USB:
- On Windows using Rufus tool
- On Linux using mkusb tool
You can follow the appropriate section of the tutorial.
Method 1: Create a persistent Ubuntu drive on Windows
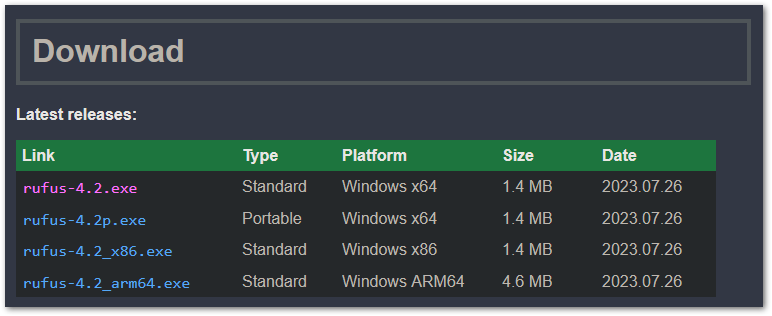
To create a persistent Ubuntu drive on Windows, I will be using Rufus, a free and open-source tool to flash ISO files on USB drives.
Visit the official download page of Rufus to get the executable file for Windows:
Now, open the Rufus and it will ask you to run as an administrator; grant the permissions as you're about to make changes in the external drive and permissions are necessary for that.
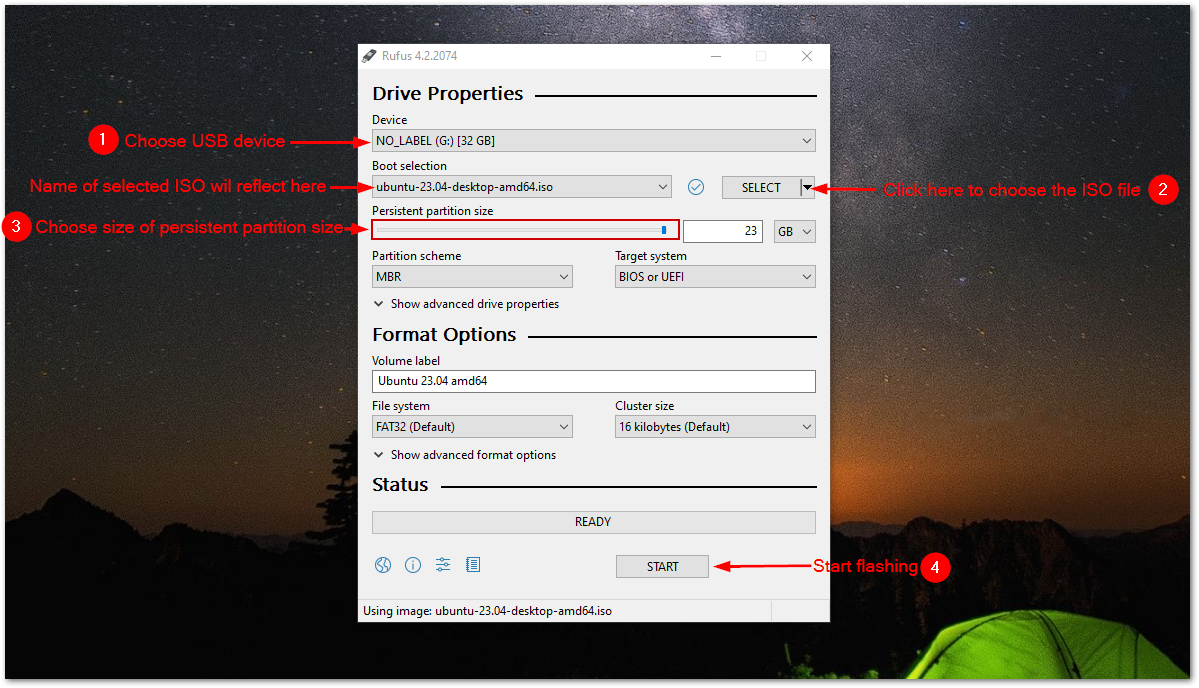
Next, follow the given steps to use Rufus to make a persistent USB drive:
- Select the USB device (if there's only one USB stick, it will be selected by default).
- Hit the
Selectbutton to select the ISO file from the file manager. - You can either use the slider or specify the size of the persistent drive directly (you can go to the max, no worries).
- Leave the other options to default (unless you know what you are up to).
- Hit the
Startbutton to start the flashing.
It will show you warnings that the data on the selected drive will be removed, so you can easily ignore them.
Once done, let's have a look at how you can directly boot to the UEFI settings in Windows.
Boot from the USB drive (the easy way)
This method should work for most users and if not, you can always use the traditional way by rebooting the system and pressing Esc, Delete, F1, F2, F10, F11, or F12 keys.
To follow the easy method, press Win + X and start Windows PowerShell as an admin:
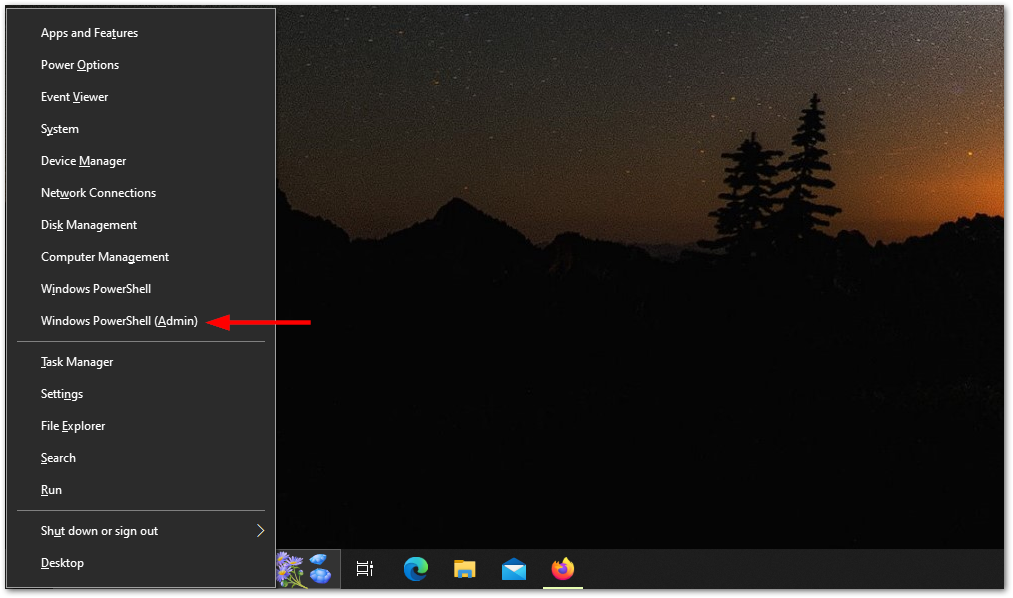
Once you see the prompt, simply execute the following command:
shutdown.exe /r /fwIt will schedule the shutdown and in a moment, you'll be booted into the UEFI firmware setup.
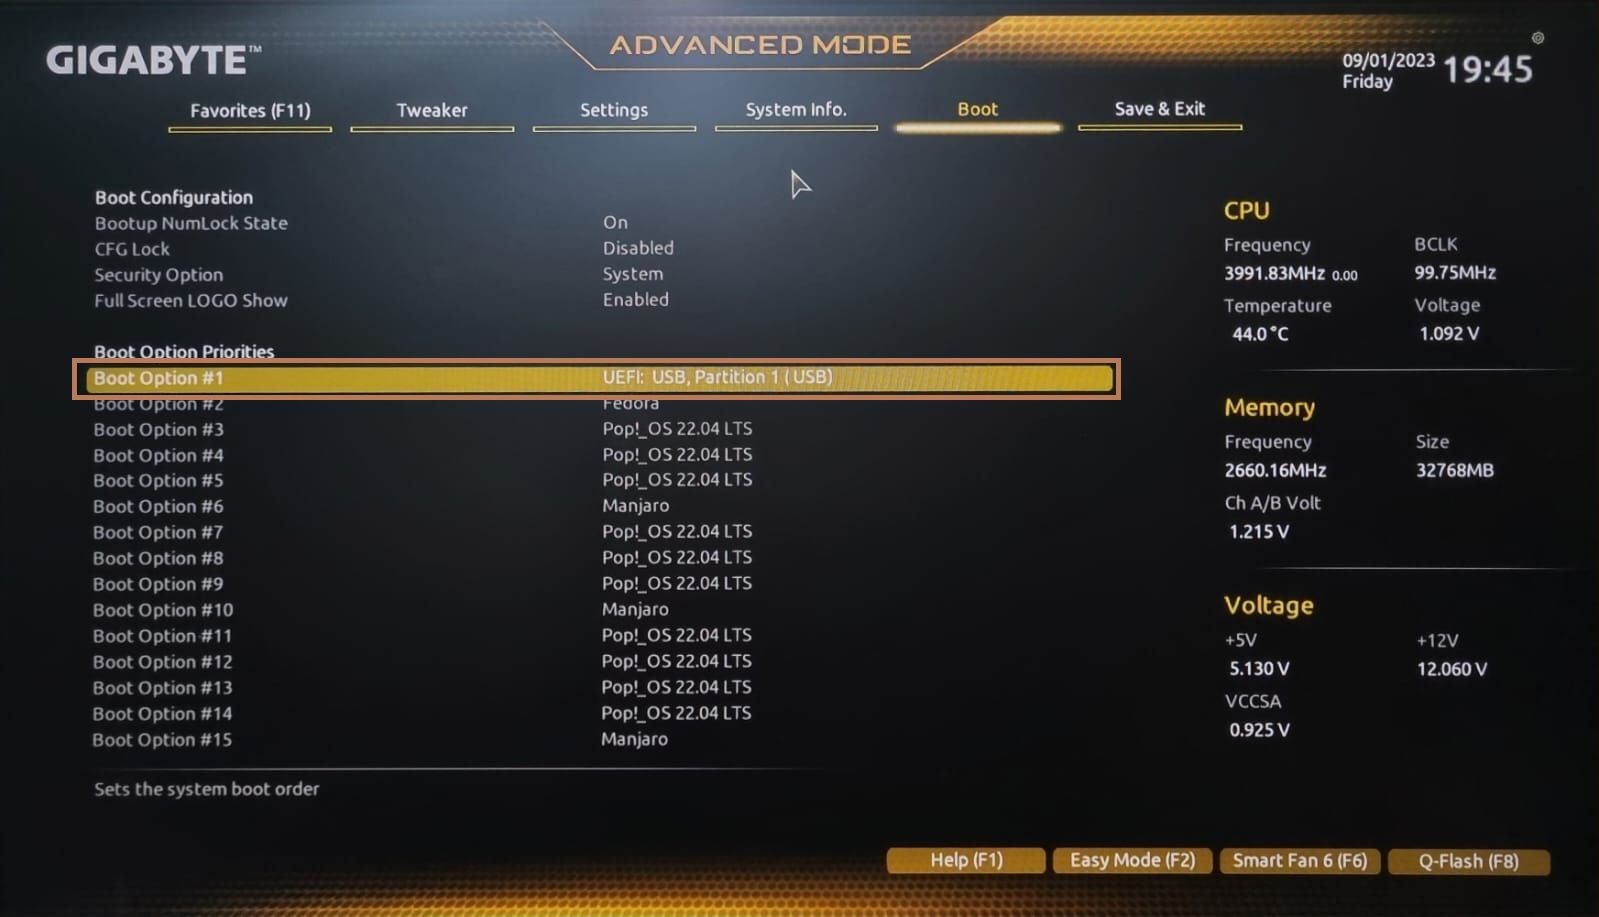
From there, choose the USB as a first preference to boot from and save changes:

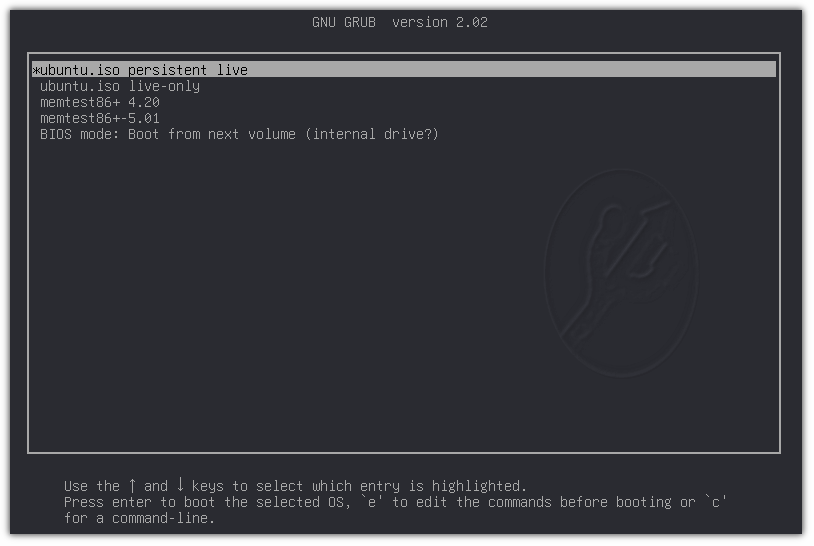
You will see a normal grub screen:
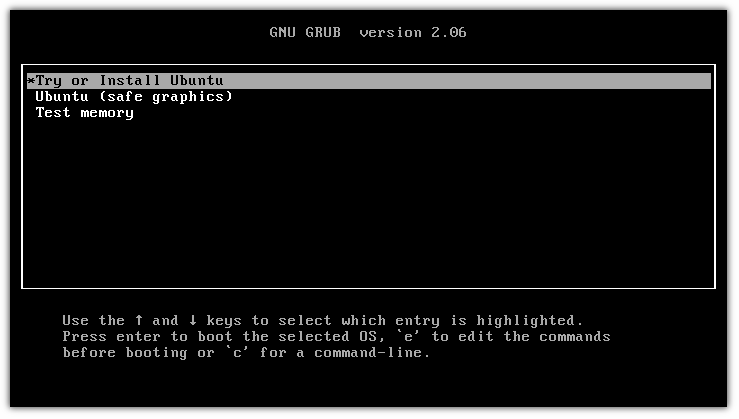
Once you boot, select the option to test Ubuntu and from there you can save changes and they won't be removed even if you reboot the system.
Method 2: Create a persistent Ubuntu drive on Ubuntu Linux
For those who don't know, mkusb is a GUI tool that lets you flash ISO on a disk drive but with additional features like creating a persistent drive on Ubuntu.
And for the installation, you have to add mkusb PPA using the following:
sudo add-apt-repository ppa:mkusb/ppaTo take effect from the changes, update the repository index:
sudo apt updateFinally, install mkusb and other packages:
sudo apt install --install-recommends mkusb mkusb-nox usb-pack-efiThat's it!
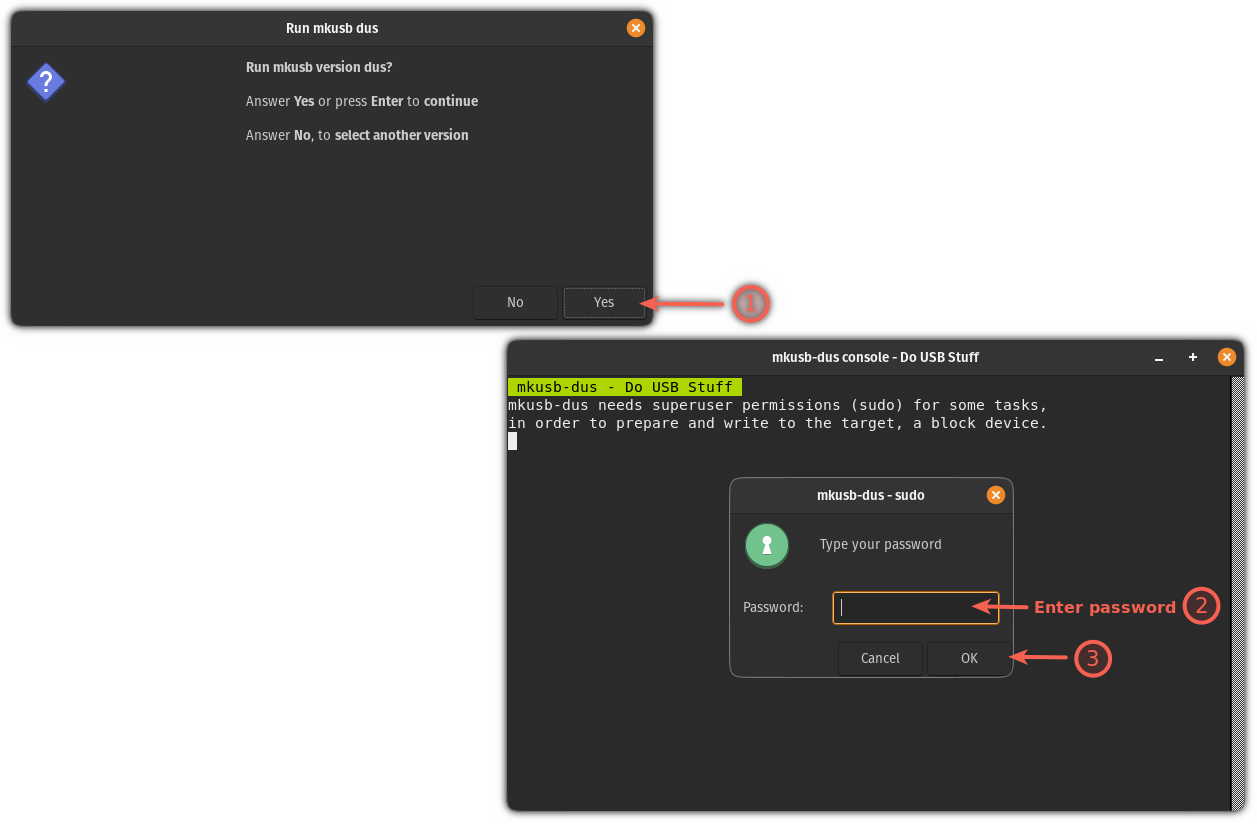
First, start what mkusb tool from the system menu. It will ask you to enter your superuser password:
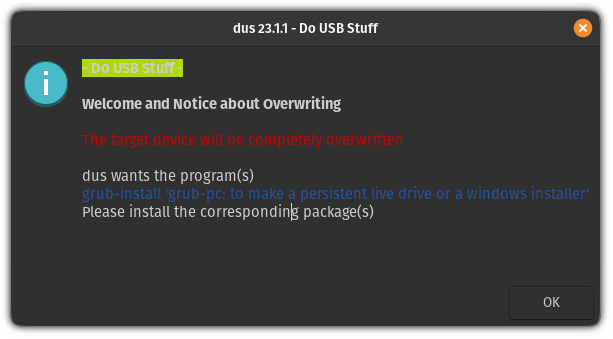
Once done, it will show you the warning of all the data in the drive will be wiped with the new data.
Simply, press the OK button:
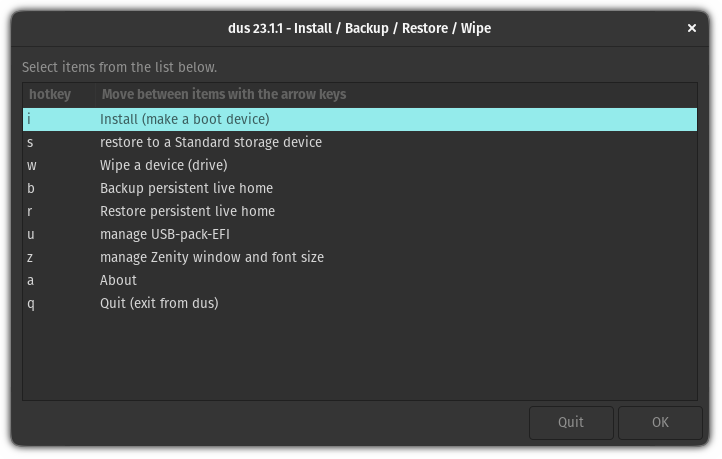
And it will show you multiple actions that can be performed with the mkusb tool. From which, you have to select the first option "Install (make a boot device)":
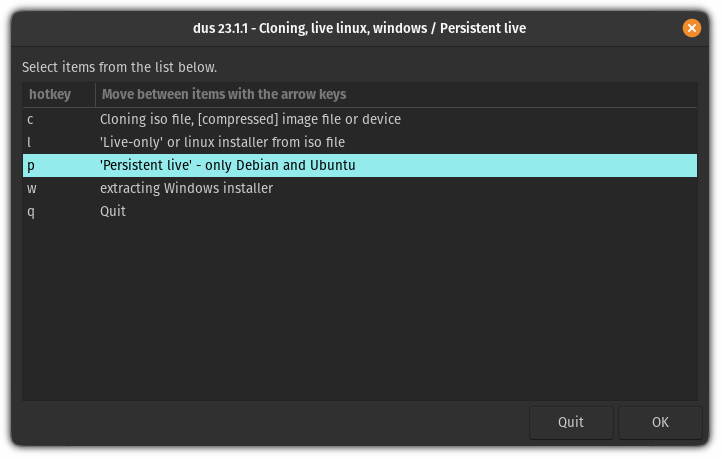
After that, it will show you multiple options for the installation. From there, you select the third option 'Persistent live' - only Debian and Ubuntu:
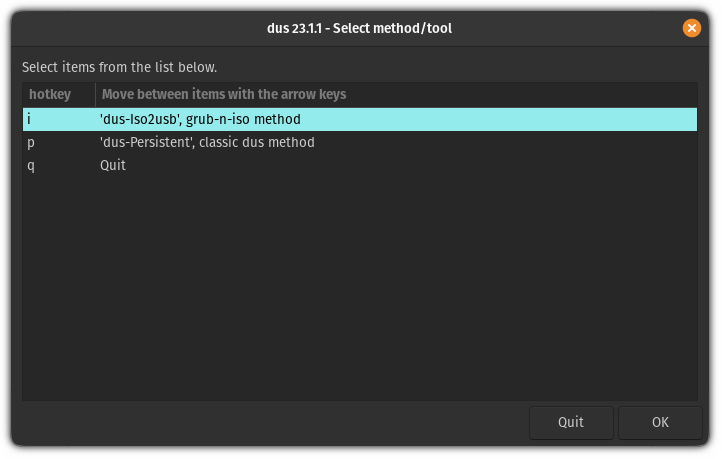
In the next step, it will ask you to choose between multiple methods.
And unless you're using something specific like an extremely stripped-down version, go with the first method named dus-Iso2usb:
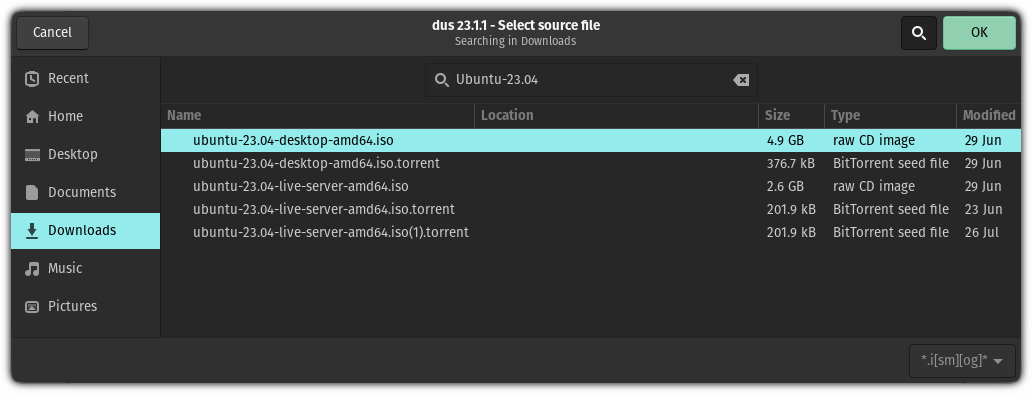
Next, it will ask you to select the ISO file from the file manager:
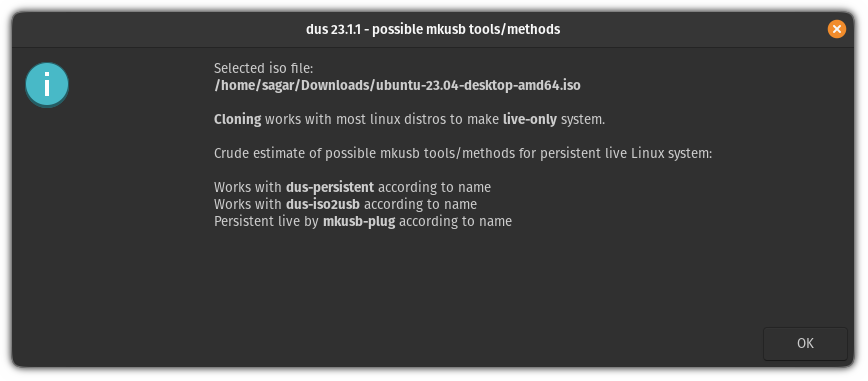
It will show you the name of the selected ISO file along with what tools it will be using to create a persistent USB drive:
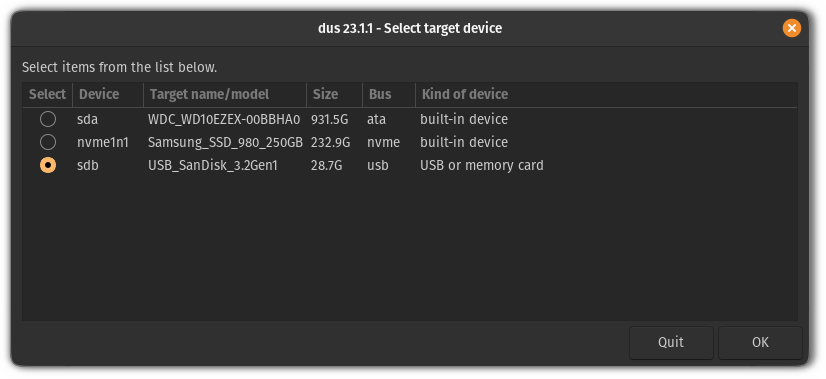
Next, you have to select the drive that needs to be flashed with the previously selected ISO file:
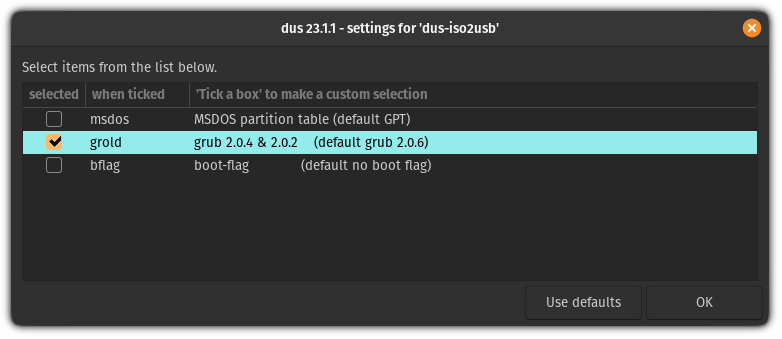
Once done, you will be given 3 choices. If you don't know which one to use, then press the Use defaults button but for most users, going with the 2nd option grold will get the job done (I'm going with the same):
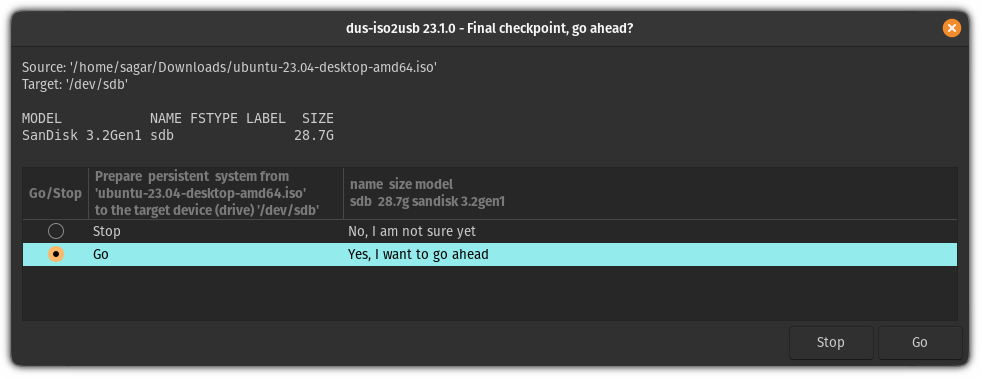
After everything is correct, choose Go option to start the flashing process:
And it will start the flashing process!
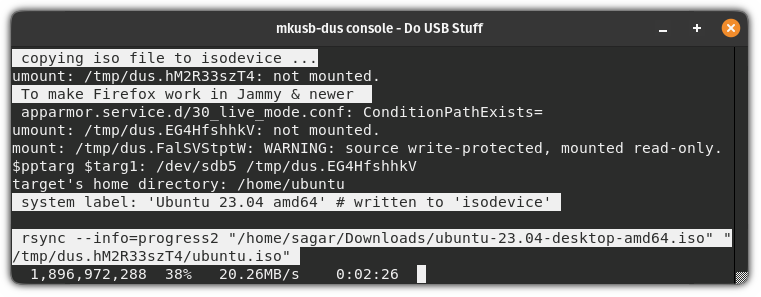
Remember, it will take longer compared to the usual flashing that you do using BalenaEtcher!
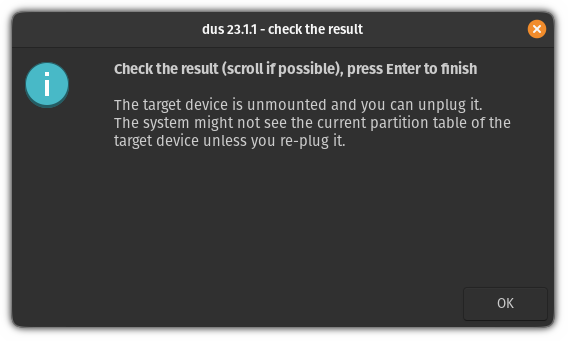
Once done, you'll be notified that the process has been completed and you can unplug and re-plug the drive to see changes:
Boot from persistent USB drive
To boot from the USB drive, you can reboot your system, press the respective key multiple times, and get there but NO!
That's a decade-old method.
There's a simple way to access BIOS in Linux where all you have to do is execute the following command in your terminal:
systemctl reboot --firmware-setupHere, go to the Boot menu and select the USB drive as a first priority to boot from:
Once you boot from the USB, you'll have two options:
- ISO with persisted mode
- Booting from live mode
As the name suggests, you go with the first option to boot into the Ubuntu persisted mode:
And now, you can make changes like installing your favorite packages, creating a new user, and a lot more!
Carry multiple ISOs in one drive!
Did you know that you can carry multiple ISOs in a single drive and those ISOs could be any Linux distro or even a Windows ISO file? Ventoy is an awesome tool for that.
 Sagar Sharma
 Abhishek Prakash
I hope you will find this guide helpful.
Source: It's FOSS