How to Create Nested Table in HTML
Web designers can customize page layouts utilizing nested tables by designing larger and smaller tables with various cell sizes so that each one shows either text, graphics, or both. More particularly, nested tables enabled columnar layouts on web pages without the use of annoying frames.
This post will state:
How to Create/Make a Table in HTML?
To design a table in HTML, the “<table>” tag is utilized. So, try the stated instructions.
Step 1: Create a div Container
Initially, create a div container by deploying the “<div>” element and add an id attribute with a specific name according to your choice.
Step 2: Add heading
Next, use the heading tag from “<h1>” to “<h6>” to add a heading inside the div container. For this purpose, we have used the “h1” heading tag and embedded text inside the opening and closing tag of “h1”.
Step 3: Create Table
To create a table in HTML, insert a “<table>” tag and add a class inside the table tag with a specific name. Then, add the below-listed elements between the table tags:
- “<tr>” is utilized for defining the rows in the table.
- “<td>” element is used to add the data inside the table.
To do so, embed the text data in between <td>:
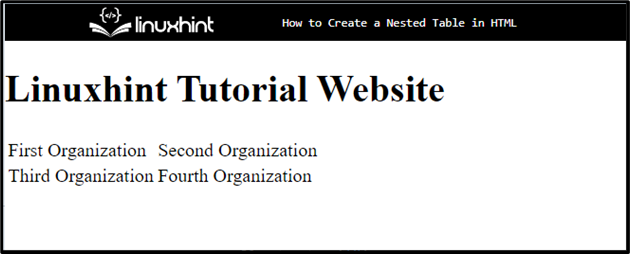
<h1> Linuxhint Tutorial Website</h1>
<table class="main-table">
<tr>
<td>First Organization</td>
<td> Second Organization </td>
</tr>
<tr>
<td> Third Organization </td>
<td> Fourth Organization </td>
</tr>
</table>
As a result, a simple table has been created in the HTML successfully:
Step 4: Style the div Container
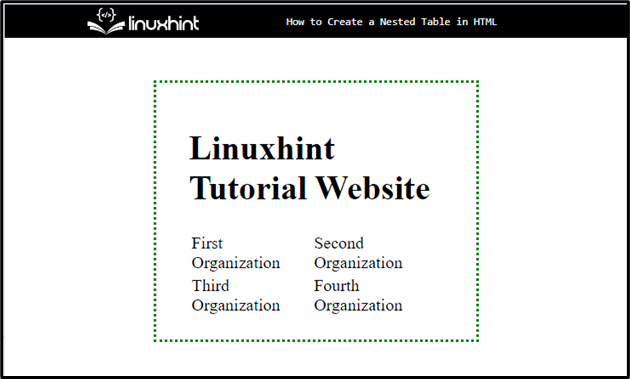
To style the div container, first access it with the help of “#main-content” and apply the CSS styling according to your preference:
padding: 20px 30px;
margin: 40px 140px;
border: 3px dotted green;
}
To do so, we have applied the below-listed properties:
- “padding” determines the blank space around the element inside the defined boundary.
- “margin” is used for specifying the space outside the border.
- “border” is utilized for defining a boundary around the defined element.
Output
Step 5: Apply Styling on Table
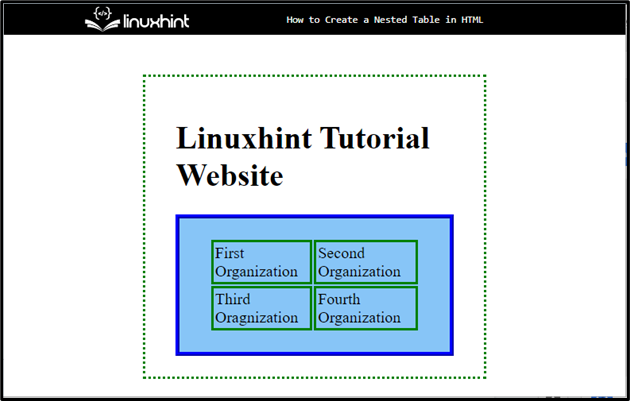
Access the table with the help of the table class and apply styling with the help of CSS properties:
border: 4px ridge blue;
padding: 20px 30px;
background-color:rgb(135, 197, 247) ;
}
In this case, we have applied the “border”, “padding”, and “background-color” properties. The “background-color” property determines the color at the backside of the defined element.
Step 6: Apply Styling on Table Rows, and Columns
Access the “table”, along with rows “tr” and data “td”:
border: 3px solid green;
}
Then, apply the “border” CSS property to add the boundary around the table rows and cells.
Output
Move toward the next section if you want to make the table nested.
How to Create/Make a Nested Table in HTML?
To make a nested table in HTML, first, create a table with the “<table>” element and define rows inside the table. Then, add the “<td>” element to add the data inside the data. Inside the “<td>” opening and closing tag, insert “<table>” to create a nested table inside the table.
For practical implications, you must try the instructions stated below.
Step 1: Create “div” Container
First, create a container using the “<div>” with a class attribute inside the div tag.
Step 2: Insert Heading
Next, add a heading by utilizing the “<h1>” tag and embed text between the tag.
Step 3: Make Table
Create a table with the help of the “<table>” tag and add “<tr>” and “<td>”.to add the text inside the table.
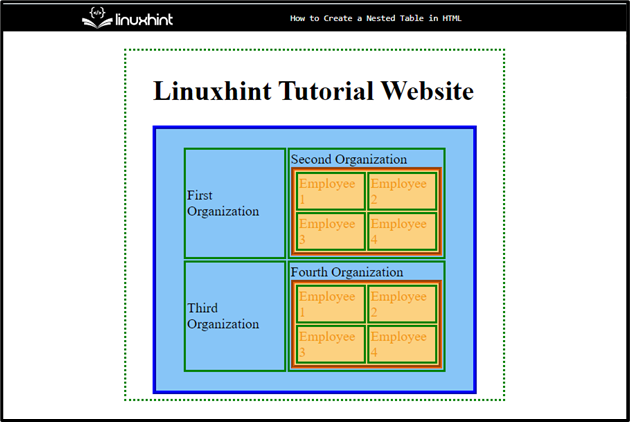
Step 4: Create a Nested Table
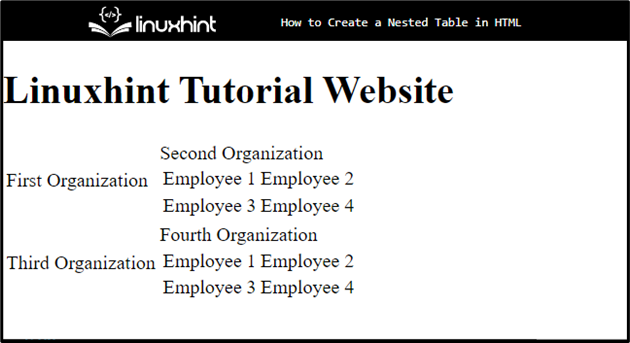
Inside the “<td>” element, define another “<table>” element to create a nested table within the main table. After that, add data according to your need:
<h1> Linuxhint Tutorial Website</h1>
<table class="main-table">
<tr>
<td>First Organization</td>
<td> Second Organization
<table id="nested-table" >
<tr>
<td>Employee 1</td>
<td>Employee 2</td>
</tr>
<tr>
<td> Employee 3</td>
<td>Employee 4</td>
</tr>
</table>
</td>
</tr>
<tr>
<td> Third Organization </td>
<td> Fourth Organization
<table id="nested-table" >
<tr>
<td>Employee 1</td>
<td>Employee 2</td>
</tr>
<tr>
<td> Employee 3</td>
<td>Employee 4</td>
</tr>
</table>
</td>
</tr>
</table>
Note: Users can add as many tables as they can inside the <td> element of the main table.
It can be seen in the following output that the nested table has been created successfully:
Step 4: Style Nested Table
Access the nested table by using the id with the selector. In our case, to access the table by utilizing the
“#nested-table” and apply styling with the help of CSS properties:
border: 4px groove rgb(236, 101, 11);
color:rgb(243, 152, 15);
background-color: rgb(252, 209, 128);
}
We have applied the “border”, “color”, and “background-color” properties and set the value according to the desire on the nested table.
Output
That was all about creating a nested table in HTML.
Conclusion
To make a nested table in HTML, first, create a table by utilizing the “<table>” tag. Then, define the rows with the help of the “<tr>” tag and add data by using “<td>”. After that, inside the “<td>” tag, create another table by trying the same method. Users can also apply CSS properties for styling the table and nested table. This post demonstrated the method for creating the nested table in HTML.
Source: linuxhint.com