How to Create Default VPC in AWS
Every AWS region has an already created default VPC that provides a virtual network for the services used in their respective regions. But when a default VPC is deleted, the users themselves have to create a new one. In this article, we will discuss the method to create a new default VPC, but for that, the user needs to delete the already created VPC in that region by first deleting its associated gateways and subnets. Because a single AWS region cannot have multiple default VPCs.
Creating a Default VPC
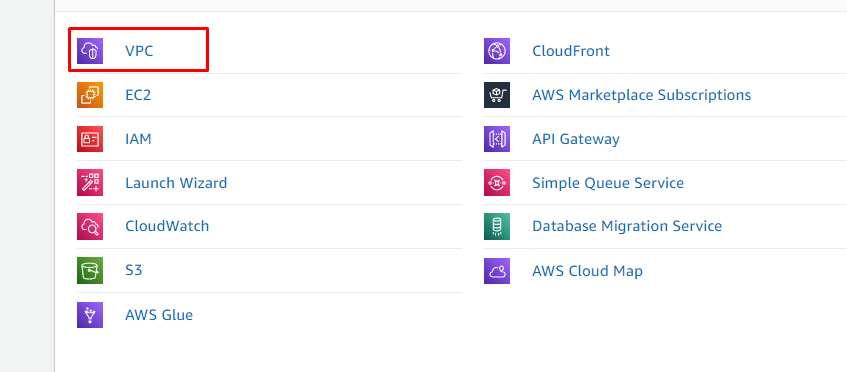
Creating a new default VPC is simple. First, log in to the AWS console and search for and select the VPC or Virtual Private Network in the AWS Services.
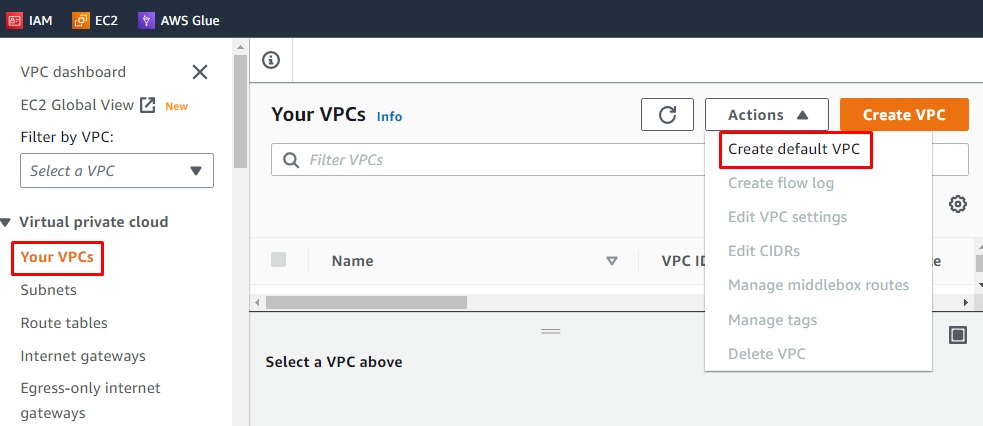
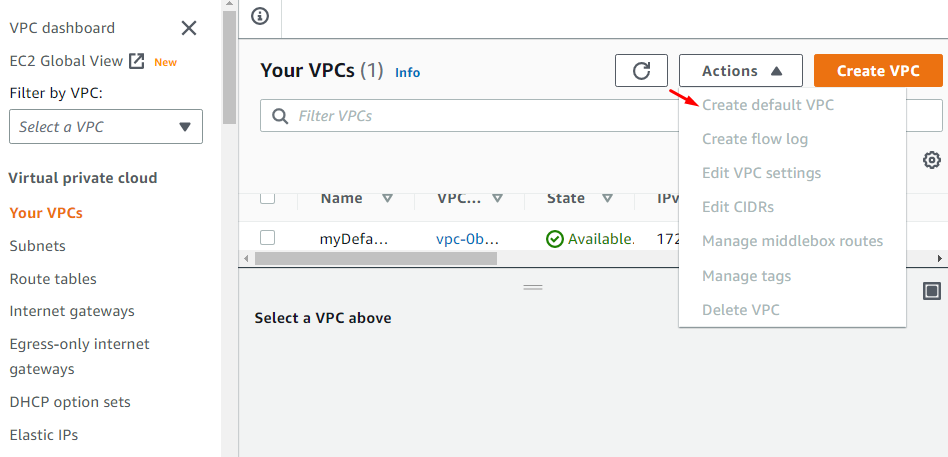
Select the Your VPC option from the left-side menu and then click on the Actions button and then in the dropdown of the Actions button, select the Create default VPC option.
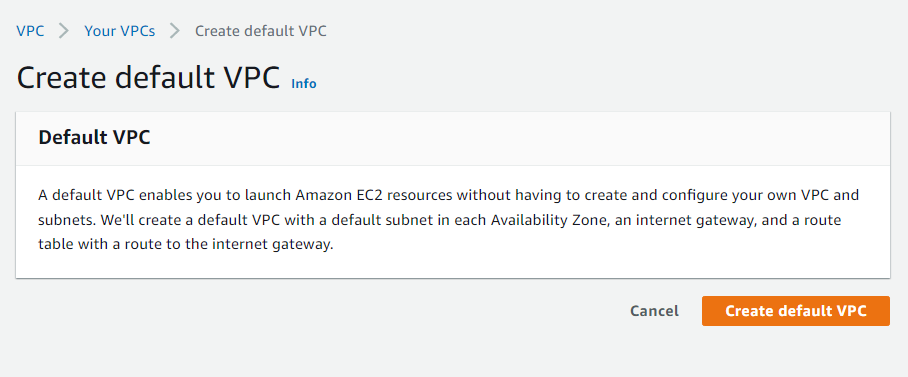
The next interface elaborates on the use of a default VPC that new subnets in each availability zone and the gateways will also be created while creating a new default VPC. Simply click on the Create default VPC button to proceed.
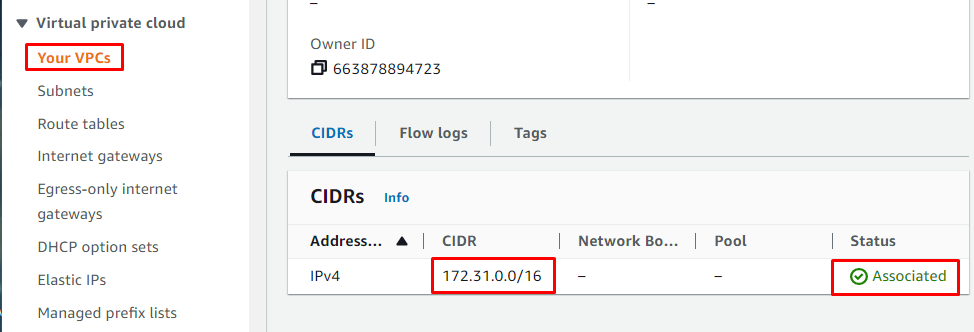
The next interface displays the details of the newly created default VPC and a success message on the top that the VPC is successfully created.
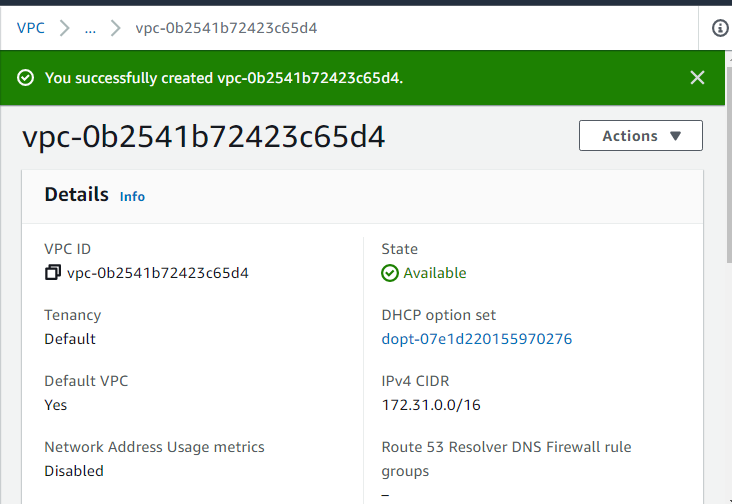
The default VPCs have CIDR starting with 172. The status of the new default VPC as Associated verifies that the default VPC is created successfully.
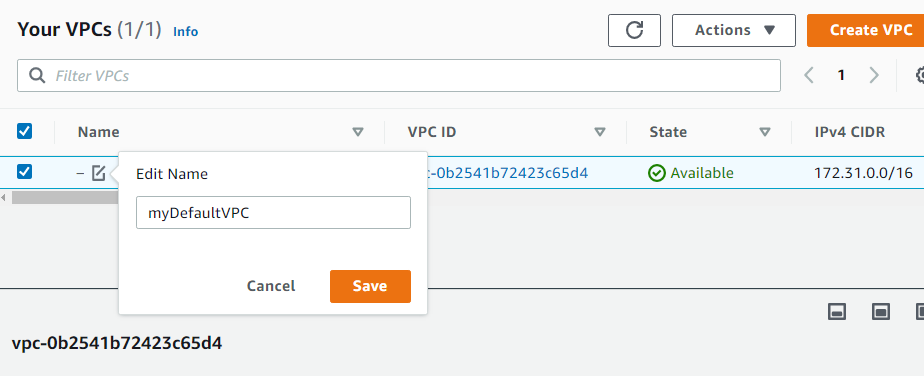
Users can name the default VPC by clicking on the edit symbol in the space given for Name.
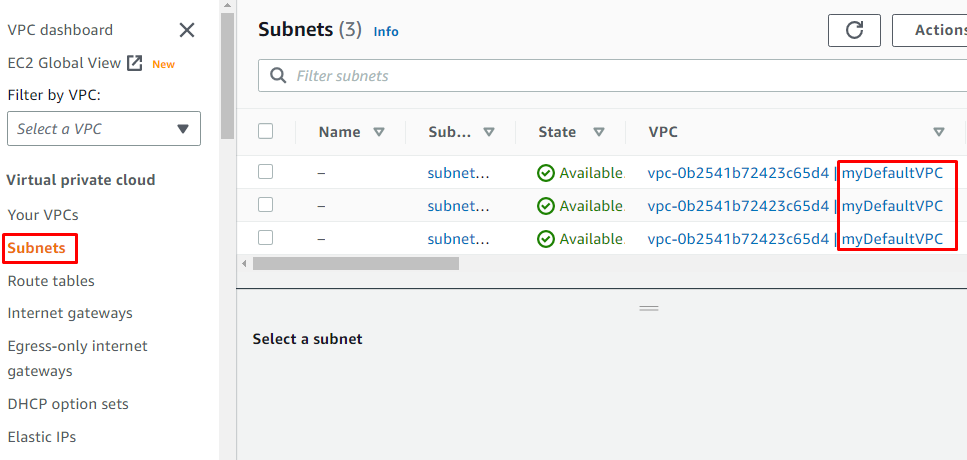
To verify that the subnets have also been created and associated with the default VPC, go to the Subnets option from the left side menu. There should be Subnets created in each availability zone, and the VPC that we created should be associated with the subnets. The name and ID of the new VPC in the VPC column verify that it has been associated.
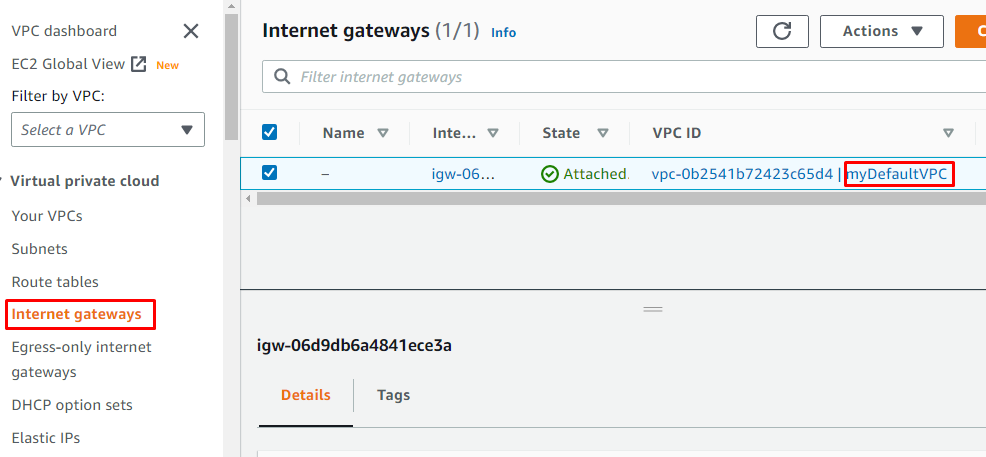
Internet gateways are also automatically created and can be viewed by selecting the Internet gateways option from the left side menu. The VPC ID and name will be the same as that of the newly created default VPC. This means that the gateway is also connected and associated with the default VPC.
A single AWS region cannot have more than one default VPCs, so, when the user opens Your VPCs interface again and clicks on the Actions button, the Create default VPC option is disabled.
This was the way of creating a new default VPC in AWS.
Conclusion
To create a new default VPC in any of the AWS regions, the user has to delete the already created VPC in the specified region by first deleting all the resources attached to it. The way of creating a new default VPC manually is very simple. The user needs to select the Your VPCs option from the left side dashboard of the AWS VPC service and can create a default VPC through the Create default VPC option present in the dropdown of the Actions button.
Source: linuxhint.com