How to Create Button in JavaScript
Developers mostly want their web pages to be attractive and make them interactive. For this purpose, buttons are added to the web page. For instance, when there is a need to send or receive data, including click events for added functionalities for the user while registering or signing in to an account. In such cases, buttons allow the end-user to perform various functionalities smartly.
This blog will explain the methods to create buttons in JavaScript.
How to Create Button in JavaScript?
To create button in JavaScript, the following methods can be utilized:
The following approaches will demonstrate the concept one by one!
Method 1: Create Button in JavaScript Using “createElement()” and “appendChild()” Methods
The “createElement()” method creates an element, and the “appendChild()” method appends an element to the last child of an element. These methods will be applied for creating a button and appending it to the Document Object Model(DOM) that needs to be utilized, respectively.
Syntax
element.appendChild(node)
In the above syntax, “type” refers to the type of element that will be created using the createElement() method, and “node” is the node that will be appended with the help of the appendChild() method.
The following example will explain the stated concept.
Example
Firstly, a “button” will be created using the document.createElement() method and stored in a variable named “createButton”:
Next, the “innerText” property will refer to the created button and set the text value of the specified button as follows:
Lastly, the “appendChild()” method will append the created button to DOM by referring to the variable in which it is stored as an argument:
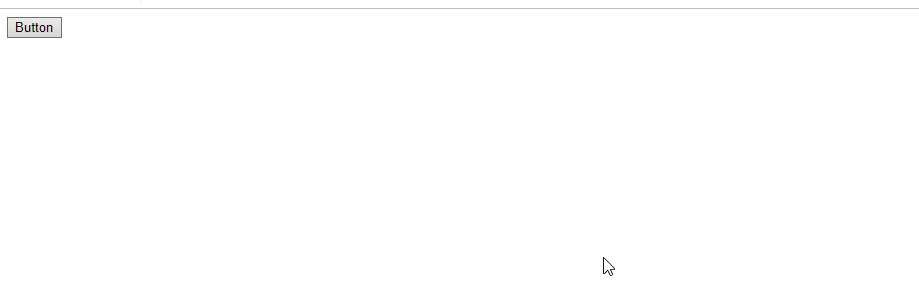
The output of the above implementation will result as follows:

Method 2: Create Button in JavaScript Using “Type” Attribute of “input” Tag
The “type” attribute represents the type of input element to display. It can be used to create a button by specifying “button” as the value of the type attribute of the input tag.
Syntax
Here, “button” indicates the type of the input field.
Check out the below-given example.
Example
Firstly, we will use an input tag, specify its type as “button”, and value as “Click_Me”. As a result, a button will be created. Furthermore, it will trigger the “createButton()” function when clicked:
In the JavaScript file, we will define the “createButton()” function which will generate an alert box when the added button will be clicked:
alert("This is a button")
}
Output
 The discussed techniques to create a button in JavaScript can be utilized suitably according to the requirements.
Conclusion
To create a button in JavaScript, “createElement()” and “appendChild()” methods can be applied for creating a button and appending it to be utilized in the DOM. Another technique that can be used to create a button is defining an input type and adding the associated functionality. This article demonstrated the methods to create a button in JavaScript.
Source: linuxhint.com