How to Create a Progress Bar in Node.js?
The “progress bar” is a visual indicator that displays the status of the task that is being done such as downloading, file transferring, copying, removing, uploading, and many others. Its main objective is to give an idea to the user on how much time the specified task will take to complete its execution. It is utilized to display the progression of the specific task by illustrating the percentage. Its representation varies according to the operating system.
This write-up will cover all possible methods to create a progress bar in Node.js.
What Libraries Are Used to Create a Progress Bar in Node JS?
Node.js offers the below-stated libraries for creating a progress bar in Node.js:
Let’s start with the “progress” library.
Method 1: Create a Progress Bar Using “progress” Library
The “progress” is a JavaScript library that creates and manages the progress bar on the web page. It provides a convenient way to design your own template of a progress bar or simply customize it based on the user’s requirements.
Install “progress” Library
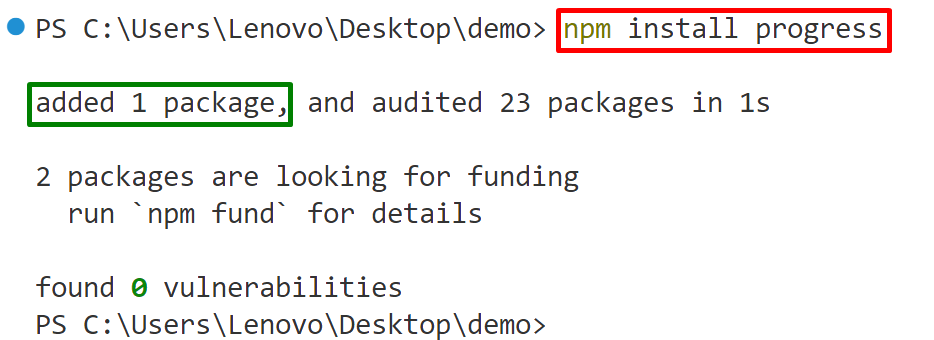
The “progress” is an external library that can be installed easily with the help of the “npm” package manager as done below:
Here, the “progress” library has been added to the Node.js project:
Now, use the above installed “progress” library practically.
Example: Use the “progress” Library to Create a Progress Bar
This example uses the “progress” library to create a progress bar in Node.js:
var bar = new ProgressBar(chalk.blue('[:bar] :current/:total'),{
complete: '*',
width: 20,
total: 30
});
var timer = setInterval(function () {
bar.tick();
if (bar.complete) {
console.log('\ncompleted\n');
clearInterval(timer);
}
}, 100);
In the above code lines:
-
- Firstly, the “require()” method imports the “progress” library in the “app.js” file.
- Next, the “new” keyword creates a “ProgressBar” object that specifies the format of the bar along with its “current” index which is obtained by dividing it by the “total” index. Moreover, the “complete” option specifies the completion character, the “width” tells the width of the progress bar, and the “total” specifies the completed index.
- After that, the “setInterval()” method executes the particular callback function after the given time interval(delay).
- In the callback function definition, the “bar.tick()” method shows the execution of the event loop after each iteration. After that, the “if” statement defines a code block that uses the “console.log()” method to display the verification message. Furthermore, it utilizes the “clearInterval()” method having the returned id of the “setInterval()” that stops the execution of the function if the given condition is satisfied.
Note: Create a “.js” file of any name and write the above code lines into it. For instance, we have created “app.js”.
Output
Run the “app.js” file:
The following output shows that the progress bar is created successfully:

Method 2: Create a Progress Bar Using “cli-progress” Library
The “cli-progress” is another library that helps in the creation of the progress bar. The CLI progress bar tracks the long-running processes and jobs in Node.js. For instance, it is utilized to create a colored progress bar.
Install “cli-progress” Library
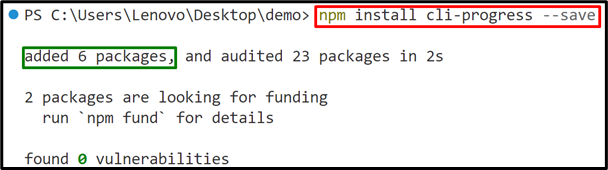
Like the above “progress” library, first, install the “cli-progress” library into the Node.js project by utilizing the given command:
In the above command, the “–save” flag adds the “cli-progress” module to the “package.json” file.
It can be analyzed that, the “cli-progress” library has been installed to the Node.js project successfully:
Next, use the above-installed “cli-progress” library practically.
Example 1: Use “cli-progress” Library to create a Progress Bar
This example applies the “cli-progress” library to create a progress bar:
const colors = require('ansi-colors');
const bar = new cliProgress.SingleBar({
format: 'CLI Progress |' + colors.cyan('{bar}') + '| {percentage}% || {value}/{total}',
barCompleteChar: '\u2588',
barIncompleteChar: '\u2591',
hideCursor: true
});
bar.start(150, 100, {
speed: "N/A"
});
bar1.stop();
In the above lines of code:
-
- Firstly, the “require()” method includes the “cli-progress” and the “ansi-colors” libraries in the “app.js” file.
- Next, the “new” keyword creates a “cliProgress” object that creates a single progress bar having the “percentage”, and the “barCompleteChar” as well as the “barInCompleteChar” options.
- After that, the “start()” method starts the progress bar passing the starting and the ending values. Moreover, it also specifies the “speed” option in its body that does not apply any specific speed for completing its execution.
- Lastly, the “bar.stop()” method stops the progress bar.
Output
Execute the “app.js” file:
The below output shows a colored CLI progress bar that is stopped after reaching the specified index:

That’s all about creating a progress bar in Node.js.
Conclusion
To create a progress bar in Node.js, use the “progress” or the “cli-progress” library. Both of these libraries are externals, the user needs to install them first in the Node.js project with the help of the “npm”. This write-up has covered all possible methods to create a progress bar in Node.js.
Source: linuxhint.com