How to Create a Desktop Shortcut for Locking Your Windows PC
This tutorial will cover the step-by-step guide on creating a desktop shortcut for locking pc. Follow the below topics to get started:
Creating Desktop Shortcuts for Windows PC Locking
You need to follow the following steps to create a desktop shortcut that locks your window when you click on it.
Note: The same method applies to Windows 10.
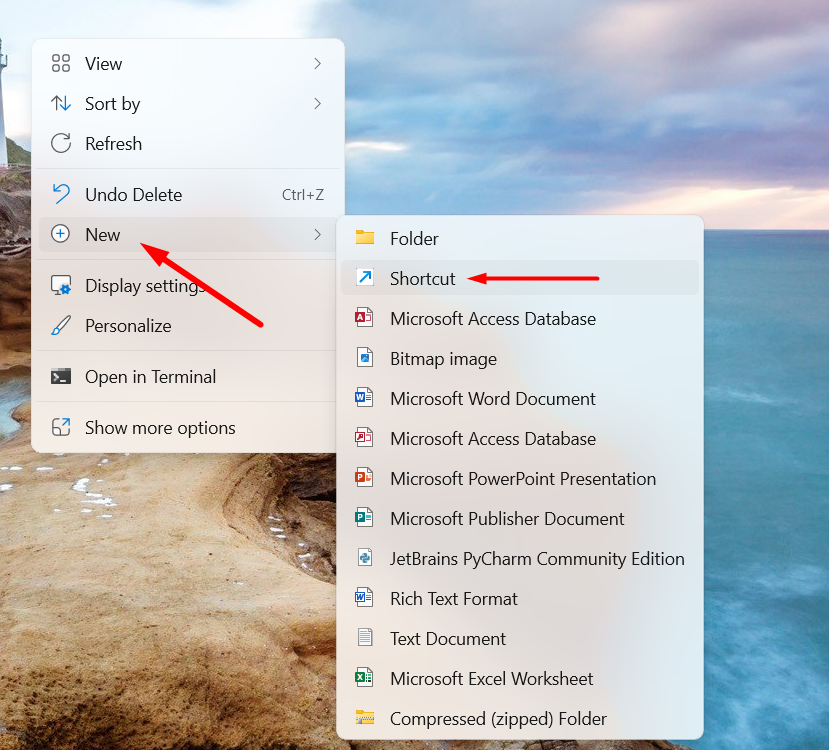
Step 1:Select New Shortcut
First, open the desktop home screen and right-click on any blank space. After that, navigate to the “New” and select the “Shortcut” option:
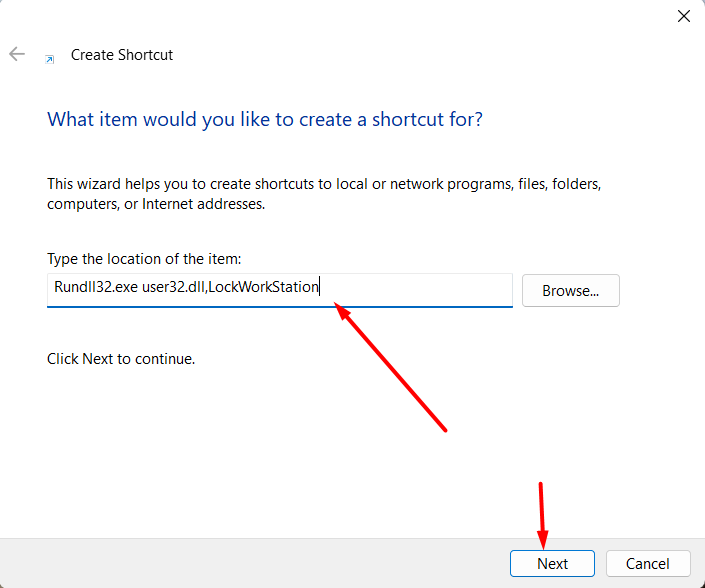
Step 2: Type the Item Location
A new pop-up window appears that requires the location of the item. Type the following location/command and hit the “Next” option:
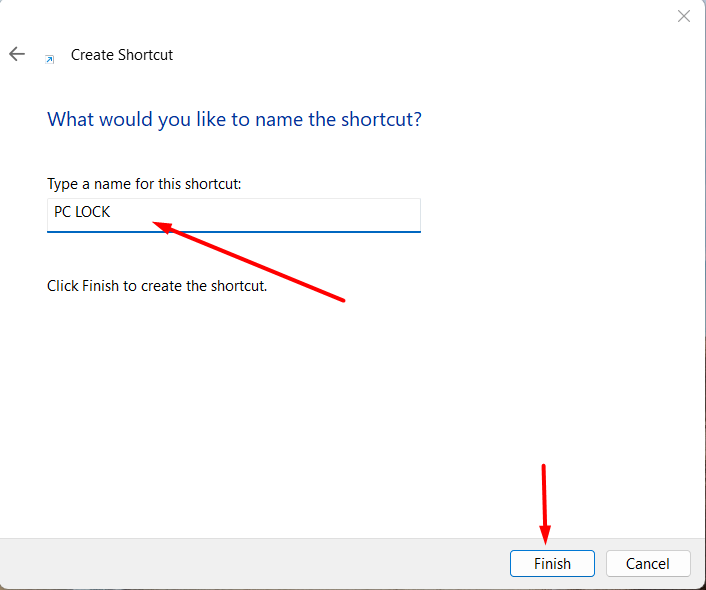
Step 3: Type Shortcut Name
In the next pop-up window, you need to type the shortcut name. Here, it is recommended to use a name that displays the shortcut functionality. After typing the name, hit the “Finish” button:
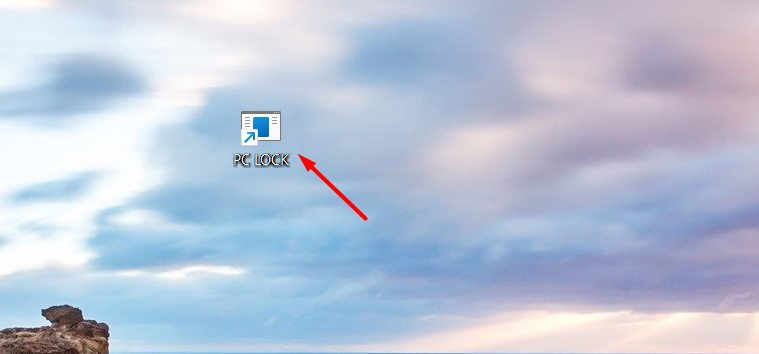
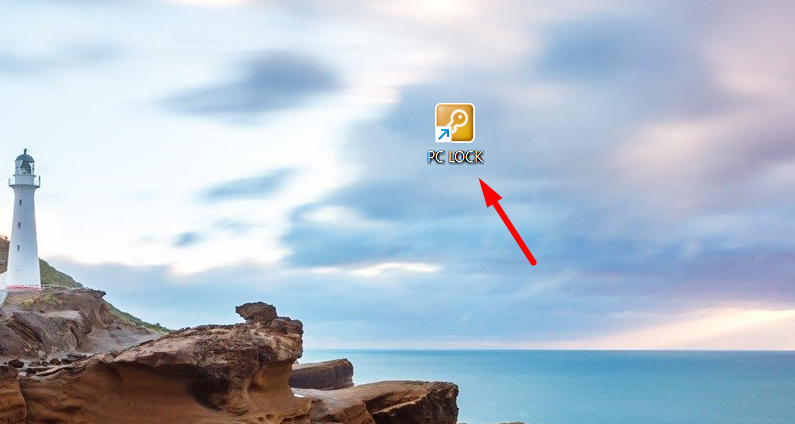
Step 4: Open the Shortcut to Lock the PC
You have successfully created the shortcut key to lock your Windows PC. To lock your PC, double-click on the early-created shortcut.
Change the Shortcut Icon
The default-generated shortcut icon looks very generic. To change the shortcut icon, follow the below stated steps.
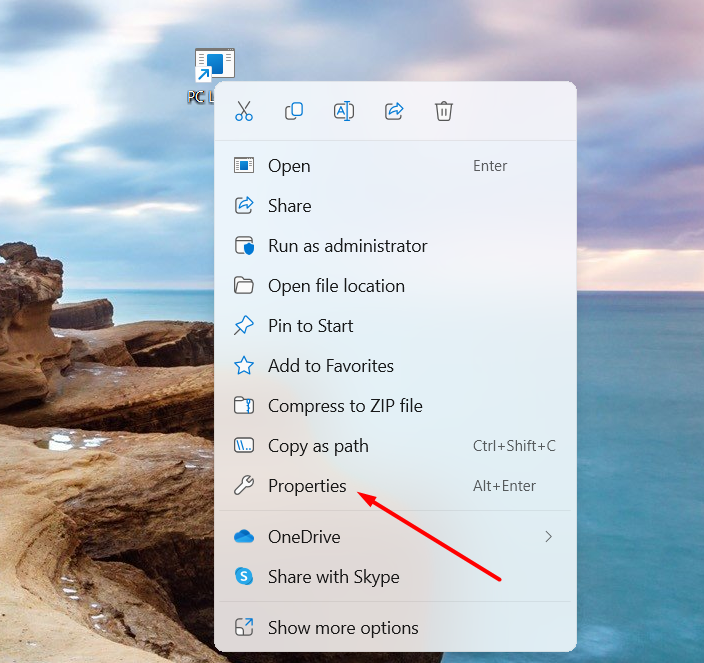
Step 1: Open the Shortcut Icon Properties
To access the shortcut icon properties, right-click on the shortcut and click on the “Properties” option:
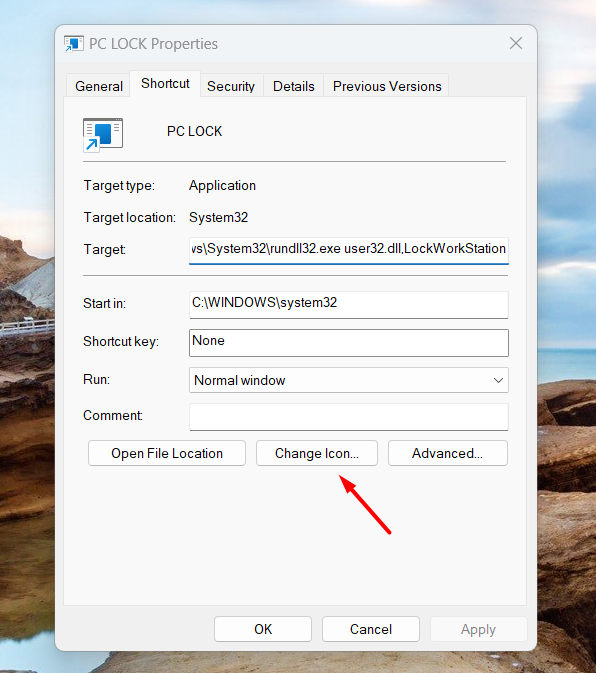
Step 2: Click on Change Icon
In the pop-up window, hit the “Change Icon…” button:
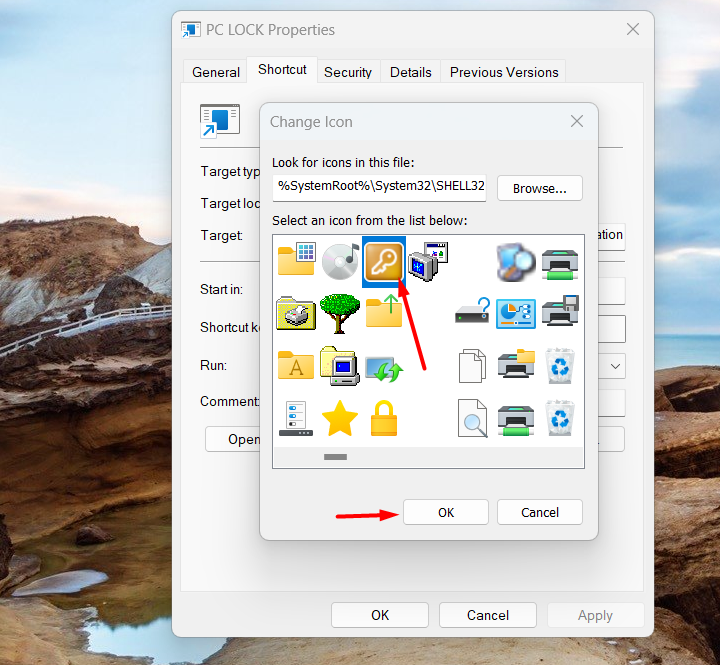
Select your desired icon from the list or provide the location of the icon you want to use:
After that, hit “OK” and press the “Apply” button to apply the changes:
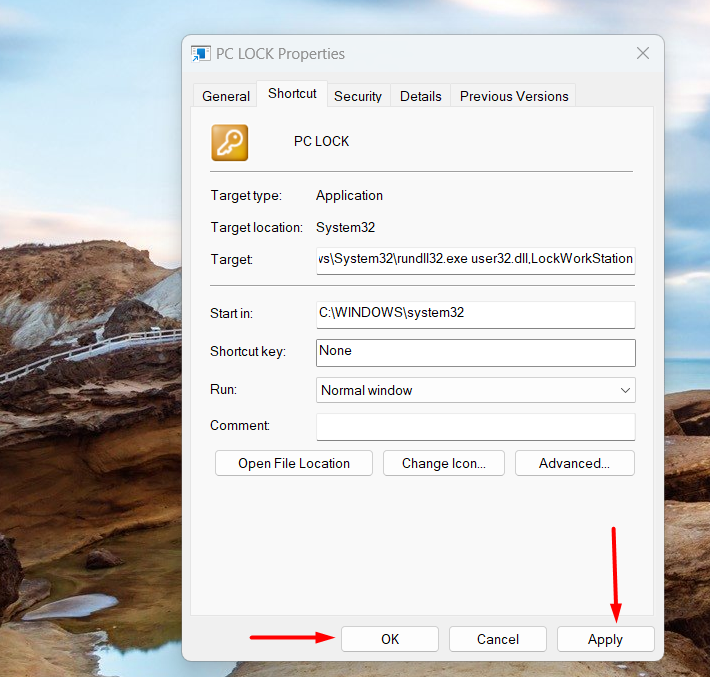
As you can see, the shortcut icon has been changed successfully:
Conclusion
To create/make a desktop shortcut for locking Windows PC, right-click on the desktop and create a shortcut, type the item command and name, and click on the “Finish” button. We can also change the icon of the shortcut by simply going to the shortcut properties and clicking on the “Change Icon” option. This blog covered a detailed approach to creating a locking Windows desktop shortcut.
Source: linuxhint.com