How to create a bucket and upload files to amazon s3
Amazon simple storage service (S3) is an object-based serverless storage service that Amazon provides. It allows to upload, store, and download any type of files and the subscriber has control over the accessibility of data, i.e. privately/publicly accessible.
To configure s3, go to the amazon s3 console using this link
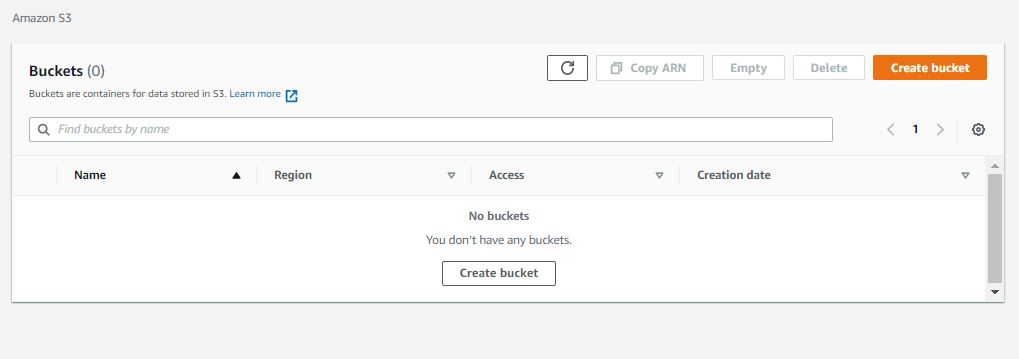
After that, you can create a bucket using the following steps
Click the Create Bucket button at the bottom of the page.
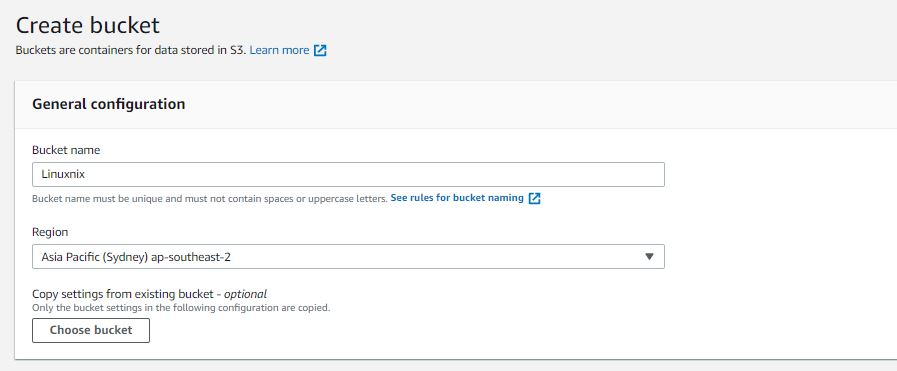
Fill the required details. Do note that the bucket name has to be unique. If the name that you select for the bucket has been used by another AWS user, then you won’t be able to use that name for your bucket.
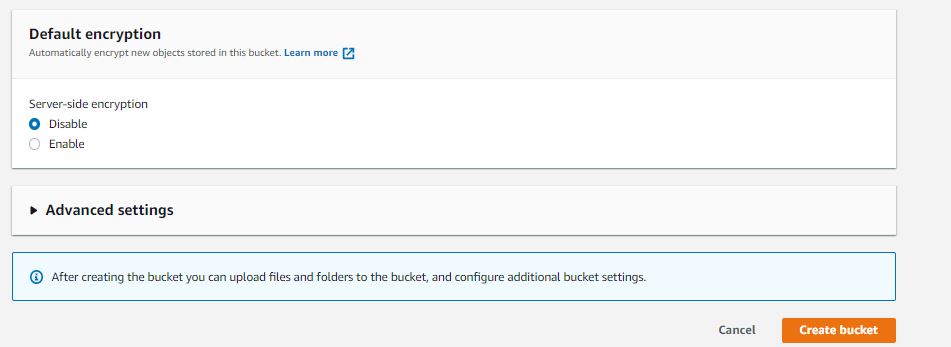
click the Create button in this window
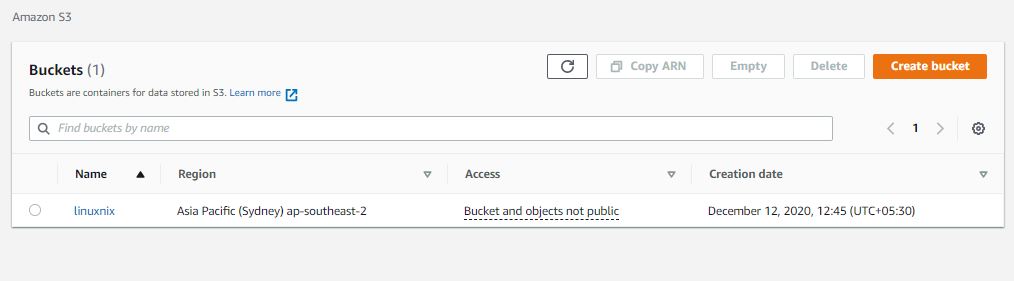
Now the newly created bucket will be displayed in the console
Upload files
To upload files to your bucket, open it from the console
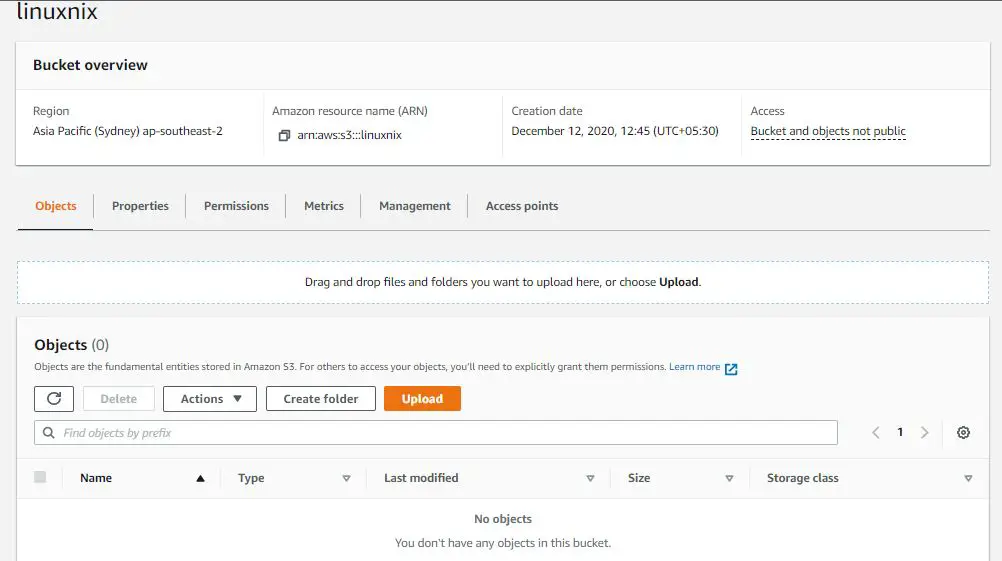
Now, click on the upload option in the bottom
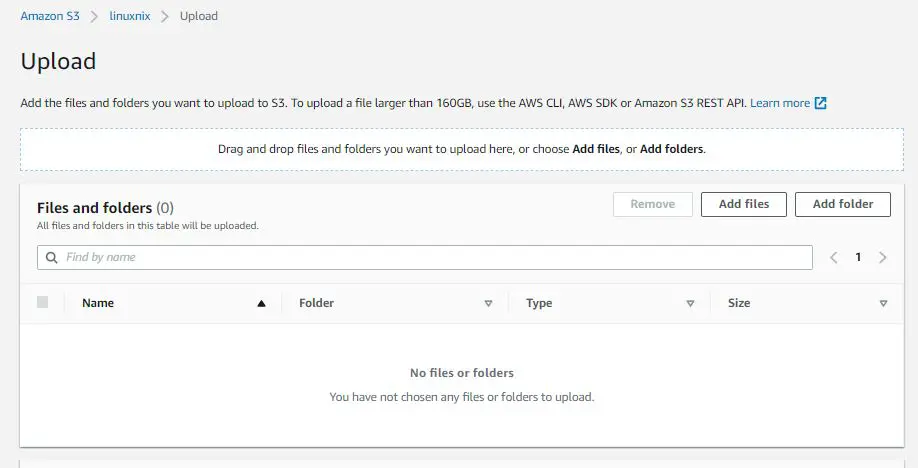
Now you can Drag and drop files and folders you want to upload here, or choose Add files, or Add folders. Once you have finished adding files, click the upload option in the bottom.
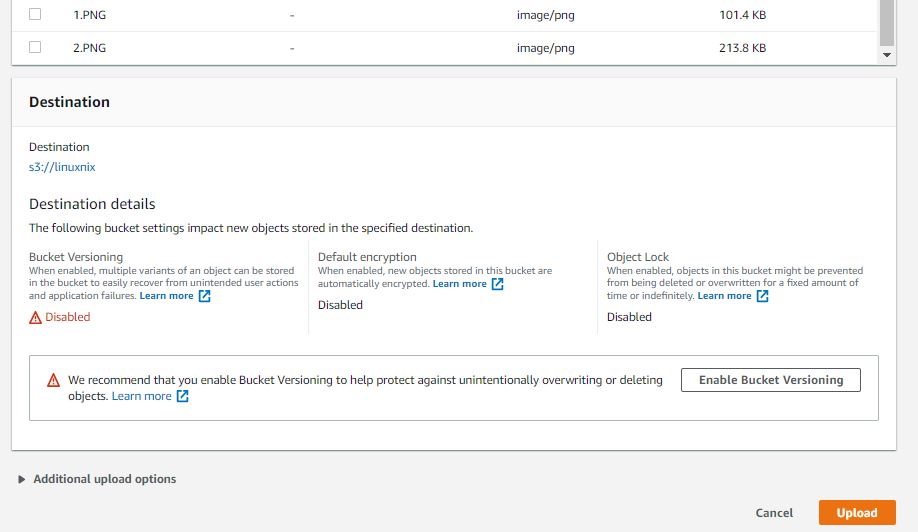
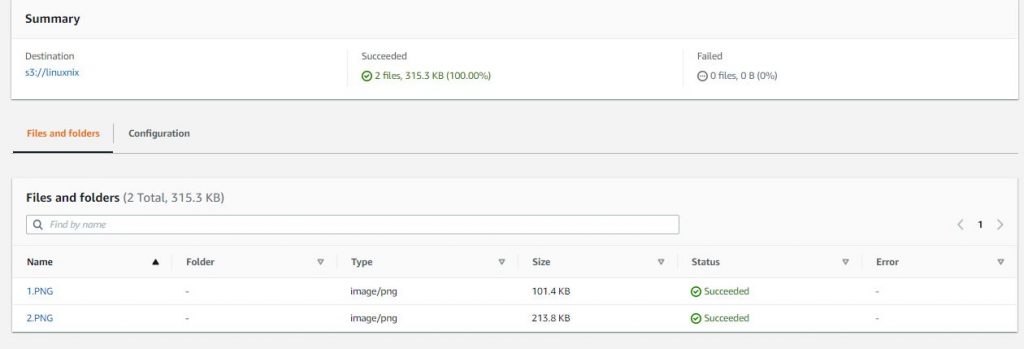
I will now upload some files to the bucket as you can see in the below screenshot
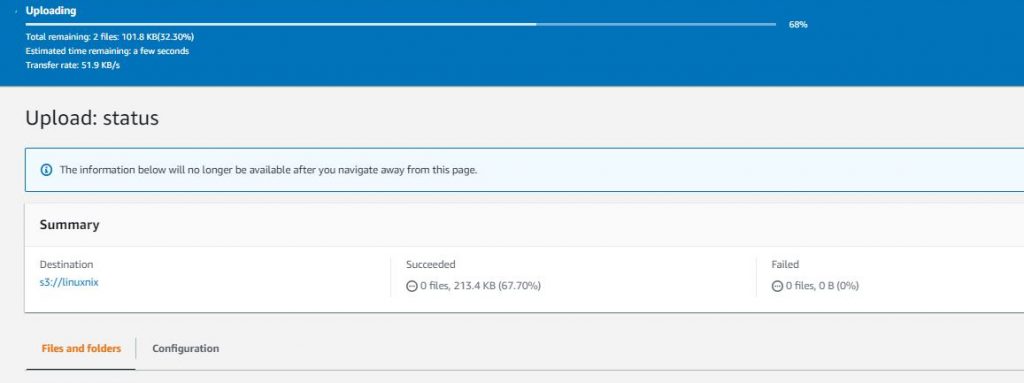
Once you have successfully uploaded the files to the bucket, you can go to the bucket and view the files
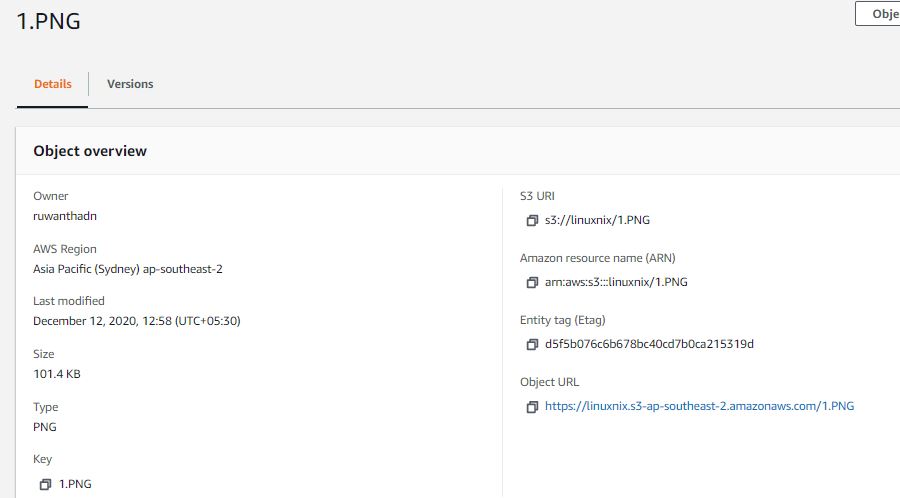
Now that I have my files in the bucket, I can click on a single file and see the information as you can see in the below screenshot
Make the files publically accessible
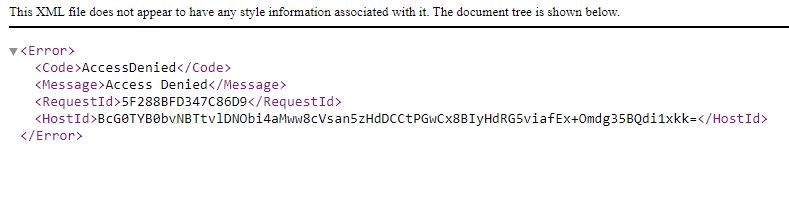
When you click on the object url, you will see that you cannot access it
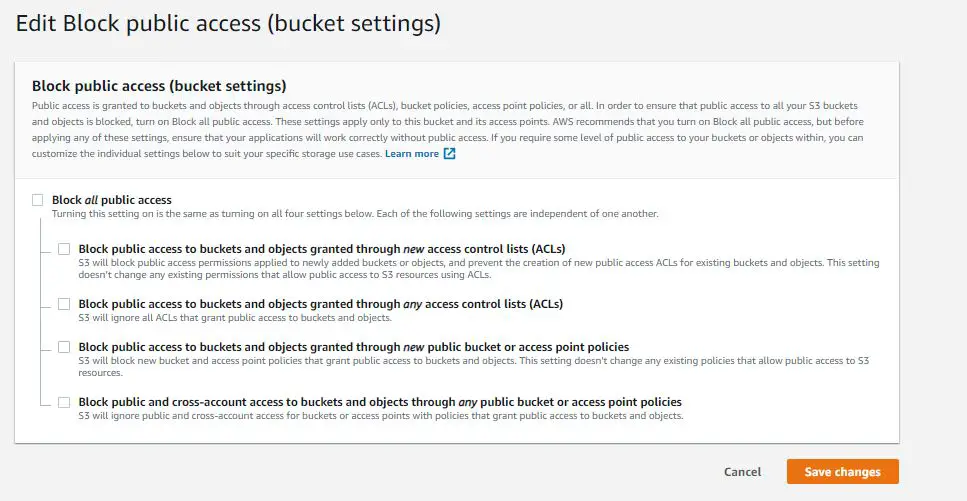
To make the bucket publically accessible, go to the permissions tab in the bucket properties
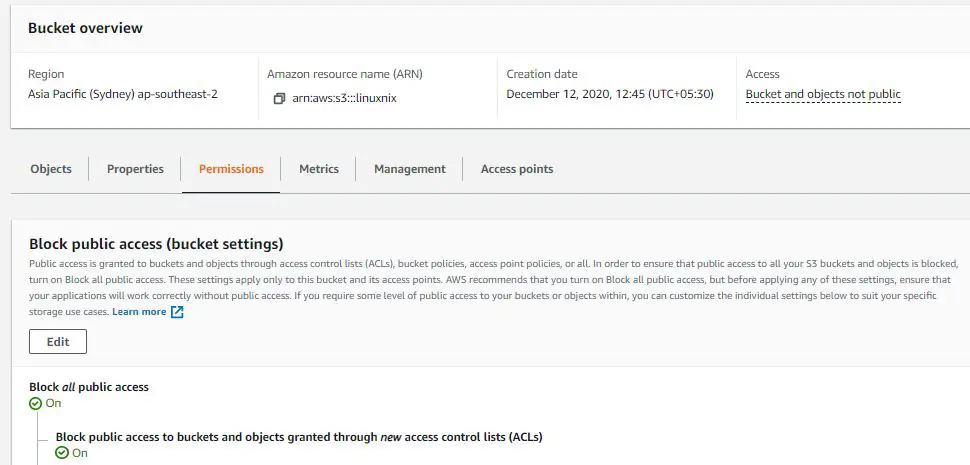
Click on the edit option, uncheck the “block all public access” option and save the changes
Now, you have allowed public access to the content inside your bucket.
The post How to create a bucket and upload files to amazon s3 appeared first on The Linux Juggernaut.
Source: The Linux Juggernaut