How to Create a Billing Alarm in AWS
The AWS billing alarm can be created in a few easy steps:
- Specify Metrics and Conditions
- Configure Actions
- Add Name and Description
- Preview and Create
- Confirm the Email
Prerequisite Step
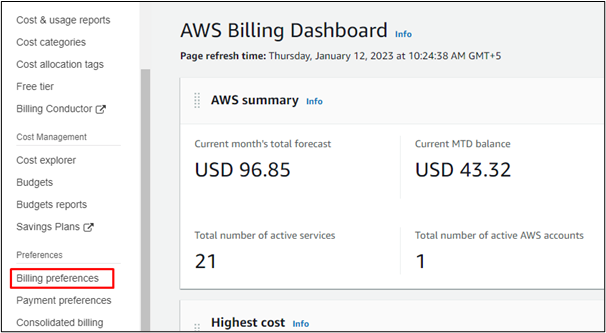
Log in to the AWS console and visit the AWS Billing Dashboard. Click on the Billing preferences from the left side menu.
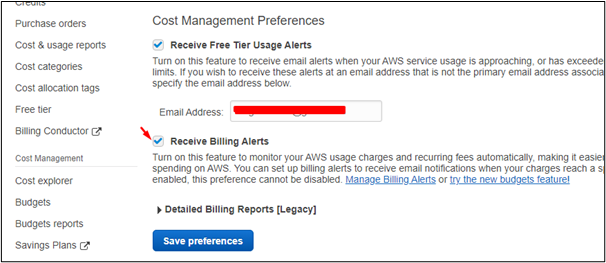
Mark the Receive Billing Alerts option to monitor the resource usage charges and then click on the save preferences button. The user cannot configure AWS billing metrics and thus cannot create alarms without this action.
Method for Creating Billing Alarm
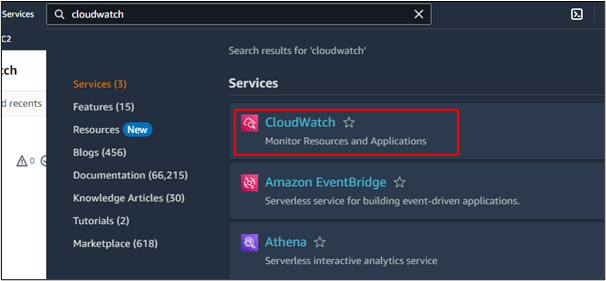
An AWS Billing Alarm is created in the CloudWatch service of AWS. So, to create a billing alarm, search for the CloudWatch service in AWS services.
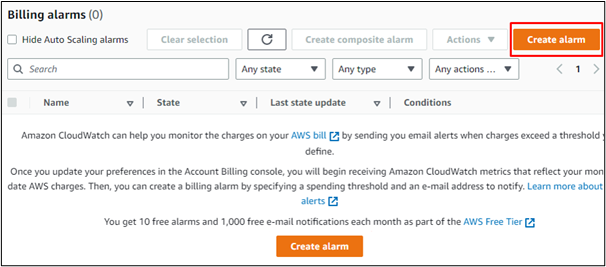
Click on the “Billing” option in “Alarms” from the left side menu.
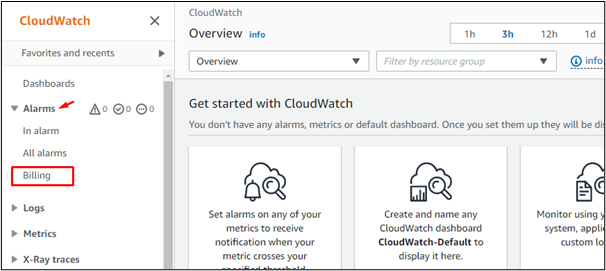
On the next interface, click on the “Create alarm” button to start the process of creating the alarm.
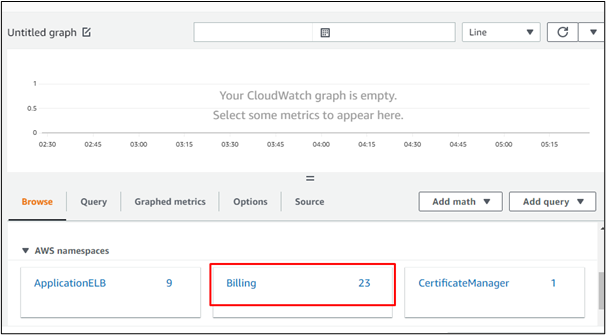
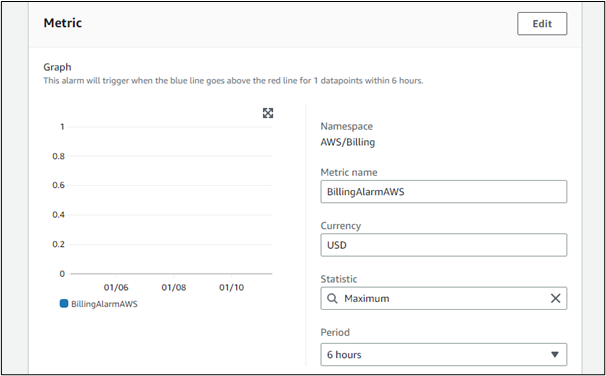
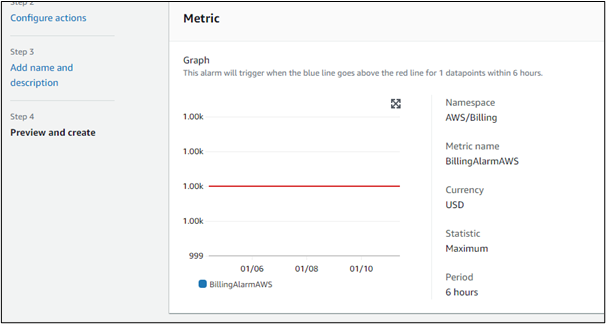
Step 1: Specify Metric and Conditions
The Browse section contains the names of the services that the user can monitor. Click on the “Billing” option.
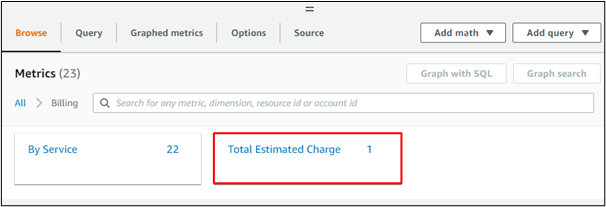
Then, select “Total Estimated Charge”.
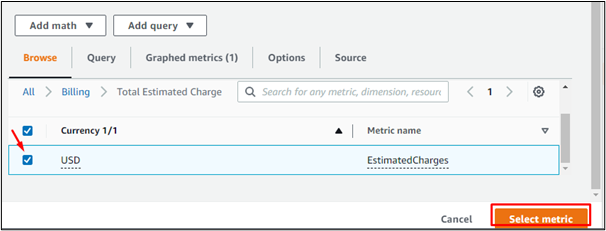
Mark the currency and then click on the “Select metric” button.
Name the metric and define the currency.
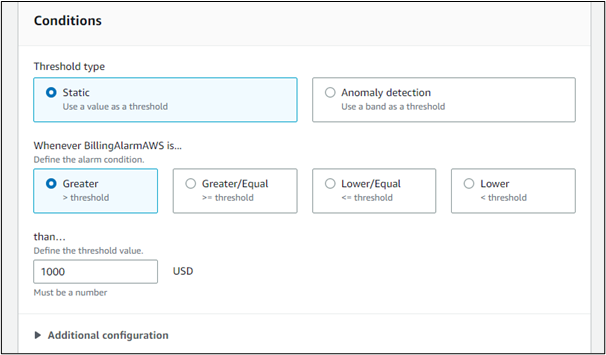
Declare a Threshold type as either “Static” or “Anomaly detection”. Then, define the alarm condition. For example, we select the option “Greater” so that when the amount exceeds the defined value, the alarm becomes active. Similarly, selecting the “Greater/Equal” option activates the alarm when the amount reaches the defined value.
Scroll down and click on “Next”.

Step 2: Configure Actions
The next step in creating a billing alarm is to configure the actions.
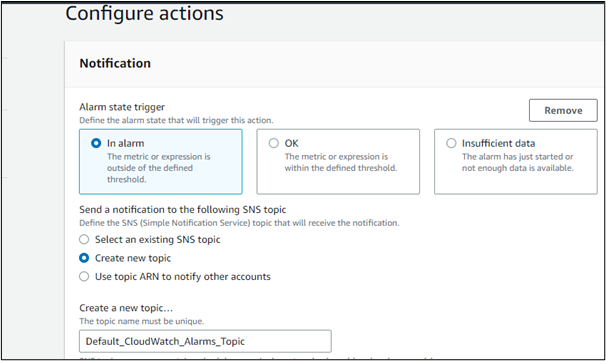
Enter a valid email address because the billing notifications and email messages will be sent to the email address added here.

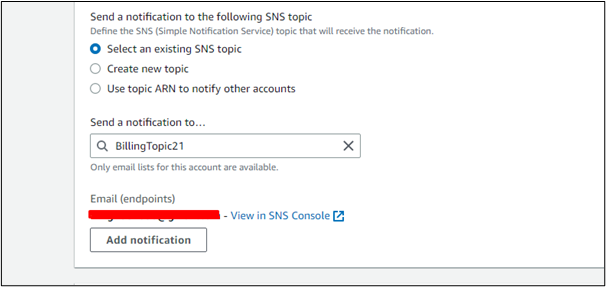
The user can select any of the given options. For example, we select “Create new topic” and add a topic name.
Click on the “Next” button again.

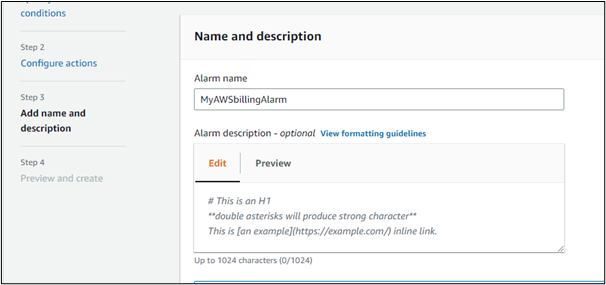
Step 3: Add Name and Description
This step just asks for the name of the Billing Alarm to be created. Add a meaningful name in the given space.
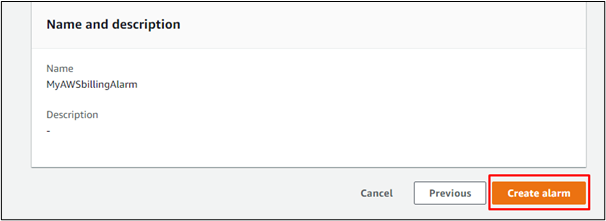
Step 4: Preview and Create
The last interface in creating the AWS billing alarm displays the preview of all the information entered in previous steps.
To confirm, click on the “Create alarm” button.
There will be a success message on the next interface that confirms the creation of the billing alarm.
![]()
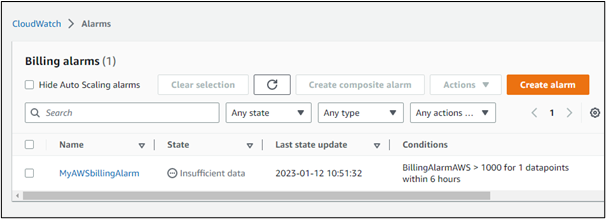
Users can view the billing alarm just created in the list of billing alarms in CloudWatch. The state of the Alarm is displayed as “Insufficient data” because we have not verified the email yet. The alarm becomes active after the user confirms the creation of the alarm through email.
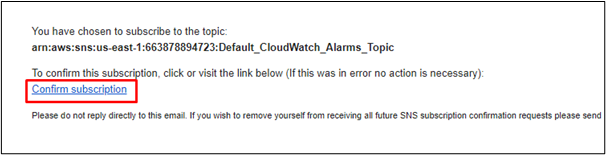
Step 5: Confirm the Email
The last thing to do is to verify the email. AWS sends an email to the account added by the user while creating the billing alarm. The user just has to open the email and confirm the subscription.
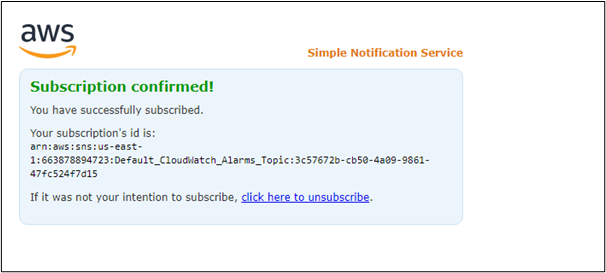
After the subscription is confirmed, AWS displays an interface with a confirmation message.
This sums up the method to create a billing alarm in AWS.
Conclusion
AWS Billing Alarm can be created through the CloudWatch service of AWS. There is a billing alarms option in AWS CloudWatch through which the alarm can be created in a few easy steps, like specifying metrics and conditions, configuring the actions, and adding a name for the billing alarm. The state of the alarm can be made active by email confirmation.
Source: linuxhint.com