How to Connect to MongoDB with Python
Install MongoDB
To install MongoDB on Windows, open the official website of MongoDB and download its “msi” file to your system. This file is downloaded in a few moments. Now, run this file with “Administrative” rights to start installing MongoDB.
![]()
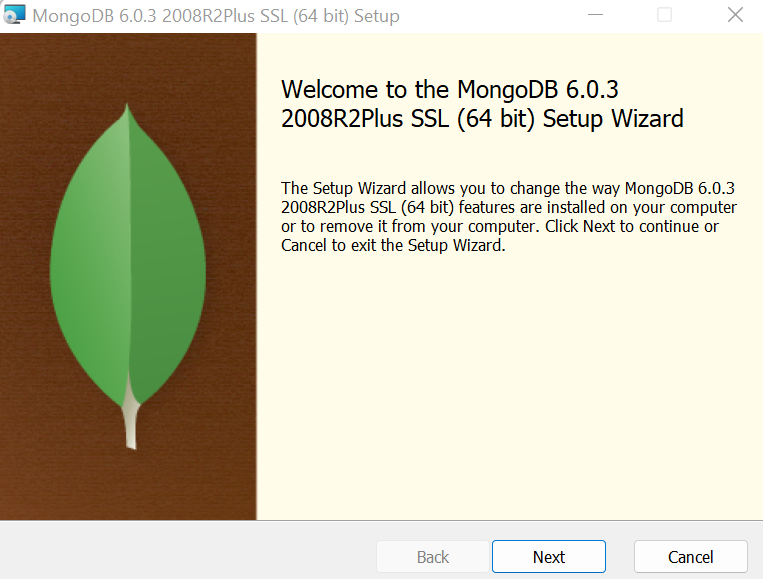
A setup wizard for MongoDB installation will appear on your screen. This welcome screen of MongoDB setup shows some instructions and instructs you to tap the “Next” button.
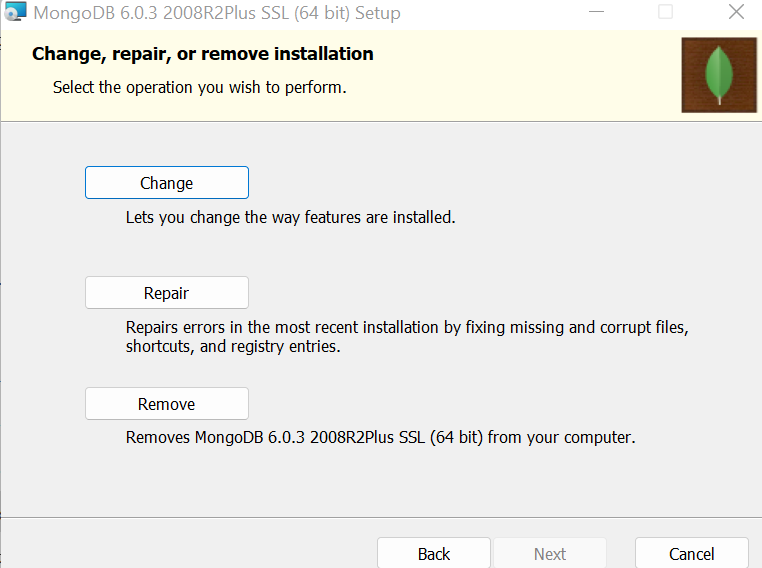
You can select no matter what you want to do with the MongoDB msi file – change, repair, or remove. After selecting one option, continue by tapping the “Next” button.
After following the further steps, your system starts to install the MongoDB.

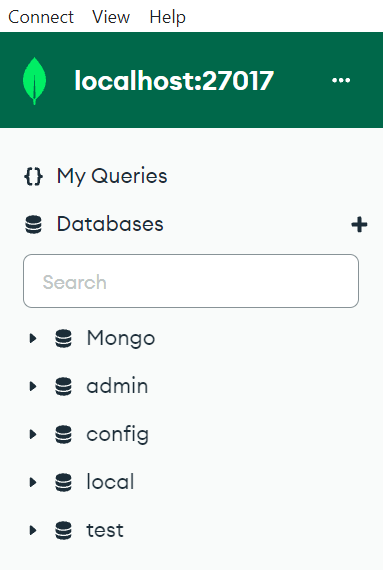
Launch the MongoDB Compass tool by searching on the Windows search bar to get an idea about the current structure.

Now that the MongoDB compass is launched, move within its “db” section to take a look at an already-created databases. There are two user-defined database, “Mongo” and “test”. While the rest of the databases are built-in.
Install Python
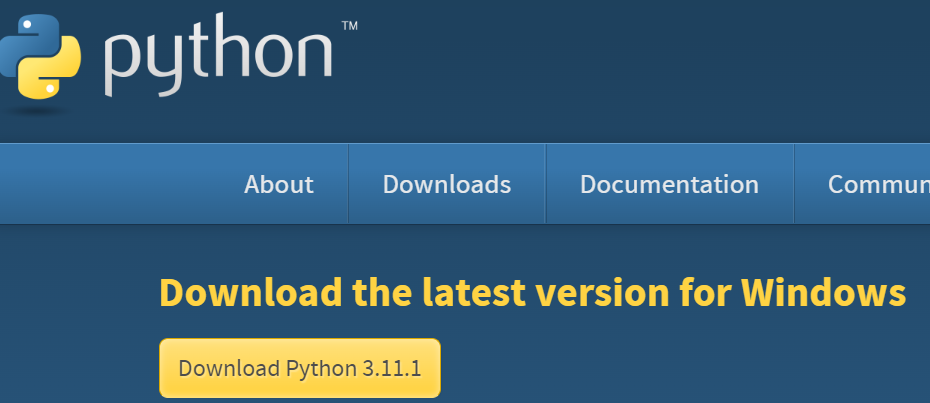
After installing MongoDB, the second and quite necessary step is to install Python in our system. Download the most recent edition of the Python package which is available on Python’s official website. The version 3.11.1 is available at the time of implementing this guide.
Wait until the system downloads your Python’s “exe” file on your system. After the complete download, right-click on it to run it with the “Admin” rights.
![]()
The setup wizard for Python pops up for the installation. Tap the “install Now” option which is available with other options.
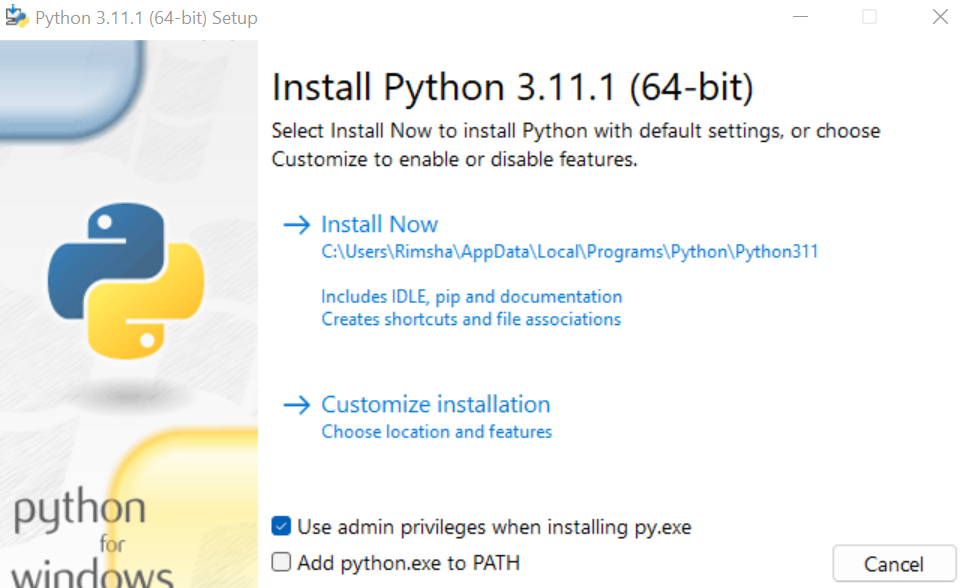
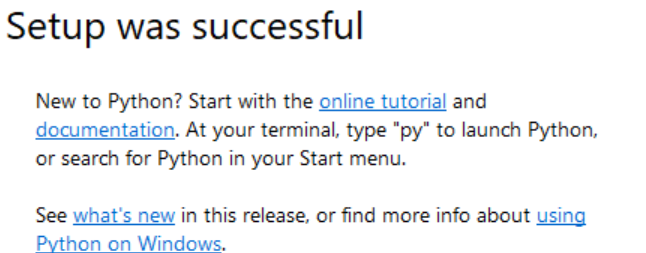
Your system starts to install Python at your end. Wait for it to complete.

If the installation setup of “Python” is successful, just close the setup wizard and open the command-prompt platform.
To get to know about the installed version of Python, try out the listed command in your CLI.
![]()
Install the “Pip” Library
After a successful setup of MongoDB and Python in your Windows system, it’s time to install the “pip” package of Python to manage other packages and libraries in Python. For this, you should try the instruction which is listed in the following, starting with the “python” keyword followed by the python file to get the “pip” package like the get-pip.py. The collection of “pip” and installation make you wait for some time until it’s fully configured in your system.

Install the PyMongo Driver
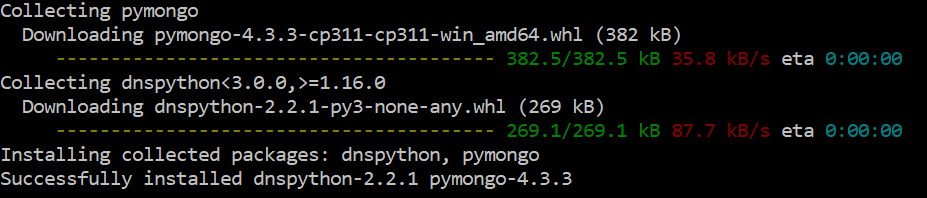
Now that we finished installing the “pip” package, it’s time to configure the “PyMongo” driver of Python to connect it with MongoDB. To install this driver, you just need to use the “install” query starting with the “pip” keyword at the beginning and the “pymongo” keyword at the end. This, too, takes some moments to get its installation done.
Connect MongoDB with Python
Let’s start a Python code to connect the Python with MongoDB in the Windows system. Restart the command prompt as “Administrator”. Now, run the “python” keyword to open the Python CLI within your command prompt. The output demonstrates that Python CLI is ready to use.

After launching the Python CLI, we make sure to connect the Python with MongoDB and add some records to MongoDB using the Python CLI. For this, we need to import the “pymongo” driver within the Python CLI first using the “import” keyword followed by the “pymongo” driver. After the import of the pymongo driver, we create a connection with the MongoDB client, the “Mongo Compass”. For this, the pymongo driver package calls the MongoClient() function, taking the localhost string as an argument to connect the MongoDB with Python through a connection result within the “cl” client variable.
The “cl” client variable is responsible to create a new database named “Order” in MongoDB and save the returned connection result within another “Data” variable. Now, the “Data” variable is responsible for the successful creation of a new collection. It is used to create a new “Product” collection. The return result is saved to the “detail” variable to identify if the creation is successful or not. After this, we create two document records, r1 and r2, each containing three fields. Now, to insert these two documents in the MongoDB collection, use the “detail” variable to call the insert_many() function, taking r1 and r2 as arguments. The output for these records shows the successful insertion in the MongoDB collection via the Python platform:
>>> cl = pymongo.MongoClient(‘mongodb://127.0.0.1:27017/’)
>>> Data = cl[‘Order’]
>>> detail = Data.Product
>>> r1 = [{ "Name": "Mascara", "Price": 4500, "Brand": "NARs" }]
>>> r2 = [{ "Name": "Blushon", "Price": 7600, "Brand": "HudaBeauty" }]
>>> detail.insert_many(r1)
<pymongo.results.InsertManyResult object at 0x00000187C5552CE0>
>>> detail.insert_many(r2)
<pymongo.results.InsertManyResult object at 0x00000187C5552C20>
Verify the Connection Between MongoDB and Python
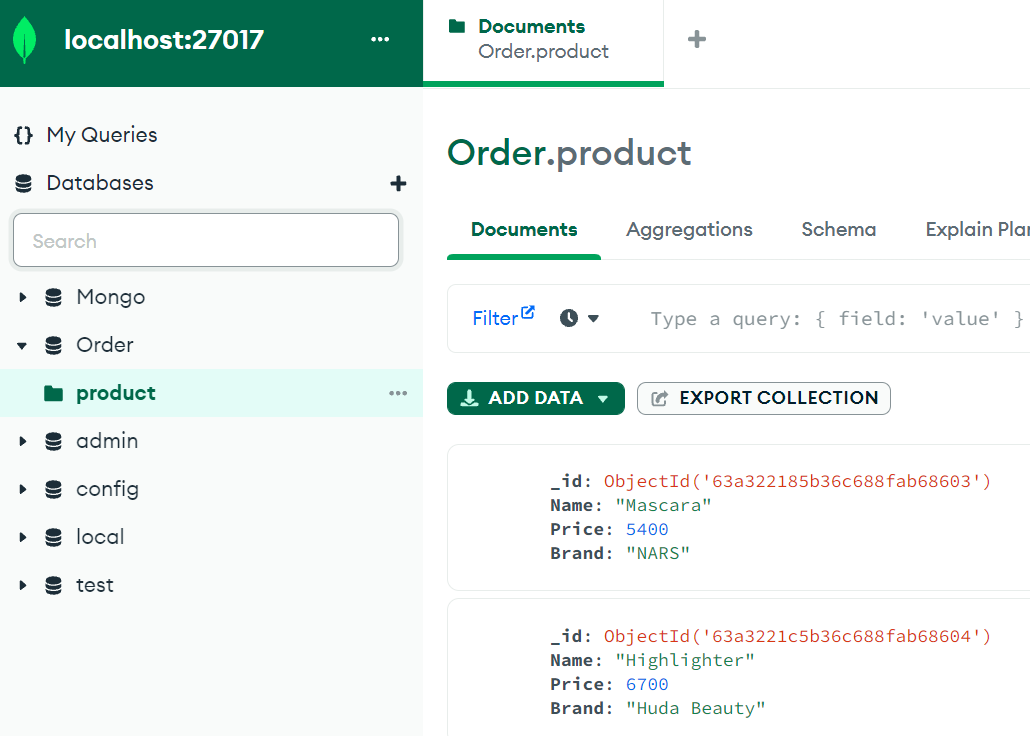
To verify that the “Product” collection along with its two records are successfully inserted in the “Order” database that has just been created, we oepn the MongoDB Compass. After moving within the “db” section, we find that all the databases are listed there, the new and old. You can see that the “Order” database along with its “Product” collection is also listed here. After tapping on the “Product” collection, we get its two records which are also displayed on the right side.
Conclusion
This guide is a bundle of several steps which are necessary to connect to MongoDB with Python. The first step starts with the installation of MongoDB in Windows which is followed by the configuration of Python in the system. In Python CLI, we installed the “pip” library and the “PyMongo” driver for connectivity. To connect to MongoDB with Python, we tried a piece of Python code in the Python CLI and added some records in the MongoDB. In the end, we verified that the connection is established between MongoDB and Python.
Source: linuxhint.com