How to Connect Raspberry Pi from Anywhere Using ngrok
Keeping these things in mind, the developer has introduced a new, secure and easy way to remotely access the Raspberry Pi system from anywhere. This can be done through ngrok.
Follow this guide to learn:
- What is ngrok
- How to Connect Raspberry Pi from Anywhere Using ngrok
- How to Start ngrok Service at Startup on Raspberry Pi
- Conclusion
What is ngrok
The ngrok is a service like SSH that allows you to remotely access the system. However, it is different from traditional SSH service due to the following reasons:
- It is easier to use and does not allow configuring any port forwarding rules or firewall.
- It provides a public URL that you can share with others so that they can be able to access the system from any part of the world.
- The end-to-end traffic between your local machine and ngrok server is encrypted. Thus, no unauthorized user will be able to tamper with your data.
How to Connect Raspberry Pi from Anywhere Using ngrok
To securely connect your Raspberry Pi Using ngrok, follow these steps:
Step 1: Download ngrok for Raspberry Pi
First, you have to download the ngrok source file from the official website for Raspberry Pi ARM based architecture.
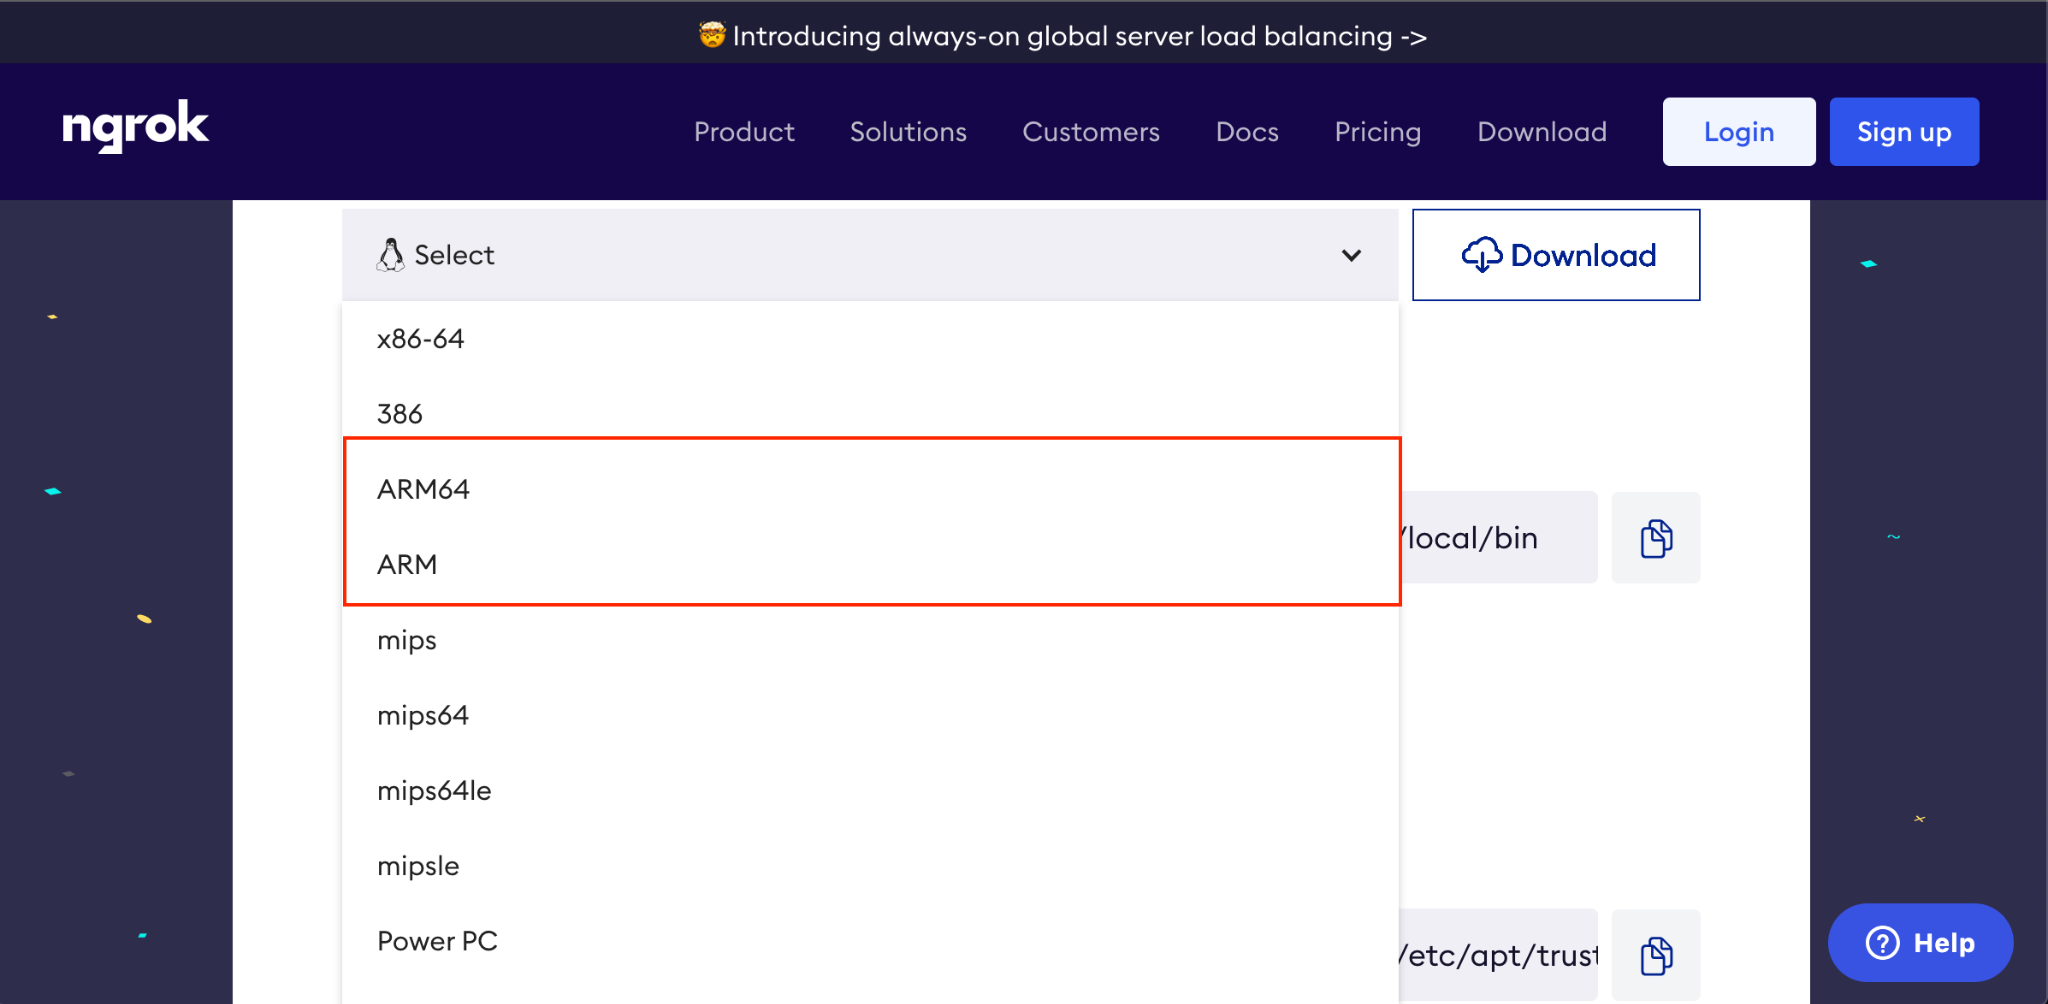
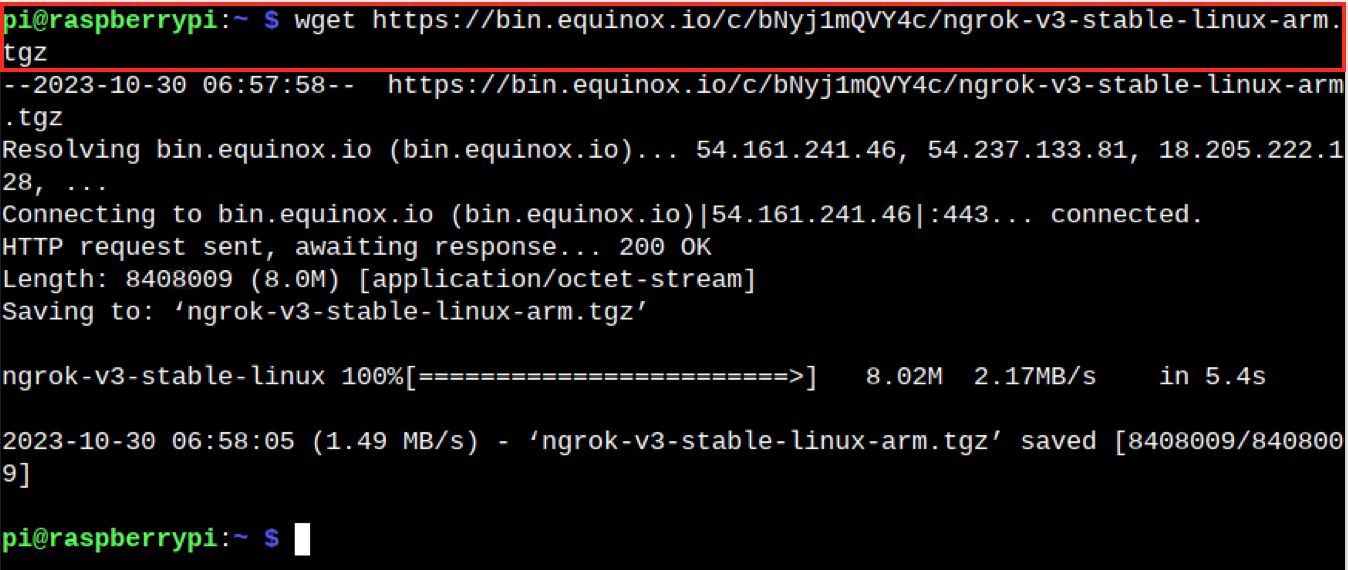
If you are using 32 Bit Raspberry Pi OS, you can simply run the following command to download the ngrok source file on your system:
Step 2: Extract the Source Files
After downloading the source file, you have to extract the file to /usr/local/bin source directory that can be done from the following command:

Note: Make sure you provide the correct path where the ngrok source file is downloaded.
Step 3: Confirm ngrok Installation
After extracting the file to the /usr/local/bin directory, you can confirm the ngrok installation on Raspberry Pi using the following command:

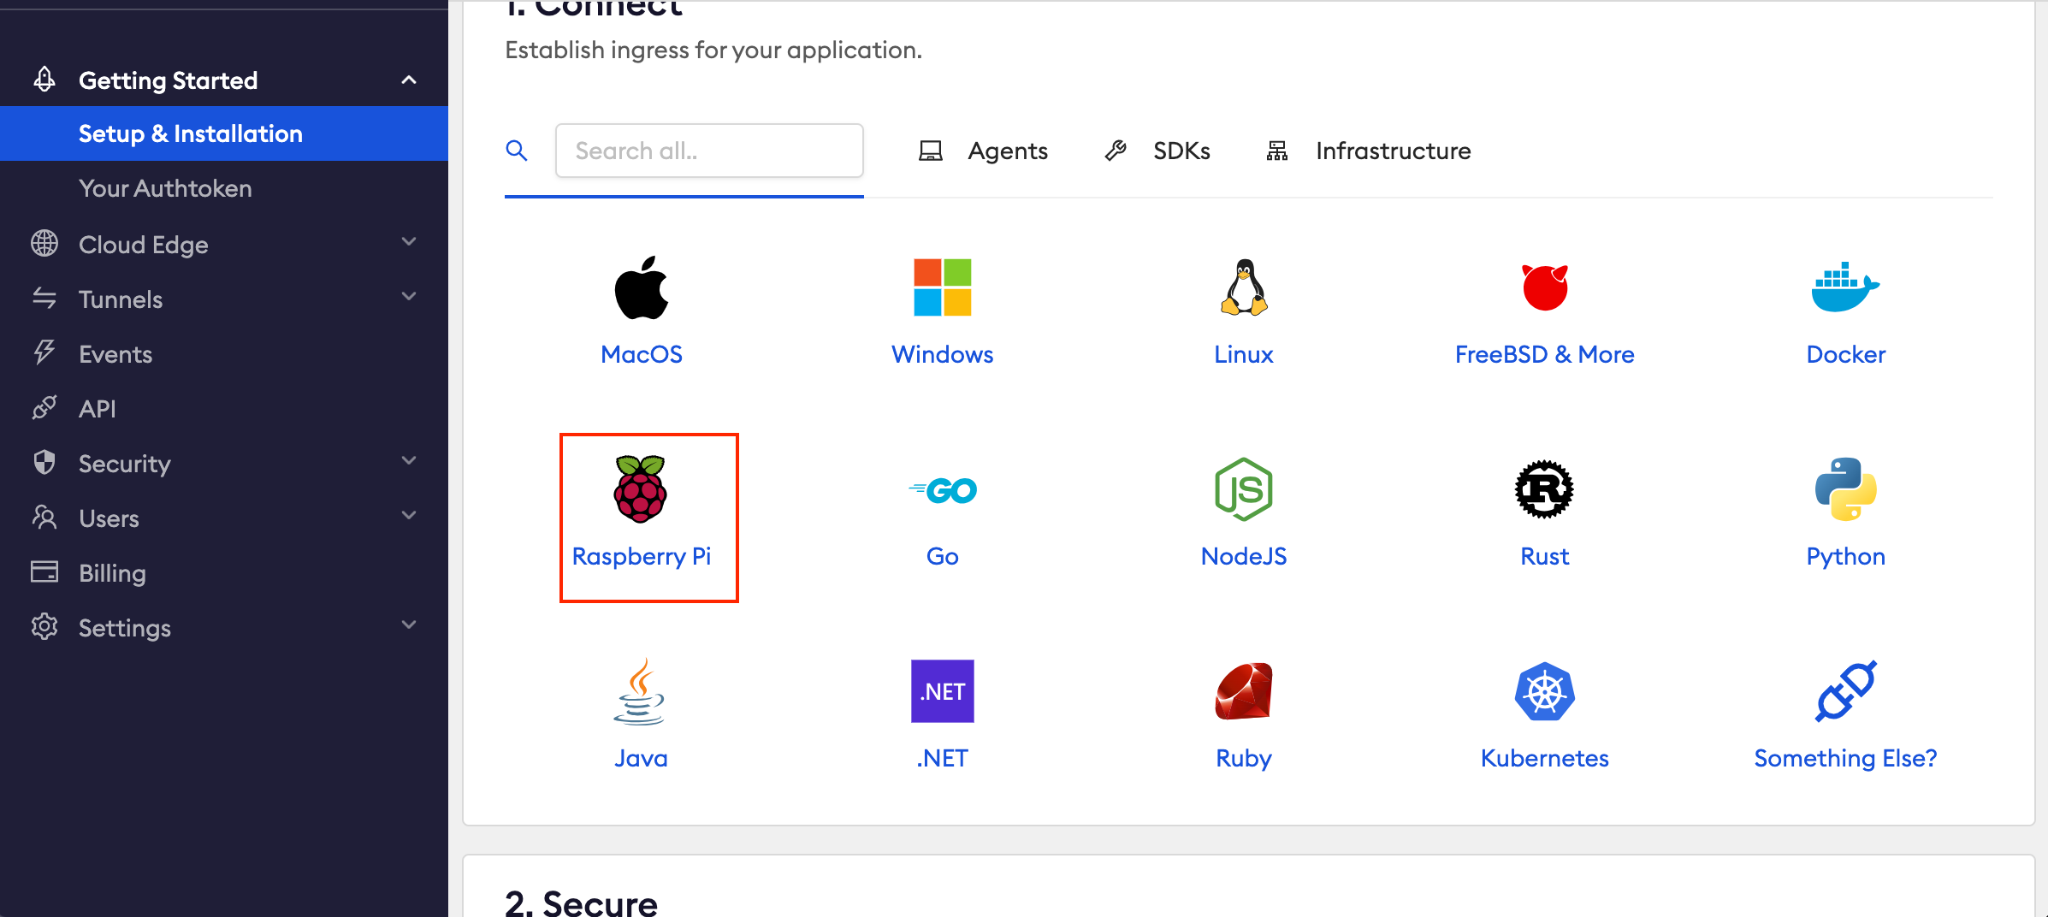
Step 4: Authenticate Raspberry Pi
You have to authenticate your Raspberry Pi on the ngrok network. This can be done by first creating the account on ngrok website and then using the Raspberry Pi option to get the auth token.
The token provided to you will need to be entered in the following command:
This will authenticate your device and saved the Authtoken to configuration file on Raspberry Pi:

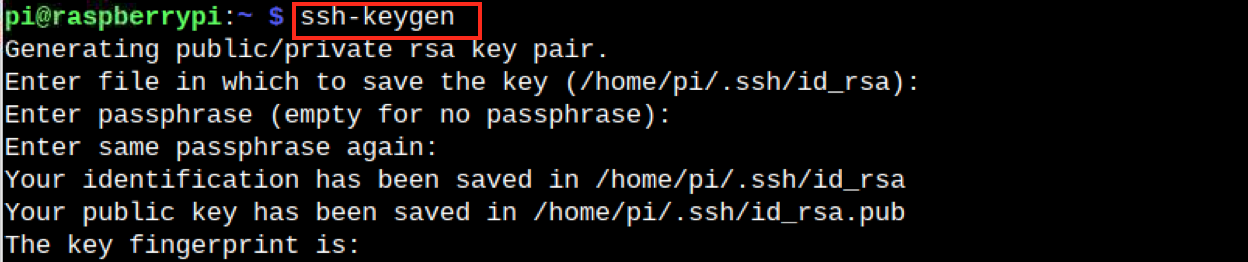
Step 5: Create SSH Auth Keygen
Before moving forward towards accessing the Raspberry Pi remotely, you have to create a SSH Auth key. This step is important because you will be able to get connection closed or denied error, if you don’t do it and the step will be used to access Raspberry Pi through a reverse SSH tunnel.
To create SSH auth key on Raspberry Pi, run the following command:
Make sure you set the password for it, since you will need it later on:
Step 6: Edit the SSH File
Now, open the SSH configuration file and ChangePasswordAuthentication and ChallengeResponseAuthentication to yes inside the file.
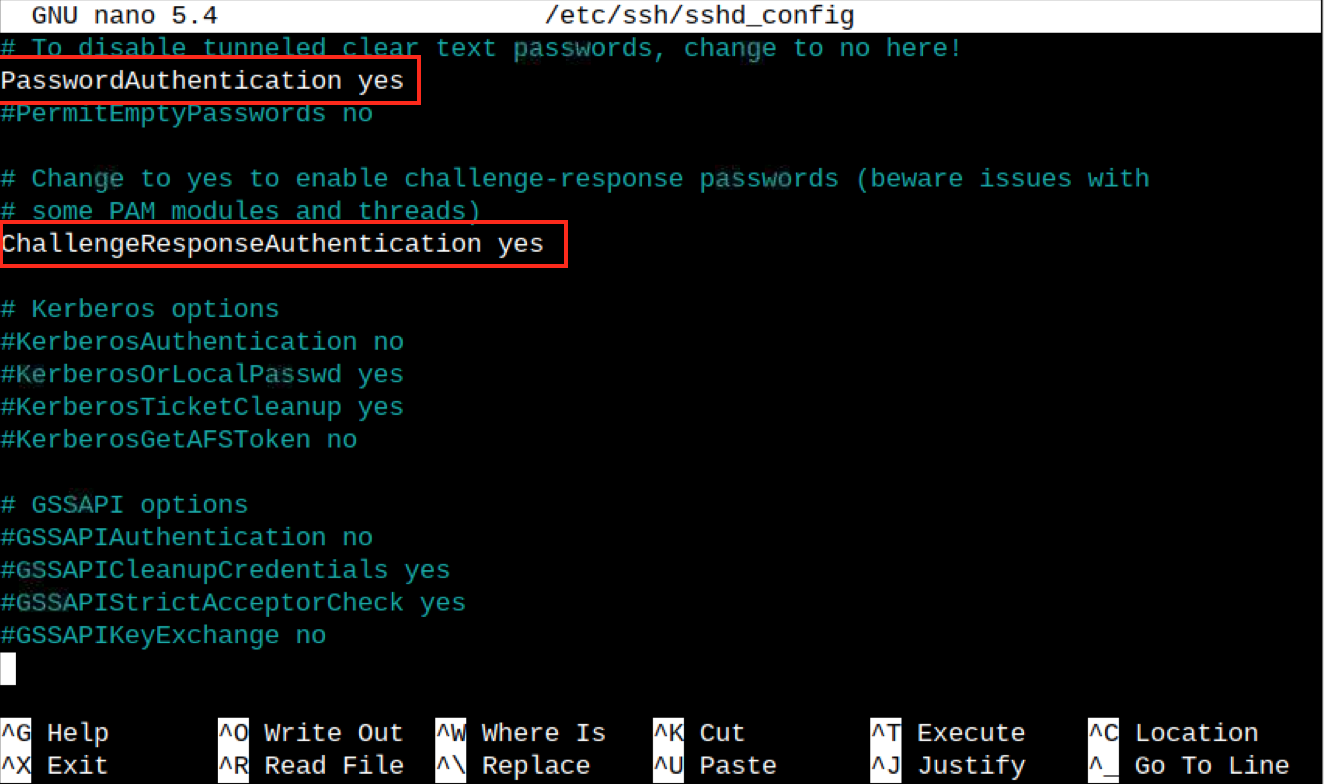
Then save the file using CTRL+X, add Y and press Enter.
Step 7: Restart SSH Service
After setting up the SSH keygen, restart the SSH service via the following command:

Step 8: Create a SSH Tunnel with ngrok
Now, use the following command to create a SSH tunnel on Raspberry Pi with ngrok:
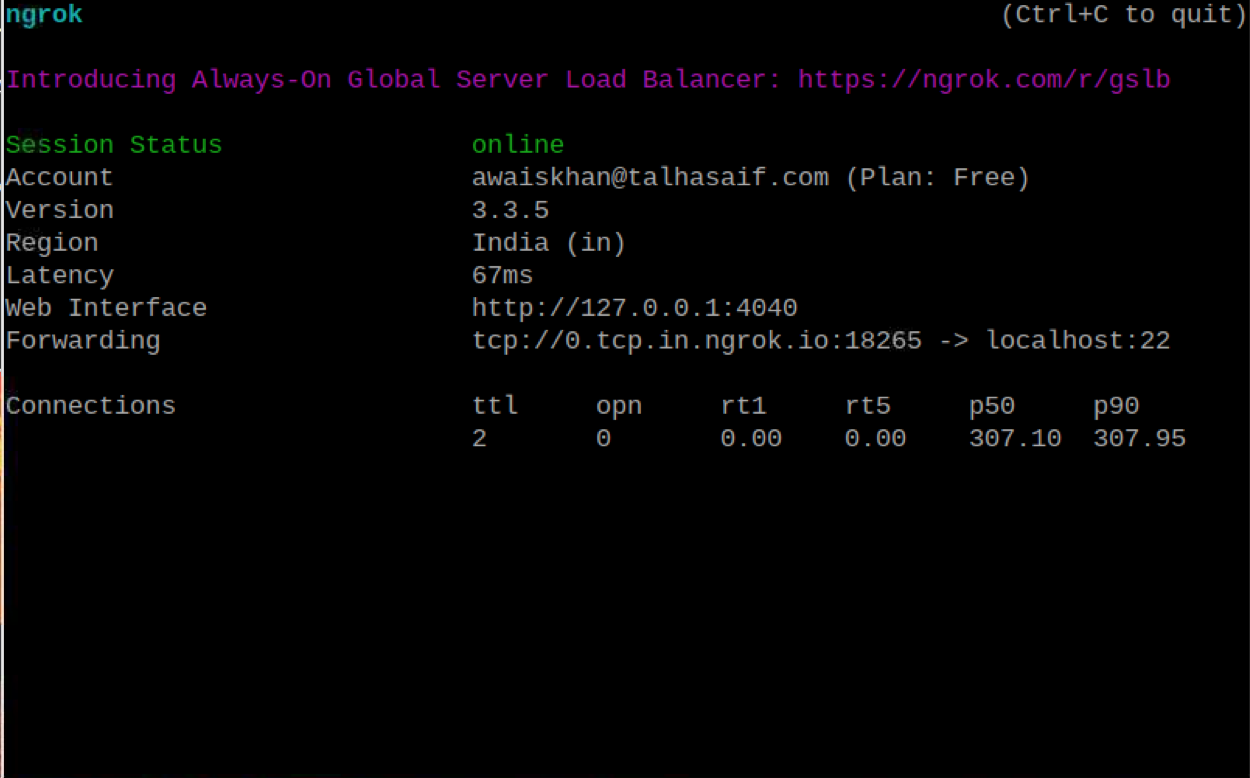
The above command will help you retrieve the port forwarding address that can be used to access the Raspberry Pi securely.
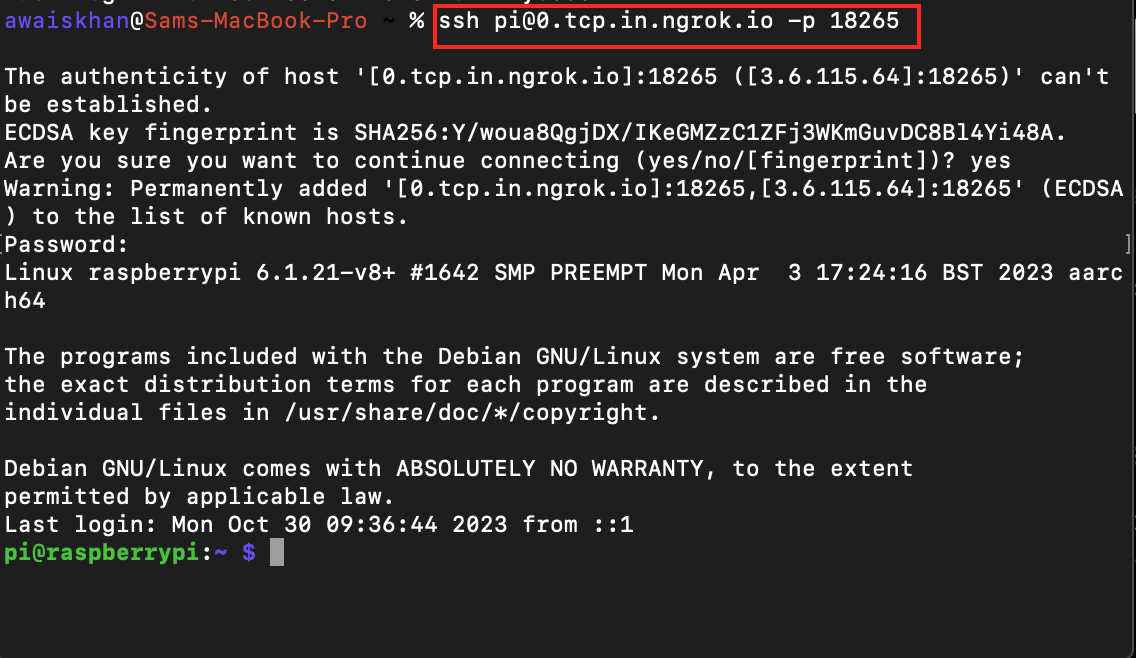
Step 9: Remotely Access Raspberry Pi
Open your terminal on another system that could be a Windows laptop, Mac or Linux system and use the following syntax to remotely access Raspberry Pi:
Here in my case, the Raspberry Pi username is “pi”, ngrok forwarding address is “0.tcp.in.ngrok.io” and port number is 18265. Make sure you must follow the same pattern for the address generated in your case. After entering the desired command, you will be able to access the Raspberry Pi securely on your other system.
How to Start ngrok Service at Startup on Raspberry Pi
If you want to start ngrok service as soon as your system restart, you can use the following steps:
Step 1: Open rc.local File
First, open the system startup file on Raspberry Pi using the following command:
Step 2: Add the Command Inside the File
Then add the following command inside the file right at the end:
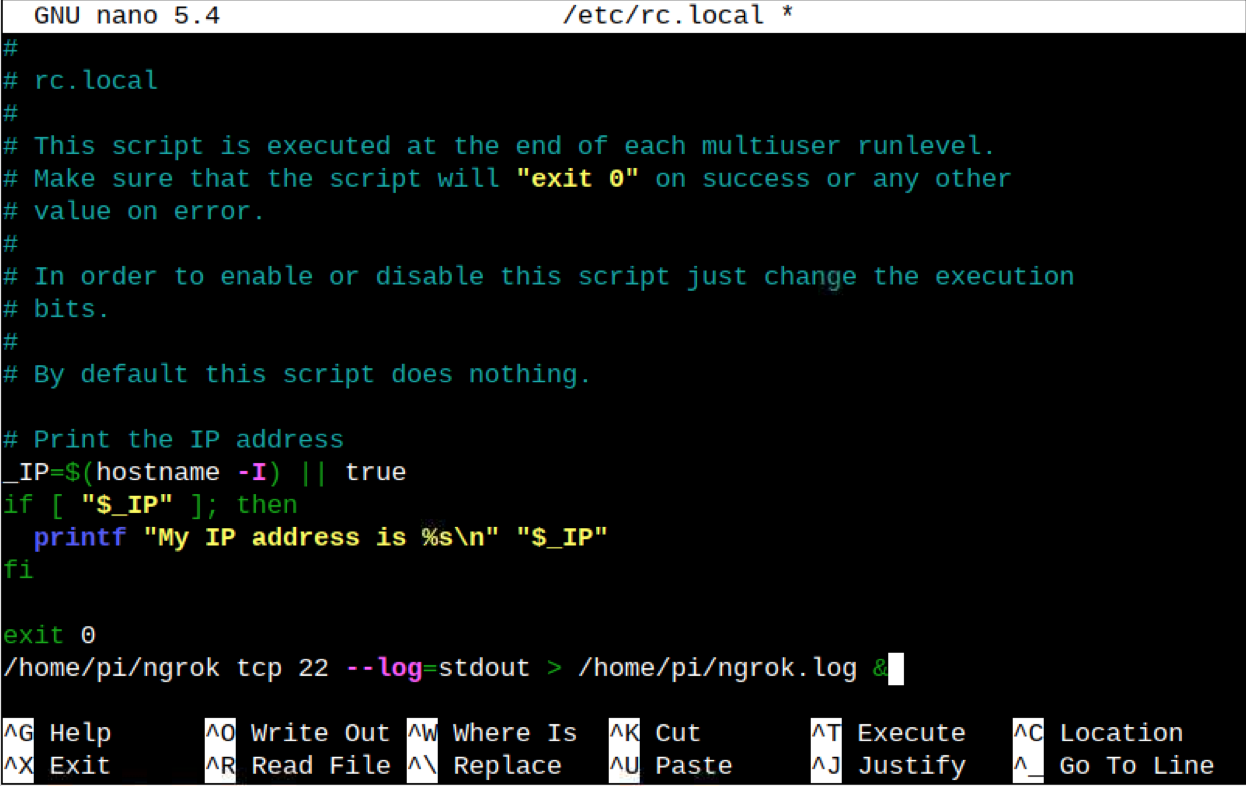
Step 3: Then save the file using CTRL+X, add Y and press Enter. Then restart the device to make the changes to Raspberry Pi.
Conclusion
ngrok is an effective service that allows you to securely connect to Raspberry Pi since it does not require configuring any firewall or port forwarding rules. It is an ideal choice for the Raspberry Pi users who want to develop web applications. You can install ngrok on Raspberry Pi by downloading the source file, extracting them inside the /usr/local/bin directory to complete the installation. After the installation, authenticate Raspberry Pi, generate SSH key, edit the SSH file and create an SSH tunnel. Once done, you can then access the Raspberry Pi device with the address provided to you by ngrok.
Source: linuxhint.com