How to Configure and Run Stadia on Raspberry Pi
If you don’t know how to run Stadia on Raspberry Pi, go through this article’s guidelines.
How to run Stadia on Raspberry Pi
Running Stadia on Raspberry Pi requires a web browser and some configuration in the device so that it would be able to provide you with a good gaming experience. The following step-by-step instructions will guide you in running the Stadia on Raspberry Pi:
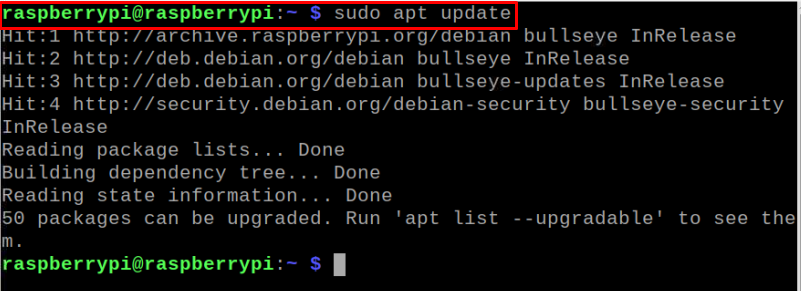
Step 1: Update packages on Raspberry Pi
First, update the Raspberry Pi’s packages using the following command:
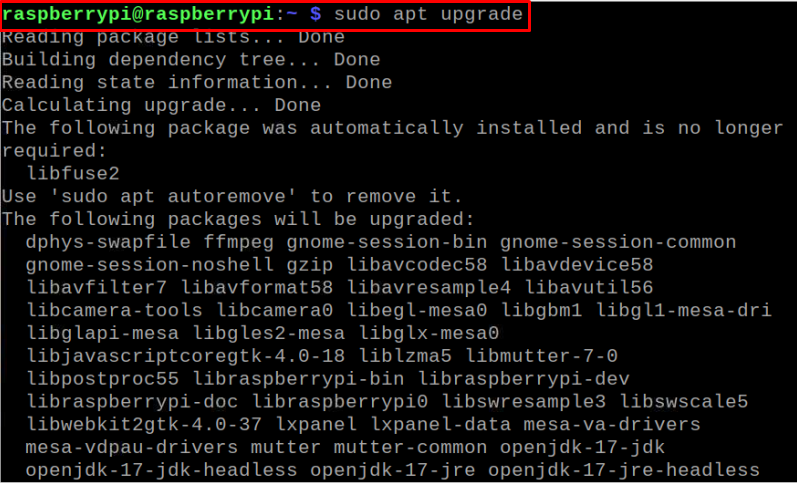
To install the upgrade version of packages, using the following command:
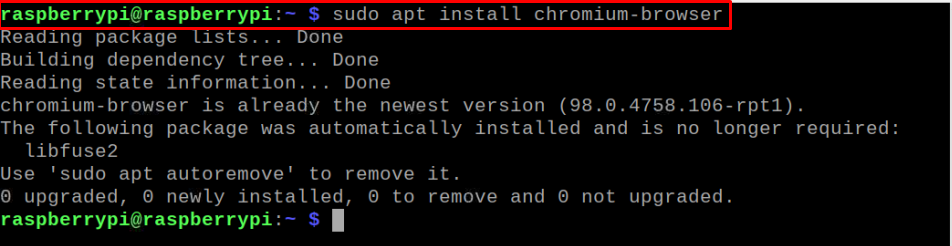
Step 2 (Optional): Ensure Chromium Browser is installed
The Raspberry Pi OS already includes Chromium browser, so you can skip this step in case the browser is installed. However, if you accidently deleted the browser, install it through the following command:
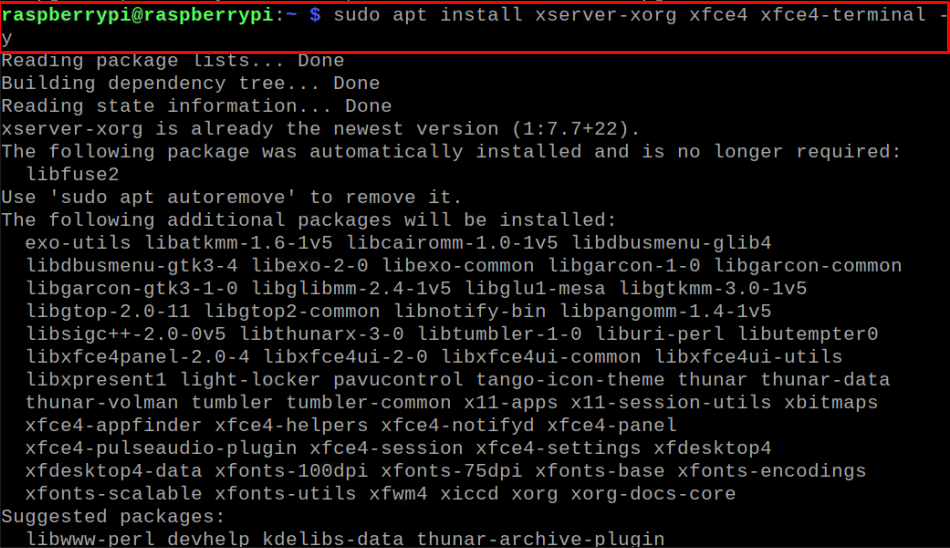
Step 3 (Optional): Install Desktop environment
If you are using a light version of Raspberry Pi OS on your device, you will require installing the desktop environment first so that you would be able to use the GUI. The below-given command will assist you in installing the Xfce environment on your device.
Step 4: Increase the Raspberry Pi Memory
Next, you will need to increase the amount of memory dedicated to your device’s GPU. To do this step, you will need to open the Raspberry Pi configuration first using the following command:
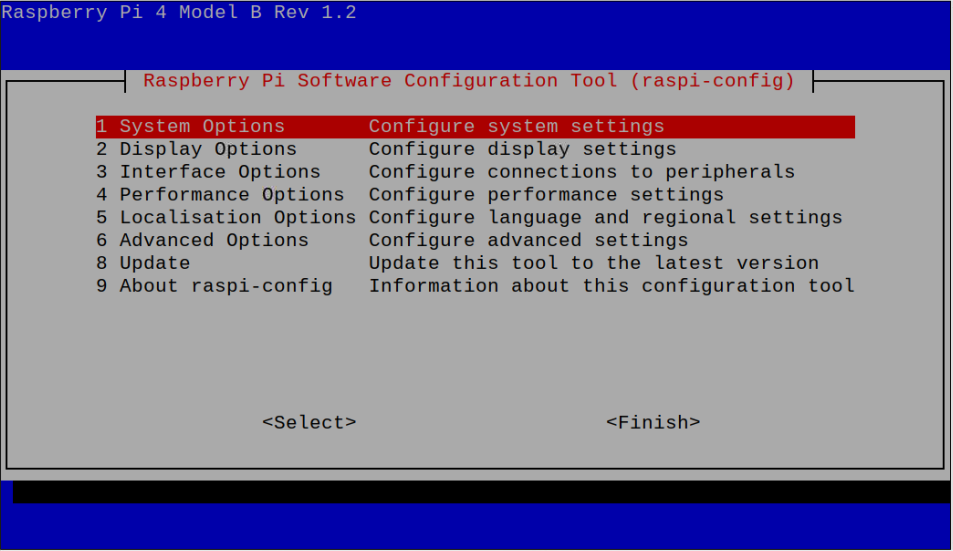
In the configuration, go to the “Performance Options”.
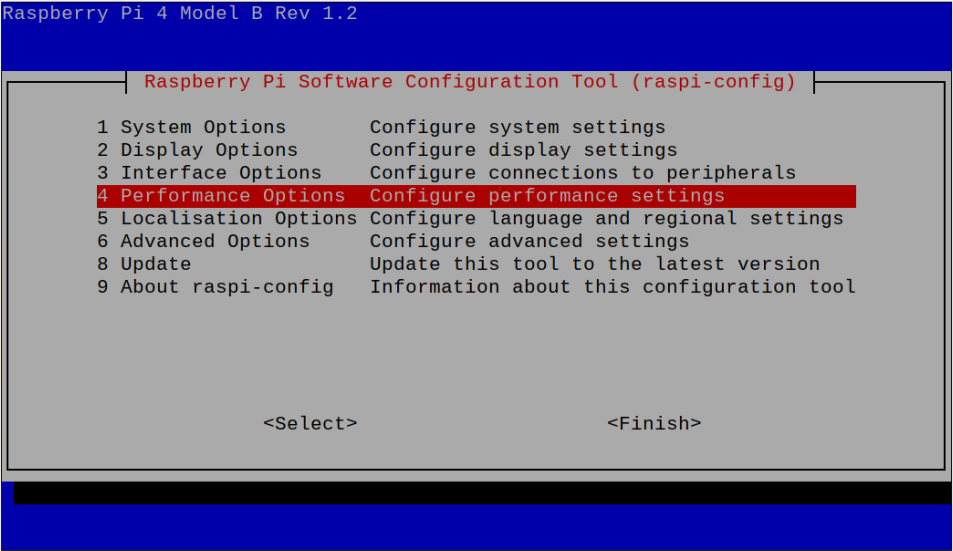
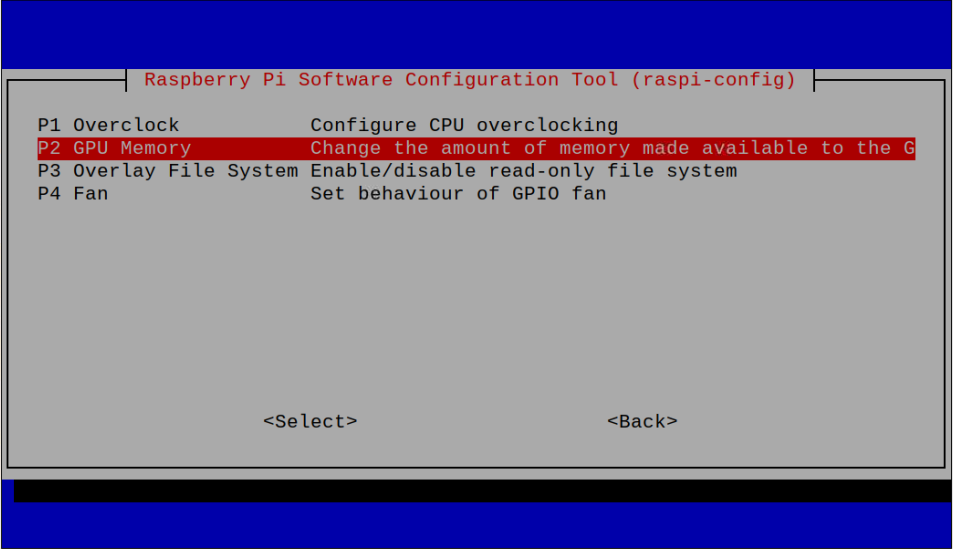
Select “P2 GPU Memory”.
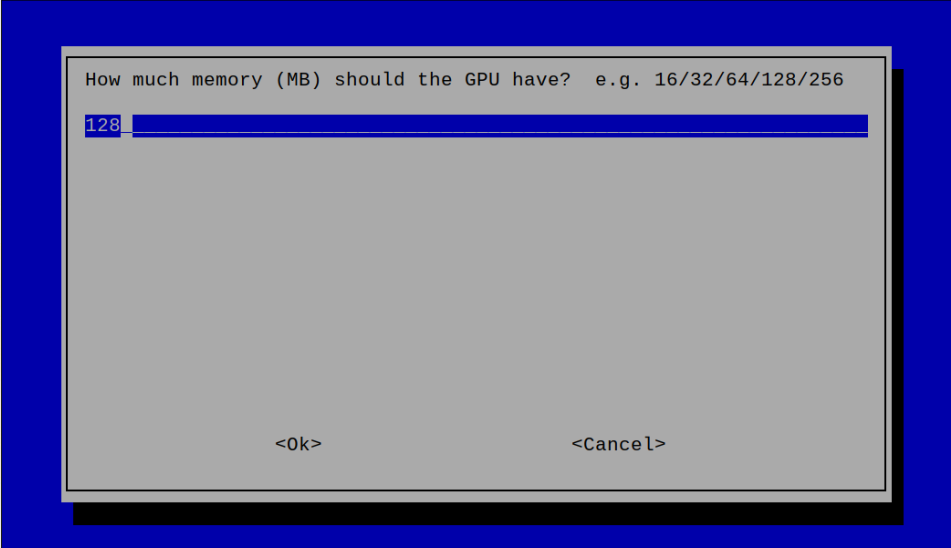
Now, change the number from 64 to 256 if you are using a Raspberry Pi 4 device with 8GB RAM. For 4GB RAM, you can replace the number 64 with 128.
Now, reboot the device for the changes to apply.
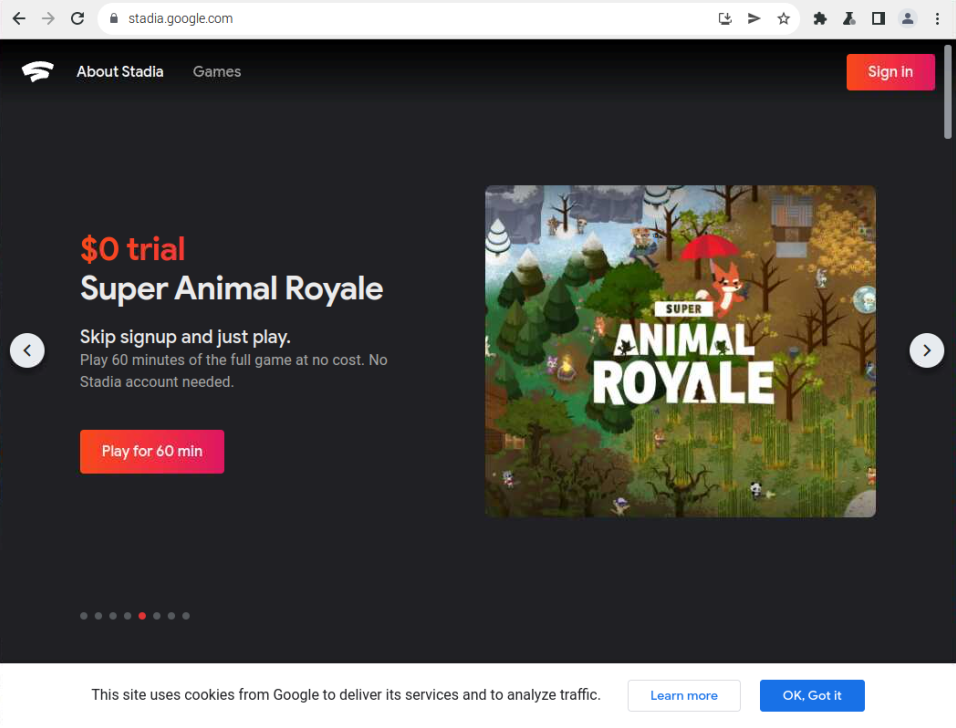
After the reboot, open the Chromium-browser on your device and visit the address https://stadia.google.com.
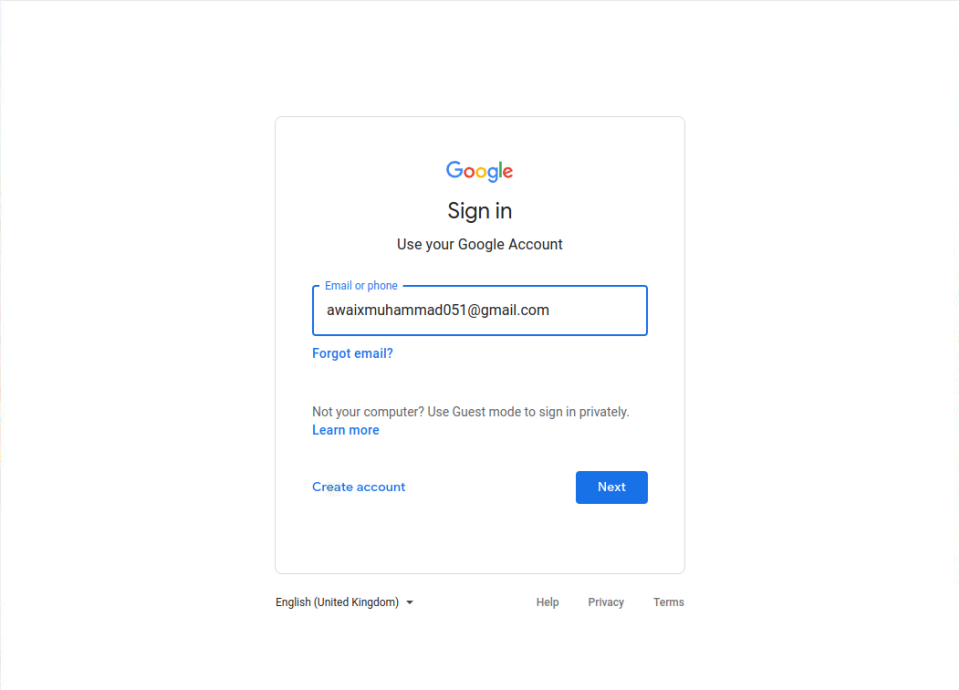
Go to the “Sign in” button.

Sign in with your Gmail Account.
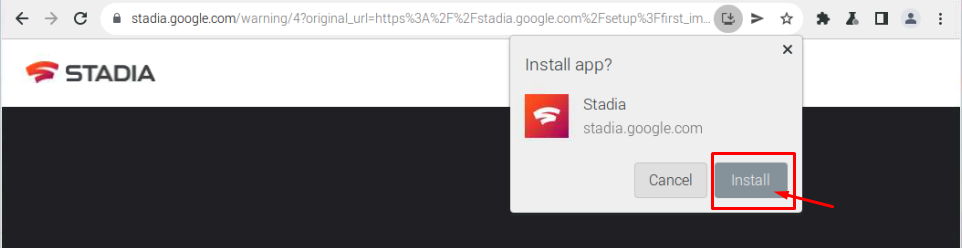
You can also install Stadia onto your Raspberry Pi using by following the below-image guideline.
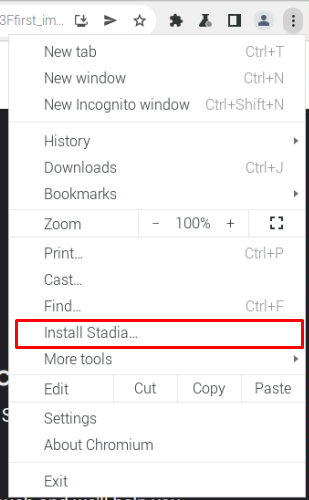
Click on the “Install” option.
Configuring Stadia on Raspberry Pi
With the Sign in process, you will need to complete the below-mentioned 7 Steps before you will get a chance to use Stadia on Raspberry Pi.
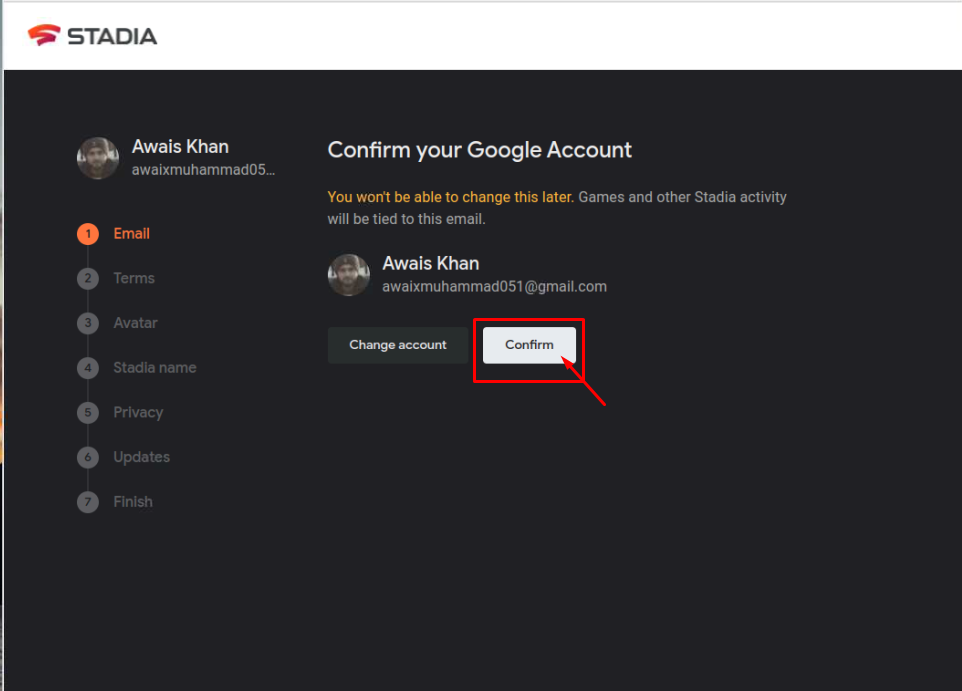
Step 1: In the first step, click on the “Confirm” option to proceed towards the next step.
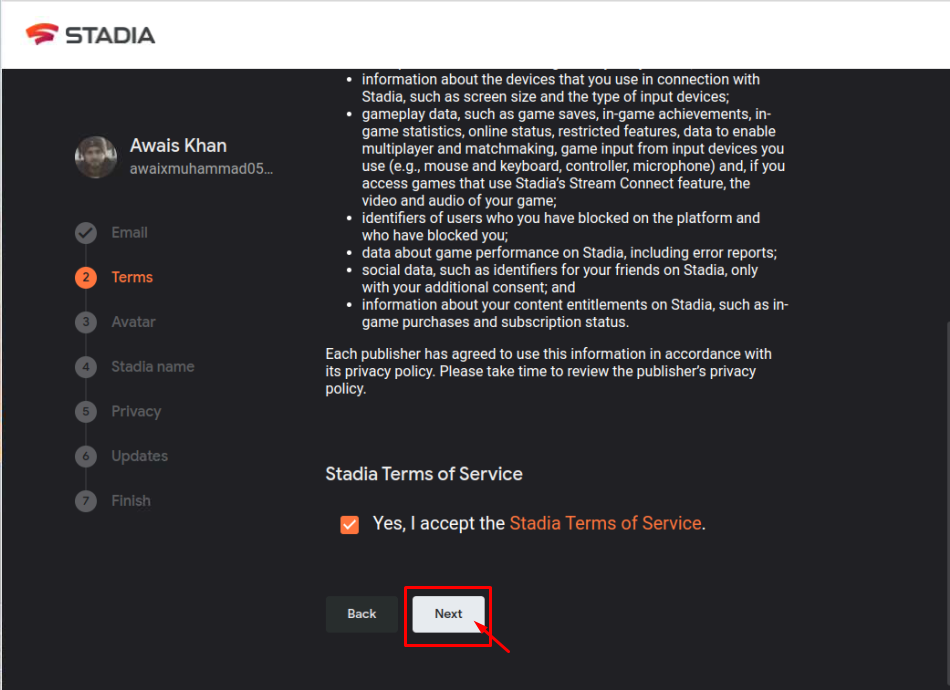
Step 2: Scroll down and accept the Terms and then click on the “Next” button.
Step 3: Choose your Avatar and then select the “Next” option.

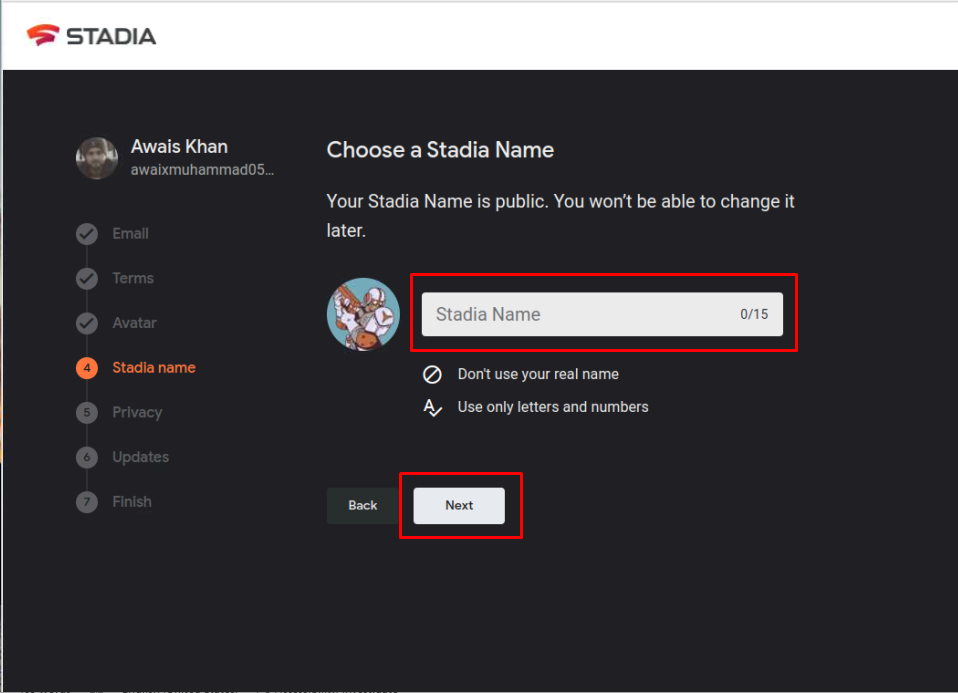
Step 4: Choose a Stadia name by yourself.
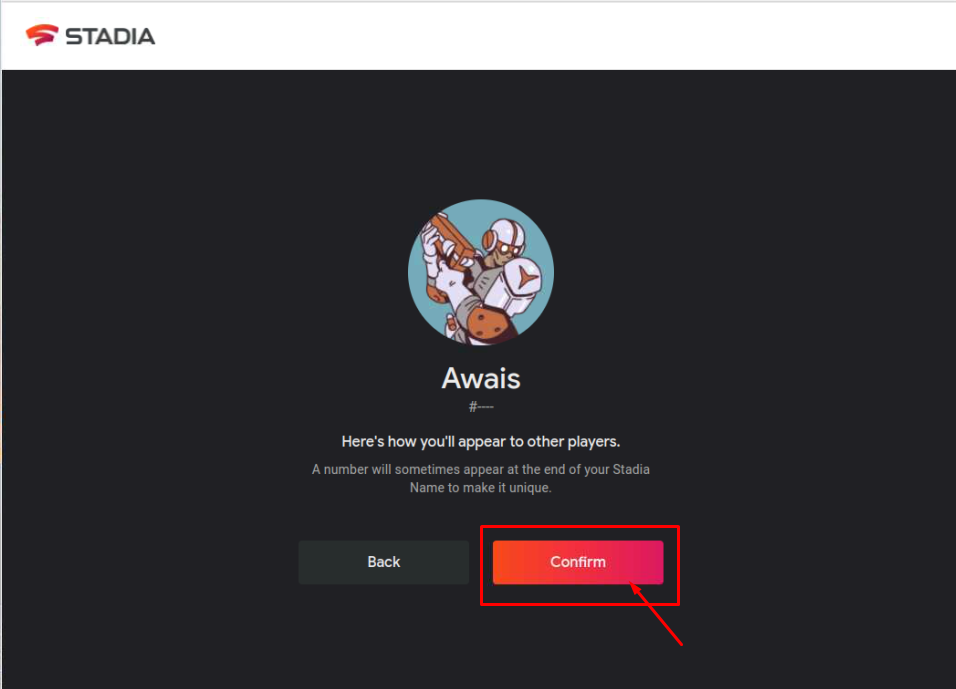
Step 5: Click on the “Confirm” option.
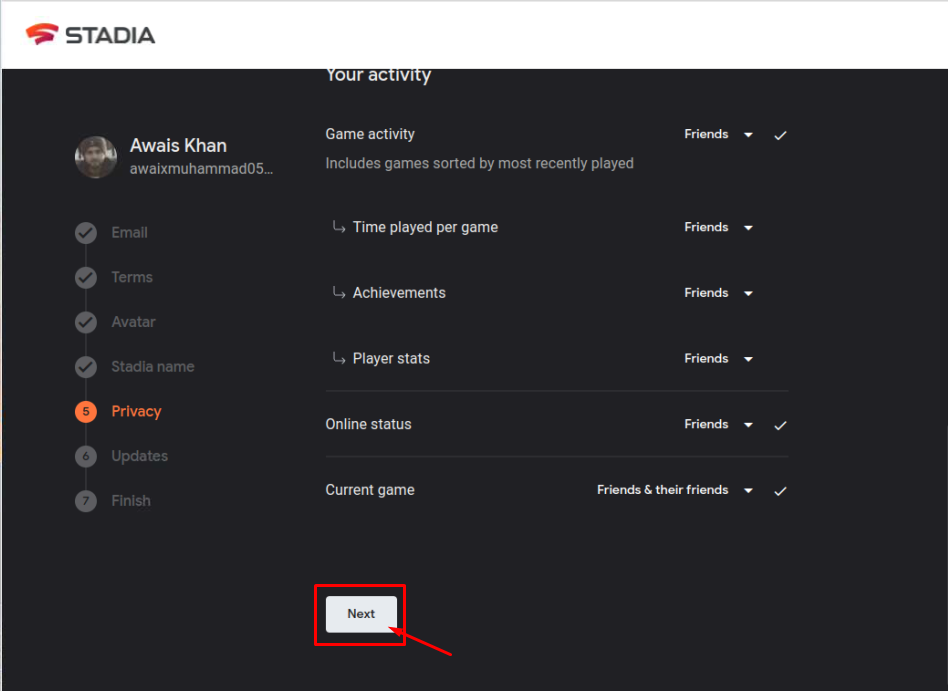
Step 6: Choose your privacy settings and then proceed with the “Next” option.
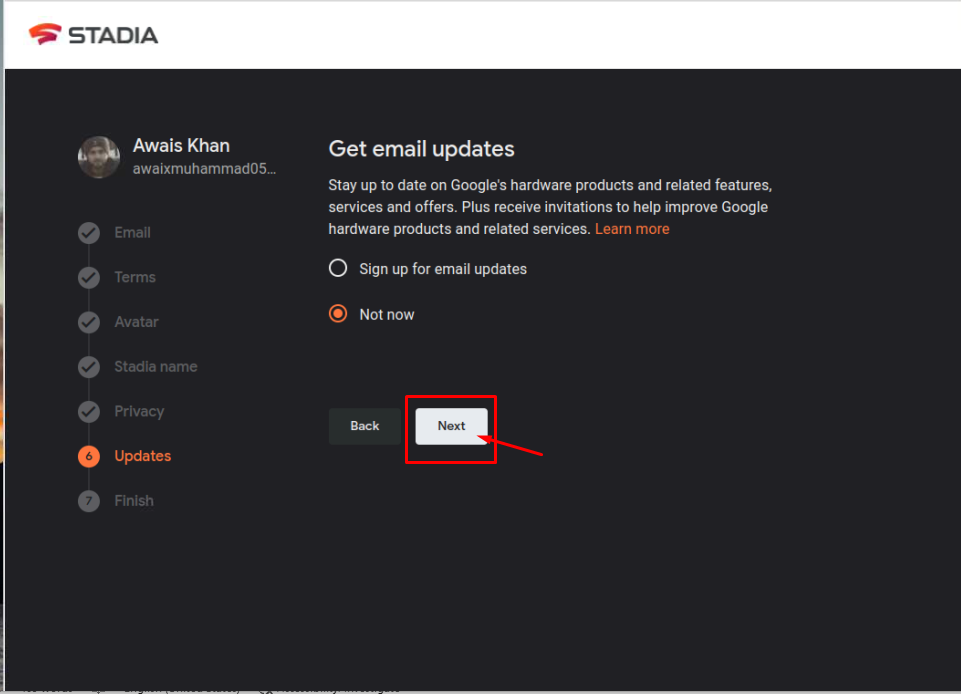
Step 7: If you want to get daily updates, choose the “Sign up for email updates” option or you can proceed with the “Next” button by selecting the “Not now” option.
Step 8: In this step, you will require to purchase the Stadia Pro version so that you can enjoy playing games on it. For that, click on the “Start trial” option and provide your account details.
You can skip the Pro version by choosing the “No Thanks” option.

This shows the Stadia dash board on the browser.
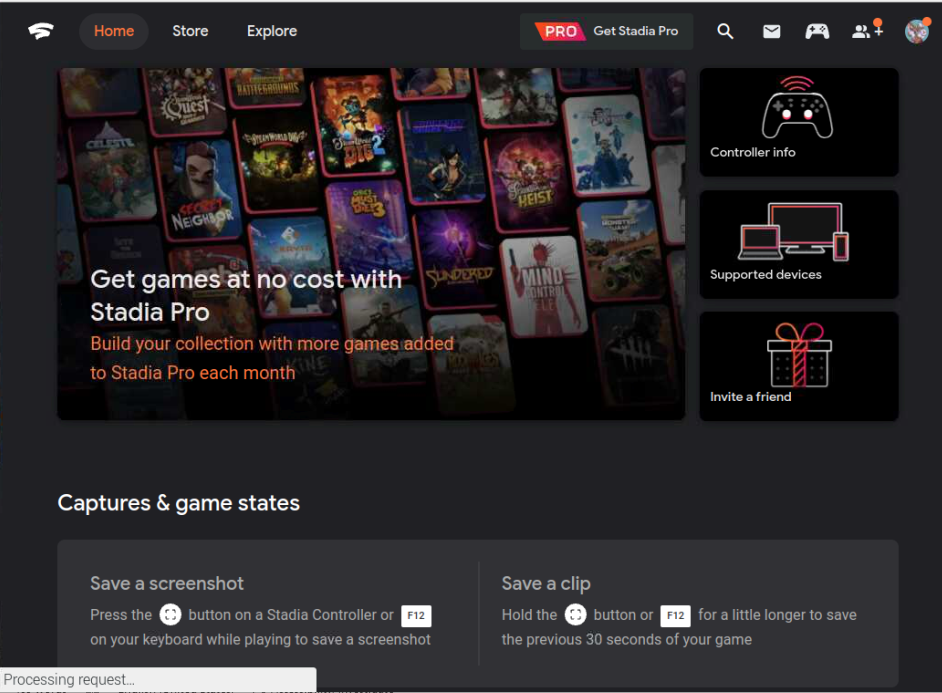
Now, that Stadia is running on your Raspberry Pi, look for the free games.

Click on any game to run it on your browser.
You can purchase many AAA games and enjoy a seamless gaming experience right into your browser tab.
Conclusion
Stadia is a perfect online gaming platform designed especially for game lovers to enjoy a seamless gaming experience on their web browsers. After performing the steps mentioned above, it can easily run on your Raspberry Pi device. You can play some free games and purchase the Stadia Pro subscription to play high-end games.
Source: linuxhint.com