How to Clear the Downloads History on Google Chrome
By periodically removing unnecessary entries from the download history, we can improve the overall efficiency and speed of Chrome. It ensures that any downloaded files by previous users are not readily accessible or visible to subsequent users. This is very important in circumstances where multiple individuals use the same device such as in public institutions. This guide is all about clearing the download history from Chrome.
Check the Download History of Chrome
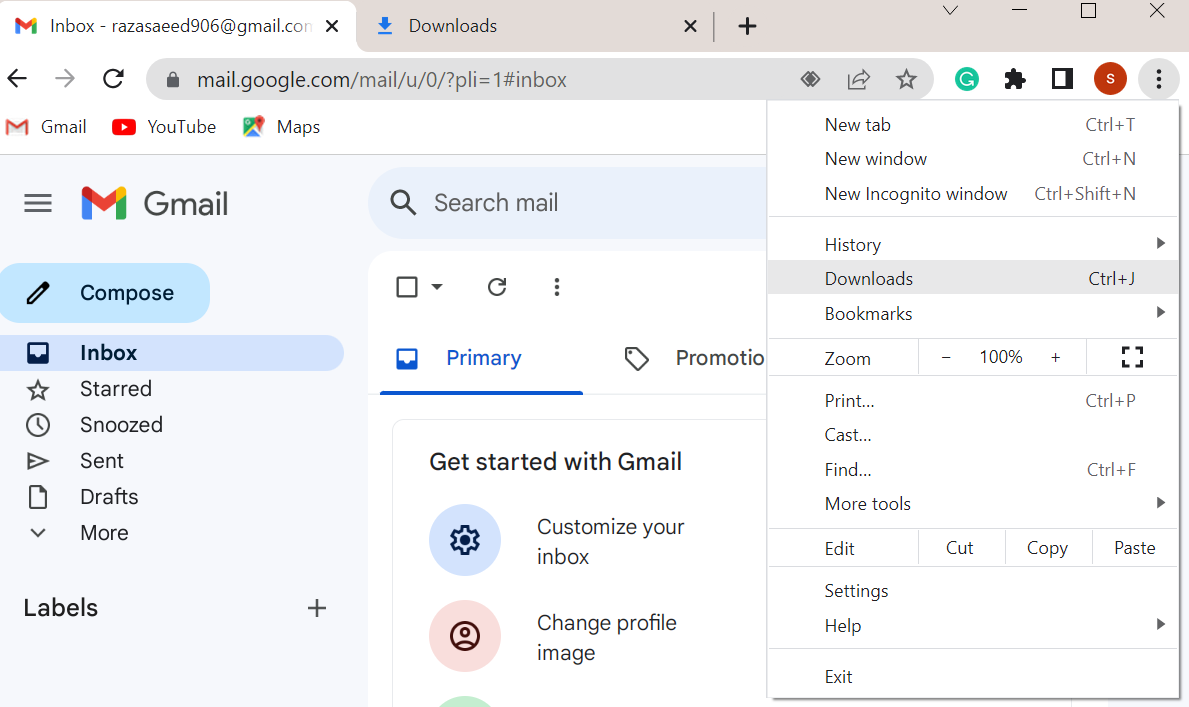
To check the download history of Google Chrome, launch your Chrome browser. At the topmost right corner of the Chrome browser, you will find the icon that has three consecutive dots which are placed along with the icons of extensions, and any Gmail account that you have. Pat on the three-dot icon and a list of Chrome settings will be displayed. You can tap the “Downloads” option here. The “Downloads” section of the Google Chrome browser will be opened. You will see that this section has maintained the history of all the downloads that are made by you or any other user.
Remove a Single Record from Chrome Downloads
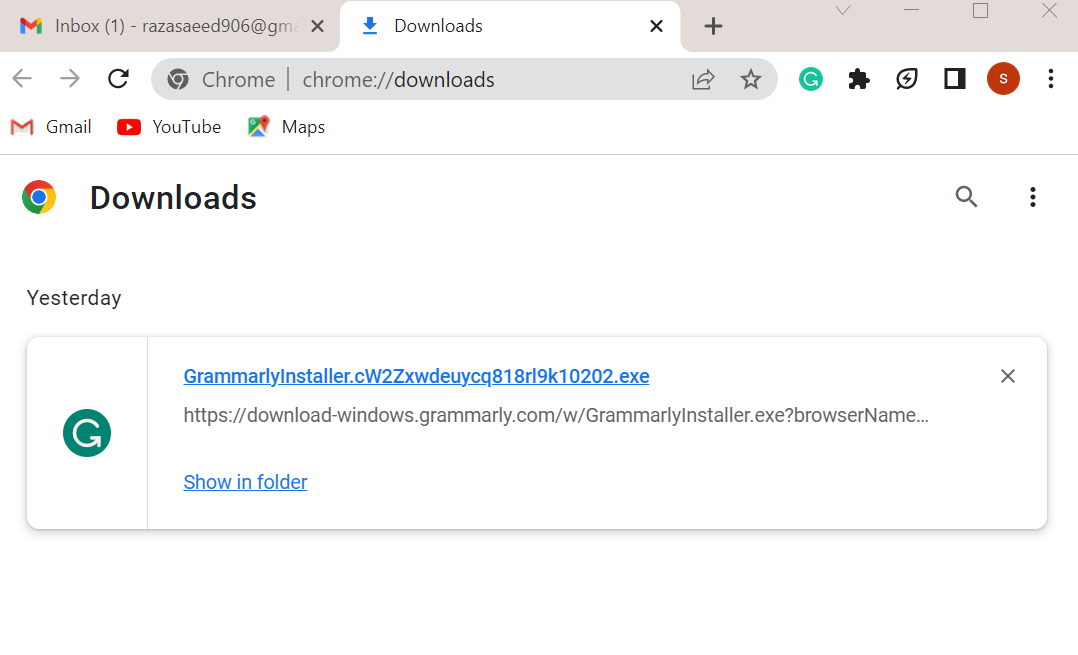
After checking the download list, it might appear to you that some of the downloads are left incomplete or the download process has been halted due to some internet problems. For such reason, you might want to remove those records from the Downloads. Right now, we only have a single record in our download history that is displayed in the following, i.e. executable file of the Grammarly tool for Windows. Let’s say we want to remove the record of the Grammarly executable file since we don’t need it anymore. We use the cross sign in front of it to remove it from the list.
After using the cross sign, the record will be deleted from the list and the success message will be displayed within the black pop-up notification. If you accidentally removed the downloaded file from the list, you can undo this action using the “Undo” option that is provided in the notification that is shown in the following:

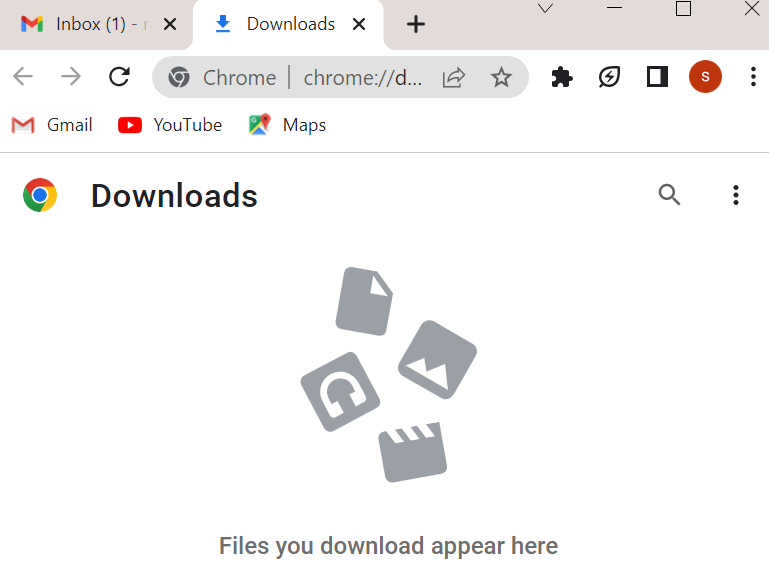
After deleting the single record, you can see that the Downloads list is empty.
Remove All Records from Chrome Downloads
Chrome provides you with an option to clear all the download history from it with a single click. For this, you must be on the main “Downloads” page.
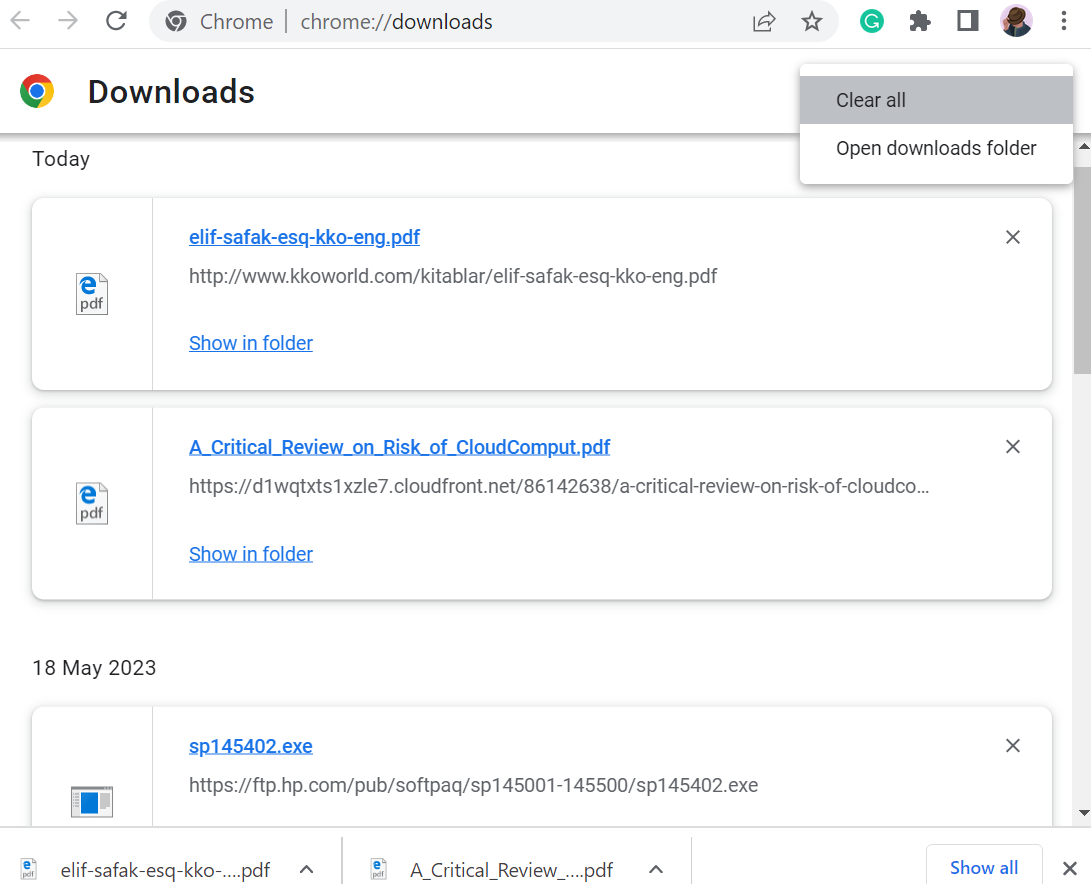
For instance, we downloaded a book, an educational document, and a driver for Windows 10, i.e. a total of 3 downloads as per the image attached. Now, we will not use the cross sign in front of each downloaded file to remove them all. Rather, we use the three consecutive dots icon in front of the main “Downloads” head and beside the search icon.
After clicking on it, we get two options. The first option is “Clear all” which allows us to remove all the downloads from a list. The second option is “Open downloads folder” which takes you to the folder where all your downloaded files reside in the system. Pat the “Clear all” button to remove all the downloads from the Chrome history.
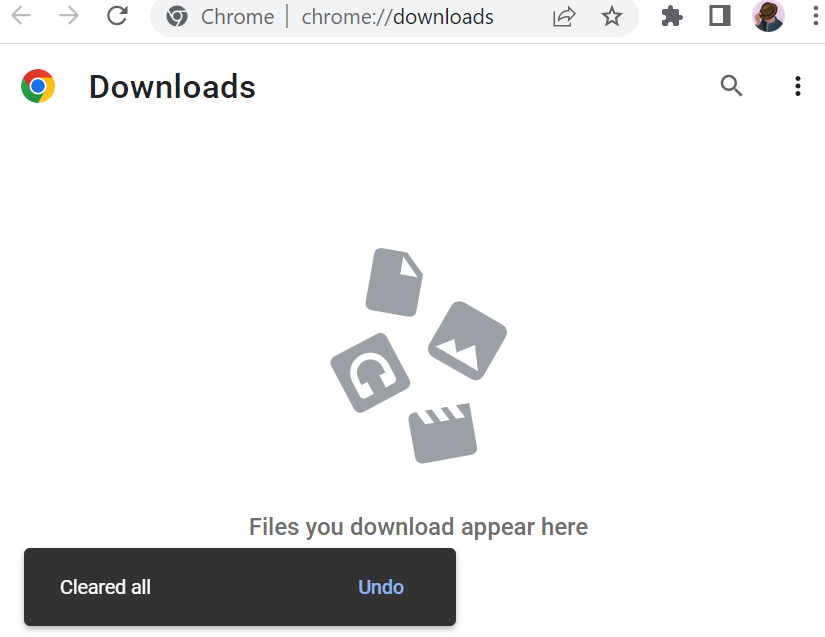
The pop-up message in black is displayed on the lower side of the Downloads screen which shows that all the data from the Downloads section has been cleared. In case you accidentally removed all the downloaded history, you can use the “undo” option in blue to undo it.
Clear the Download History from Chrome Cache
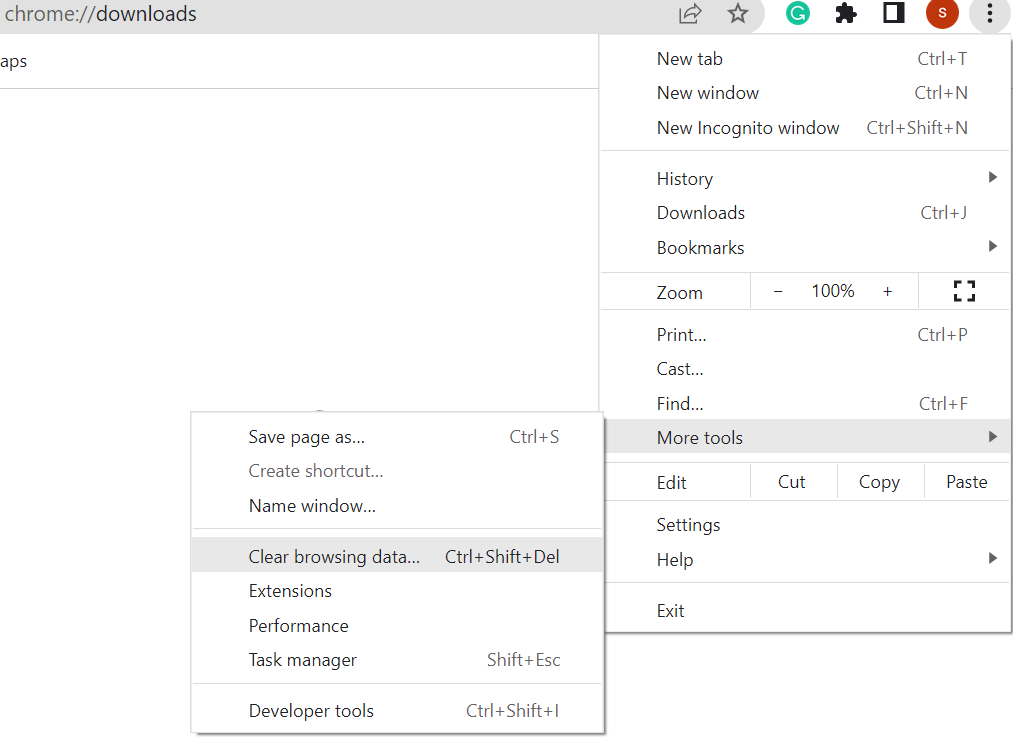
Even though we removed all the records from the “Downloads” section of Chrome browser, it still holds some download history at its browsing end like the total number of downloads, etc. Let’s take a look at it and clear that record as well. Hit on the same three dots icon from the top corner of Chrome browser and expand the “More Tools” option. From the expanded options, click “Clear browsing data” or use the shortcut key.
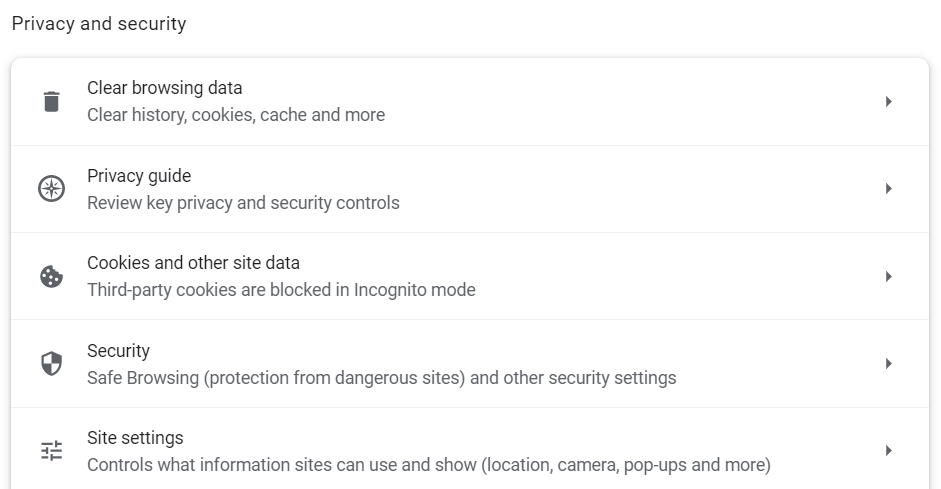
Within the “Privacy and Security” setting of the Google Chrome browser, you can find the “Clear browsing data” option that is specifically used to clear the Google Chrome browsing and cache history when required. Hit on it to see what it offers.
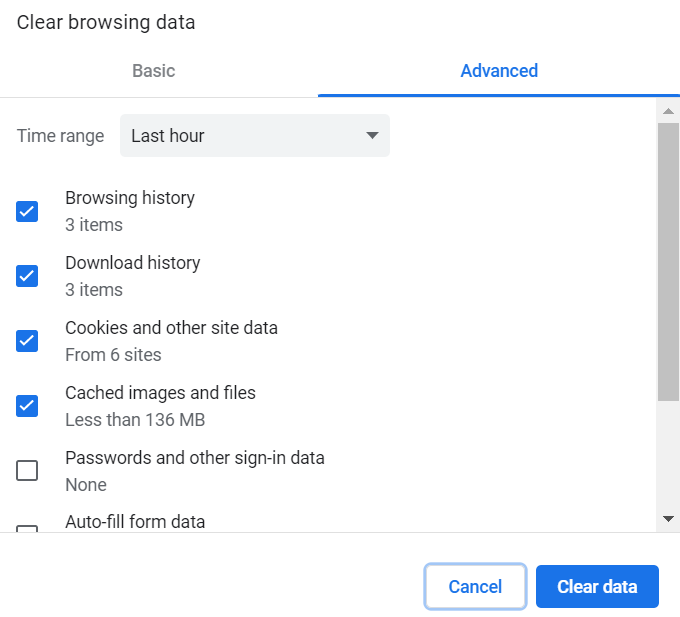
The “Clear browsing data” option of Google Chrome browser has two sections: Basic and Advanced. The “Basic” section doesn’t show the data regarding the downloads of Chrome. We explore the “Advanced” section to check for the download history.
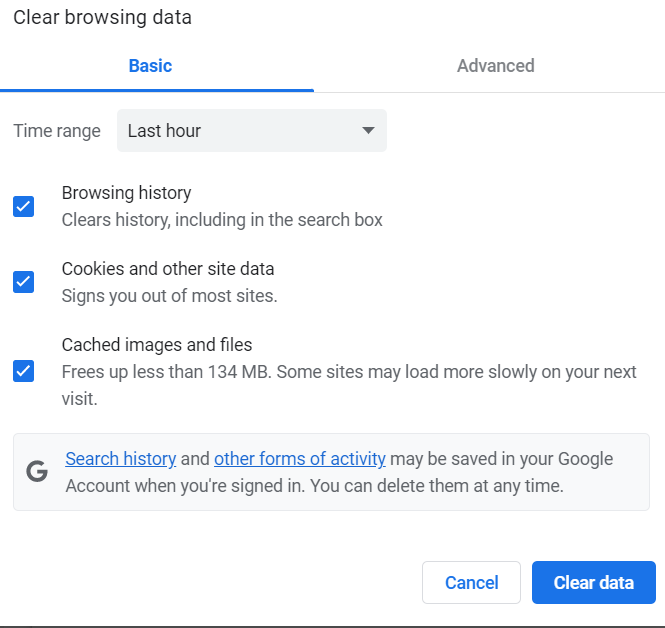
The “Advanced” section shows the browsing history, download history, cookies history, some cache records, and other necessary data of the Google Chrome browser in the form of checkboxes. Here, it is necessary to mention that even after removing all the downloaded files from the “Downloads” section of Google Chrome, we still have a record of 3 items in the download history of the Chrome browser.
Therefore, we completely remove it by check-marking the “Download history” option from the listed options. After selecting the “Download History” and other options of your choice which you want to remove completely, use the “Clear data” button at the bottom which is shown in blue color.
After removing all the download history from the browsing section of the Google Chrome browser, you can move back to the “Downloads” section and look for the downloaded files. You will not find any of the downloaded files here if there is any.

Conclusion
Clearing the download history helps in maintaining a clutter-free browsing experience. Furthermore, clearing the download history can also help to progress the performance of the Chrome browser. In conclusion, regularly clearing the download history from Chrome is essential for safeguarding the privacy, maintaining organization, optimizing the browser performance, and ensuring the security of shared devices. By doing so, we can enjoy a more protected and competent browsing experience.
Source: linuxhint.com