How to Check Windows Update History Using PowerShell
Windows PowerShell is a command line shell provided by Windows to automate tasks and configure different programs. Users can enter a single command or write a script containing a set of commands to perform a particular task. In addition to this, Windows PowerShell can be used to keep track of all the updates that were installed on Windows. Users can view the date, time, hotFixID, and description for every update. It can be utilized to monitor and track the changes occurring on your computer.
This article will elaborate on viewing Windows update history using the PowerShell command.
Viewing Windows Update Install History With PowerShell?
To check the history of all the Windows updates that occurred on the system, follow the steps exhibited below.
Step 1: Launch Windows PowerShell
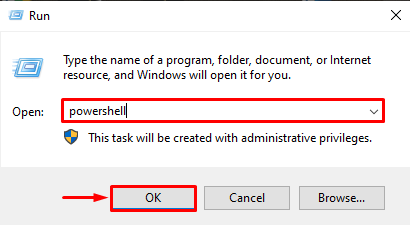
Hit the “Windows + R” shortcut on the keyboard, and type “PowerShell” in the textbox. Then, press the “OK” button:
Step 2: Execute the Command
Once the Windows PowerShell is opened, type in the following command to view the update history list:
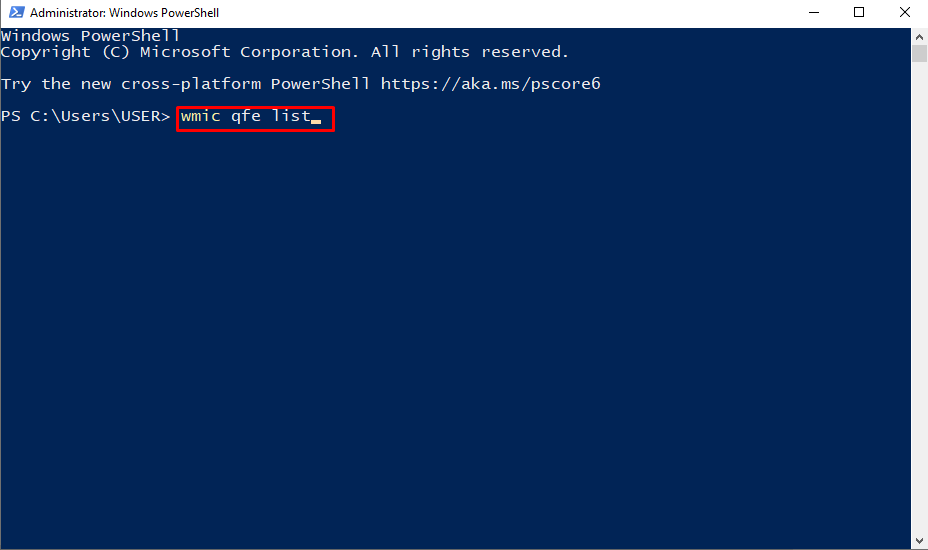
Hit the “Enter” key on the keyboard, consequently, PowerShell will provide the list of the updates that occurred on the system:
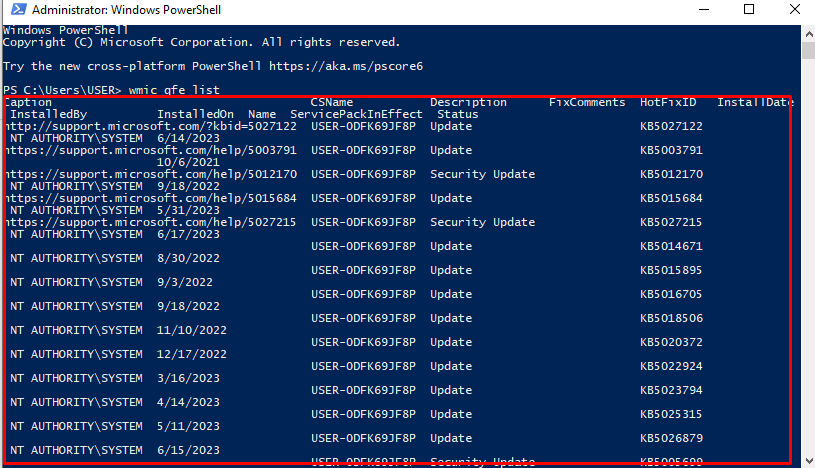
Here is what the columns in the above result mean:
-
- InstalledBy: It represents the authority that installed the update.
- InstalledOn: Shows the date of installation.
- CSName: This shows the name of the system user.
- Description: This describes the type of the update.
- FixComments: This shows any comments regarding the update.
- HotFixID: This is a unique ID assigned to every installed update.
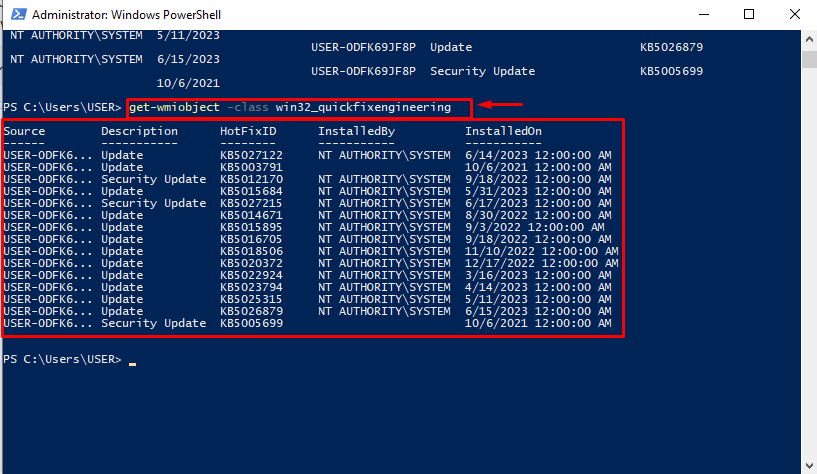
To get more simplistic data, insert the following command and hit Enter:
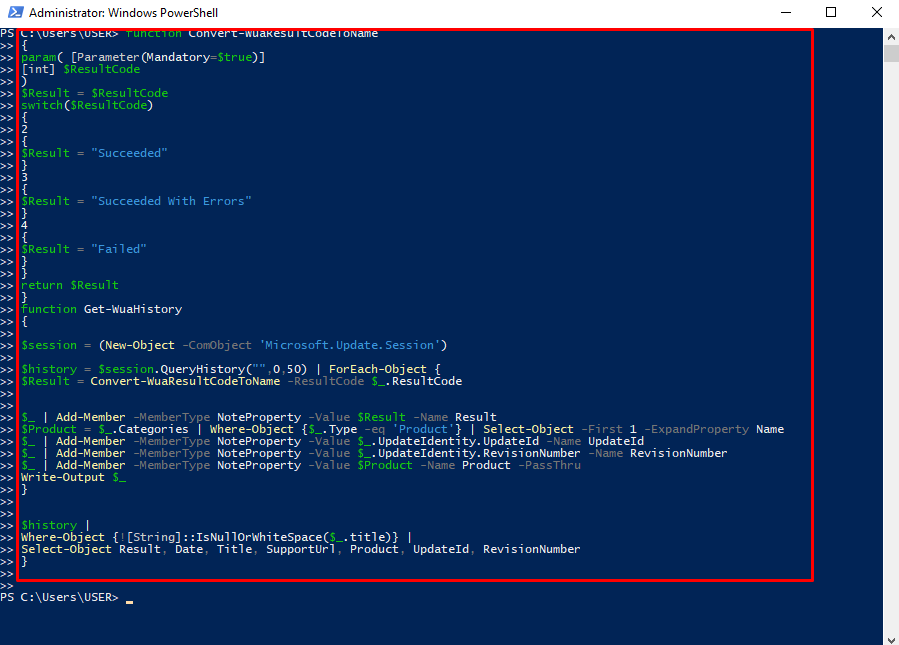
Now, to view a more detailed update history which will include all the .NET, Windows Defender, and more updates, paste the below-provided script into the PowerShell and hit Enter:
{
param( [Parameter(Mandatory=$true)]
[int] $ResultCode
)
$Result = $ResultCode
switch($ResultCode)
{
2
{
$Result = "Succeeded"
}
3
{
$Result = "Succeeded With Errors"
}
4
{
$Result = "Failed"
}
}
return $Result
}
function Get-WuaHistory
{
$session = (New-Object -ComObject 'Microsoft.Update.Session')
$history = $session.QueryHistory("",0,50) | ForEach-Object {
$Result = Convert-WuaResultCodeToName -ResultCode $_.ResultCode
$_ | Add-Member -MemberType NoteProperty -Value $Result -Name Result
$Product = $_.Categories | Where-Object {$_.Type -eq 'Product'} | Select-Object -First 1 -ExpandProperty Name
$_ | Add-Member -MemberType NoteProperty -Value $_.UpdateIdentity.UpdateId -Name UpdateId
$_ | Add-Member -MemberType NoteProperty -Value $_.UpdateIdentity.RevisionNumber -Name RevisionNumber
$_ | Add-Member -MemberType NoteProperty -Value $Product -Name Product -PassThru
Write-Output $_
}
$history |
Where-Object {![String]::IsNullOrWhiteSpace($_.title)} |
Select-Object Result, Date, Title, SupportUrl, Product, UpdateId, RevisionNumber
}
Once the above script is entered, the cursor will move on to the next line:
After that, enter the following command:
The below output shows all the updates that were installed on the Windows with their date, time, title, and whether the installation was successful or not:
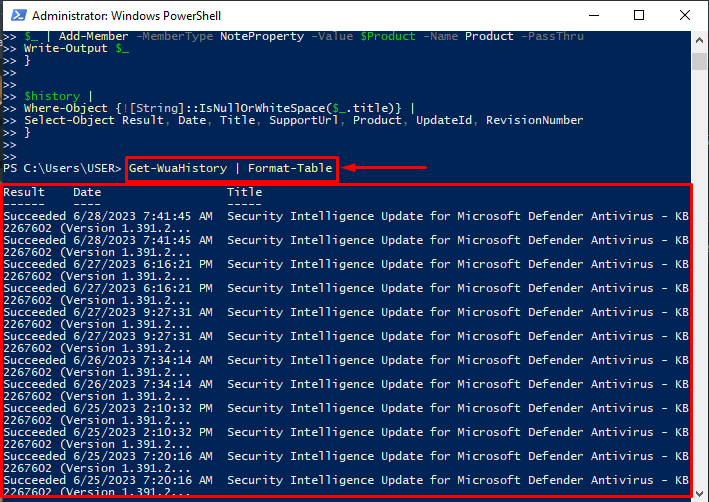
This is how a user can view all the update history using Windows PowerShell.
Conclusion
Windows PowerShell can be used to view all the updates that were installed on Windows. For this purpose, first, access the RUN dialog box by hitting the “Window + R” key. Then, type “PowerShell” in the box and hit the “OK” button. Next, type in the above-provided commands to view the update history list with details about the time they were installed, their source, description, and many more. This article has provided instructions on checking the update installation history using Windows PowerShell.
Source: linuxhint.com