How to Check if a Filesystem is Mounted in Linux
The OS(operating system) employs the file system which is known as the file system in a computer language that is commonly abbreviated to “fs”. The “fs” is a technique that regulates how well the piece of information is protected and accessed. Without a file system, the content of the file in a memory device would not distinguish between one type of information. The information can be easily extracted and recognized by making the groups and assigning each group a name. Each group of information is referred to as a “file,” which is a terminology derived from a paper-based data management system. A “file system” is the term referring to both the organizational framework and logical principles that are used to handle the names and groupings of information.
Different Techniques of Checking the Filesystem Mounted Type in Linux
There are many different file system varieties in Linux that will provide several terminal commands and techniques to check the filesystem mounted type in Linux. Let us just start delving and fully understanding how well the filesystem functions in terms of understanding the various filesystem varieties in Linux and how we are going to execute each method one at a time.
Prerequisite: Installing util-linux
To use the root privileges of accessing the different types of file systems in Linux, we will first write the “sudo” keyword in the Linux terminal. Then, we will write the “apt” which will upgrade the deb packages. To access the mounted files system in the Linux, we use different steps to install the “util-linux” as seen below:
After writing the “sudo” command, we first have to enter the password of the Linux then it will show further details.
Reading package lists… Done
Building dependency tree
Reading state information… Done
util-linux is already the newest version (2.34-0.1ubuntu9.3).
0 upgraded, 0 newly installed, 0 to remove and 31 not upgraded.
After installing the “util-linux”, now we can easily apply the different techniques to check the filesystem mounted type.
Technique 01: The “fsck” Command
The Linux command fsck stands for File System Consistency Check which analyzes filesystems for faults or unresolved problems.
Step: 01
The instruction employed to produce statistics and correct potential problems is written below:
fsck from util-linux 2.34
[/usr/sbin/fsck.ext4 (1) — /] fsck.ext4 /dev/sda5
[/usr/sbin/fsck.vfat (1) — /boot/efi] fsck.vfat /dev/sda1
To get the certain filesystem, we will write the path of the filesystem which we want to get:
linux@linux-VirtualBox:~$ sudo fsck –N /dev/sda5
fsck from util-linux 2.34
[/usr/sbin/fsck.ext4 (1) — /] fsck.ext4 /dev/sda5
Step: 02
To get additional information on the “fsck” statement, use the “man fsck” statement. Following is the full command:
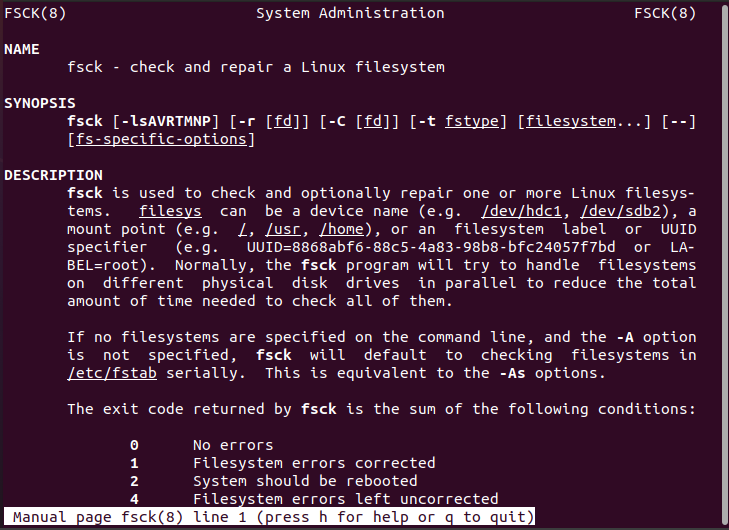
Technique 02: The “mount” Command
The “mount” statement will provide all the mounted devices along with the filesystem format and mounted location in Linux.
Step 01:
To get the mounted filesystem’s type, we will write first the “mount” keyword along with “grep” so that we can only get those mounted files that we want to display. This is why we have provided the “^/dev” path.
/dev/sda5 on / type ext4 (rw,relatime,errors remount-ro)
/dev/sda1 on /boot/efi type vfat (rw, relatime, fmask=0077, dmask=0077,codepage=43
7,iocharset=iso8859-1, shortname-mixed, errors=remount-ro)
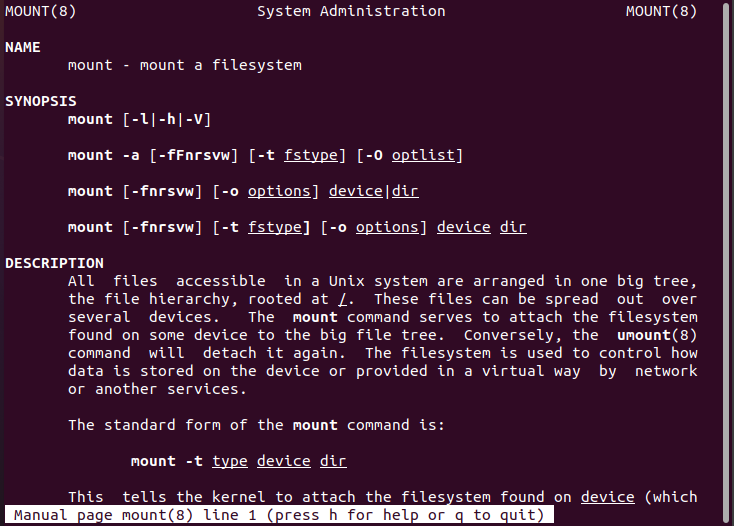
Step: 02
To understand more clearly about the “mount” command, write the below INSTRUCTION:
Technique 03: The “findmnt” Command
Now, we are going to implement another technique to check the filesystem type which is “findmnt” statements in Linux. In the findmnt statement, it will show all the mounted filesystems in the device.
Step: 01
The “findmnt” statement returns the target, source, and fstype which means file system type and the options which contain whether the file is read/write or read-only. At the top of the tree of the filesystem, it will be the root directory and here it is “ext4”.
TARGET SOURCE FSTYPE OPTIONS
/ /dev/sda5 ext4 rw,relatime,errors=rem
├─/sys sysfs sysfs rw,nosuid,nodev,noexec
│ ├─/sys/kernel/security securityfs securi rw,nosuid,nodev,noexec
│ ├─/sys/fs/cgroup tmpfs tmpfs ro,nosuid,nodev,noexec
│ │ ├─/sys/fs/cgroup/unified cgroup2 cgroup rw,nosuid,nodev,noexec
│ │ ├─/sys/fs/cgroup/systemd cgroup cgroup rw,nosuid,nodev,noexec
│ │ ├─/sys/fs/cgroup/rdma cgroup cgroup rw,nosuid,nodev,noexec
│ │ ├─/sys/fs/cgroup/cpu,cpuacct cgroup cgroup rw,nosuid,nodev,noexec
│ │ ├─/sys/fs/cgroup/cpuset cgroup cgroup rw,nosuid,nodev,noexec
│ │ ├─/sys/fs/cgroup/net_cls,net_prio cgroup cgroup rw,nosuid,nodev,noexec
│ │ ├─/sys/fs/cgroup/blkio cgroup cgroup rw,nosuid,nodev,noexec
│ │ ├─/sys/fs/cgroup/misc cgroup cgroup rw,nosuid,nodev,noexec
│ │ ├─/sys/fs/cgroup/perf_event cgroup cgroup rw,nosuid,nodev,noexec
│ │ ├─/sys/fs/cgroup/devices cgroup cgroup rw,nosuid,nodev,noexec
│ │ ├─/sys/fs/cgroup/pids cgroup cgroup rw,nosuid,nodev,noexec
│ │ ├─/sys/fs/cgroup/memory cgroup cgroup rw,nosuid,nodev,noexec
│ │ ├─/sys/fs/cgroup/hugetlb cgroup cgroup rw,nosuid,nodev,noexec
│ │ └─/sys/fs/cgroup/freezer cgroup cgroup rw,nosuid,nodev,noexec
│ ├─/sys/fs/pstore pstore pstore rw,nosuid,nodev,noexec
│ ├─/sys/fs/bpf bpf bpf rw,nosuid,nodev,noexec
│ ├─/sys/kernel/debug debugfs debugf rw,nosuid,nodev,noexec
│ ├─/sys/kernel/tracing tracefs tracef rw,nosuid,nodev,noexec
│ ├─/sys/fs/fuse/connections fusectl fusect rw,nosuid,nodev,noexec
│ └─/sys/kernel/config configfs config rw,nosuid,nodev,noexec
├─/proc proc proc rw,nosuid,nodev,noexec
│ └─/proc/sys/fs/binfmt_misc systemd-1 autofs rw,relatime,fd=28,pgrp
│ └─/proc/sys/fs/binfmt_misc binfmt_misc binfmt rw,nosuid,nodev,noexec
├─/dev udev devtmp rw,nosuid,noexec,relat
│ ├─/dev/pts devpts devpts rw,nosuid,noexec,relat
│ ├─/dev/shm tmpfs tmpfs rw,nosuid,nodev,inode6
│ ├─/dev/mqueue mqueue mqueue rw,nosuid,nodev,noexec
│ └─/dev/hugepages hugetlbfs hugetl rw,relatime,pagesize=2
├─/run tmpfs tmpfs rw,nosuid,nodev,noexec
│ ├─/run/lock tmpfs tmpfs rw,nosuid,nodev,noexec
│ └─/run/user/1000 tmpfs tmpfs rw,nosuid,nodev,relati
│ └─/run/user/1000/gvfs gvfsd-fuse fuse.g rw,nosuid,nodev,relati
├─/snap/bare/5 /dev/loop0 squash ro,nodev,relatime,erro
├─/snap/glances/1243 /dev/loop1 squash ro,nodev,relatime,erro
├─/snap/core20/1778 /dev/loop2 squash ro,nodev,relatime,erro
├─/snap/core20/1738 /dev/loop3 squash ro,nodev,relatime,erro
├─/snap/glances/1168 /dev/loop4 squash ro,nodev,relatime,erro
├─/snap/gnome-3–38–2004/115 /dev/loop5 squash ro,nodev,relatime,erro
├─/snap/gnome-3–38–2004/119 /dev/loop6 squash ro,nodev,relatime,erro
├─/snap/gtk-common-themes/1535 /dev/loop7 squash ro,nodev,relatime,erro
├─/snap/snap-store/558 /dev/loop8 squash ro,nodev,relatime,erro
├─/snap/snap-store/638 /dev/loop9 squash ro,nodev,relatime,erro
├─/snap/snapd/17883 /dev/loop10 squash ro,nodev,relatime,erro
└─/boot/efi /dev/sda1 vfat rw,relatime,fmask=0077
Step: 02
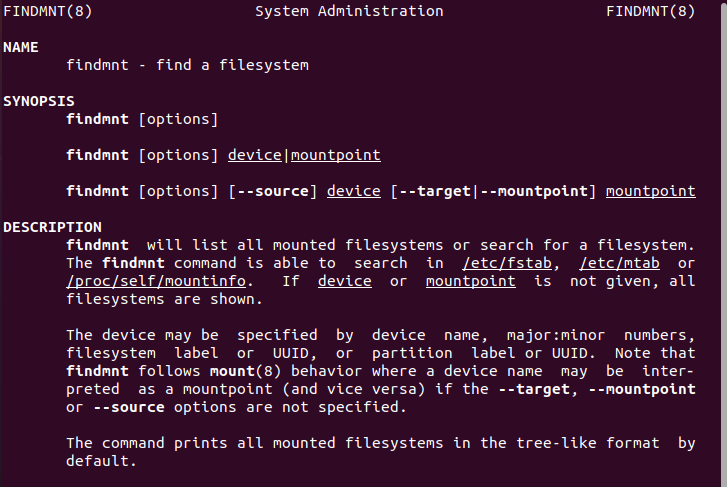
If you want to dig deeper into the understanding of the “findmnt” command:
Here is the detailed information about the “findmnt” command which was open on another Linux man terminal page. If you want to go back to the man terminal page, you have to press “q” to exit the “man findmnt” terminal.
Technique 04: The “file” Command
The “file” statement, which is employed to verify the kind of a certain file, is a further technique we will employ in the filesystems in Linux.
Step: 01
Below is a different example where we are checking the different filesystems while giving the different filesystems paths.
/dev/sda1: DOS/MBR boot sector, code offset 0x58+2, OEM-ID "mkfs.fat", sectors/ cluster 8, Media descriptor 0xf8, sectors/track 63, heads 255, hidden sectors 2048, sectors 1048576 (volumes > 32 MB), FAT (32 bit), sectors/FAT 1024, reserve d 0x1, serial number 0x58c97606, unlabeled
linux@linux-VirtualBox:~$ sudo file –sL /dev/sda5
/dev/sda5: Linux rev 1.0 ext4 filesysten data, UUID=6e3d13f8-16f7-4e12-bff8-8ca 1bbb6d0bd (needs journal recovery) (extents) (64bit) (large files) (huge files)
Step: 02
Write the following command on the terminal and hit enter if you want further information:
Technique 05: The “blkid” Command
The “blkid” statement is another technique of the filesystem in Linux which is used to find and print the block device’s information.
Step: 01
To access the information of blocked devices, we will simply write the blkid command in the terminal.
As shown in the terminal, we have gotten the information along with the type of the filesystem.
/dev/loop0: TYPE="squashfs"
/dev/loop1: TYPE="squashfs"
/dev/loop2: TYPE="squashfs"
/dev/loop3: TYPE="squashfs"
/dev/loop4: TYPE="squashfs"
/dev/loop5: TYPE="squashfs"
/dev/loop6: TYPE="squashfs"
/dev/loop7: TYPE="squashfs"
/dev/sda1: UUID="58C9-7606" TYPE="vfat" PARTUUID="e8ce01c9-01"
/dev/loop8: TYPE="squashfs"
/dev/loop9: TYPE="squashfs"
/dev/loop10: TYPE="squashfs"
In the “blkid” command, if we want to display the information of the specific device, then we will write the path of the device which we want to get after writing the “sudo blkid” in the terminal.
/dev/sda1: UUID="58C9-7606" TYPE="vfat" PARTUUID="e8ce01c9-01"
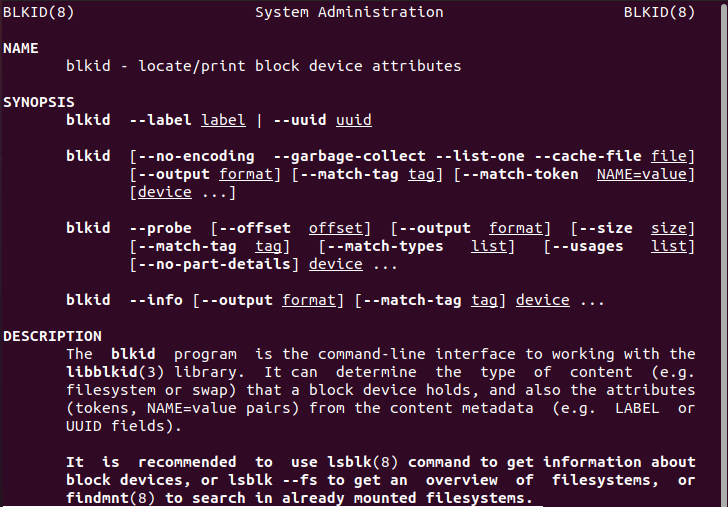
Step: 02
We can access the “man” page of the “blkid” phrase in Linux and view additional details about it by typing the command below.
Technique 06: The “df” Command
Here is another technique to figure out the overall disc space and free space on a Linux filesystem, by utilizing the “df” command in the terminal.
Step: 01
Let us just learn how to examine the quantity of free space still available in the Linux filesystem using the “df” statement. As you see below, we have got the filesystem which is the name of the mounted filesystem and it will also display the type. The “1k-blocks” is the size that is represented in one-kilo blocks and the free and used storage of the mounted filesystem.
Filesystem Type 1K-blocks Used Available Use% Mounted on
udev devtmpfs 1970752 0 1970752 0% /dev
tmpfs tmpfs 401852 1360 400492 1% /run
/dev/sda5 ext4 25107716 9980164 13826816 42% /
tmpfs tmpfs 2009244 0 2009244 0% /dev/shm
tmpfs tmpfs 5120 4 5116 1% /run/lock
tmpfs tmpfs 2009244 0 2009244 0% /sys/fs/cgroup
/dev/loop0 squashfs 128 128 0 100% /snap/bare/5
/dev/loop1 squashfs 10112 10112 0 100% /snap/glances/1243
/dev/loop2 squashfs 64896 64896 0 100% /snap/core20/1778
/dev/loop3 squashfs 64768 64768 0 100% /snap/core20/1738
/dev/loop4 squashfs 10240 10240 0 100% /snap/glances/1168
/dev/loop5 squashfs 354688 354688 0 100% /snap/gnome-3–38–2004/115
/dev/loop6 squashfs 354688 354688 0 100% /snap/gnome-3–38–2004/119
/dev/loop7 squashfs 93952 93952 0 100% /snap/gtk-common-themes/1535
/dev/loop8 squashfs 55552 55552 0 100% /snap/snap-store/558
/dev/loop9 squashfs 47104 47104 0 100% /snap/snap-store/638
/dev/loop10 squashfs 50816 50816 0 100% /snap/snapd/17883
/dev/sda1 vfat 523248 4 523244 1% /boot/efi
tmpfs tmpfs 401848 28 401820 1% /run/user/1000
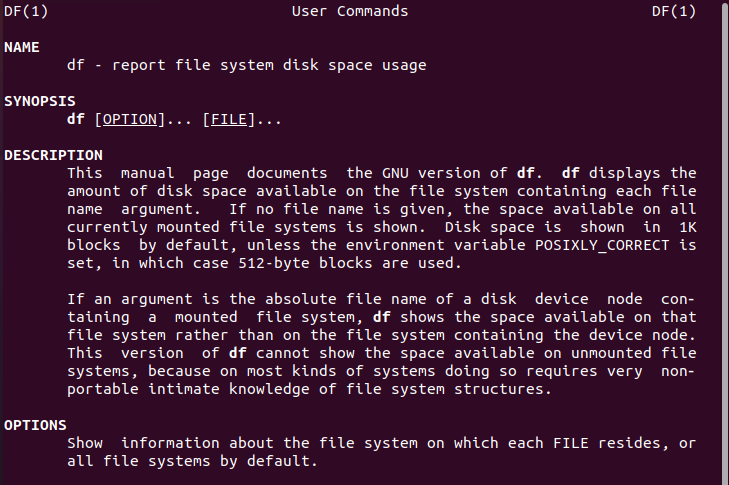
Step: 02
We shall type the man df statement on the terminal to obtain extra knowledge about the “df” statement:
Technique 07: The “fstab” Command
This technique will hold the static information of the filesystem in Linux.
Step: 01
We first write the “cat” command so that we can access the filesystem information and then we write the path /etc/fstab.
# /etc/fstab: static file system information.
#
# Use ‘blkid’ to print the universally unique identifier for a
# device; this may be used with UUID= as a more robust way to name devices
# that works even if disks are added and removed. See fstab(5).
#
# <file system> <mount point> <type> <options> <dump> <pass>
# / was on /dev/sda5 during installation
UUID=6e3d13f8-16f7-4e12-bff8-8ca1bbb6d0bd / ext4 errors=remount-ro 0 1
# /boot/efi was on /dev/sda1 during installation
UUID=58C9-7606 /boot/efi vfat umask=0077 0 1
/swapfile none swap sw 0 0
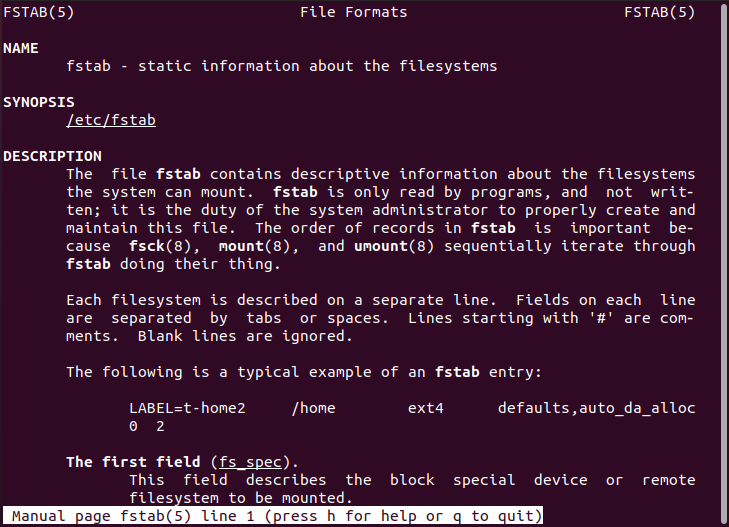
Step: 02
The following command can be used to dig deeply into the “fstab” statement:
Technique 08: The “lsblk” Command
The “lsblk” technique is utilized to show data on block devices, which except for RAM discs, are essentially files that indicate linked devices.
Step: 01
We have used “-f” in the command so that we can represent the arguments of the files.
NAME FSTYPE LABEL UUID FSAVAIL FSUSE% MOUNTPOINT
loop0
squash 0 100% /snap/bare
loop1
squash 0 100% /snap/glan
loop2
squash 0 100% /snap/core
loop3
squash 0 100% /snap/core
loop4
squash 0 100% /snap/glan
loop5
squash 0 100% /snap/gnom
loop6
squash 0 100% /snap/gnom
loop7
squash 0 100% /snap/gtk-
loop8
squash 0 100% /snap/snap
loop9
squash 0 100% /snap/snap
loop10
squash 0 100% /snap/snap
sda
├─sda1
│ vfat 58C9-7606 511M 0% /boot/efi
├─sda2
│
└─sda5
ext4 6e3d13f8-16f7-4e12-bff8-8ca1bbb6d0bd 13.2G 40% /
sr0
Step: 02
Use the command below to see the additional information on the “lsblk” statement:

Technique 09: The “udevadm” Command
The udevadm command is one of the techniques which we are going to use to check the filesystem type. The udev library is queried for device information using the udevadm command. But it also contains information about the filesystem type in Linux.
Step 01:
To check the file system type, the very first command we are going to use is the “udevadm” command in the Linux terminal. Write the following command in the Linux terminal:
We have used the above command to query the database for the desired file type of device data with the “—query” statement. If we simply write the “udevadm –query”, the terminal will show us a lengthy output. This is why we have to use the “grep” statement that will show the necessary information to determine the file system type by further writing the “/dev/sda1” path.
ID_FS_TYPE=vfat
Step 02:
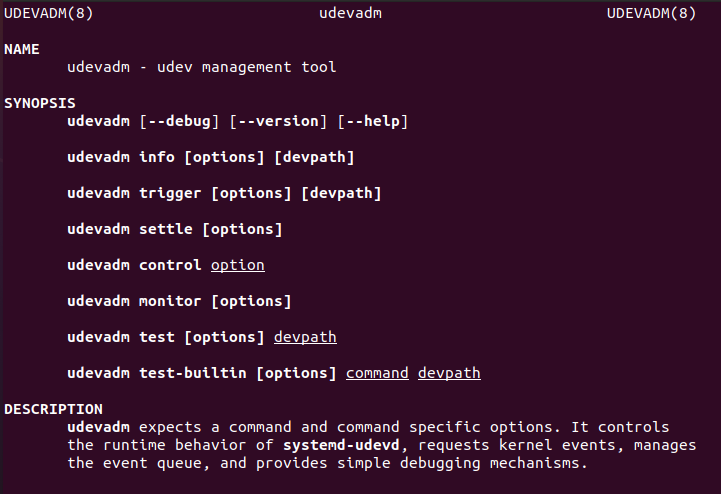
To get further details about the “udevadm” command in the Linux, we will use the “man” command in the Linux terminal:
The udevadm command will be opened into a new terminal of the Linux as shown below in the snapshot:
Conclusion
We have learned what is filesystem and how to check the type of mounted filesystem in Linux. We have discussed the different techniques of the mounted filesystem by writing every command of the filesystem type in the Linux terminal.
Source: linuxhint.com