How to Change User Name & Account Name in Windows 10
Every Windows OS has an “Account Name”, and a “User Name”. Windows allows the user to change or edit both of these names. Also, both of them are changed from the same place. Account Name refers to the name that shows up when the user opens the Start menu. However, a User Name is like a nickname and is also used in the “USERS” folder in the “C:” drive. So, if any changes are made to the “User Name”, it has to be modified in the USERS folder as well.
This article will comprehensively explain the steps to change the User Name & the Account Name in Windows 10 using the following outline:
How to Change Account Name in Windows 10 Using the Microsoft Account?
In order to change the Account Name using the Microsoft account, follow the below-given steps.
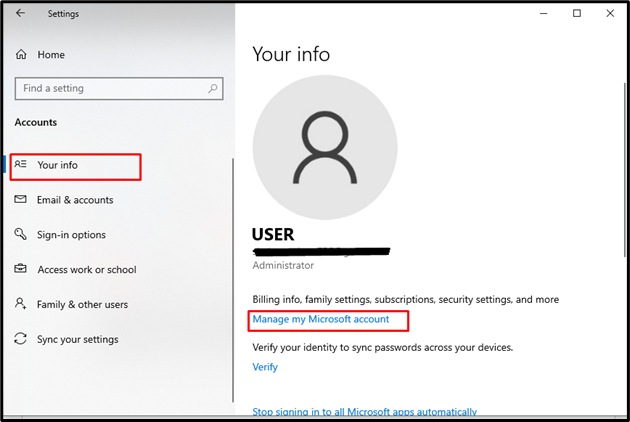
Step 1: Open Settings
Press the “Windows + I” shortcut on the keyboard and go to the “Account” settings:

Step 2: Manage Account Settings
In the “Your info” settings, click on “Manage my Microsoft account” on the right windowpane:
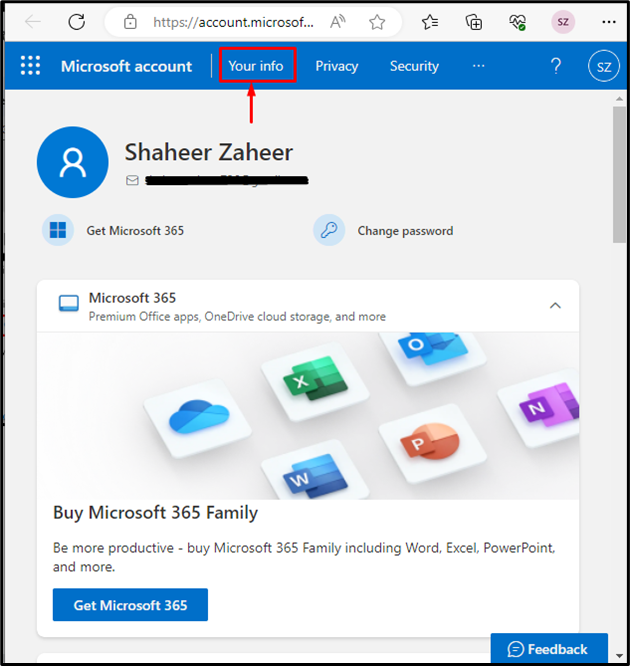
Upon doing this, the Microsoft Edge browser will open up, directing the user to the account settings. Here log in if you are not previously signed in. Then click on the “Your info” option:
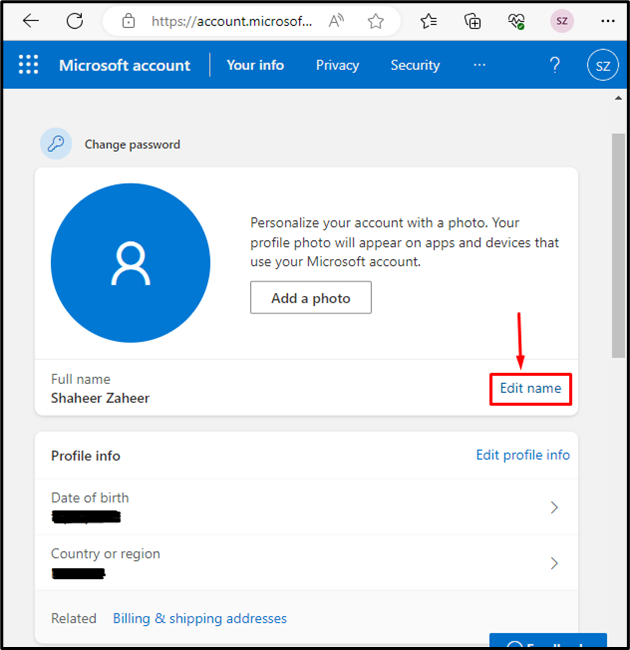
Step 3: Edit the Name
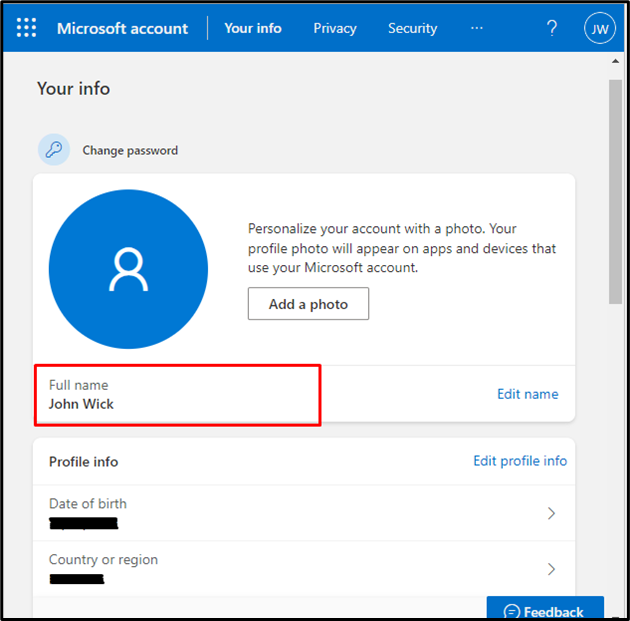
Now, the user profile will open up. Here, click on the “Edit name” option to change the Account name:
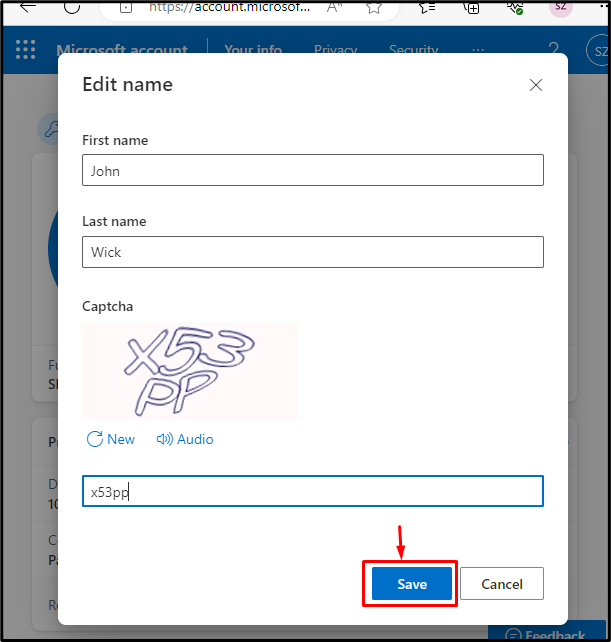
In the edit name window, type a new First and Last name. Then, complete the captcha by entering the text provided in the picture, and click on the “Save” button:
Upon doing so, the Account User Name will change in the profile info:
How to Change User Name & Account Name in Windows 10 Using the RUN Dialog Box?
In order to change both the User Name & Account name using the Run dialog box, follow the below-provided steps.
Step 1: Open the Account Properties
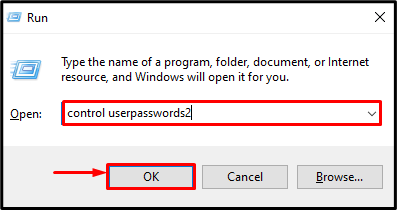
First, press the “Windows + R” shortcut on the keyboard to launch the RUN dialog box. Next, type in “control userpasswords2” and hit the “OK” button:
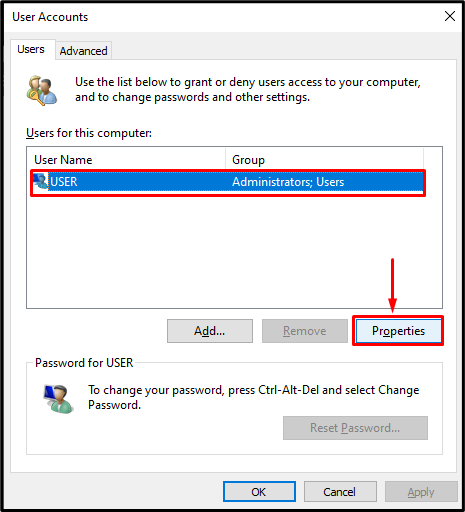
A user accounts window will open. Here, click on the “Properties” button for the user account:
Step 2: Change the Names
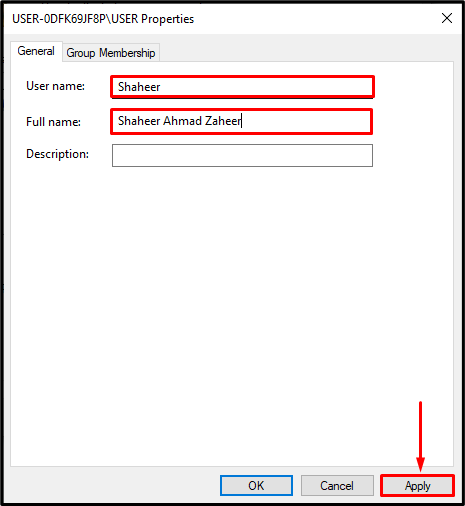
Write the nickname that will be used in the “Users” folder in the “User name” textbox. Next, write the full name in the “Full name” textbox, which will be shown at the PC boot-up and in the Start menu. Then, hit the “Apply” button to save these changes:
Step 3: Verify the Changes
Let’s verify whether the Account name has changed by restarting the PC. In the welcome screen, the Full name will be shown to the user as follows:

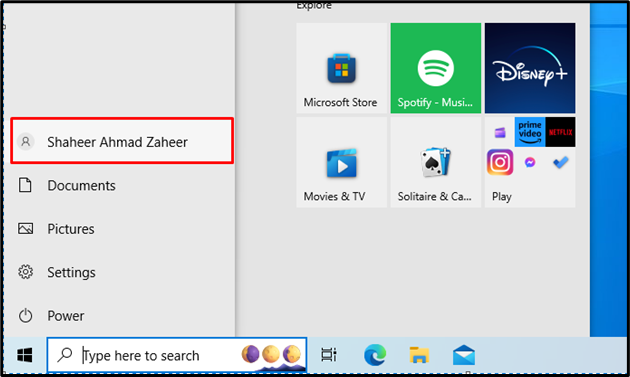
Also, in the Start menu, the Account name written with the profile icon will be changed to the modified Full name as follows:
That is all about changing the User Name & the Account Name in Windows 10.
Conclusion
To change the User Name and the Account Name in Windows 10, open the RUN dialog box with the “Windows + R” shortcut. Then, type in “control userpasswords2” and hit the “OK” button. Next, in the User Accounts window, click on “Properties” to edit the name of the selected user. Then, type the nickname in the “User name” textbox, and the Account Name in the “Full name” textbox. Press the “Apply” button for saving all the changes made to the system. This article has provided the required procedure for changing the User and the Account Name in Windows 10.
Source: linuxhint.com