How to change Raspberry Pi DNS Settings
In this tutorial, you will get to know how you can change DNS settings on Raspberry Pi and use the device as a DNS server.
How to change Raspberry Pi DNS Settings
There are different methods to change Raspberry Pi DNS settings and use the device as a DNS server. However, in this guide, we will show you the easiest approach to do the operation whose step-by-step instruction are provided as under:
Step 1: Update Raspberry Pi packages
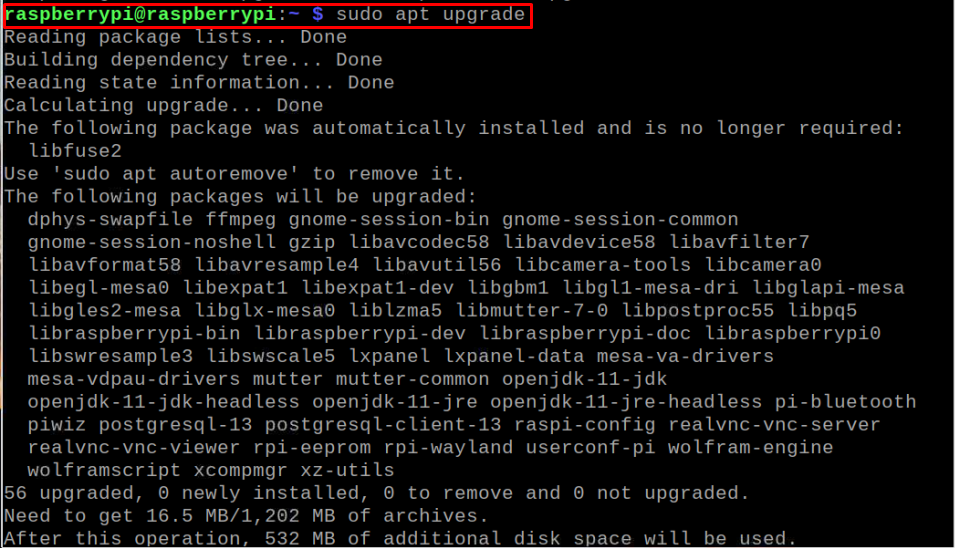
Ensures that your packages on Raspberry Pi is updated which you can confirm by executing the following command:

If some packages require upgradation, run the following command to upgrade them.
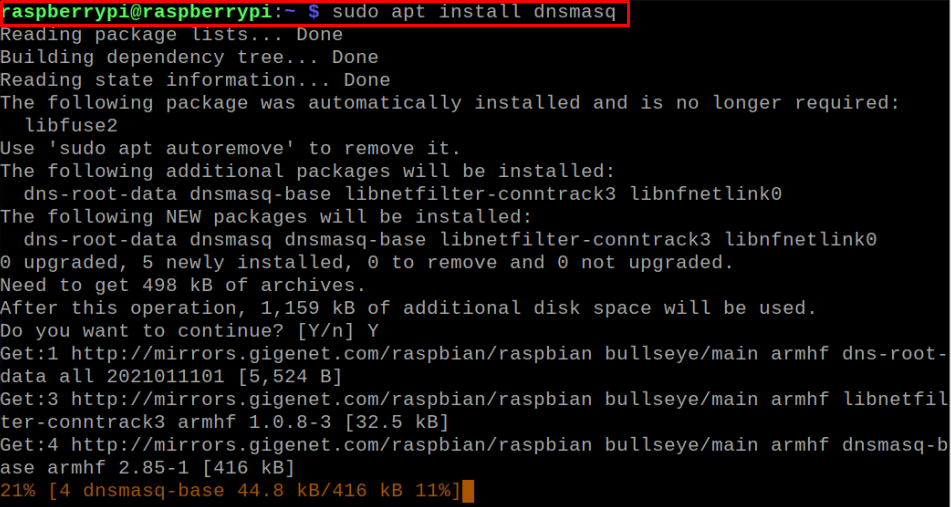
Step 2: Installing DNS Utility
Next, you will need a DNS utility to configure DNS settings on Raspberry Pi. Here, we are using DNSMasq which is lightweight and easy to configure DNS utility and is an excellent choice for small networks. To install it, issue the below-mentioned command:
Step 3: DNSMasq Configuration
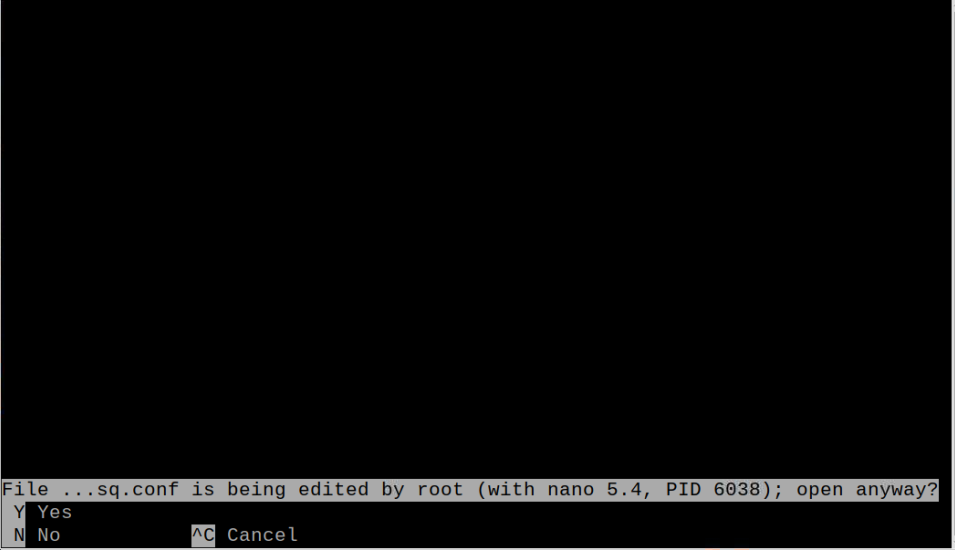
After the installation, it’s now time to configure DNSMasq to ensure the best setup for the DNS server. First, open the DNSMasq configuration file through following command:
Locate the following variables:
- #domain needed
- #bogus-priv
- #no-resolv
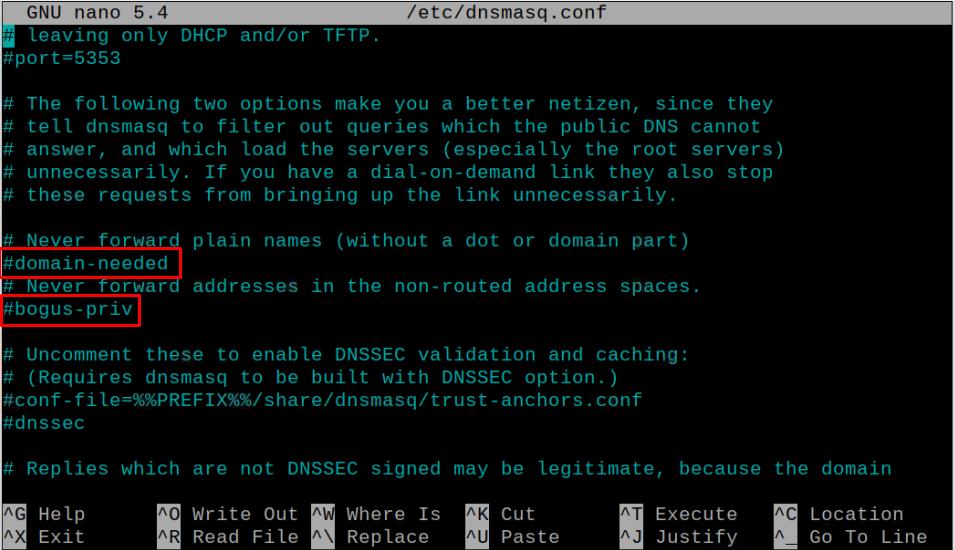

Uncomment these three variables in the file by removing the # sign.
Also, find the following line and remove it from the file.
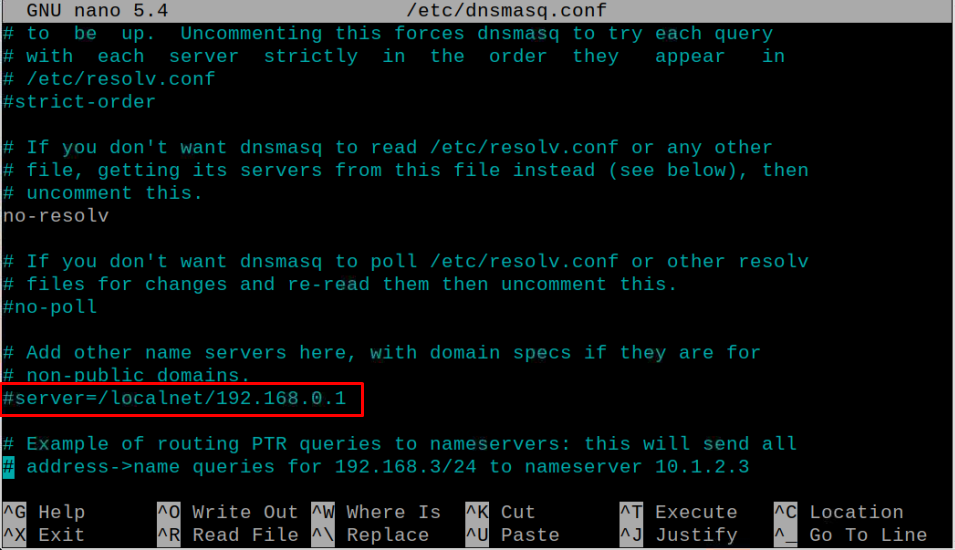
Add the following lines there.
server=8.8.4.4
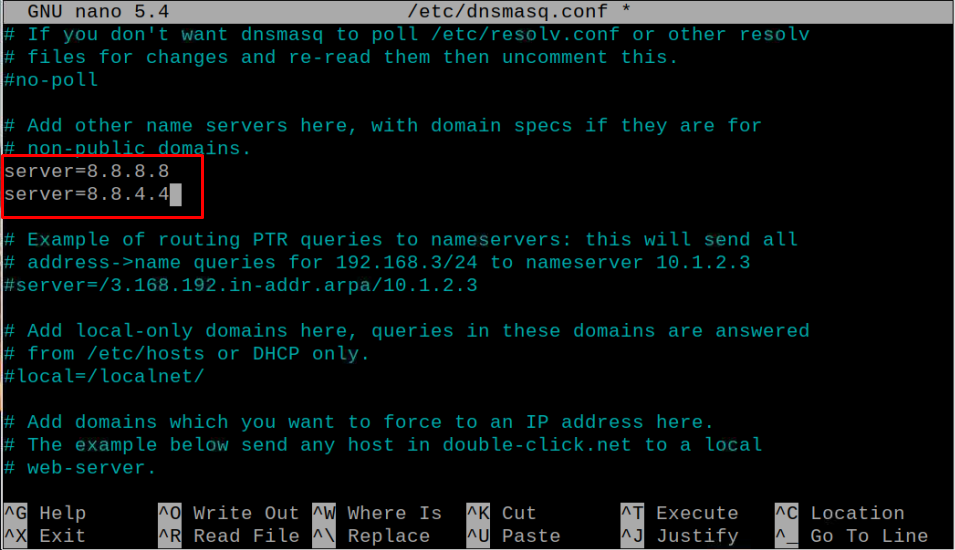
The above server setup will now use Google DNS servers.
Now, locate the below-given line in the file:
Remove # from the line to uncomment it.
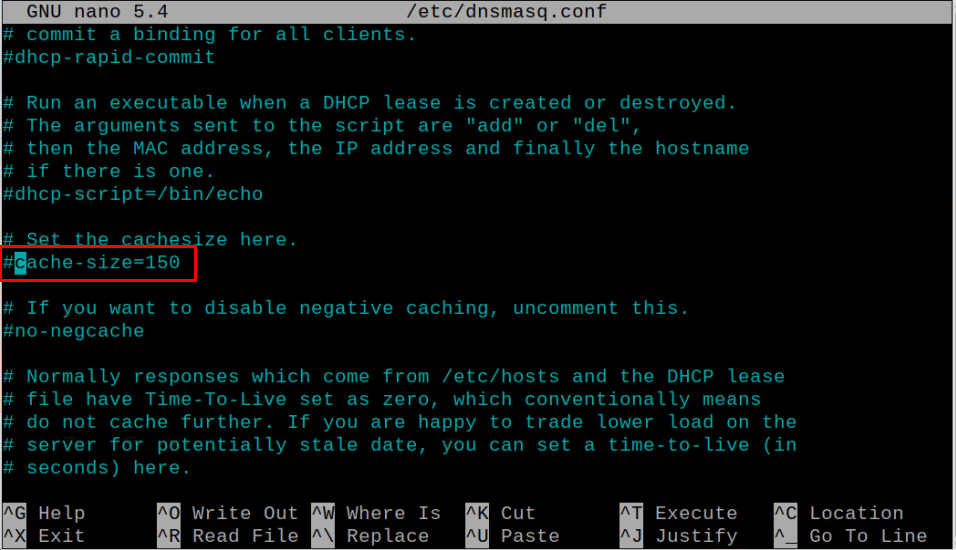
Then replace the cache-size from 150 to 1000.
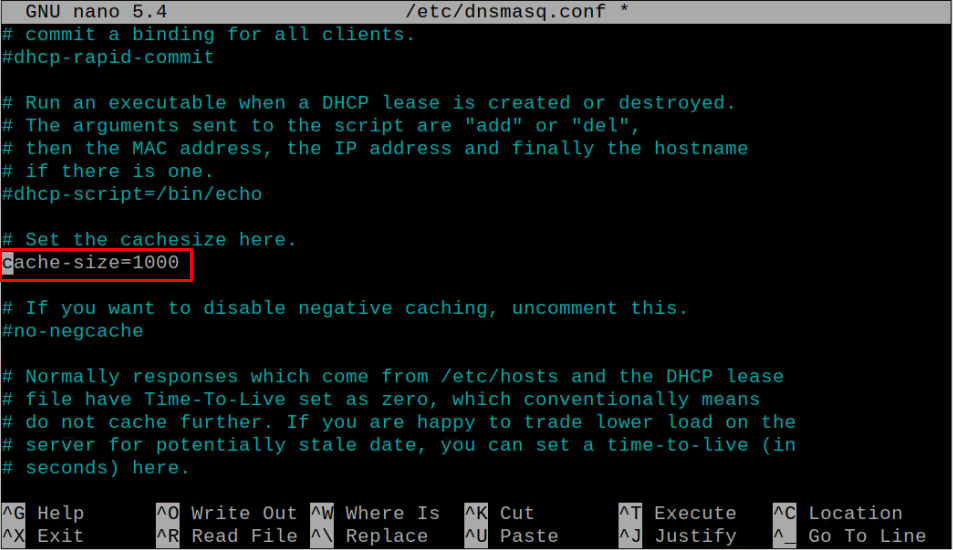
This increases the size of cache allowing DNSMasq cache to save a high number of DNS requests.
Save the file by using “CTRL+X”, Y to confirm and enter to proceed back to the command-line terminal.
Step 4: Restart DNSMasq
After completing the above step, restart the DNSMasq through the following command to apply the changes.
The above command will restart the DNSMasq service.

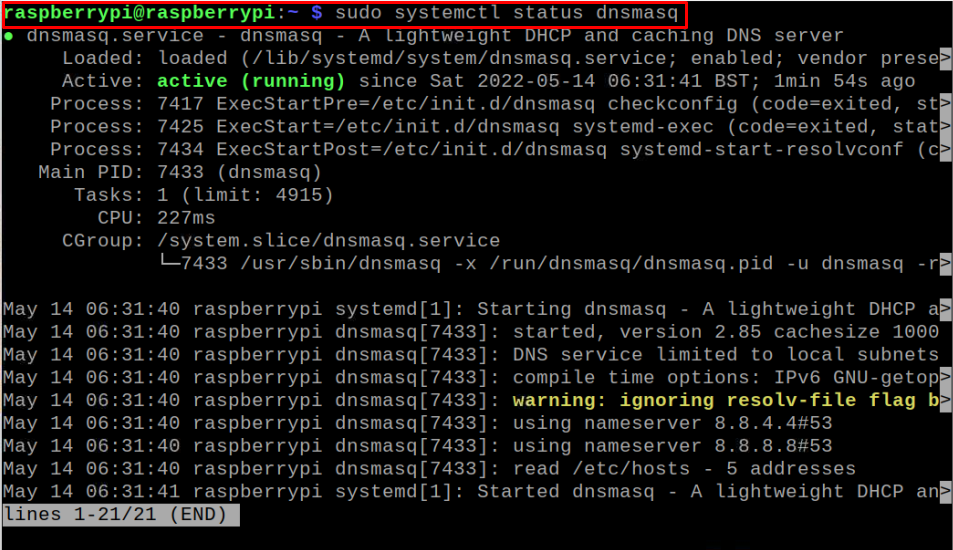
Step 5: Check DNSMasq Status
You can check DNSMasq status using the following command to ensure the service is running fine after the changes.
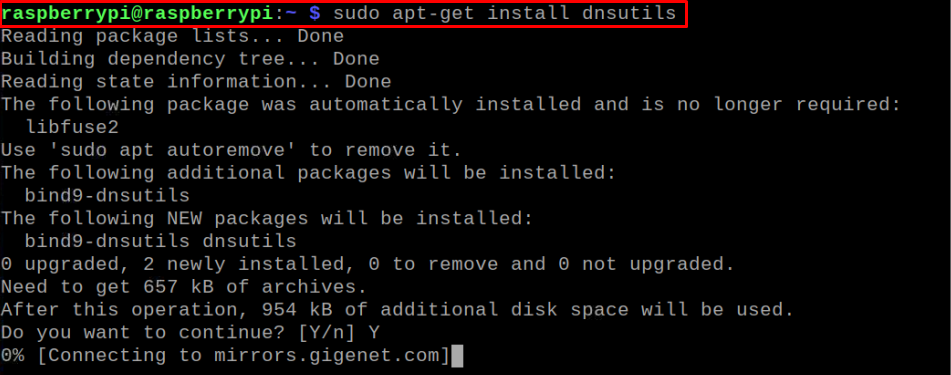
Step 6: Test DNS server
Now, test the DNS server through dig command which needs to be installed first using the following command:
After the installation, execute the following script with the domain of your choice:
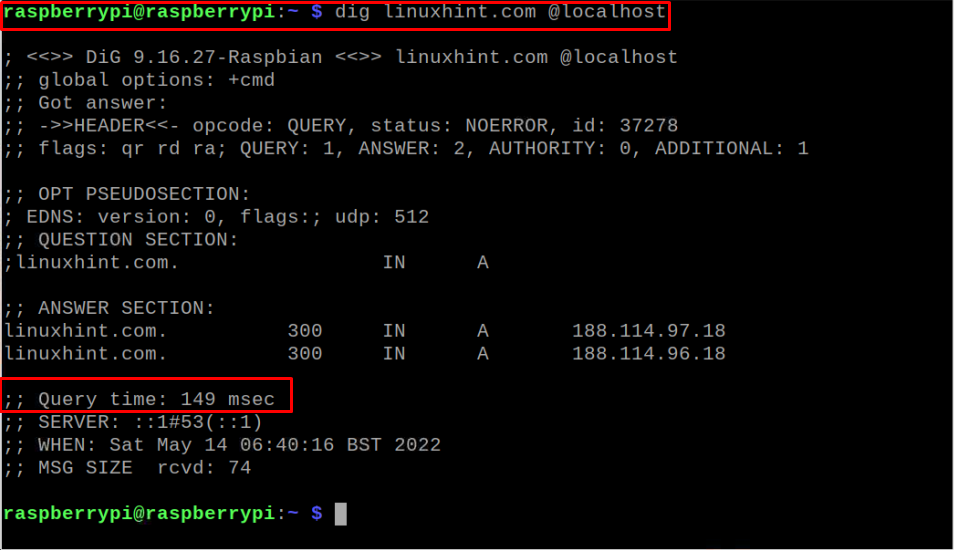
Check the query time in the above output.
Now, execute the above script again.
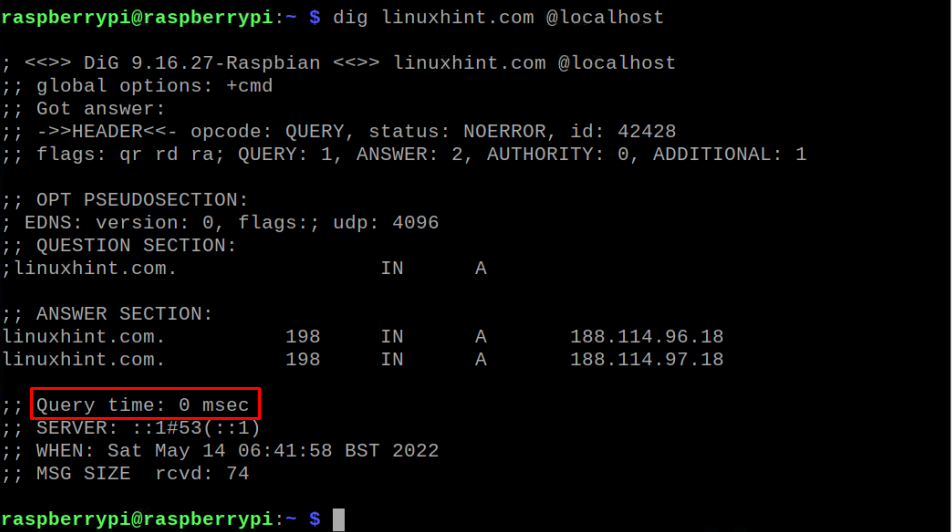
This time the Query time is 0 msec which ensures the address is cached.
Step 7: Make Raspberry Pi DNS server
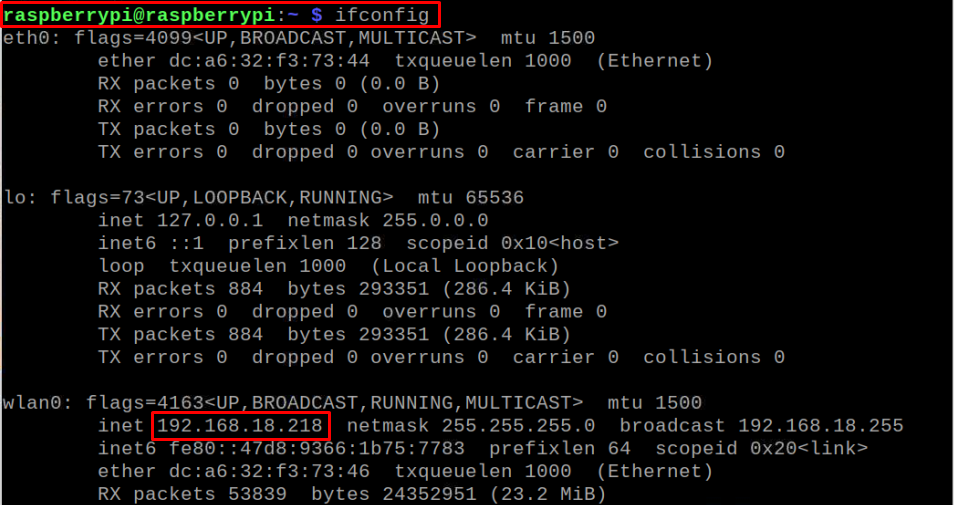
In the final step, you will need to configure other devices to utilize the Raspberry Pi device as a DNS server. First find the IP address on your Raspberry Pi using the following command:
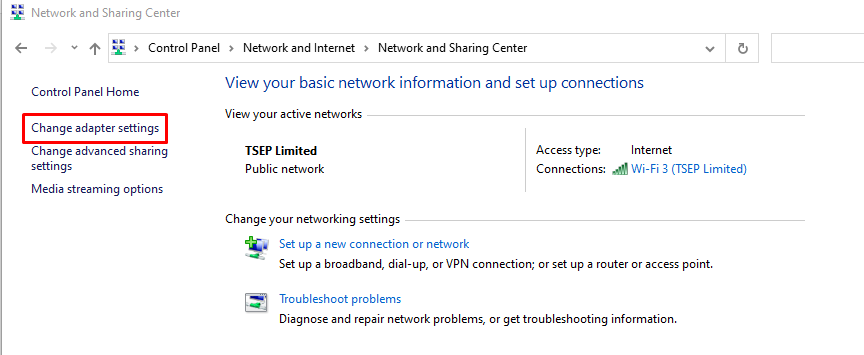
Next, change the DNS settings on your laptop by going into the “Network and Sharing Center” and click on the “Change adapter settings”.
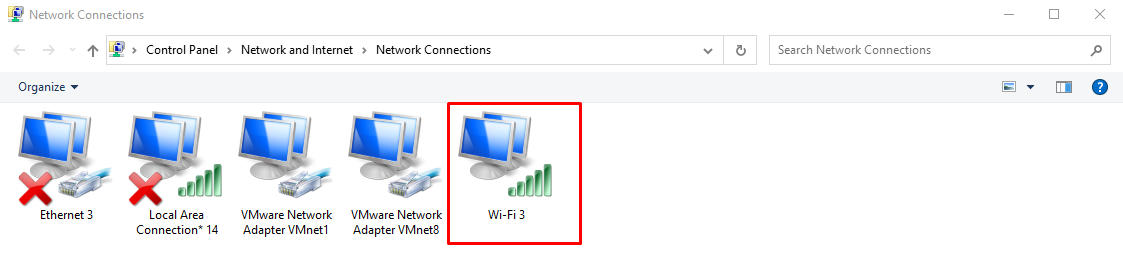
Right click on the WIFI option and select “Properties”.
Double click on the IPv4 option.
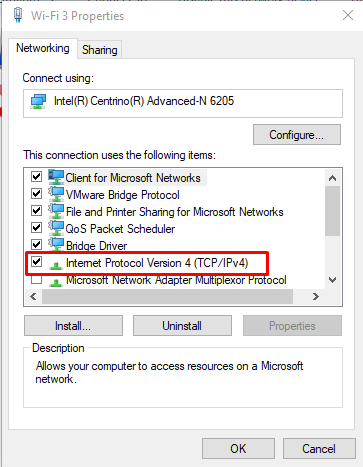
Then add the IP address of your Raspberry Pi in the DNS server option.
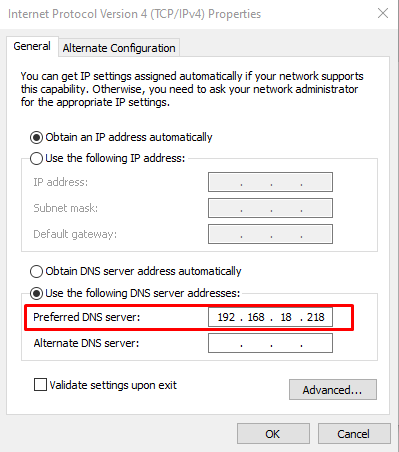
Click on the “OK” button to allow your device to use the Raspberry Pi DNS server. After that, you can surf the Internet on your system using the Raspberry Pi as a DNS server.
Conclusion
Raspberry Pi is a handy tool that can be used as a perfect DNS server, allowing users to browse the Internet world at a faster rate and in a more secure way. The above step-by-step instructions are useful to change the DNS settings on your Raspberry Pi using the DNSMasq utility configuration file. After properly configuring the DNS setting, you will then be able to use Raspberry Pi as a DNS server on your other devices as well.
Source: linuxhint.com