How to Change Parent Branch in Git?
Sometimes users want to change the child branch to the parent branch in Git for performing different operations. However, changing the parent branch in Git should be performed with great care. It is important for ensuring that everyone is aware of the modifications. To avoid any conflicts or issues, it is necessary to make sure that the new parent branch is compatible with the existing branches.
This blog post will elaborate on the method for changing the parent branch in Git.
How to Change Parent Branch in Git?
It is not possible to directly change the Git parent branch. For that purpose, Git provides different commands that are used to permit the child branch to work as a parent branch. To do so, follow the below-stated methods:
Method 1: Change Parent Branch Using the “git merge” Command in Git
To change the parent branch by using the “git merge” command, check out the given instructions:
-
- Navigate to the Git root directory.
- Create a new branch and verify by listing all branches.
- Switch to a new branch.
- Generate files and track them to the staging area.
- Commit all changes by executing the “git commit” command.
- Switch to the parent branch.
- Merge the child “beta” branch with the parent “main” branch.
- Verify by checking the Git log history.
Step 1: Redirect to Local Git Directory
First, go toward the desired Git repository by running the “cd” command:
Step 2: Create a New Branch
Generate a new local branch with the help of the “git branch” command:

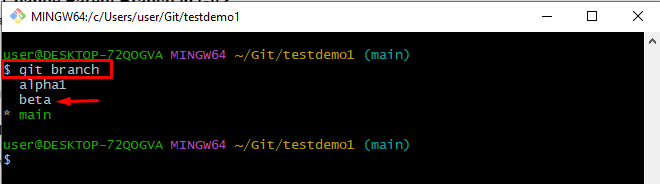
Step 3: List All Branch
To check the newly created branch by using the following command:
The resultant image shows that the newly created branch exists in the list:
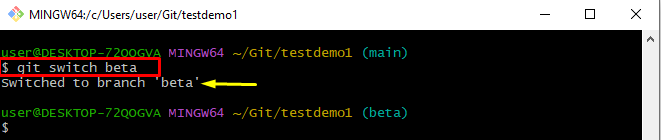
Step 4: Switch to Newly Created Branch
Execute the “git switch” command and switch to the newly created branch:
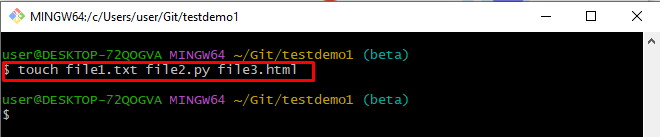
Step 5: Create New Files
To make new files with different extensions, execute the “touch” command:
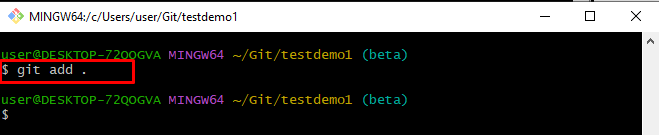
Step 6: Track Files
Run the “git add .” command to add all files into the staging index:
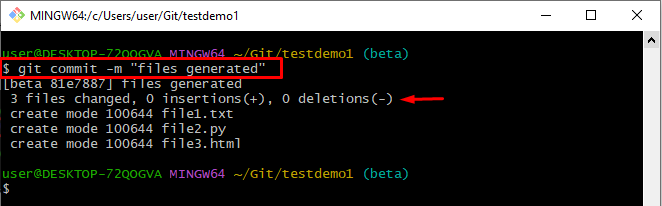
Step 7: Commit all Changes
Next, commit all added changes by running the “git commit” command along with the “-m” flag to insert a message:
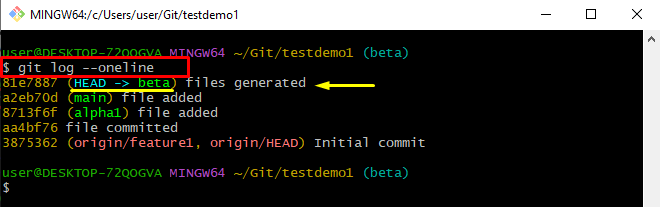
Step 8: View Git History
Use the “git log” command along with the “–oneline” option to display each commit in a single line:
The below-provided output indicates that currently “HEAD” is pointing to the “beta” branch:
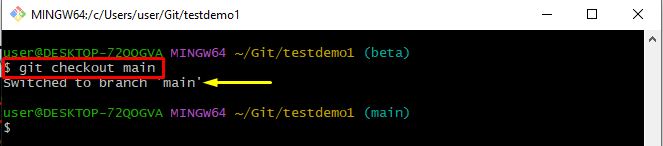
Step 9: Switch to Parent Branch
Run the below-given command and switch to the “main” branch:
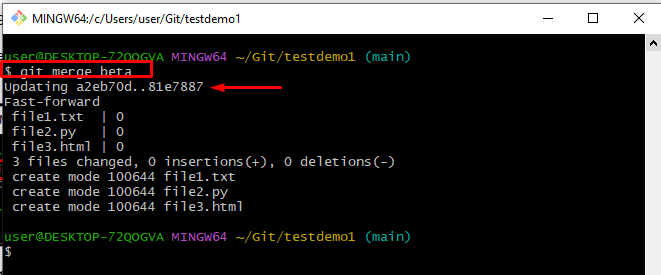
Step 10: Merge Branches
Now, merge the “beta” branch with the “main” branch to make it behave like a parent branch in the Git repository:
The below output indicates that both branches have been merged successfully:
Step 11: Check Log History
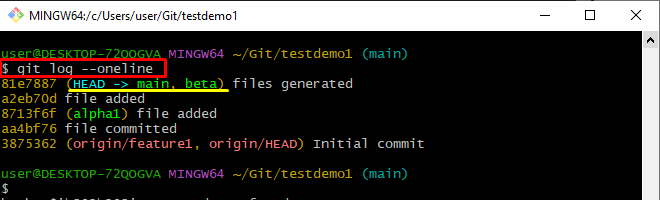
For verifications, check the Git log history by executing the “git log –oneline” command:
The resultant output indicates that “HEAD” is pointing to both branches:
Method 2: Change Parent Branch Using the “git rebase –onto” Command in Git
The “git rebase –onto” command can be utilized for changing the parent branch. For practical demonstration, try out the below-given procedure:
-
- Navigate to the Git local directory.
- List all existing branches.
- Switch to the parent branch.
- Execute the “git rebase –onto” command and set the branch name to make it behave like a parent.
Step 1: Go Toward Git Local Repository
Execute the “cd” command and navigate to the particular Git local repository:
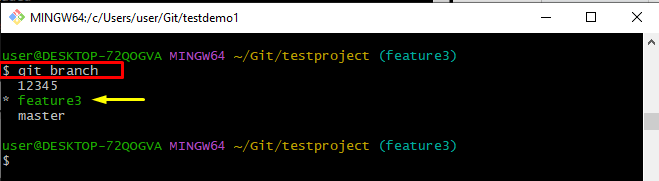
Step 2: Show all Branches
Next, list all available branches by using the “git branch” command:
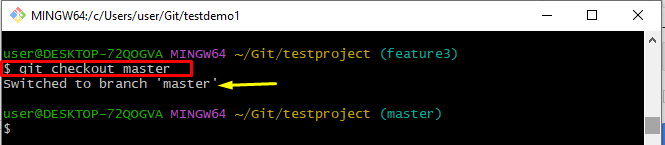
Step 3: Switch to Parent Branch
Then, run the “git checkout” command along with the parent branch and switch to it:
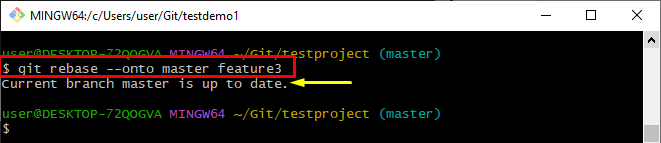
Step 4: Change Parent Branch
To change the parent branch, use the “git rebase –onto” command and specify the parent branch name along with the sub-branch:
The resultant image shows that the “current branch master is up to date”:
Step 5: Verification
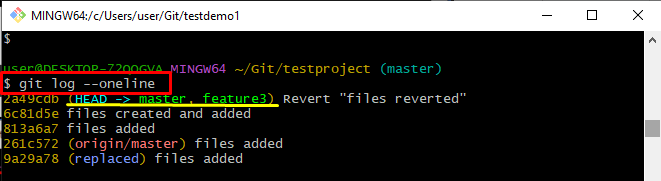
View the Git log history by utilizing the provided command for verification:
It can be noticed that the “HEAD” is pointing to both the “master” and the “feature3” branches:
That’s all! We have provided different methods for changing the parent branch in Git.
Conclusion
To change the parent branch in Git, there is no command or direct method available. It is not possible to directly change the Git parent branch. However, Git provides two alternative methods for that purpose. The first one is by using the “git merge” command and the other one is “git rebase –onto” which is used to combine both branches and behave like a parent in the same repository. This post stated the methods for changing the parent branch in Git.
Source: linuxhint.com