How to Build Event-Driven Architectures With AWS Lambda?
Quick Outline
This article illustrates the following listed topics:
- What is Event-Driven Architecture?
- Why Event-Driven Architectures Should Be Used?
- Why Lambda is Suitable for Event-Driven Architecture?
- How to Build Event-Driven Architectures With AWS Lambda?
- When to Use Event-Driven Architecture?
- Conclusion
What is Event-Driven Architecture?
Event-driven Architecture or EDA is an approach that decouples the application’s components by using events. The events take place when there is any change in the current state of the application. Each component acts as a microservice and can scale or fail independently without affecting the centralized workflow of the application.
Why Event-Driven Architecture Should Be Used?
Building tightly coupled synchronized applications can be a problematic approach when the application grows in terms of size, scalability, and complexity. Managing the resources and debugging the errors to prevent the collapse of the system becomes a difficult task to do. The following are the reasons for using Event-Driven Architecture:
Reduced Complexity
With Event-driven Architecture, the integration complexity of the application is reduced as the components exist independently of other components. Hence, it improves the fault tolerance and resiliency of the application.
Debugging
Such architectures are driven by the events and are easier to debug. Developers are only required to debug the specific component where the error occurs instead of the whole application.
Improved Performance
This approach improves the performance of the system and utilizes the best practices for microservices. In EDA, the developer teams can build and release their features which enhances the team’s progress.
Updating Features
Modifying the current system is a lot easier as the impact of any changes is only limited to the specified component and not the whole application.
Scale or Fail Independently
As components exist independently of others, the impact of one component will not affect the functionality of the other component. This allows the components to scale or fail independently.
Why is Lambda Suitable For Event-Driven Architecture?
Lambda is one of the most widely used services of AWS which provides support to multiple other services such as API gateway, S3 bucket, SNS, etc. The Lambda functions are used to process the events based on the provided code. Unlike other services, the Lambda function only switches to execution mode when triggered which makes it cost-effective.
An event is a JSON object that is created when any change is observed in application’s state. This event contains useful information for the Lambda function to process. Multiple AWS services generate events and some of these services can be the event source for the Lambda. Lambda runs the provided code in response to that event.
Read more: Getting Started With AWS Lambda
How to Build Event-Driven Architectures With AWS Lambda?
Consider a sample use case to understand the event-driven architecture. For instance, a user has uploaded an object to an S3 bucket that acts as an event. In EDA, this event is then passed to the SNS topic. The SNS topic will filter the event and send it to the SQS queues. These SQS queues will further forward these events to the Lambda function based on their content. The Lambda functions will take action on these events.
Following are the four major concepts when implementing Event-driven architecture with AWS Lambda:
Event Producers
This component is responsible for producing the events. Such events will cause an update in the application to modify its current state.
Event Ingestion
Event ingestions are responsible for routing the components. Routing means forwarding the events to the correct paths and components to initiate other processes of Event-driven Architecture.
Event Stream
While this component is optional, it is recommended to use it when there are several events to be processed. Such events are then stored for later use by the other consumer components.
Event Consumers
These components are responsible for taking action on the events e.g., updating the database, modifying the data, etc.
In terms of Event Driven Architecture, the S3 bucket is the “Event producer” as it is where the event (any change) occurred. SNS topic will be classified as “Event ingestion” as it will route the events to SQS queues based on their content. Event Streams are the SQS queues and the Event Consumers are the Lambda Functions.
Following are the steps that we will follow in this article for creating EDA in AWS Lambda:
- Step 1: Create S3 Bucket
- Step 2: Create the SNS Topic
- Step 3: Create SQS Queues
- Step 4: Create an IAM Role
- Step 5: Create Lambda Functions
- Step 6: Create Event Notification in S3
- Step 7: Create Subscription
- Step 8: Create Lambda Triggers
- Step 9: Verification
Step 1: Create S3 Bucket
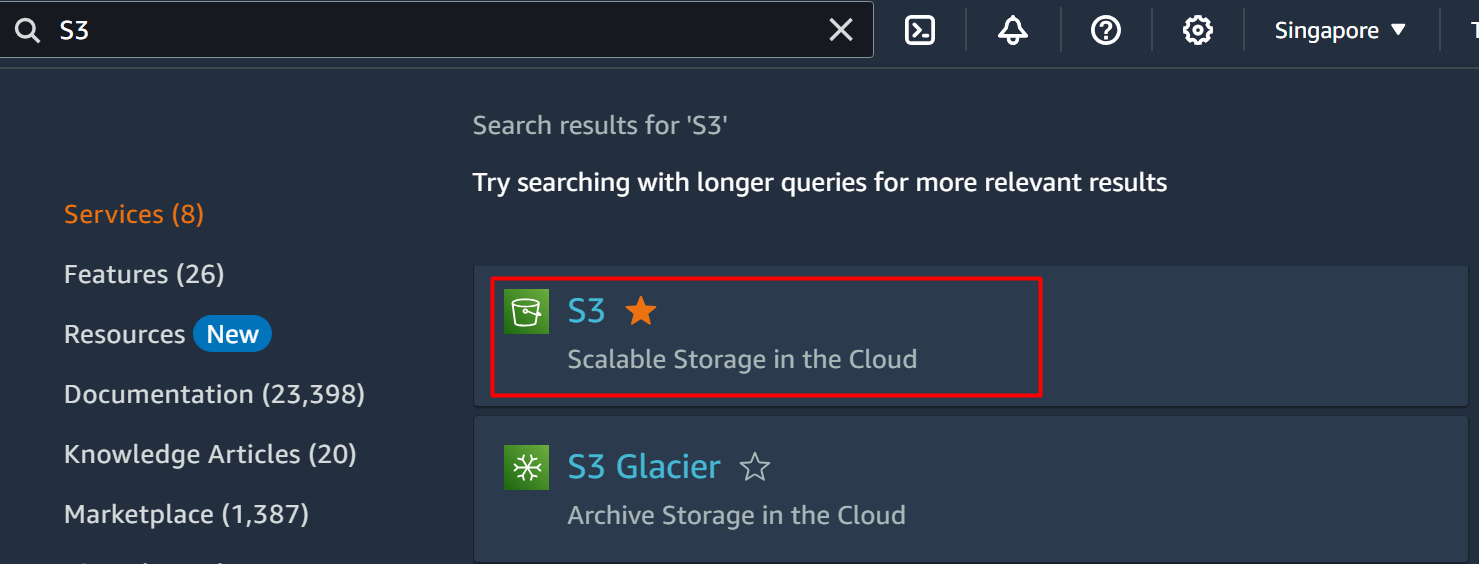
To create the S3 bucket, search the “S3” service in the search bar of the AWS Management Console. Click on the service name from the results:
Read more: Getting Started With Buckets: Overview of Amazon Simple Storage Service
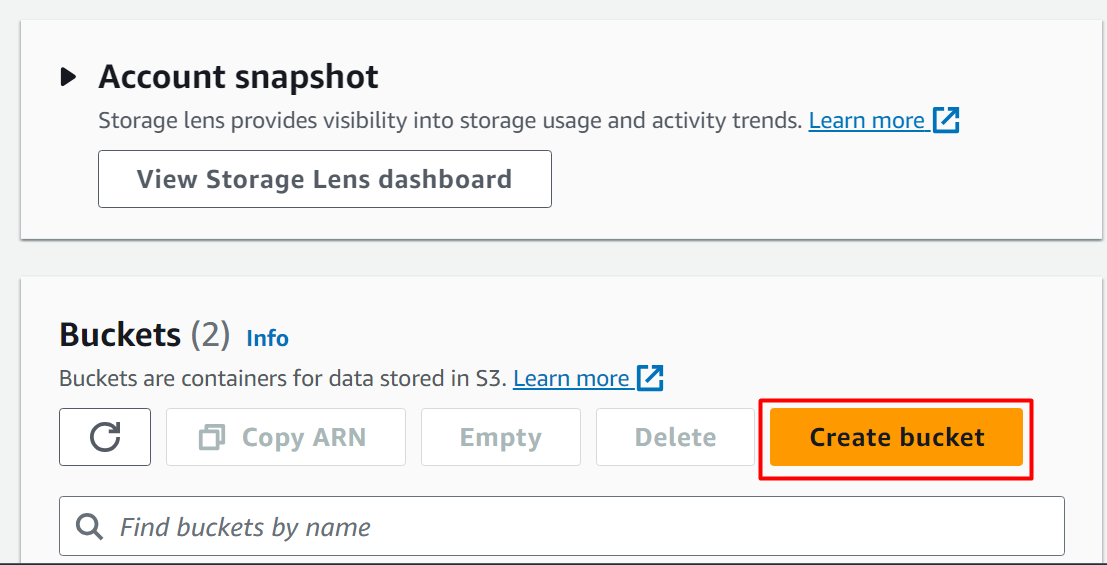
On the S3 Dashboard, click on the “Create bucket” button to initiate the process:
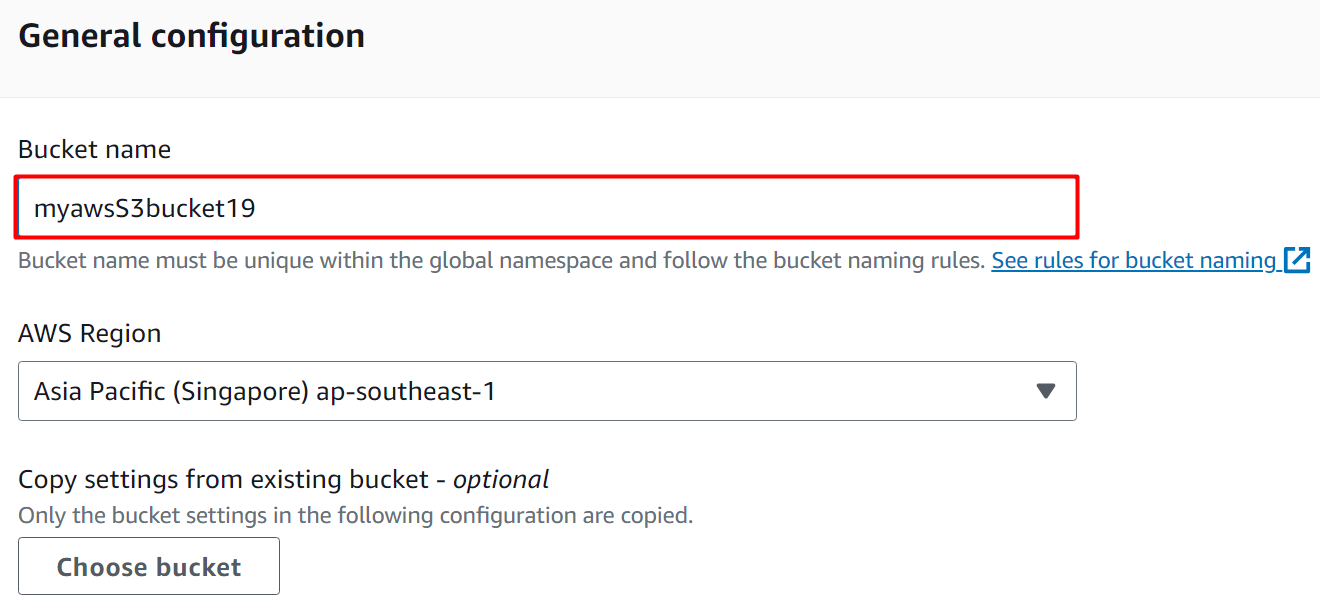
Next is the “General Configuration” section. Provide the name for the bucket in the “Bucket name” text field. The region for the S3 bucket is provided as default by AWS. However, the region can be changed depending on the user’s requirements:
Scroll down to the bottom of the interface by keeping the defaults. Click on the “Create bucket” button:
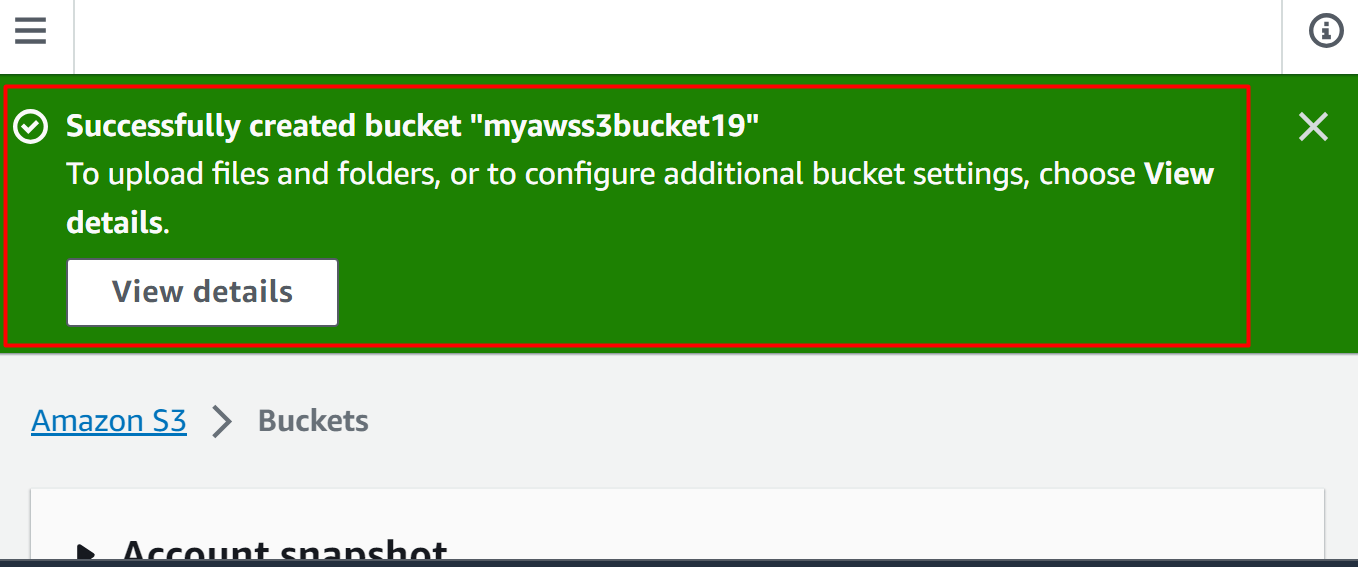
The S3 bucket has been successfully created:
Step 2: Create the SNS Topic
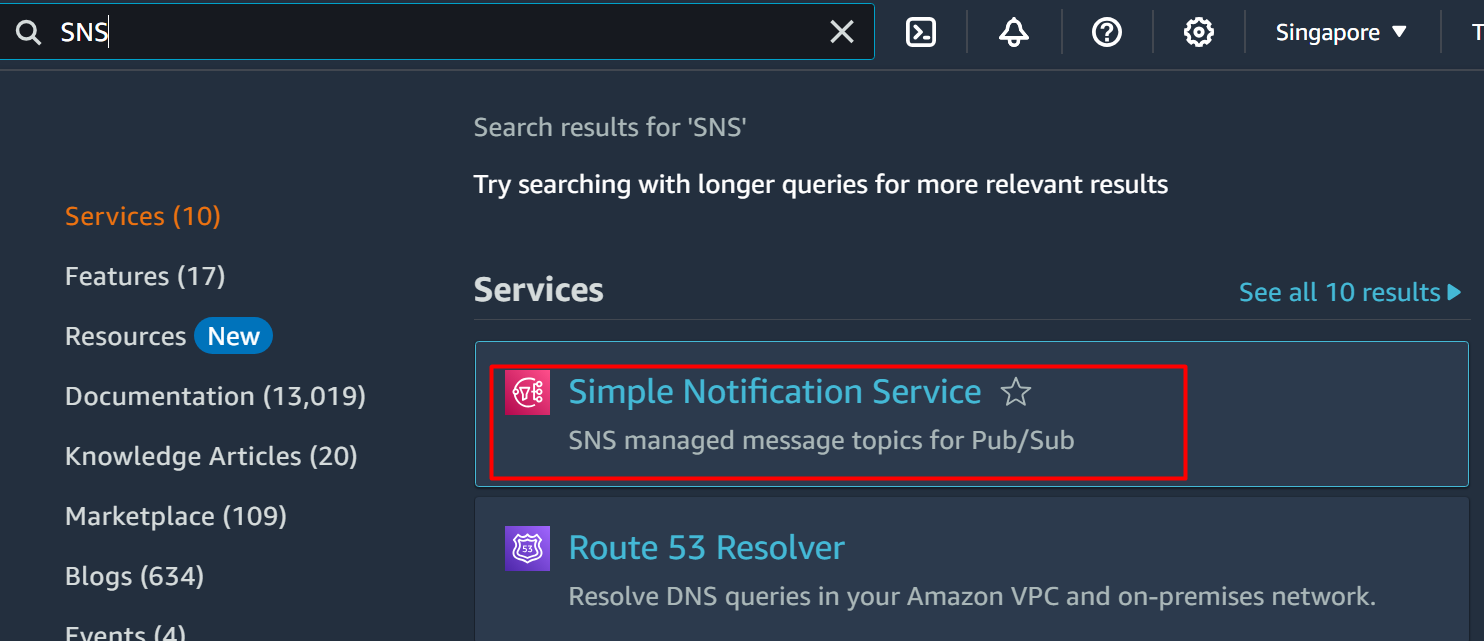
In this step, we will create the SNS topic which acts as Event Ingestion in the Event-driven architecture. For this purpose, search and select the “SNS” service from the AWS Management Console:
Learn more: What is Amazon SNS and How to Use it?
On the SNS Topic interface, provide the name for the topic in the “Topic name” text field. Click the “Next step” button to proceed further:
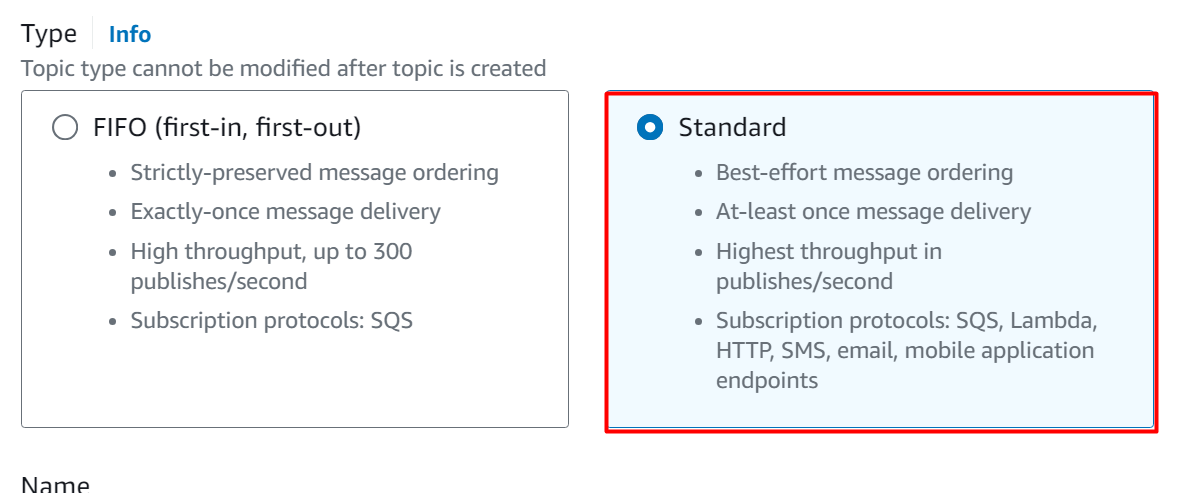
In the Simple Notification Service, there are two types of SNS:
FIFO: the message is delivered exactly once, and the message delivery is also preserved.
Standard: In the Standard delivery, the message is at least delivered once, and it follows the best-effort message ordering. Standard delivery has a higher throughput as compared to FIFO.
For this demo, select the “Standard” option from the Type section:
Scroll down to the Access Policy section. The access policy determines who can access the SNS topic. By default, the policy configured only allows the owner of the SNS topic to publish messages:
"Version": "2008-10-17",
"Id": "__default_policy_ID",
"Statement": [
{
"Sid": "__default_statement_ID",
"Effect": "Allow",
"Principal": {
"Service": "s3.amazonaws.com"
},
"Action": "SNS:Publish",
"Resource": "arn:aws:sns:::",
"Condition": {
"StringEquals": {
"aws:SourceAccount": ""
},
"ArnLike": {
"aws:SourceArn": "arn:aws:s3:*:*:"
}
}
},
{
"Sid": "sqs_statement",
"Effect": "Allow",
"Principal": {
"Service": "sqs.amazonaws.com"
},
"Action": "sns:Subscribe",
"Resource": "arn:aws:sns:::",
"Condition": {
"ArnEquals": {
"aws:SourceArn": [
"arn:aws:sqs:::",
"arn:aws:sqs:::"
]
}
}
}
]
}
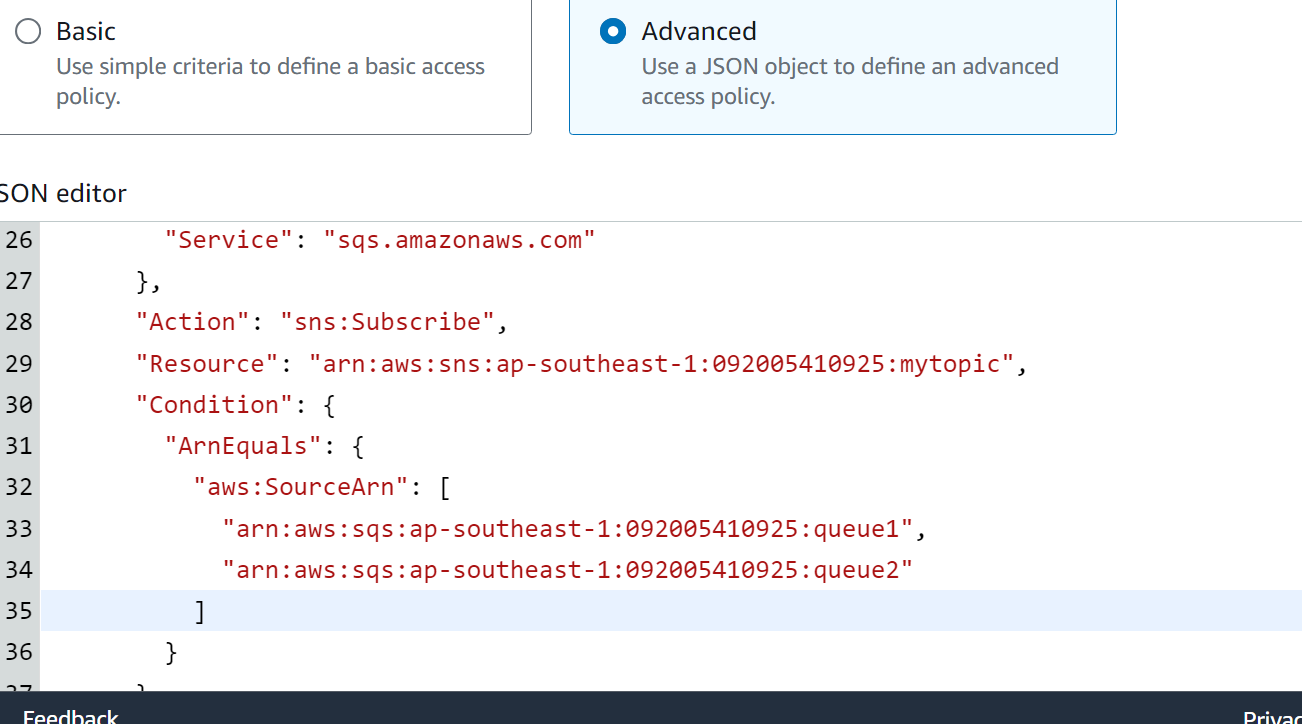
- <region>: replace it with the original region of the AWS Account e.g., ap-south-1
- <accountId>: replace it with the original AWS account ID which is 12-digit e.g., 123045678091
- <snstopicname>: replace it with the SNS Topic Name that we have provided in this step i.e. mytopic.
- <s3BucketName>: replace it with the Bucket’s name that was created earlier i.e. myawss3bucket19
- <sqsQueueName>: replace it with the two queue names that will be created later in the article. The names should be an exact match with the SQS queues e.g., queue1 and queue2. The name of these two queues will be added in the “aws: SourceArn” section.
Select the “Advanced” option and paste the above policy after making the required modification in the JSON editor of the “Access Policy” Section:
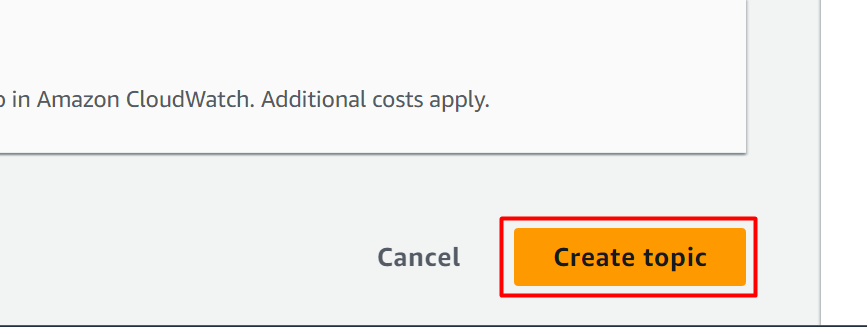
Keeping the defaults, click the “Create topic” button at the bottom of the interface:
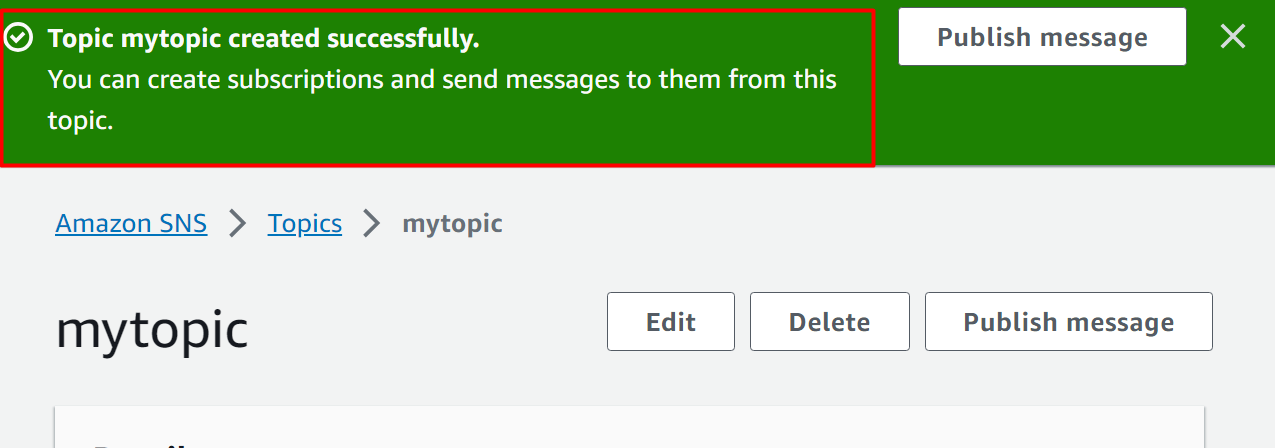
The Topic has been created successfully:
Learn more: How to Use Amazon Simple Notification Service?
Step 3: Create SQS Queues
In this section of the article, we will learn how to create an Event Stream component of Event-driven Architecture. For this purpose, we will create two queues in SQS that will act as Event Stream:
Create the First Queue
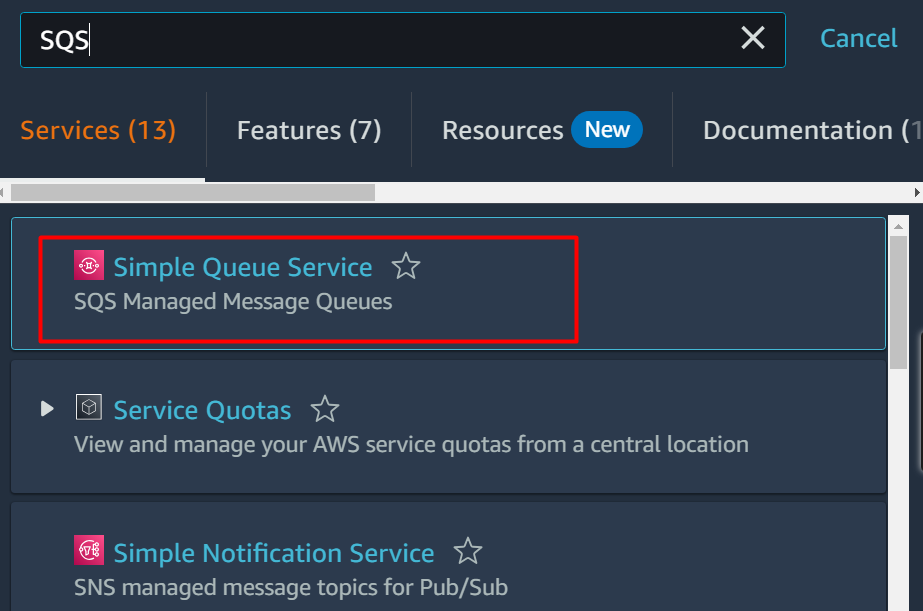
Search and select the “Simple Queue Service” from the AWS Management Console:
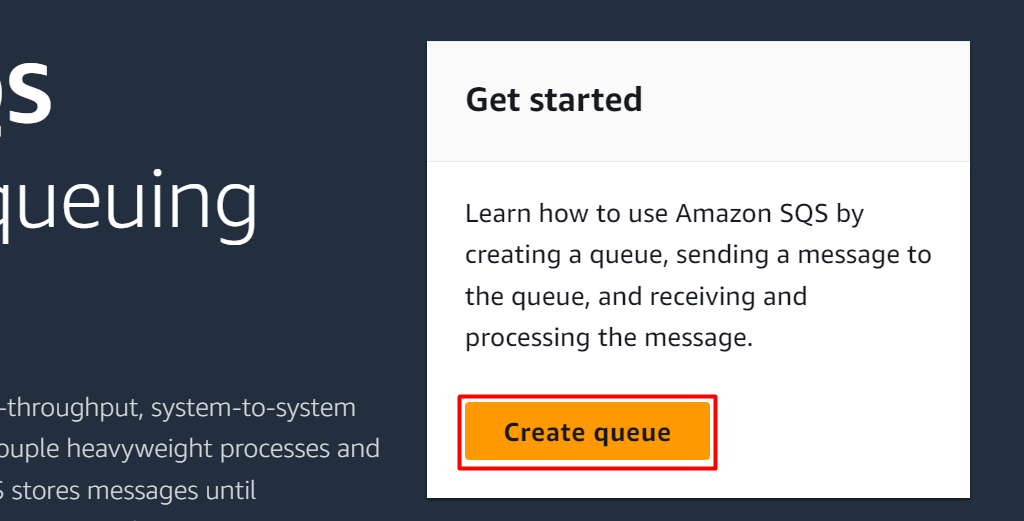
On the SQS console, click on the “Create queue” button:
There are two types of queues in SQS i.e. Standard and FIFO. Both of these queues differ in terms of the delivery mechanism. For this demo, select the “Standard” queue option:
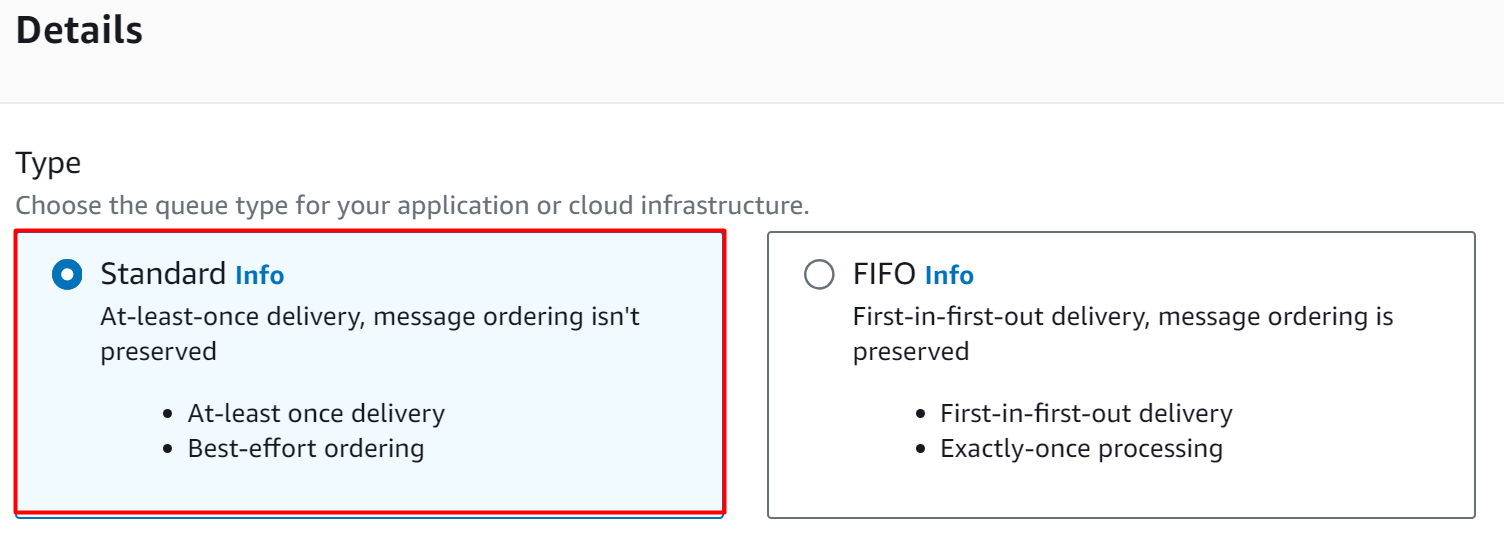
Read more: AWS SQS FIFO Comprehensive Guide: Its Features and Core Components
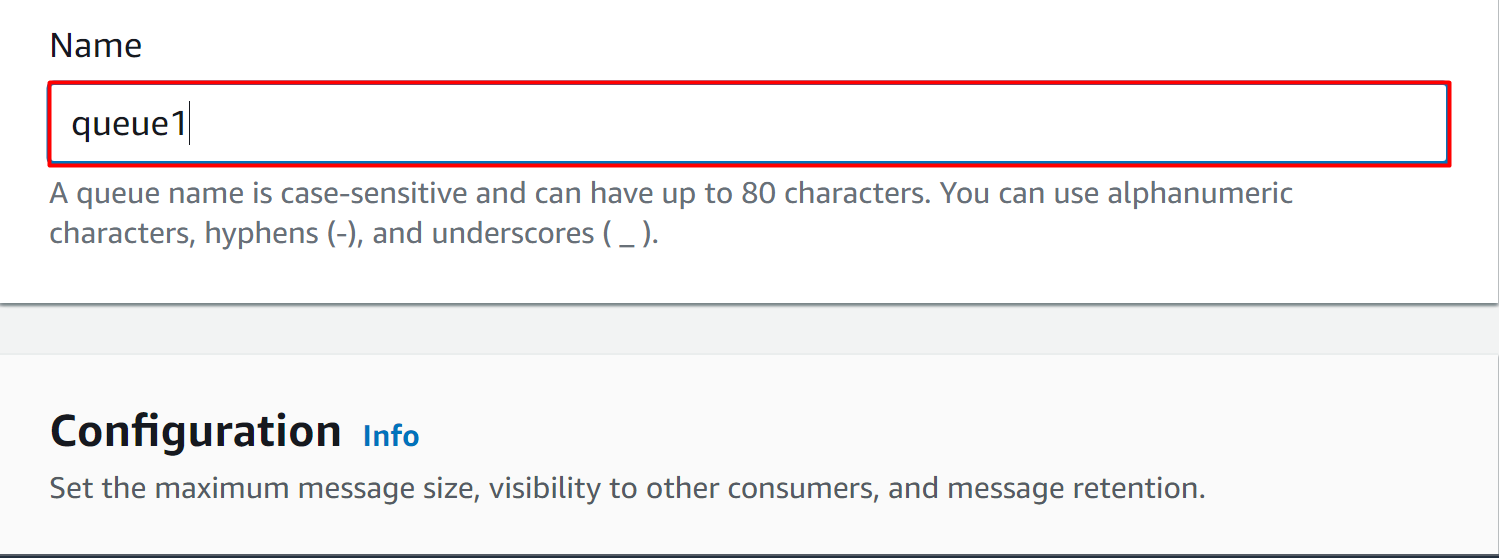
Provide a unique identifier for the first queue. Note that the name of the queues should be the same as the queues’ name provided in the SNS policy:
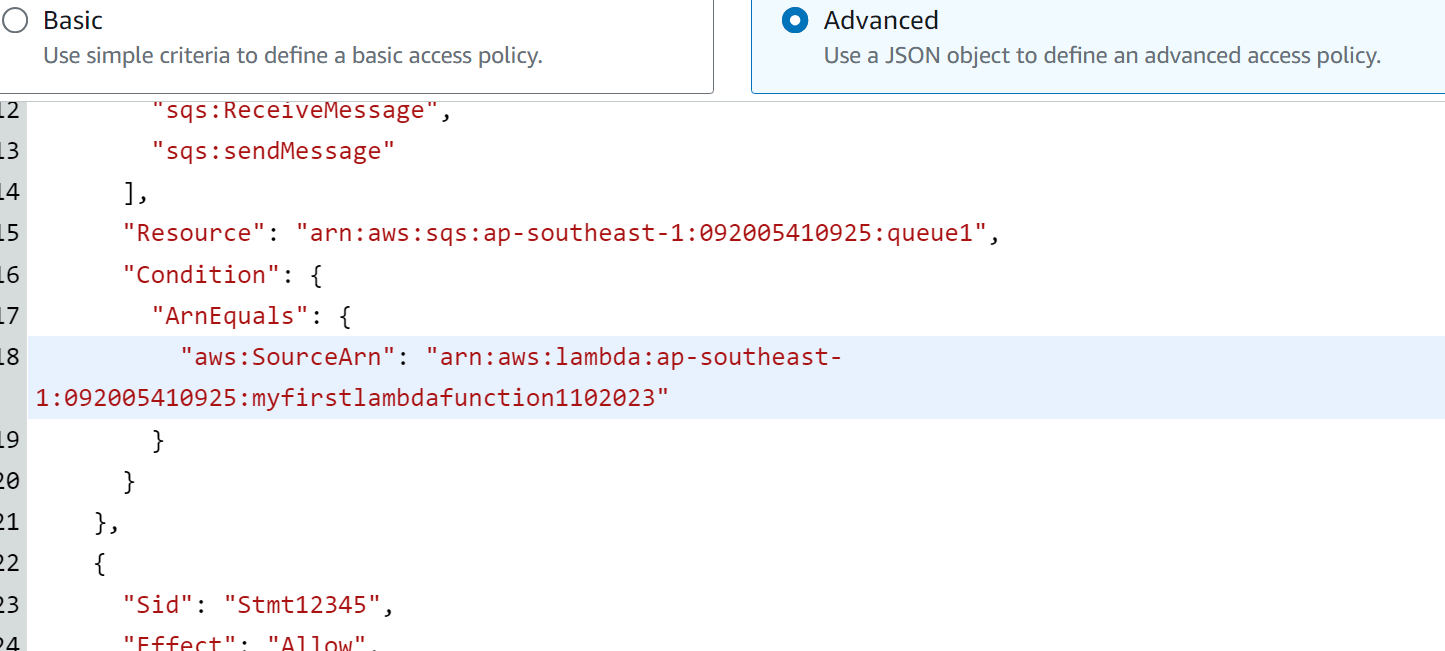
By keeping the rest of the settings as default, scroll down to the “Access policy” section. The Access Policy determines the access and management control of the queues.
"Version": "2008-10-17",
"Id": "__default_policy_ID",
"Statement": [
{
"Sid": "Stmt1234",
"Effect": "Allow",
"Principal": {
"Service": "lambda.amazonaws.com"
},
"Action": [
"sqs:ReceiveMessage",
"sqs:sendMessage"
],
"Resource": "arn:aws:sqs:::",
"Condition": {
"ArnEquals": {
"aws:SourceArn": "arn:aws:lambda:::"
}
}
},
{
"Sid": "Stmt12345",
"Effect": "Allow",
"Principal": {
"AWS": "*"
},
"Action": "sqs:SendMessage",
"Resource": "arn:aws:sqs:::",
"Condition": {
"ArnLike": {
"aws:SourceArn": "arn:aws:sns:::"
}
}
}
]
}
- <region> and <accountId> will be replaced by the original region and Account ID of the AWS.
- <sqsQueueName>: replace it with the queue name that is being created now i.e. queue1.
- <lambdaName>: replace it with the first lambda function name. For this architecture, there will be two lambda functions created later. For queue1, provide the name of the first lambda function to the policy and the same name should be used when this lambda function is created.
- <snsTopicName>: replace it with the SNS topic name that was created earlier in the article e.g., mytopic.
Similar to the SNS topic, select the “Advanced” option and replace the existing policy with the above-mentioned policy:
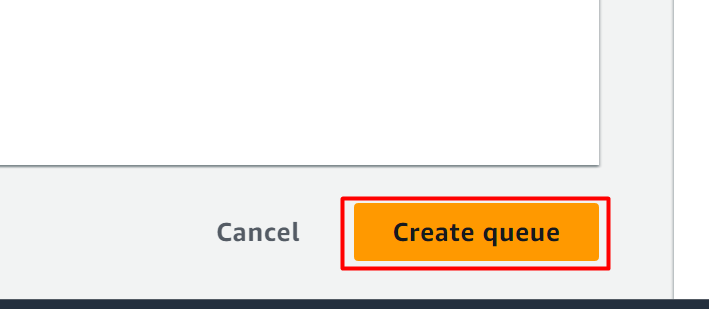
Keeping the rest of the settings as default, click on the “Create queue” button located at the bottom of the interface:
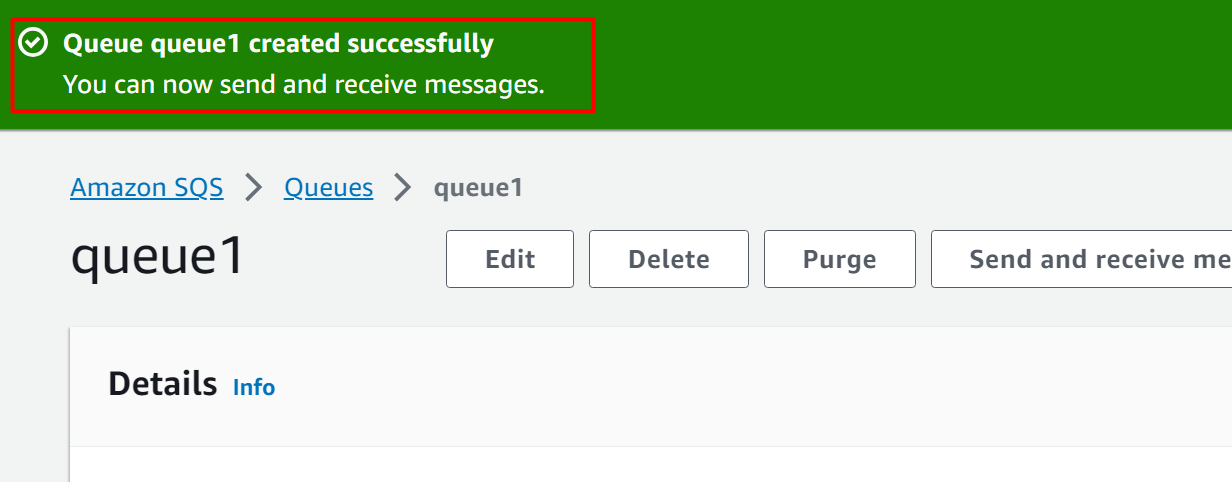
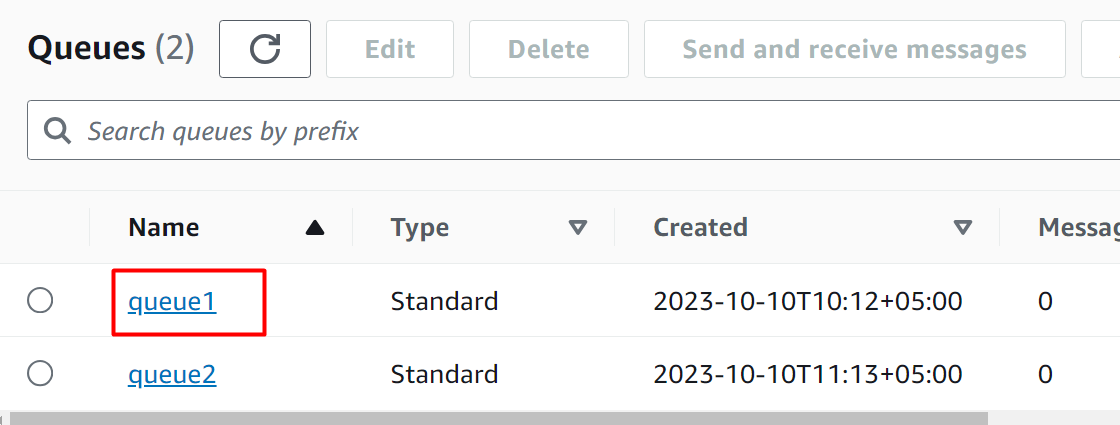
The queue has been created successfully:
Create Second Queue
The next step in this section is to create the second queue. For this purpose, follow the same procedure as mentioned for queue1. However, the name of the Lambda function and queue name in the below-mentioned policy will be modified:
"Version": "2008-10-17",
"Id": "__default_policy_ID",
"Statement": [
{
"Sid": "Stmt1234",
"Effect": "Allow",
"Principal": {
"Service": "lambda.amazonaws.com"
},
"Action": [
"sqs:ReceiveMessage",
"sqs:sendMessage"
],
"Resource": "arn:aws:sqs:::",
"Condition": {
"ArnEquals": {
"aws:SourceArn": "arn:aws:lambda:::"
}
}
},
{
"Sid": "Stmt12345",
"Effect": "Allow",
"Principal": {
"AWS": "*"
},
"Action": "sqs:SendMessage",
"Resource": "arn:aws:sqs:::",
"Condition": {
"ArnLike": {
"aws:SourceArn": "arn:aws:sns:::"
}
}
}
]
}
- <region> and <accountId> will be replaced by the original region and Account ID of the AWS.
- <sqsQueueName>: replace it with the queue name that is being created now i.e. queue2.
- <lambdaName>: replace it with the second lambda function name. For this architecture, there will be two lambda functions created later. For queue2, provide the name of the first lambda function to the policy and the same name should be used when this lambda function is created.
- <snsTopicName>: replace it with the SNS topic name that was created earlier in the article i.e. mytopic.
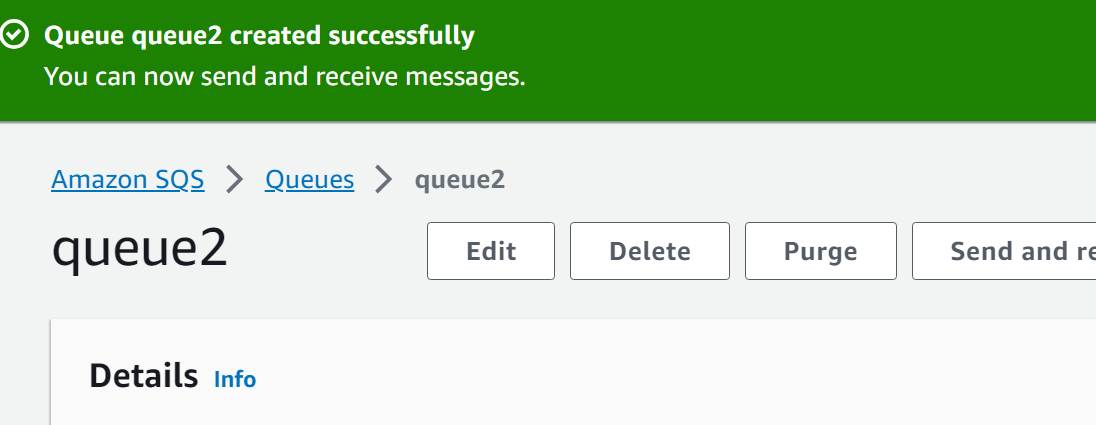
The second queue has been created successfully:
Step 4: Create an IAM role
The next step is to create two IAM roles for two Lambda Functions. Both these Lambda functions will be associated with queue1 and queue2. As the policy configured with the queues and lambda functions are name-specific, therefore it requires different IAM roles.
Create First IAM Role
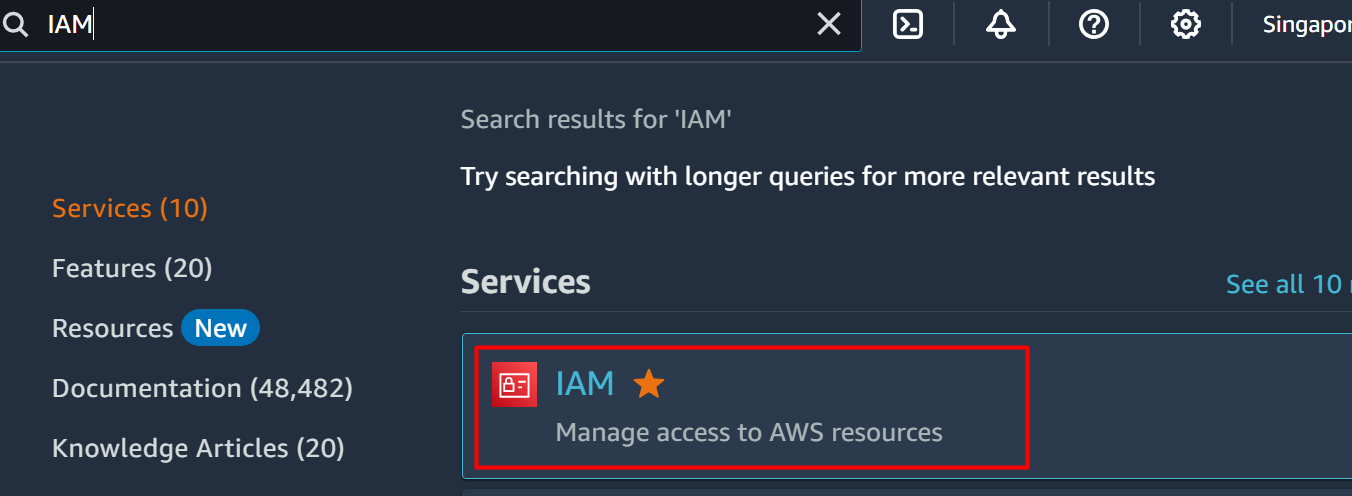
To create an IAM role, first create the IAM policy. To visit the IAM Dashboard, search and select the “IAM” service from the AWS Management Console:
Note: This IAM role is created for the first queue and Lambda function that will be created later.
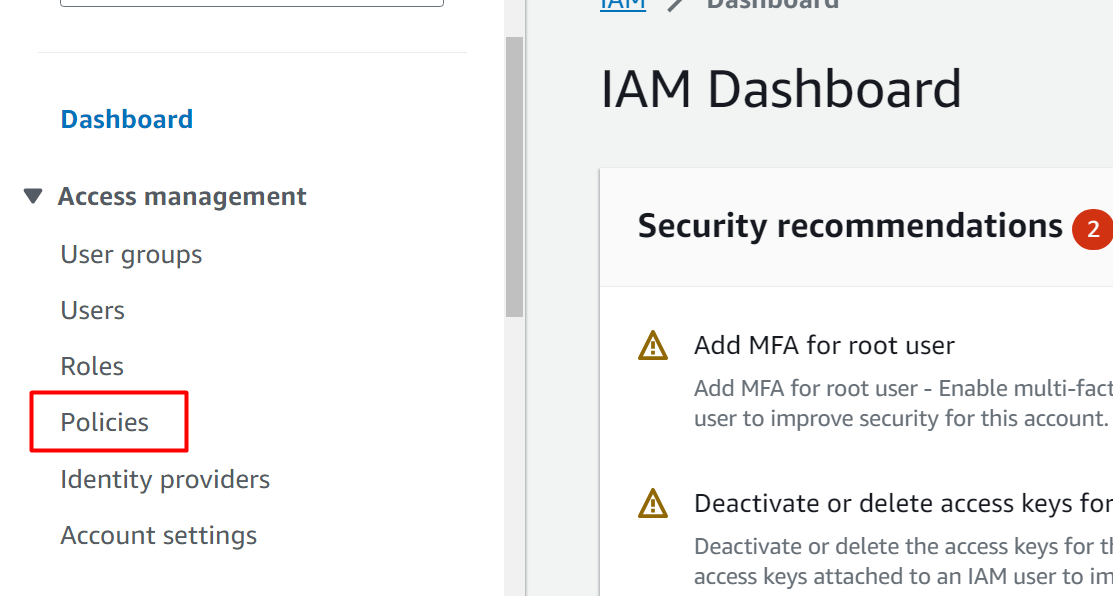
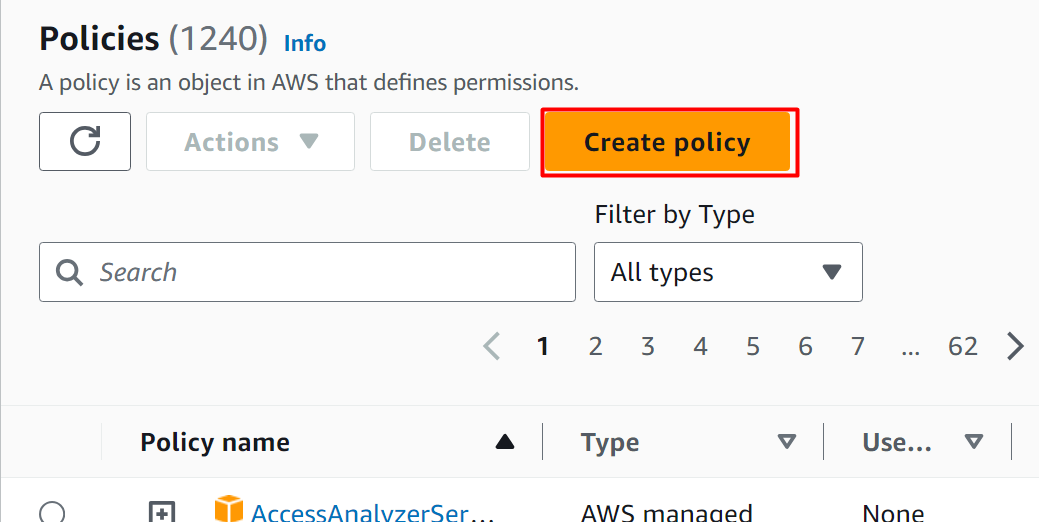
Click on the “Policies” option from the left sidebar of the IAM console:
Click on the “Create policy” button from the Policies dashboard:
Read more: How to Create IAM Policies on AWS
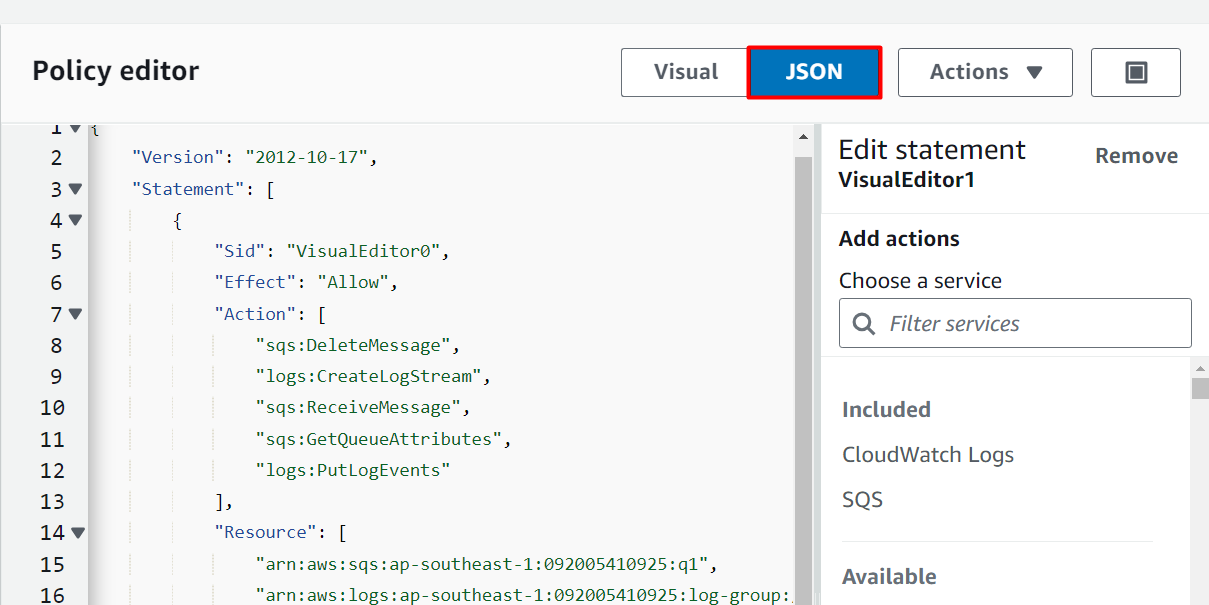
On the Specify permissions console, click on the “JSON” button and replace the existing policy with the following policy mentioned:
"Version": "2012-10-17",
"Statement": [
{
"Sid": "VisualEditor0",
"Effect": "Allow",
"Action": [
"sqs:DeleteMessage",
"logs:CreateLogStream",
"sqs:ReceiveMessage",
"sqs:GetQueueAttributes",
"logs:PutLogEvents"
],
"Resource": [
"arn:aws:sqs:::q1",
"arn:aws:logs:::log-group:/aws/lambda/:*"
]
},
{
"Sid": "VisualEditor1",
"Effect": "Allow",
"Action": [
"sqs:ReceiveMessage",
"sqs:DeleteMessage",
"sqs:GetQueueAttributes",
"logs:CreateLogGroup"
],
"Resource": [
"arn:aws:logs:::*",
"arn:aws:sqs:::"
]
}
]
}
- <region> and <accountId> will be replaced by the original region and Account ID of the AWS.
- <sqsQueueName>: replace it with the first queue name e.g., queue1
- <lambdaName>: replace it with the first lambda function name:

Note: The first lambda function name should be provided in the “Resource” section of the policy as highlighted above.
The policy has been replaced and modified:
Scroll down to the bottom of the interface and click on the “Next” button:
Provide the name of the policy in the highlighted text field. The description is an optional text field:
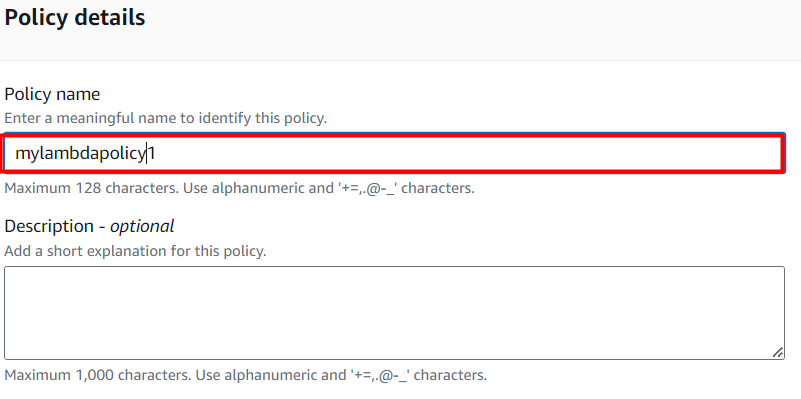
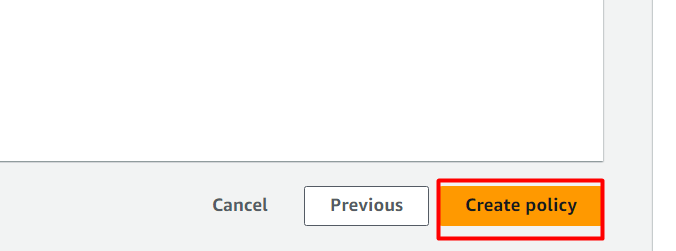
After the provision of the details, scroll down to the bottom of the interface. Tap the “Create policy” button:
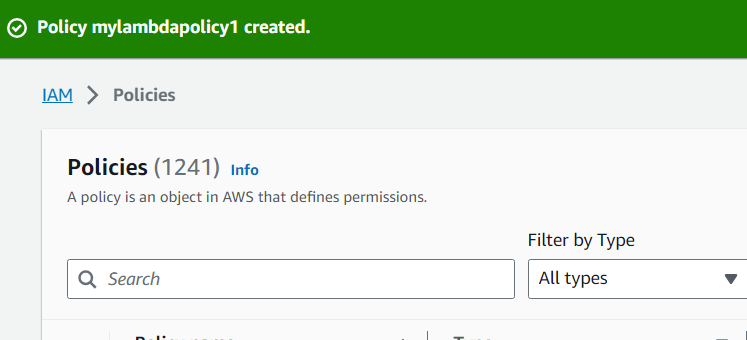
The policy has been successfully created:
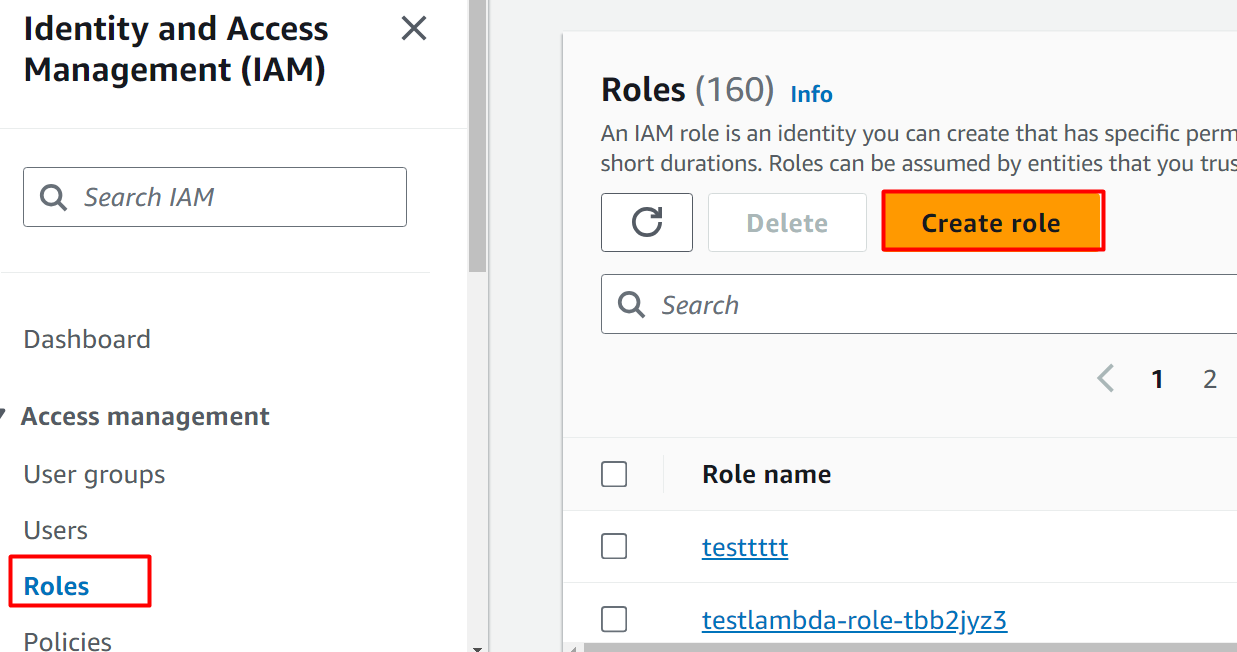
To attach this IAM policy with the IAM role, click on the “Roles” option from the left sidebar of the IAM dashboard. Click on the “Create role” button from the displayed interface:
Read more: How to Create IAM Roles in AWS
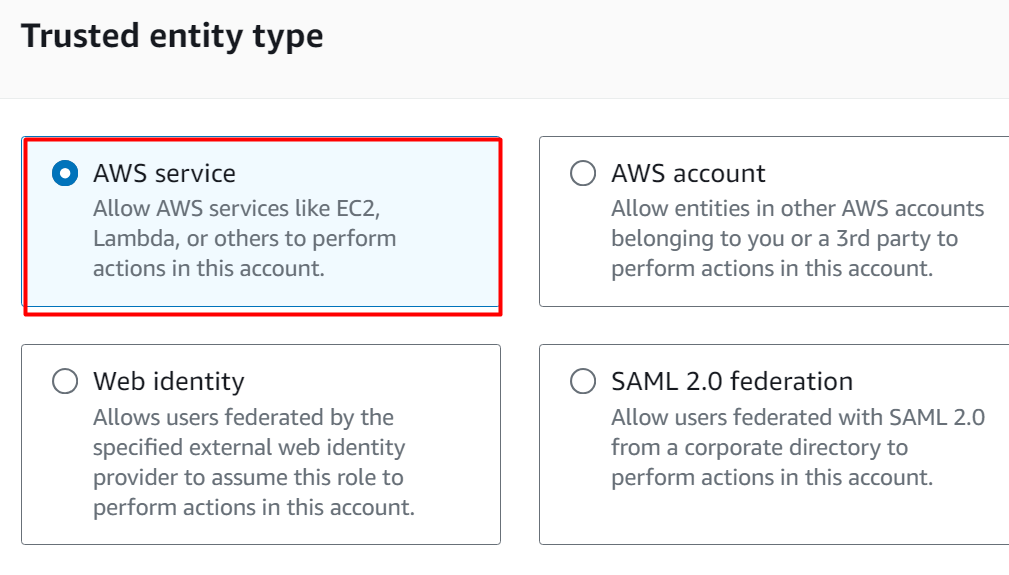
From the “Trusted entity type”, click on the “AWS service” option as we are creating this IAM role for the Lambda function:
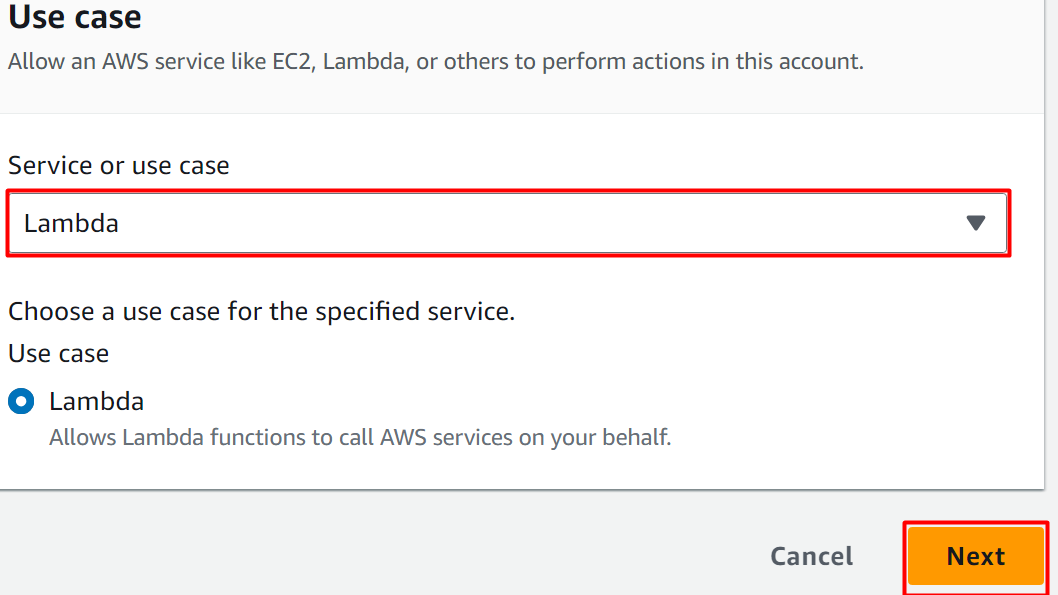
Scroll down to the “Use case” section. Select the Lambda service and click the “Next” button to proceed further:
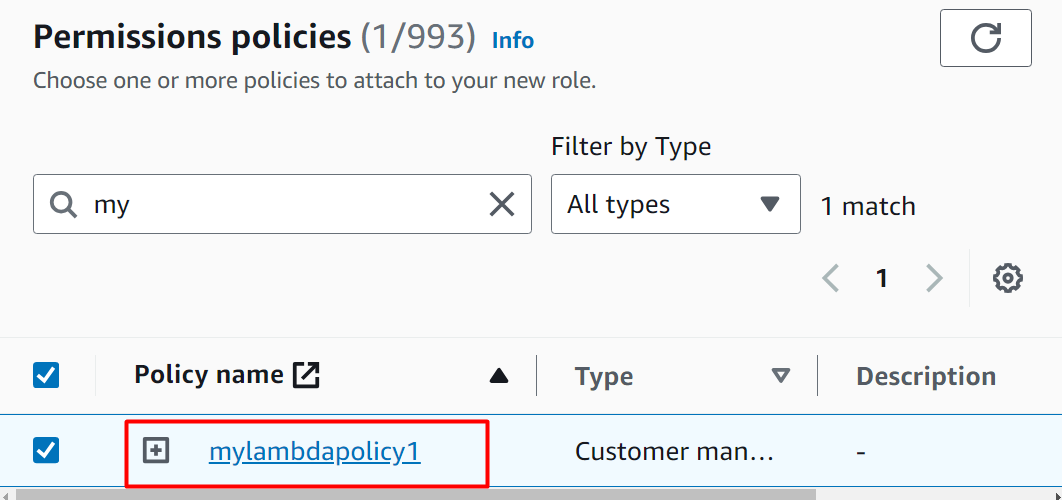
In the “Permissions policies” section, search the policy that we have configured and select the policy:
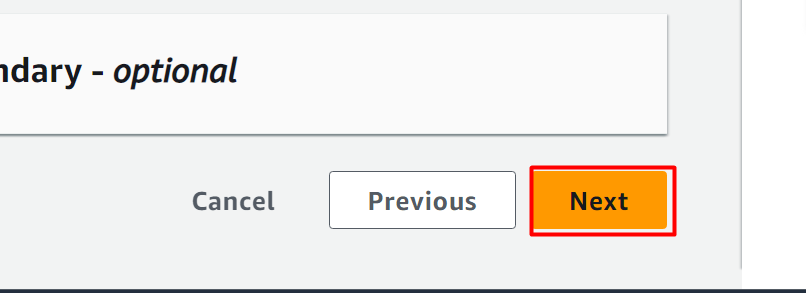
Click on the “Next” button at the bottom of the interface:
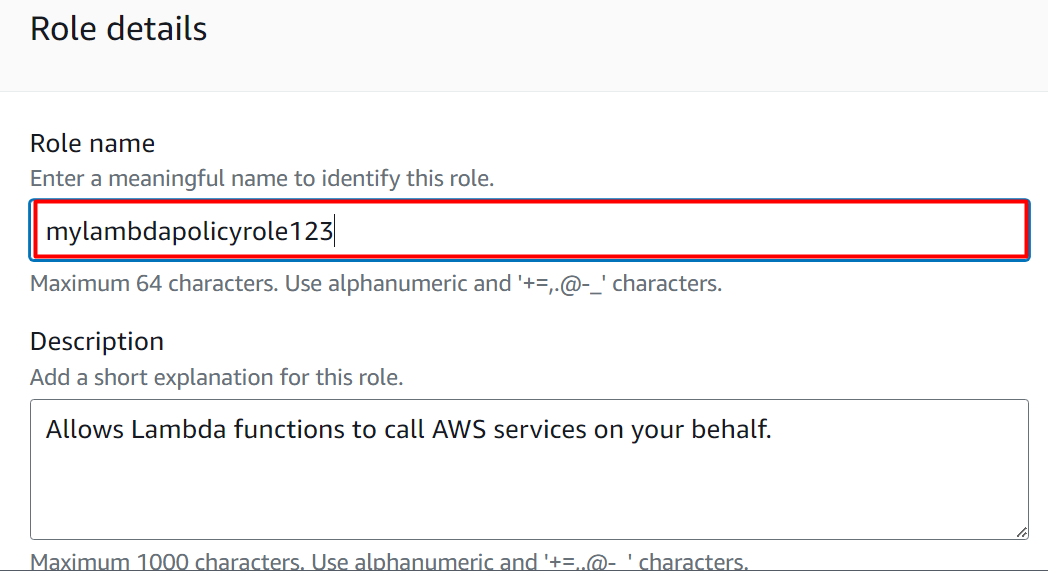
Provide the name for the role in the “Role name” text field under the “Role details” section:
Click on the “Create role” button located at the bottom of the interface:
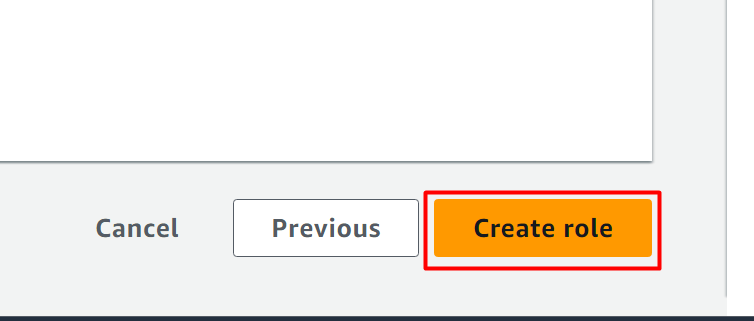
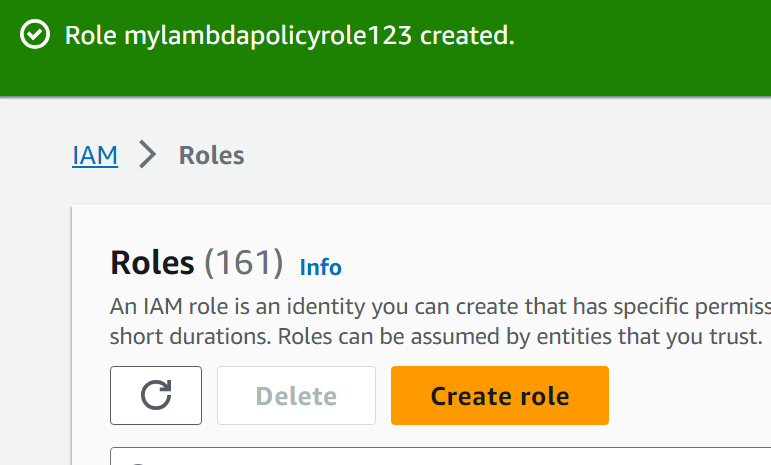
The IAM role has been successfully created:
Create a Second IAM role
To create the second IAM role, follow the above-mentioned procedure of creating the first IAM role. There will be slight changes in the policy for the second IAM role. The <sqsQueueName> will be replaced by the second queue name e.g., queue2. Similarly, the <LambdaName> will also be replaced by the second Lambda Function’s name e.g. lambdafunction2:
"Version": "2012-10-17",
"Statement": [
{
"Sid": "VisualEditor0",
"Effect": "Allow",
"Action": [
"sqs:DeleteMessage",
"logs:CreateLogStream",
"sqs:ReceiveMessage",
"sqs:GetQueueAttributes",
"logs:PutLogEvents"
],
"Resource": [
"arn:aws:sqs:::q1",
"arn:aws:logs:::log-group:/aws/lambda/:*"
]
},
{
"Sid": "VisualEditor1",
"Effect": "Allow",
"Action": [
"sqs:ReceiveMessage",
"sqs:DeleteMessage",
"sqs:GetQueueAttributes",
"logs:CreateLogGroup"
],
"Resource": [
"arn:aws:logs:::*",
"arn:aws:sqs:::"
]
}
]
}
- <region> and <accountId> will be replaced by the original region and Account ID of the AWS.
- <sqsQueueName>: replace it with the second queue’s name e.g., queue1
- <lambdaName>: replace it with the second lambda function’s name:

Note: The second lambda function name should be provided in the following section of the policy as highlighted below:
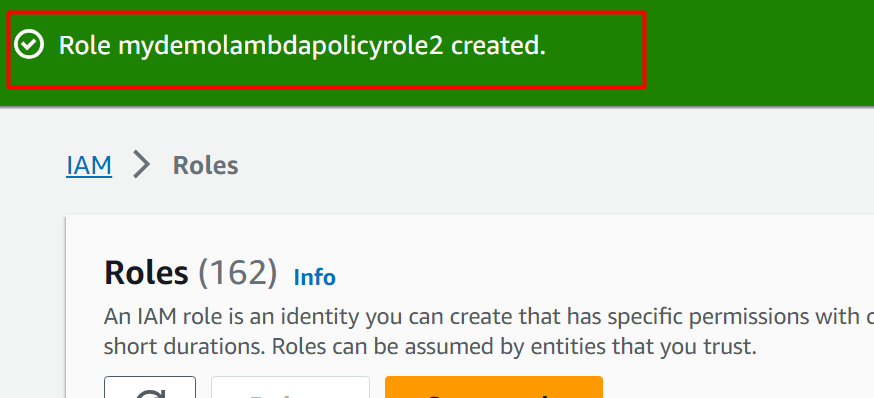
The Second IAM role has been created successfully:
Step 5: Create a Lambda Function
In this section of the article, we will be creating two lambda functions. The two IAM roles will be attached to these Lambda Functions to allow them certain permissions.
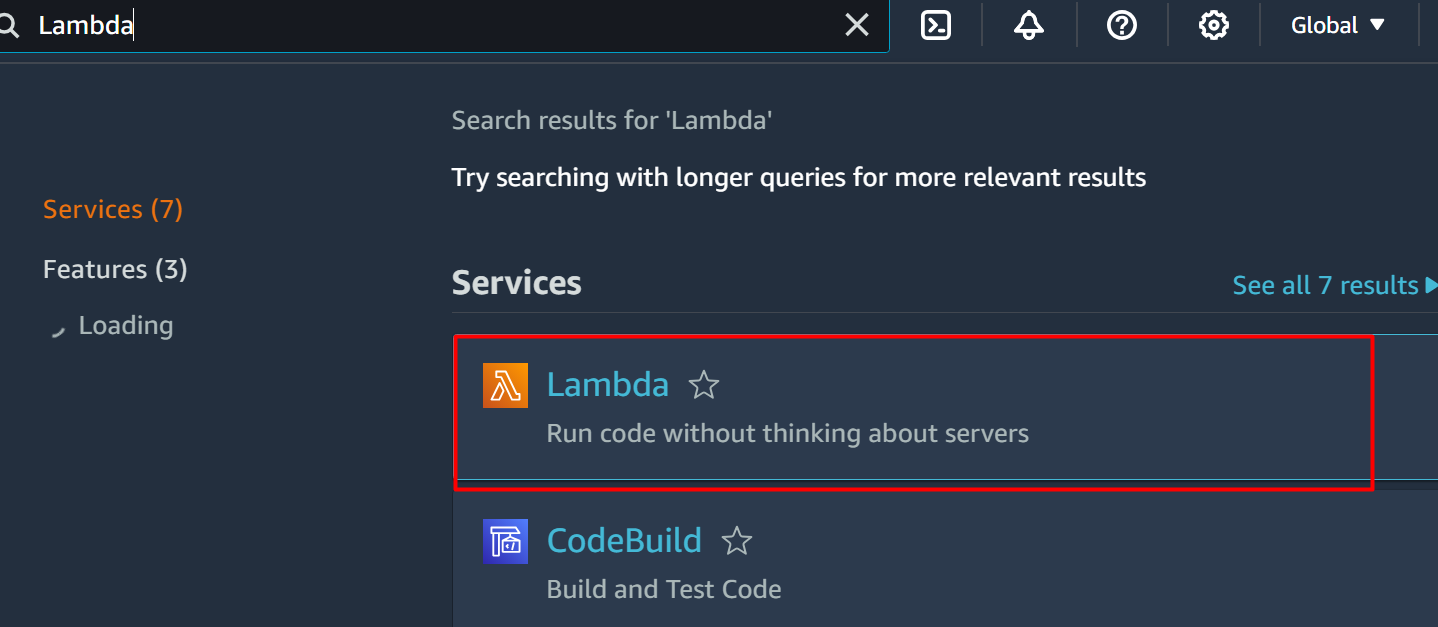
On the AWS Management Console, search the “Lambda” service from the search bar and click on it:
Read more: Getting Started With AWS Lambda
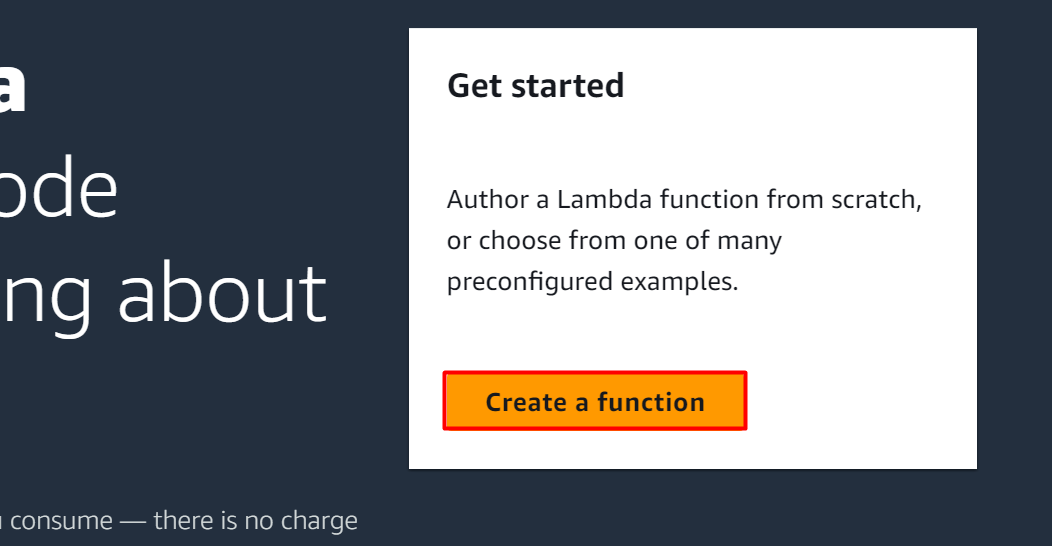
Click on the “Create function” button from the Lambda Interface:
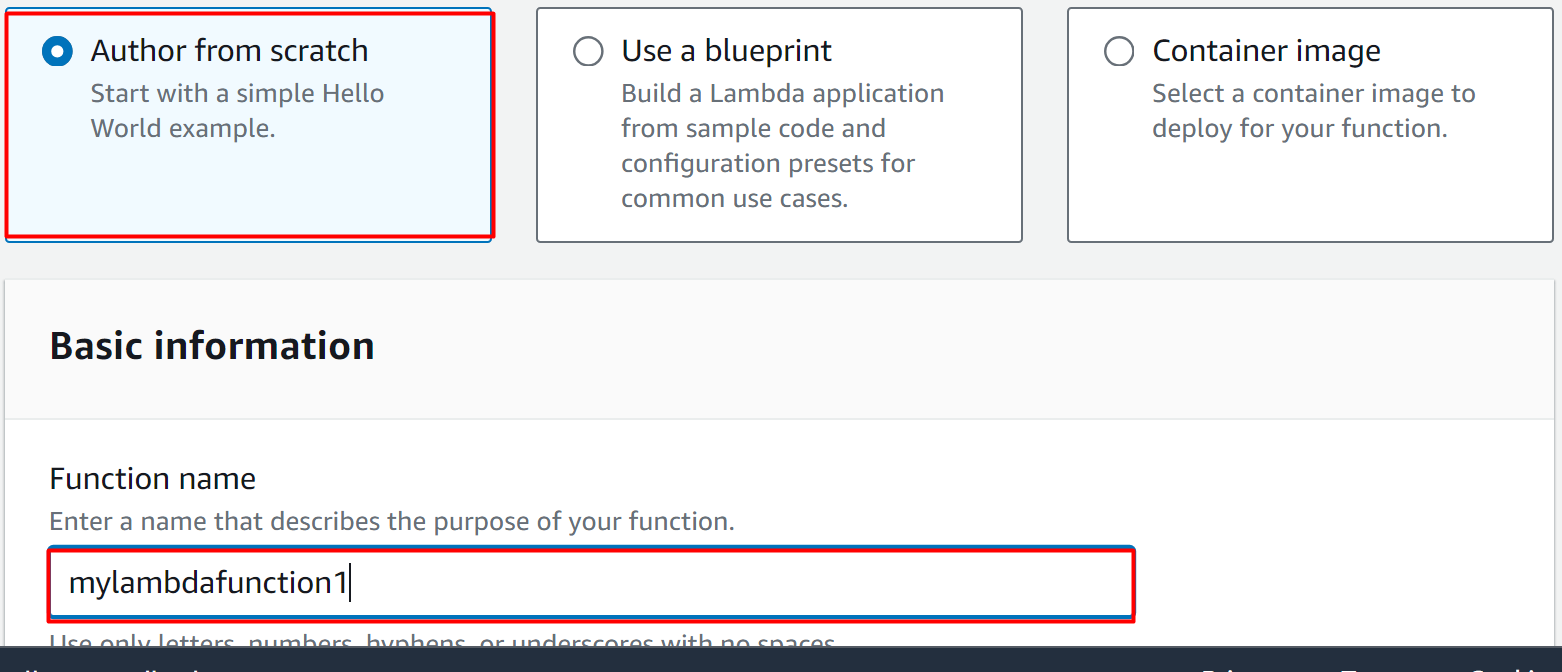
As we are creating the Lambda function from scratch, select the following highlighted option. In the Basic information section, provide a globally unique identifier for the Lambda function in the “Function name” text field:
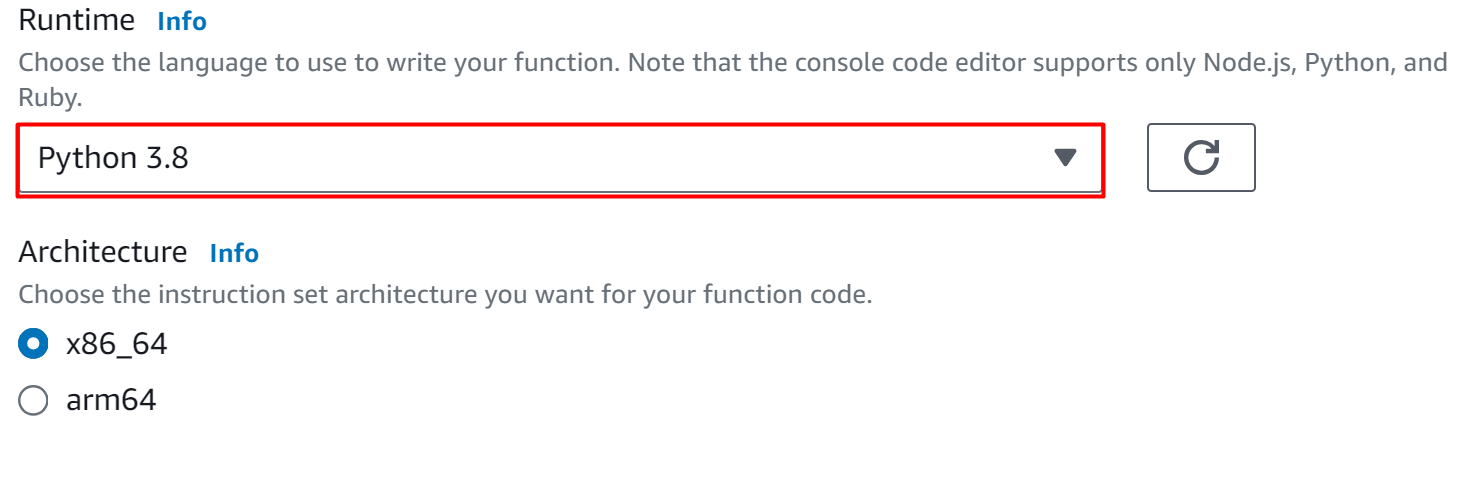
Lambda Functions supports different languages and platforms such as Python, Java, Node.js, Ruby, etc. Select “Python 3.8” from the Runtime text field. The Architecture will remain as default:
Learn more: How to Create a Lambda Function With Python Runtime
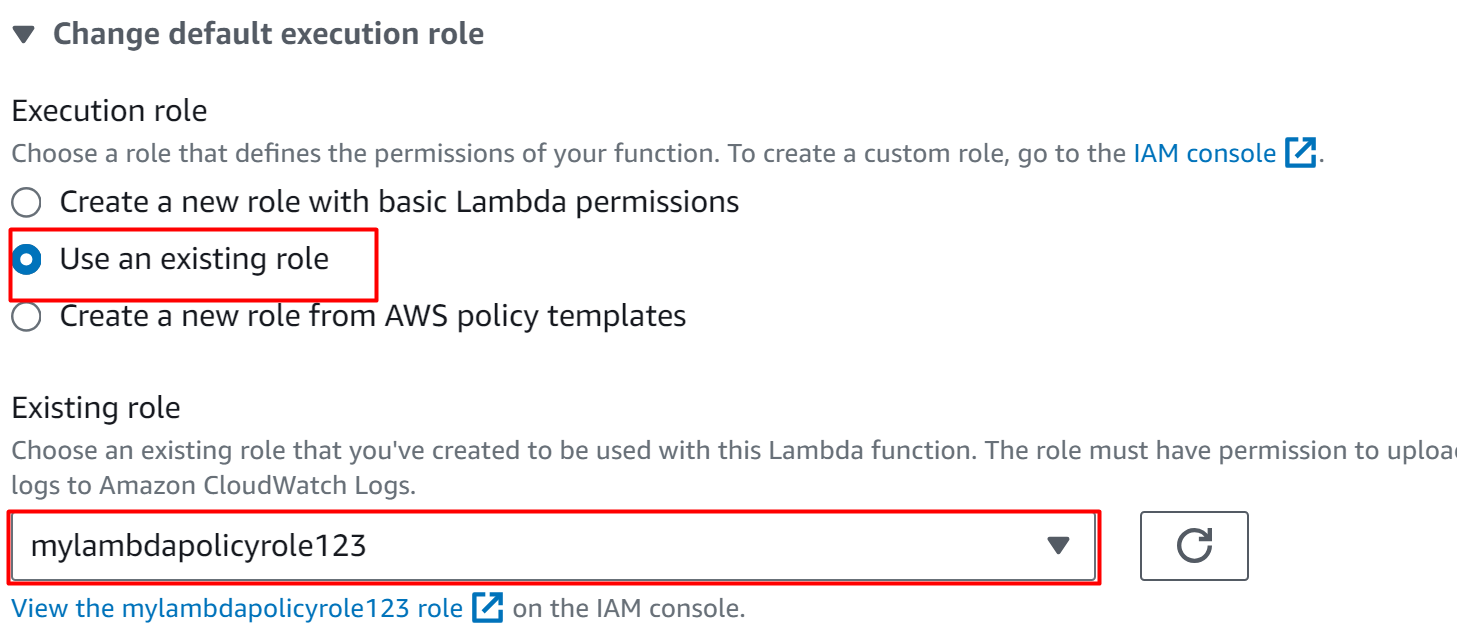
Scroll down to the “Change default execution role” section. By choosing the “Use an existing role” option from the “Execution role” block, associate the first IAM role with this Lambda Function. For this purpose, select the name of the IAM role in the “Existing role” text field:
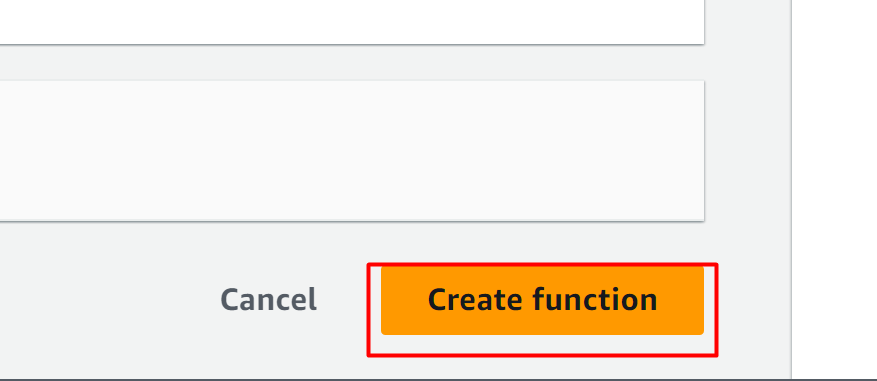
After making the required configuration to the Lambda Function, click on the “Create function” button at the bottom of the interface:
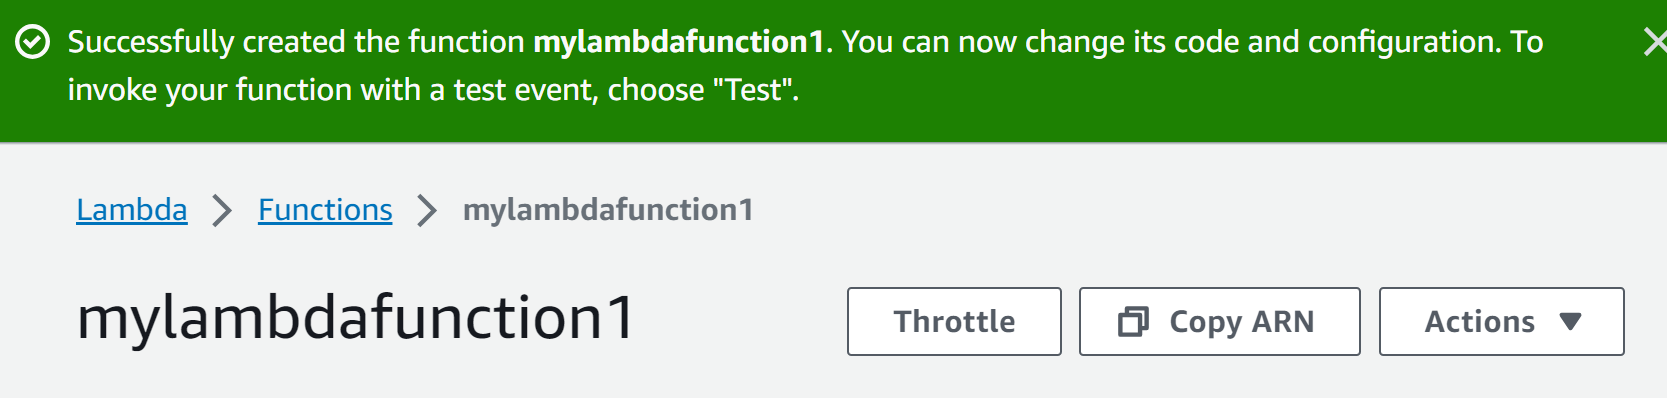
The first Lambda Function has been created successfully:
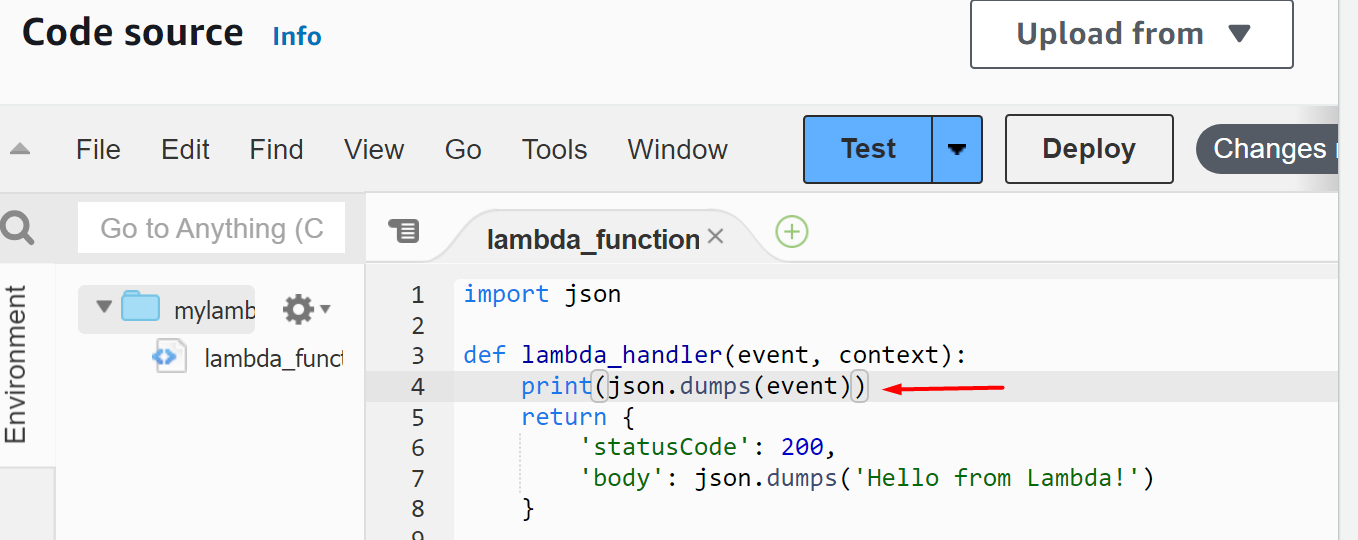
Scroll down to the “Code source” section of the Lambda Function. Add the following “print statement” to the code for printing the data of the event executed:
To save and apply the changes, click on the “Deploy” button which is neighbouring to the “Test” button:
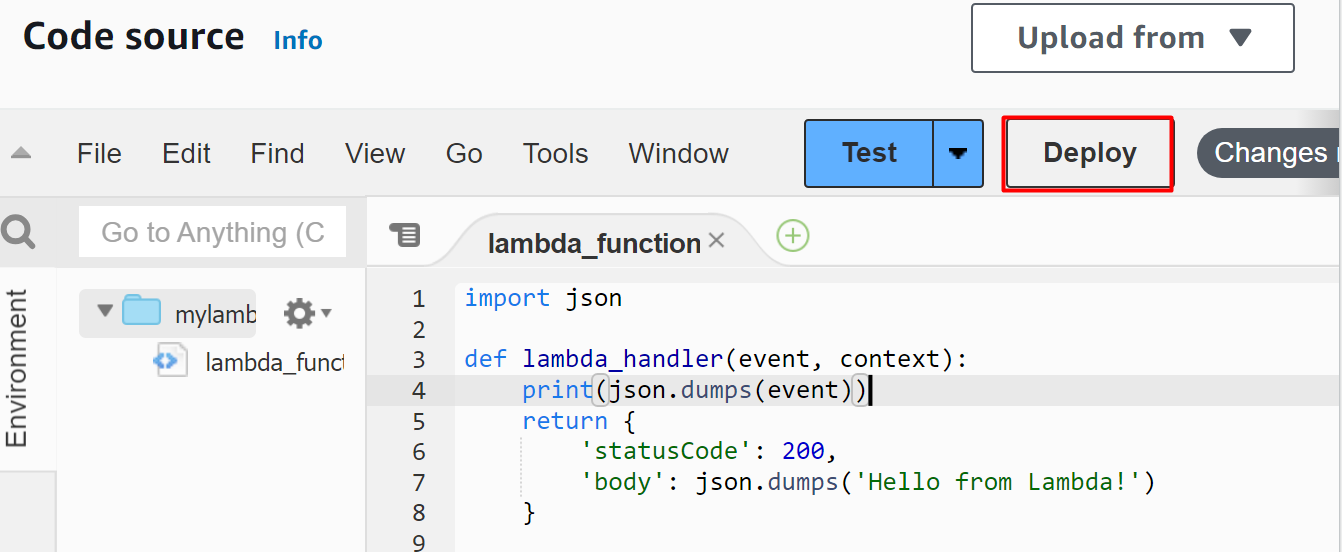
The changes are successfully deployed:
Create a Second Lambda Function
Similarly, follow the above-mentioned steps to create the second Lambda function. The second IAM role will be attached to this Lambda Function. This is due to the reason that the second IAM role contains the permissions for the second Lambda Function to access the queue data and execute it.
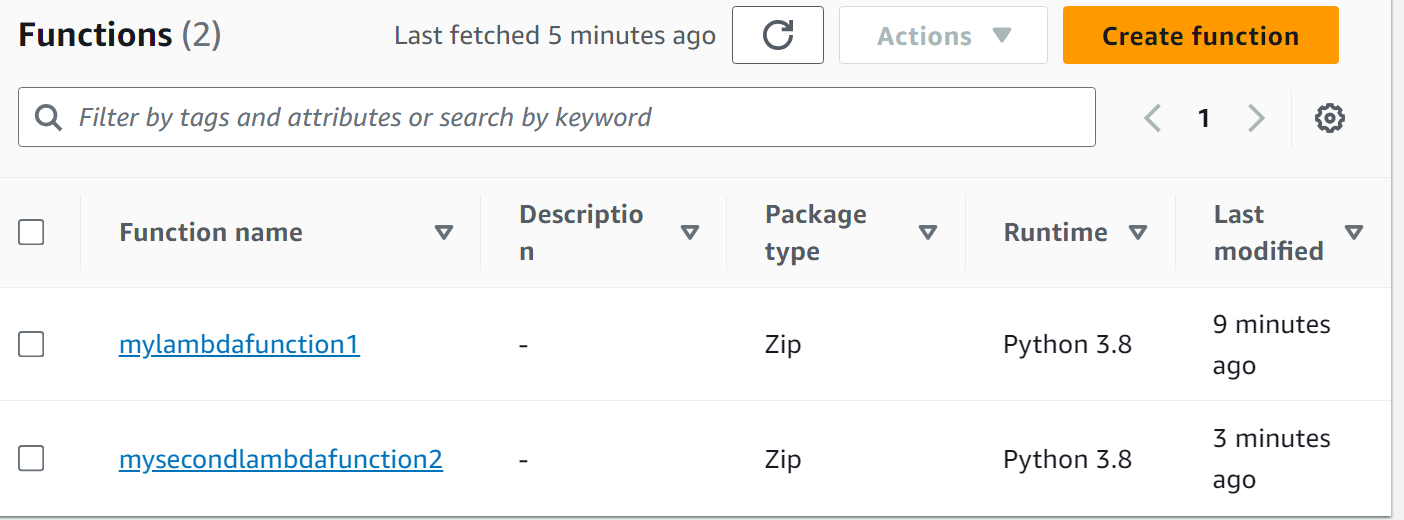
The two Lambda Functions are successfully configured and created:
Step 6: Create Event Notifications
The four components of the Event Architecture are successfully created. Now, we will connect these components with S3 buckets. So that when an object is uploaded to it, it will initiate the consecutive processes.
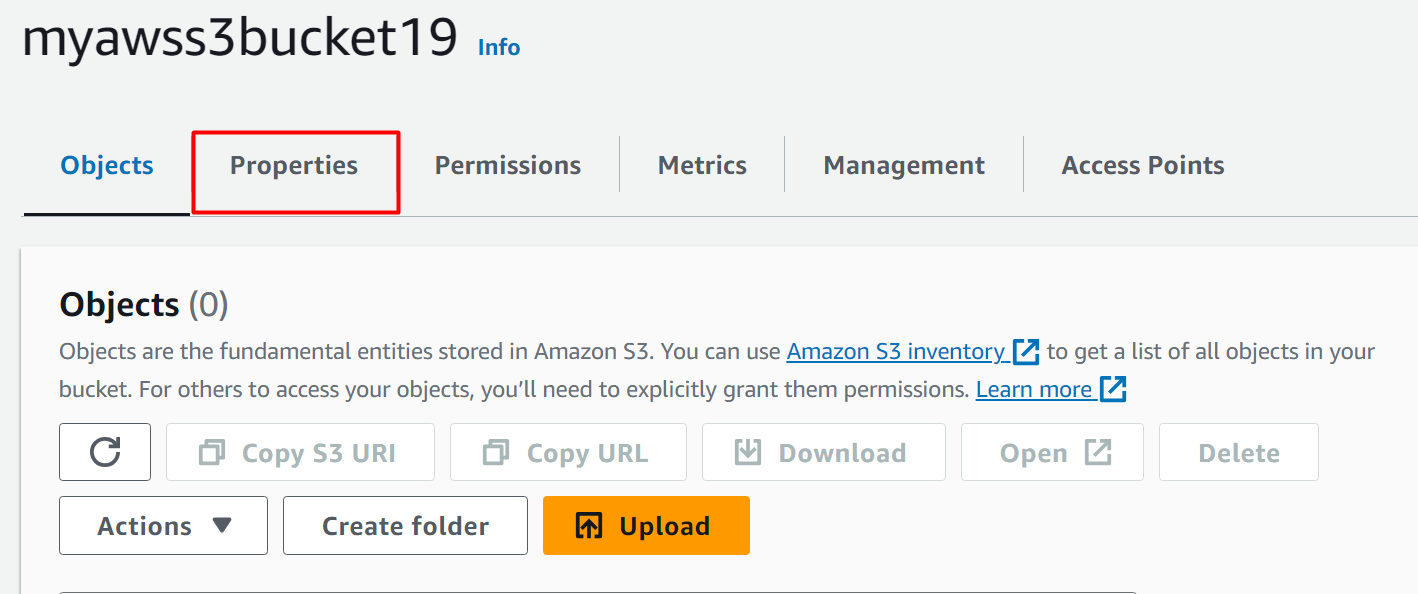
Head back to the S3 Dashboard and click on the S3 bucket’s name. From the S3 bucket console, click on the “Properties” tab to create an event notification:
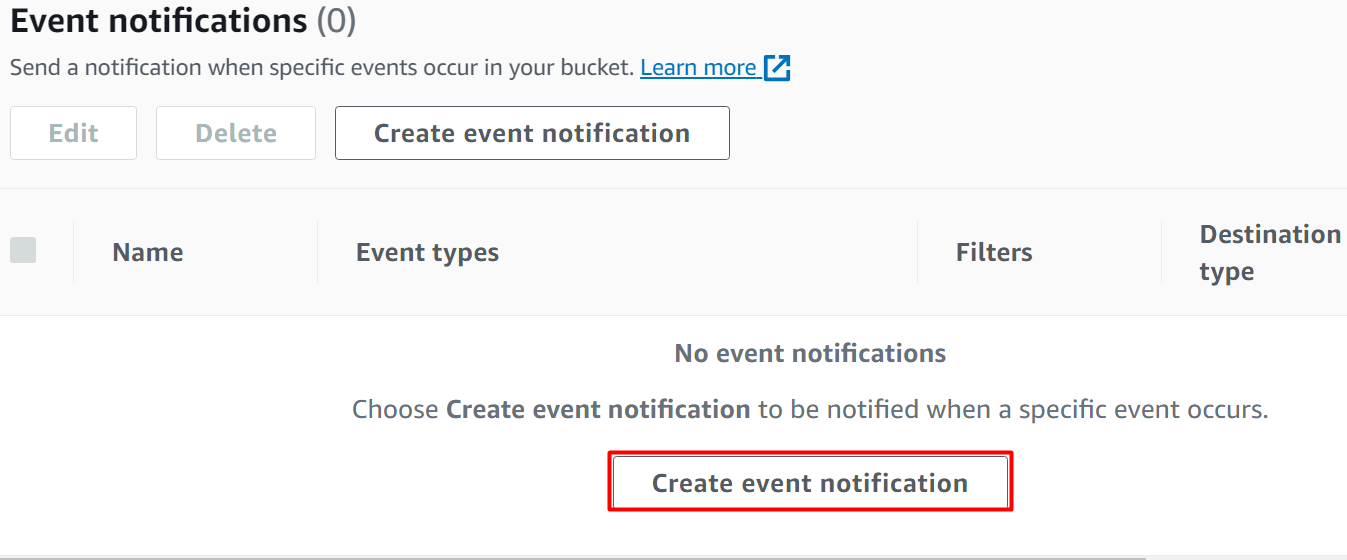
Within the “Properties” tab, scroll down to the “Event notifications” section. Click the “Create event notification” button displayed:
Read more: How to Configure Event Notifications on S3 Bucket
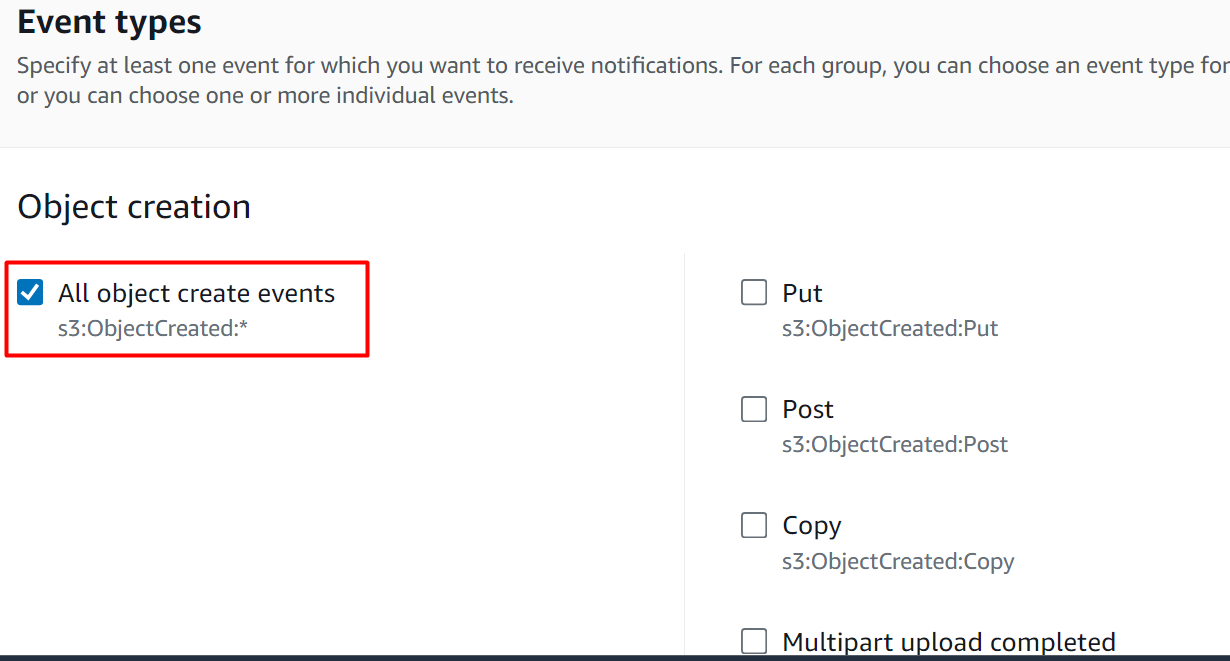
This will display the following interface. In the General Configurations section, provide the name for the event notification in the “Event name” text field. The “Prefix” and “Suffix” are optional fields:

In the “Event types” section, there are several different events that can be used to create event notifications. At the moment select the “All object create events” option. The event will be invoked whenever any particular action associated with the “All object create events” occurs:
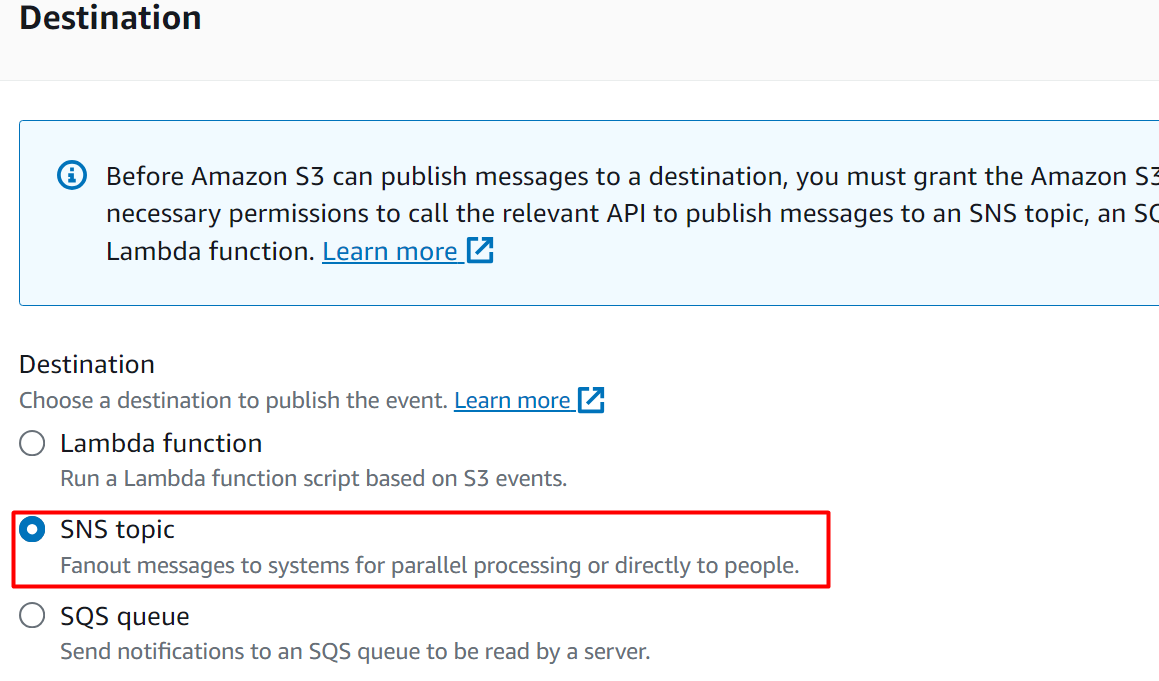
For the Destination, select the “SNS topic” which is the Event Ingestion component of this Architecture:
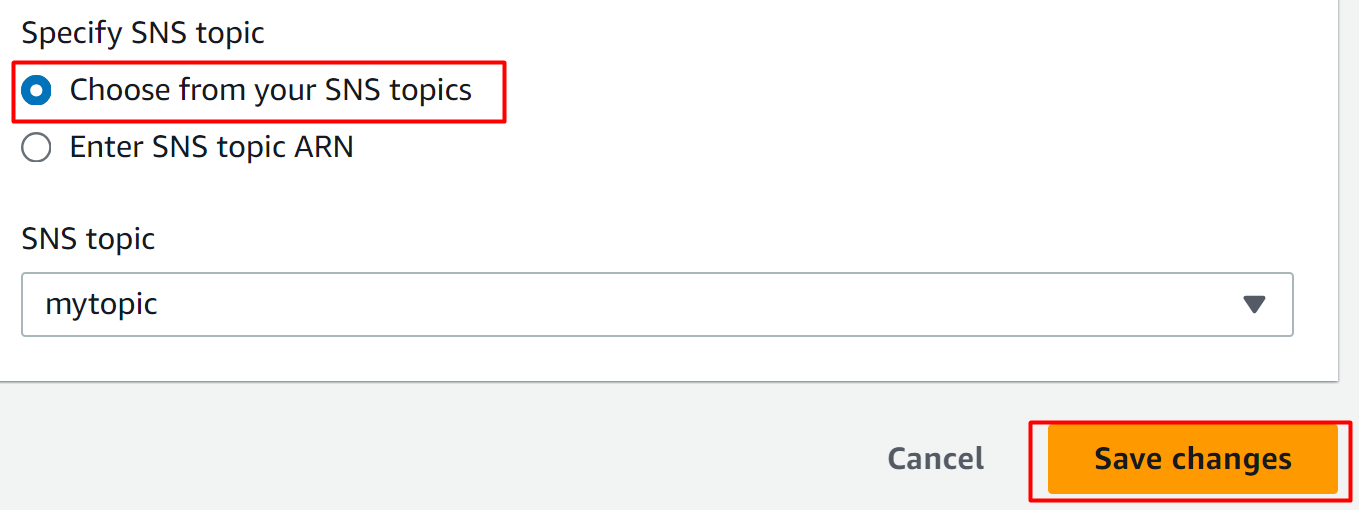
Select the name of the topic in the “SNS topic” text field and hit the “Save changes” button:
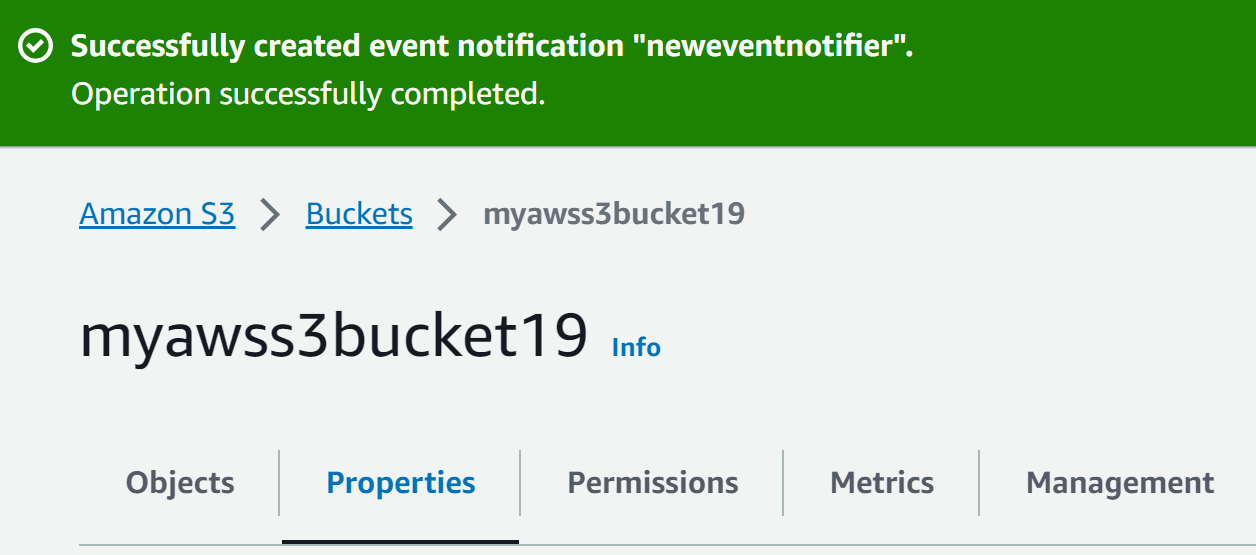
The Event Notification has been created successfully:
Step 7: Create Subscription
The SNS topic is responsible for filtering the content of the event and forwarding it to the required queues. These queues will forward these events based on their message to the respective Lambda function for execution.
However, for the SNS topic to forward the events to queues, there must be a subscription between the topic and the queues that connects the two. For this purpose, go to the SNS console and choose the topic’s name:

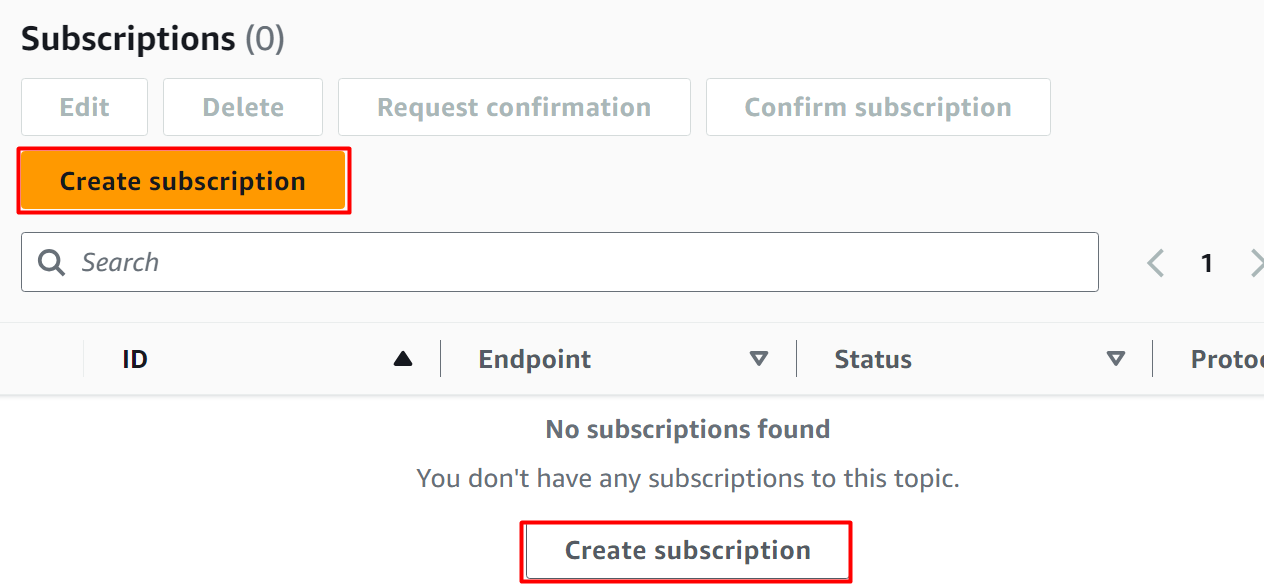
Scroll down to the “Subscription” section and click the “Create subscription” button:
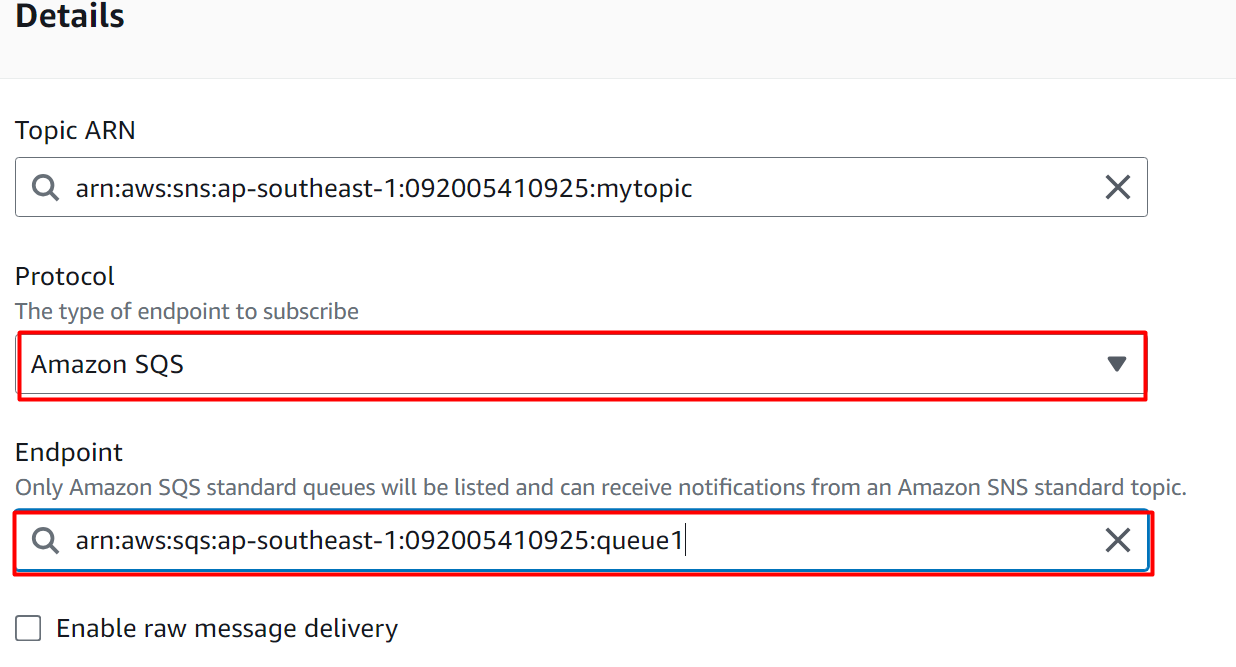
On the “Create Subscription” interface, the ARN of the topic is provided as default. Select “Amazon SQS” in the “Protocol” text field as the endpoint for a subscription. Choose the first queue e.g., queue1 as the Endpoint:
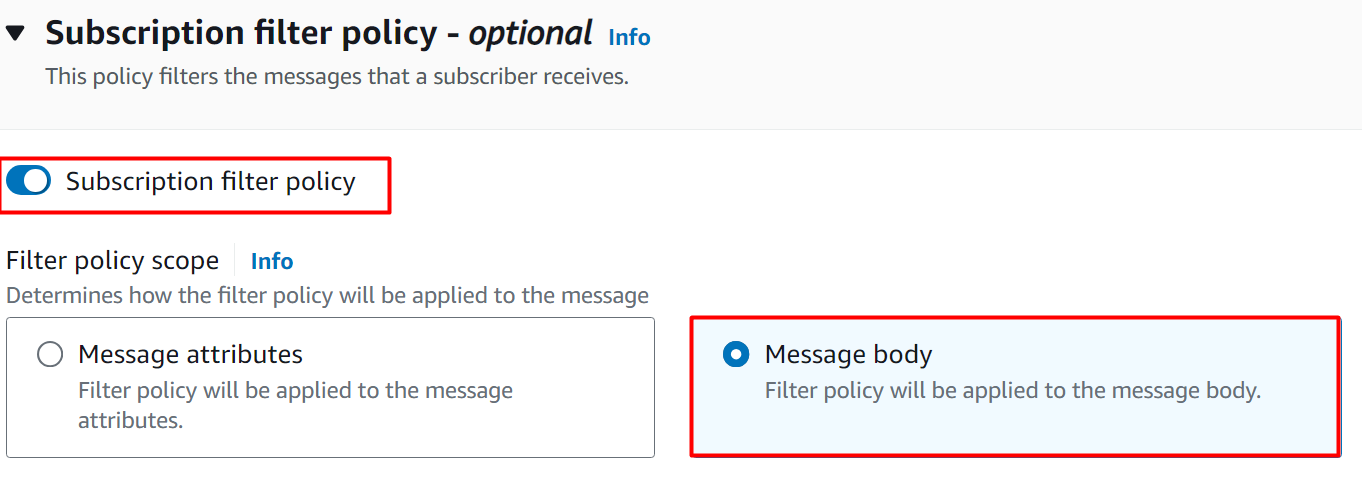
The events will be forwarded to the queues and Lambda Functions based on their message body (content). Scroll down to the “Subscription filter policy” section and toggle the button to enable this feature. Select the “Message” body option as highlighted:
Learn more: How to Send Text Message (SMS) Using AWS SNS?
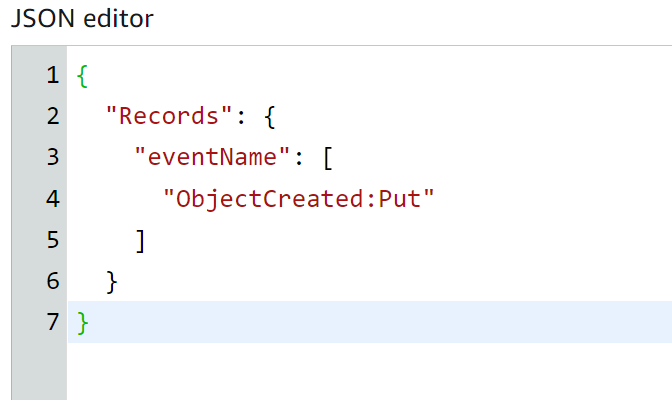
The following policy contains the “Put” keyword. So every event that is initiated by the Put action will contain the “Put” keyword in the message body. Hence, it will be forwarded to the first queue:
"Records": {
"eventName": [
"ObjectCreated:Put"
]
}
}
Paste the Following policy in the JSON editor to define the filter boundaries:
Click on the “Create subscription” button to proceed further:
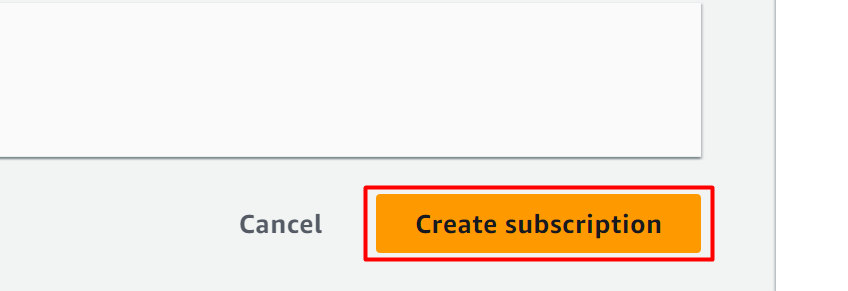
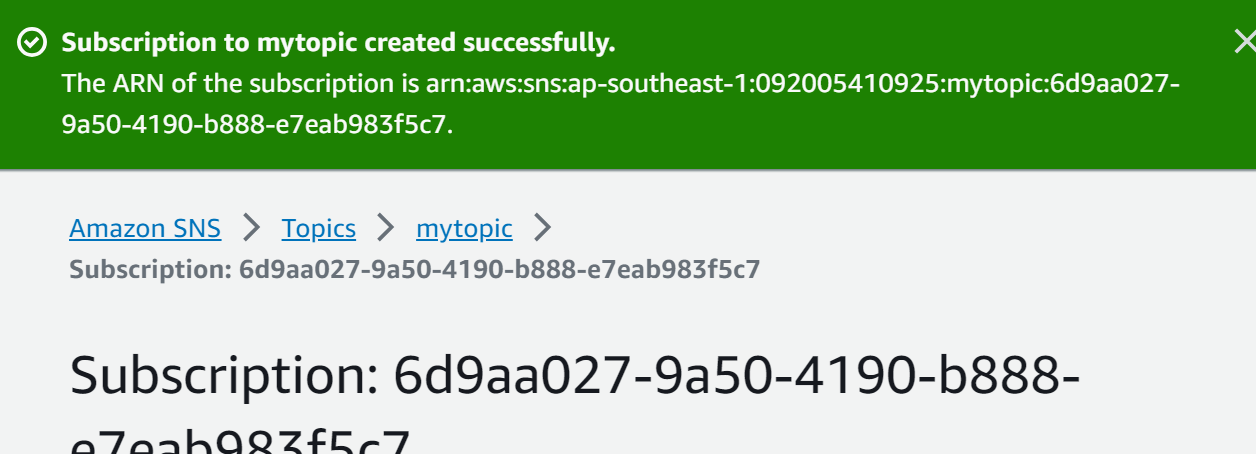
The subscription has been created successfully:
Create a Second Subscription
After creating the first subscription, create a second subscription for the second queue. For this purpose, follow the above-mentioned steps and select the second queue “queue2” as the Endpoint. Furthermore, there is a slight modification required in its subscription policy.
Edit the following policy in the JSON Editor. Based on this policy, the SNS topic will forward all the messages that contain the “Copy” keyword to the second queue e.g. queue2:
"Records": {
"eventName": [
"ObjectCreated:copy"
]
}
}
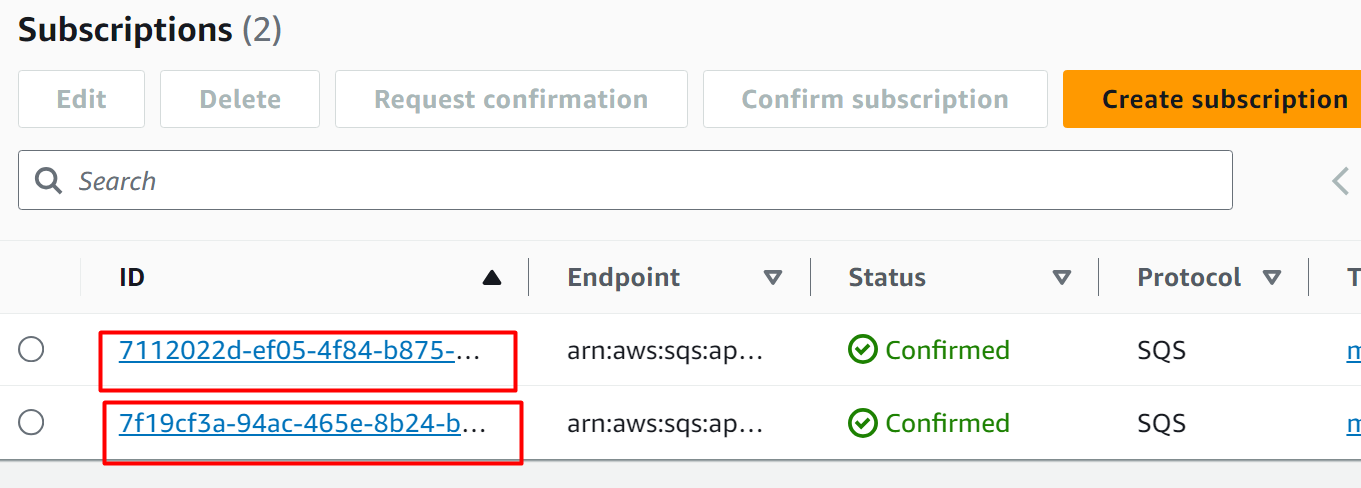
The two subscriptions are successfully created and configured:
Step 8: Create Lambda Triggers
Events produced at the S3 bucket will be forwarded to the SNS topic. The SNS topic will then further pass on the information to the queues subscribed to it. These queues are connected to the Lambda function where the final process will take place.
To connect the queues with the Lambda functions, visit the SQS console and click on the first queue’s name e.g., queue1:
Read more: An Introduction to Available Triggers to Invoke a Lambda Function
Scroll down the first queue interface and click the “Lambda triggers” option which is given separately. Click the “Configure Lambda function trigger” button to attach the first queue (queue1) as a trigger to the Lambda Function:
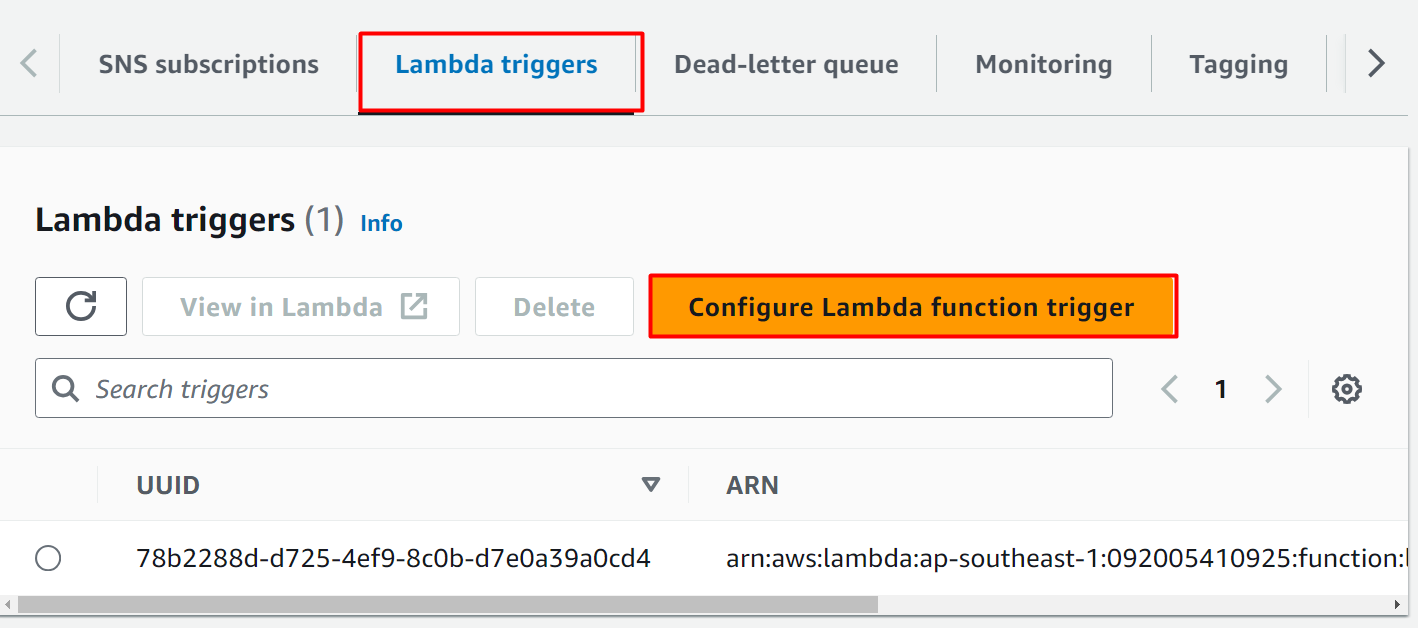
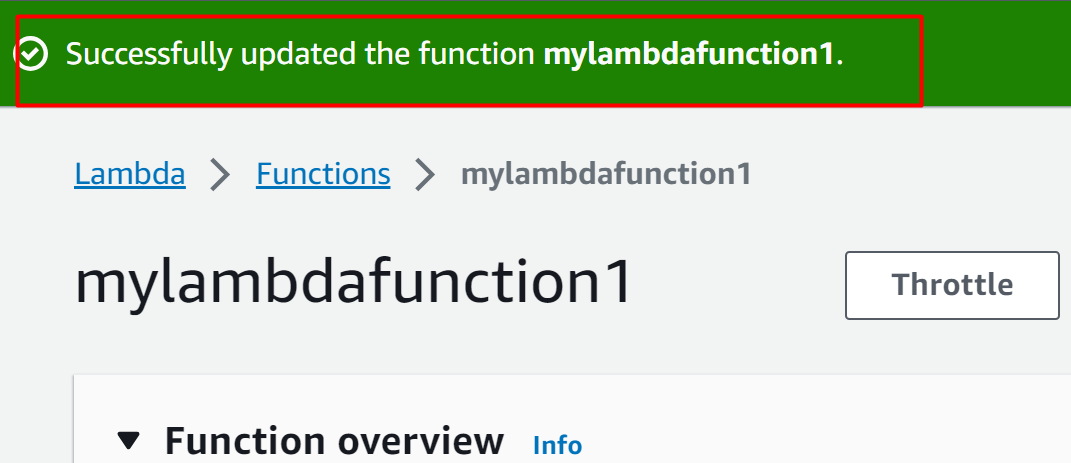
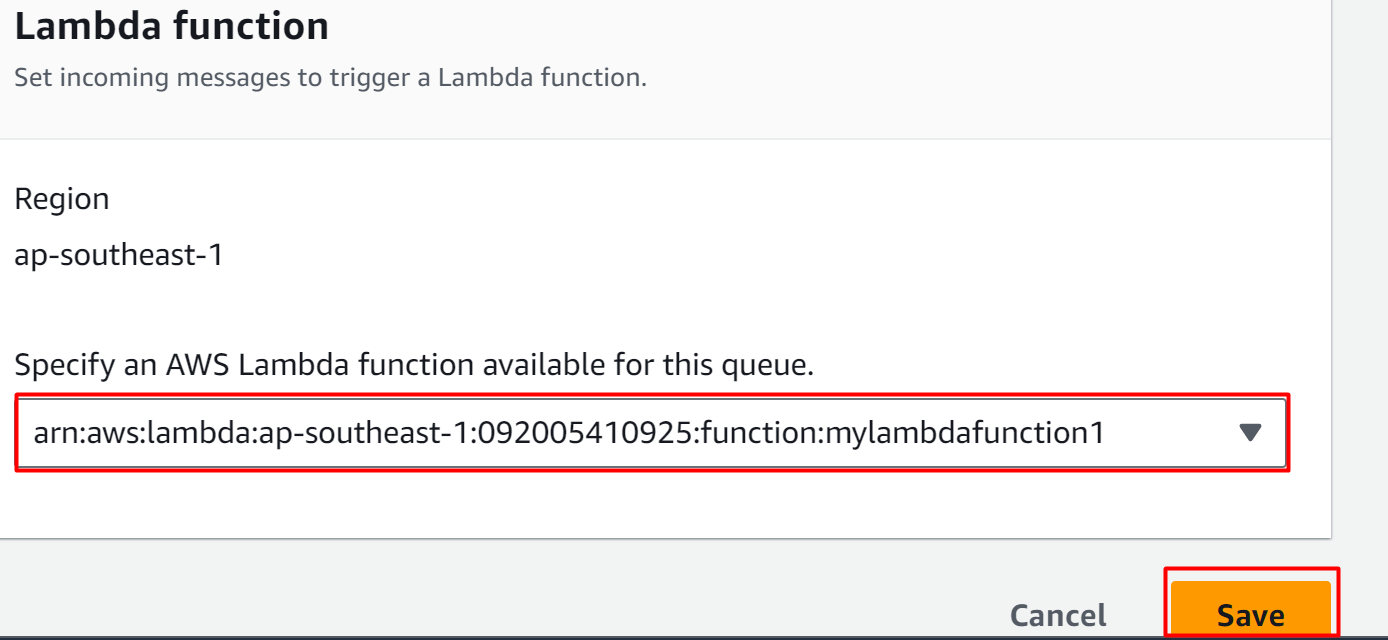
Here, select the first Lambda function e.g., mylambdafunction1. The first queue will act as a trigger for the first Lambda Function. Click the “Save” button to confirm and apply changes:
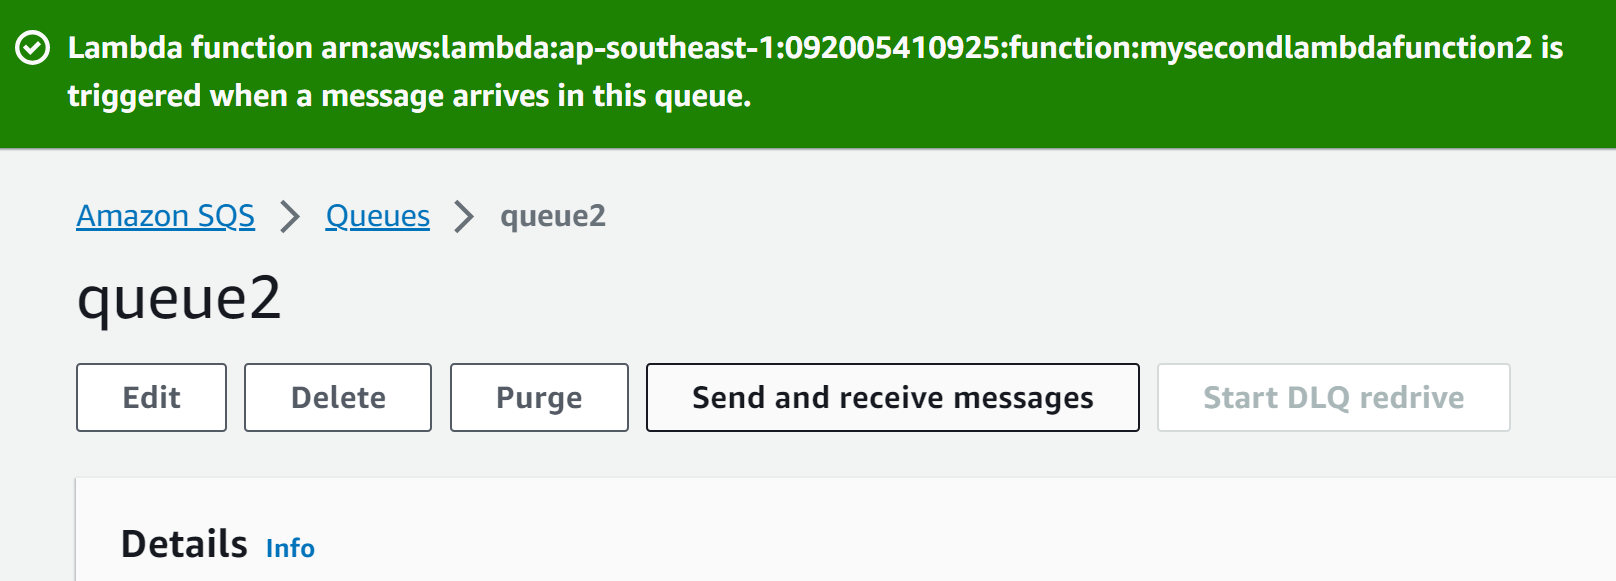
Similarly, by following the above-mentioned steps, add the second queue as a trigger to the second Lambda Function:
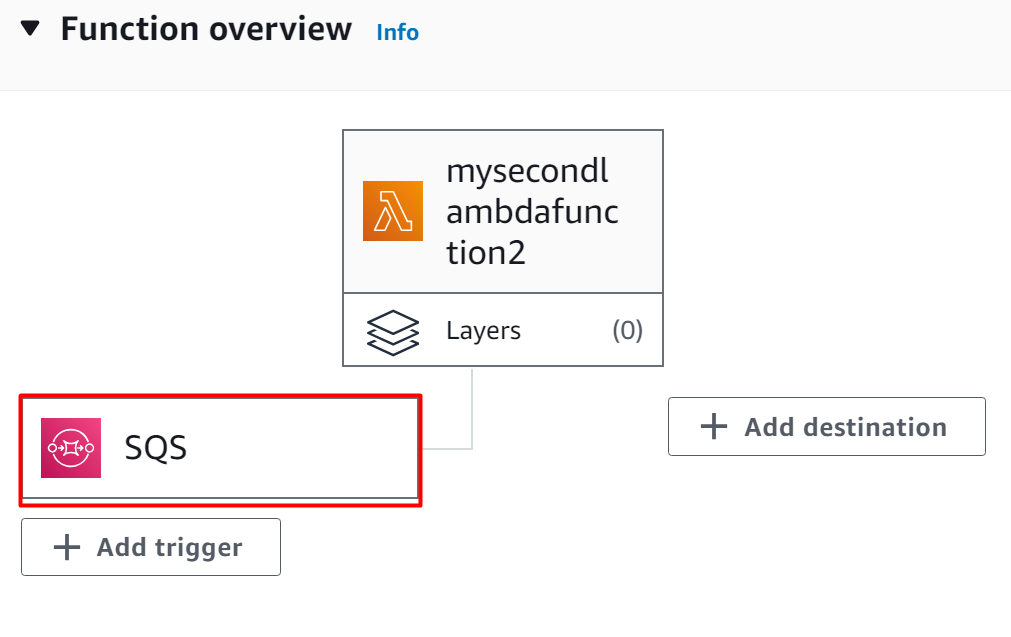
To verify if the trigger has been successfully added to the Lambda Function or not, visit the Lambda Function Dashboard and click the name of the Lambda Function:
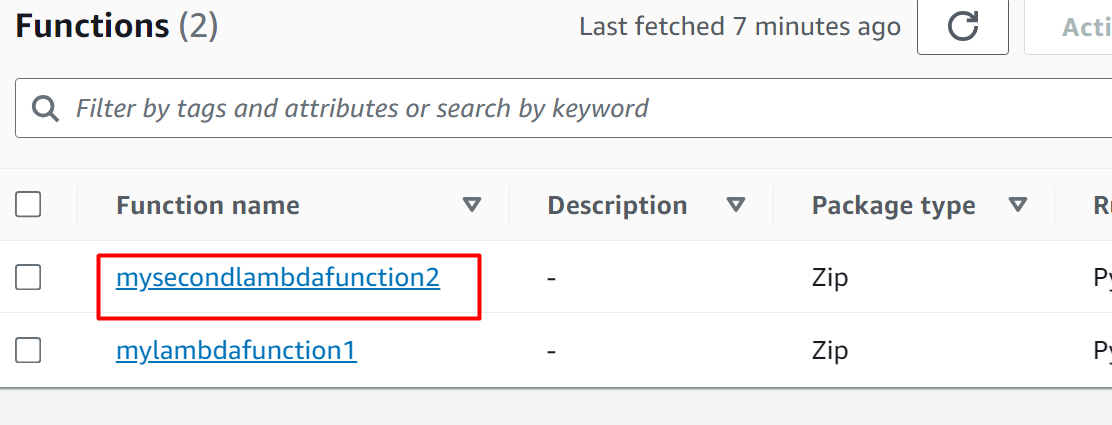
In the Function overview, the SQS has been added as a trigger to the Lambda Function:
Step 9: Verification
To verify the implementation of the Event-driven architecture, upload an object to the S3 bucket. By uploading the object to the S3 bucket, an event is created which in turn will invoke the other components of event-driven architecture.
Read more: “How to Upload Objects in Amazon Simple Storage Service”.
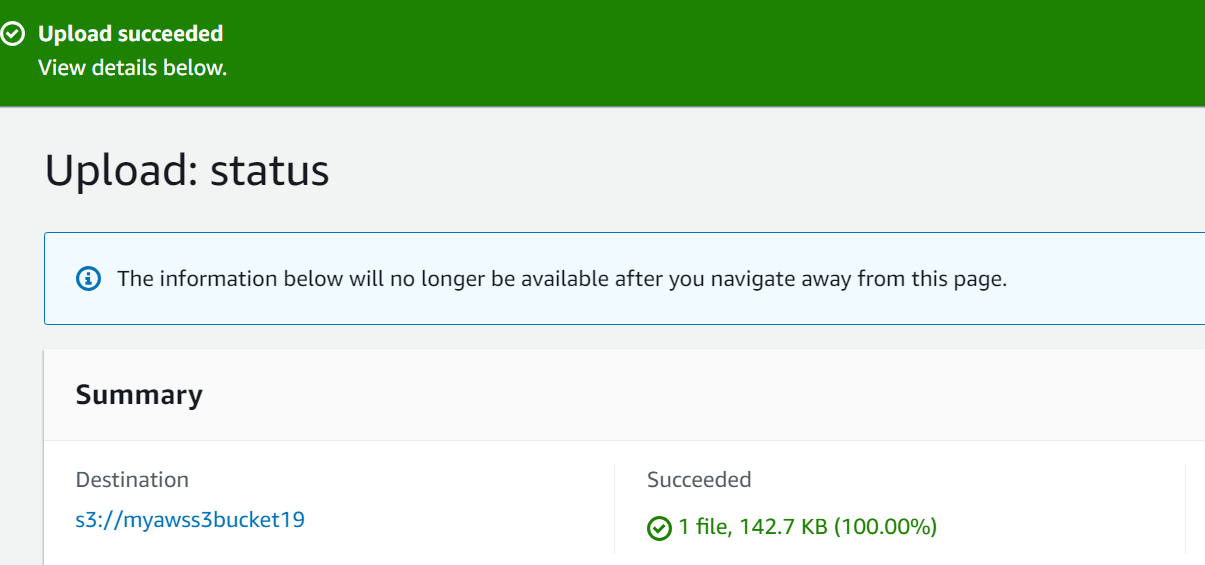
The object has been successfully uploaded to the S3 bucket:
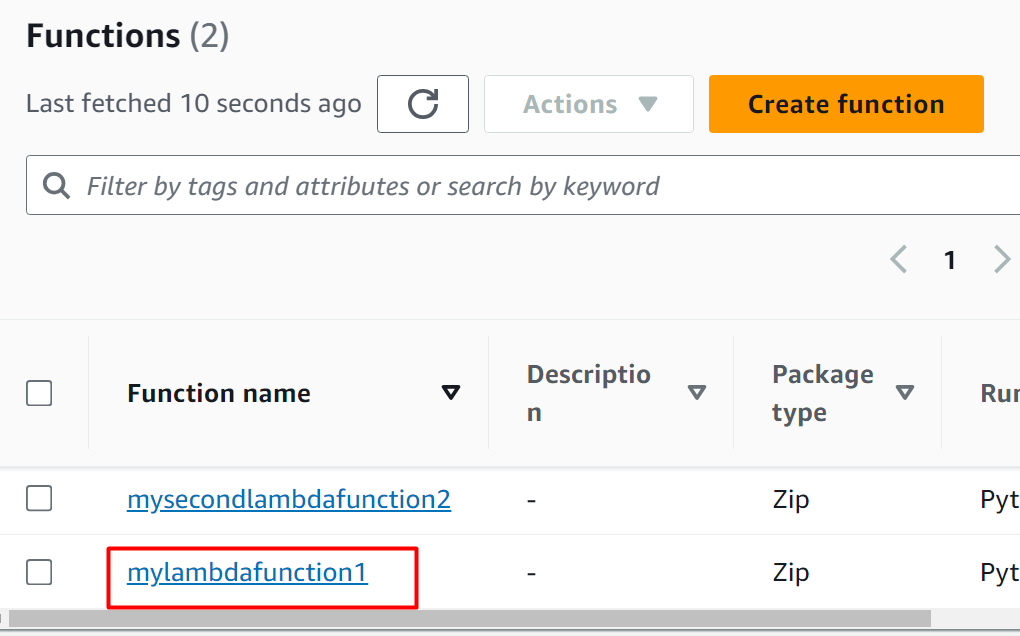
Uploading the object to the S3 bucket is a “Put” event. This “Put” event will trigger the first Lambda function. To view this activity, visit the console of the “Lambda Function” and choose the function’s name:
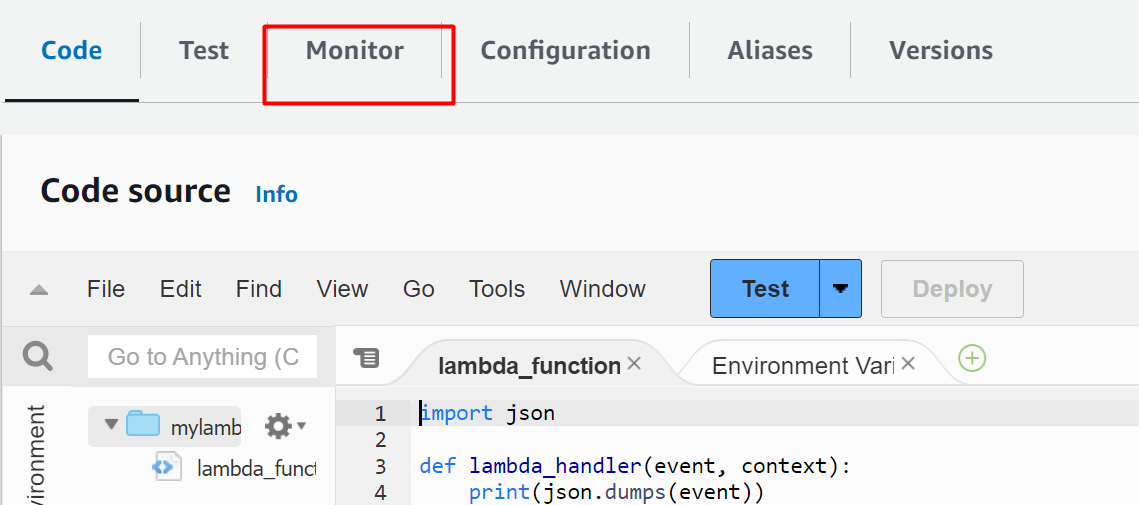
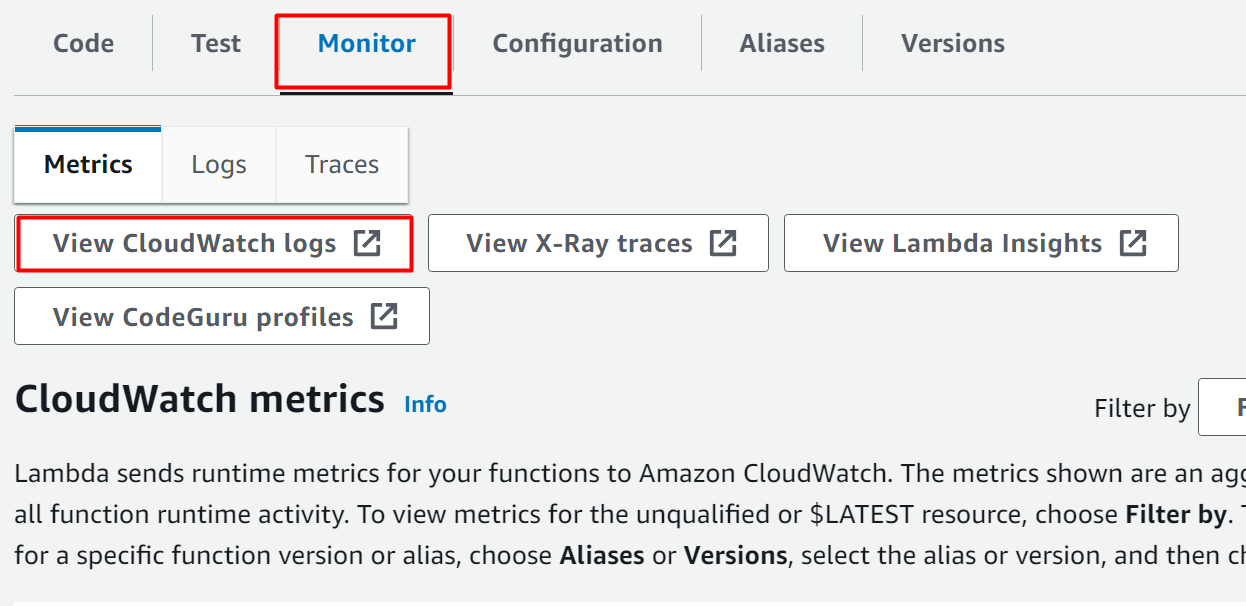
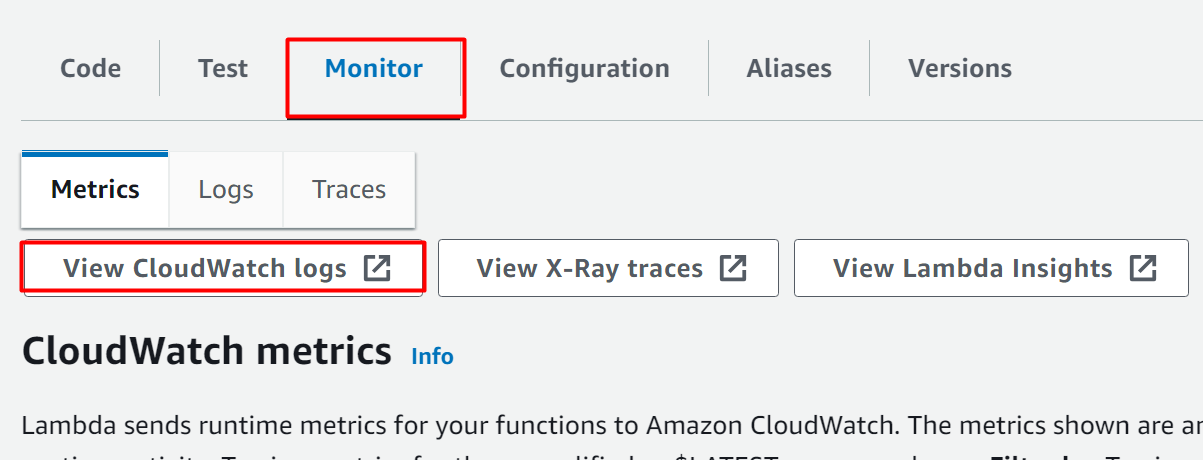
Scroll down the Lambda Function interface and click the “Monitor” tab:
Within the “Monitor” tab, click the “View CloudWatch logs” button to view the activity:
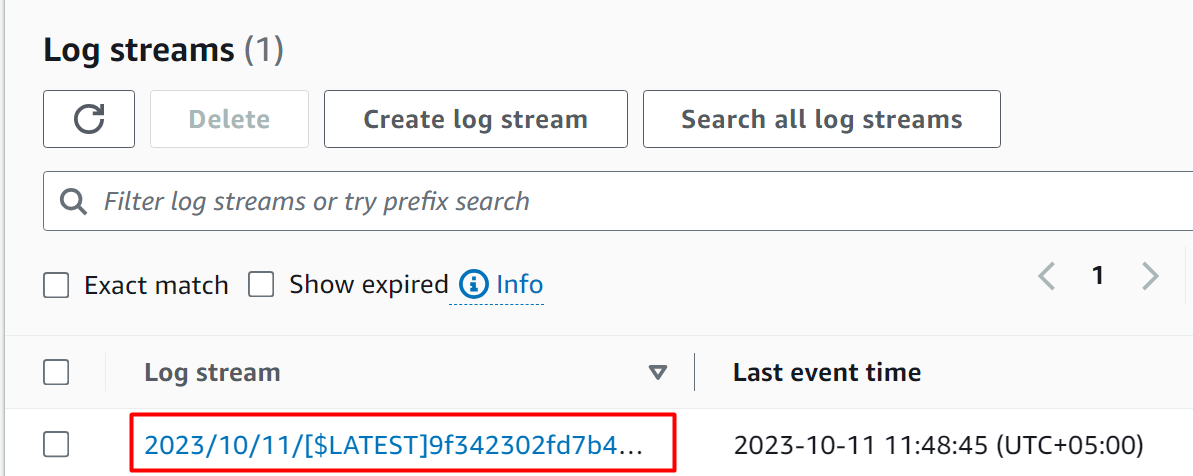
On the Log groups interface, scroll down to the “log streams” section. Here, a log stream has been created. Click on the given log stream name:
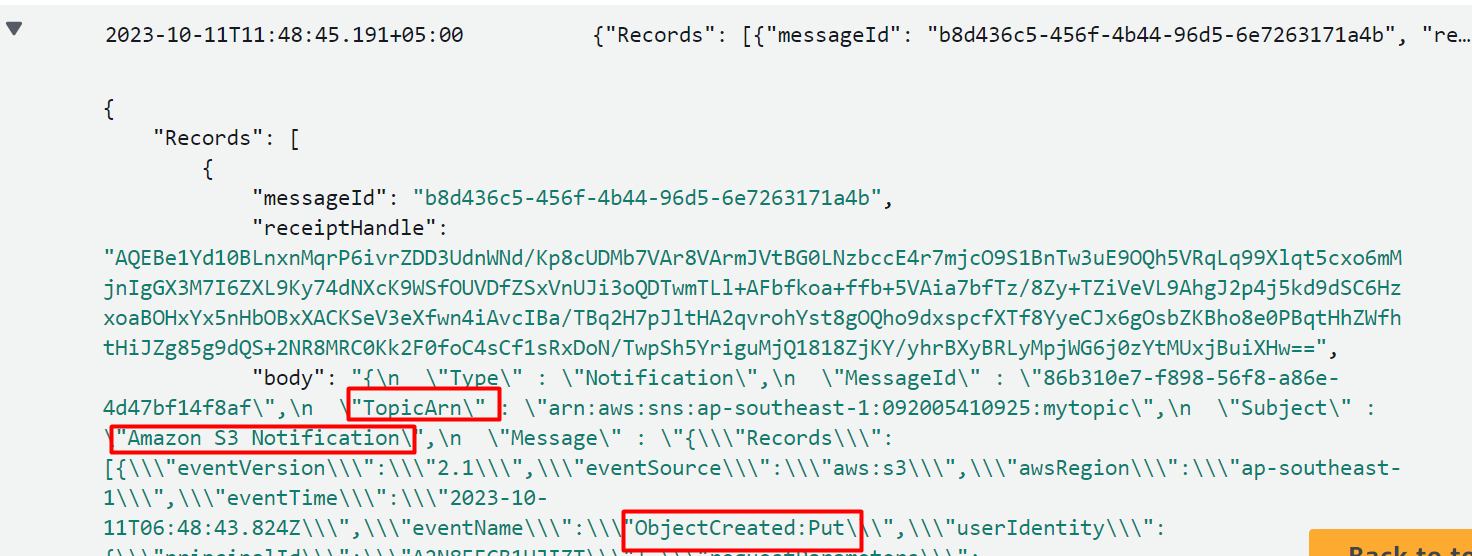
In the log Events, the message body contains the “Put” parameter along with the S3 bucket name, Topic ARN, etc:
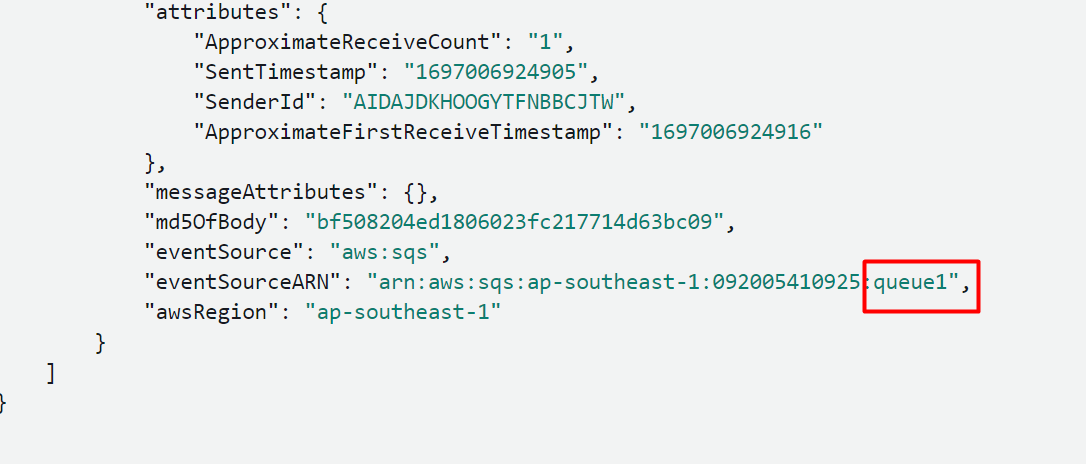
Upon scrolling down further, information is provided about which queue received the PUT message:
Copy Event
To verify if the Copy Event is received by the second queue and second Lambda Function, we will create a Copy Event in the S3 bucket. For this purpose, choose the name of the object uploaded to the S3 bucket. Tap the “Actions” tab and click the “Copy” button:

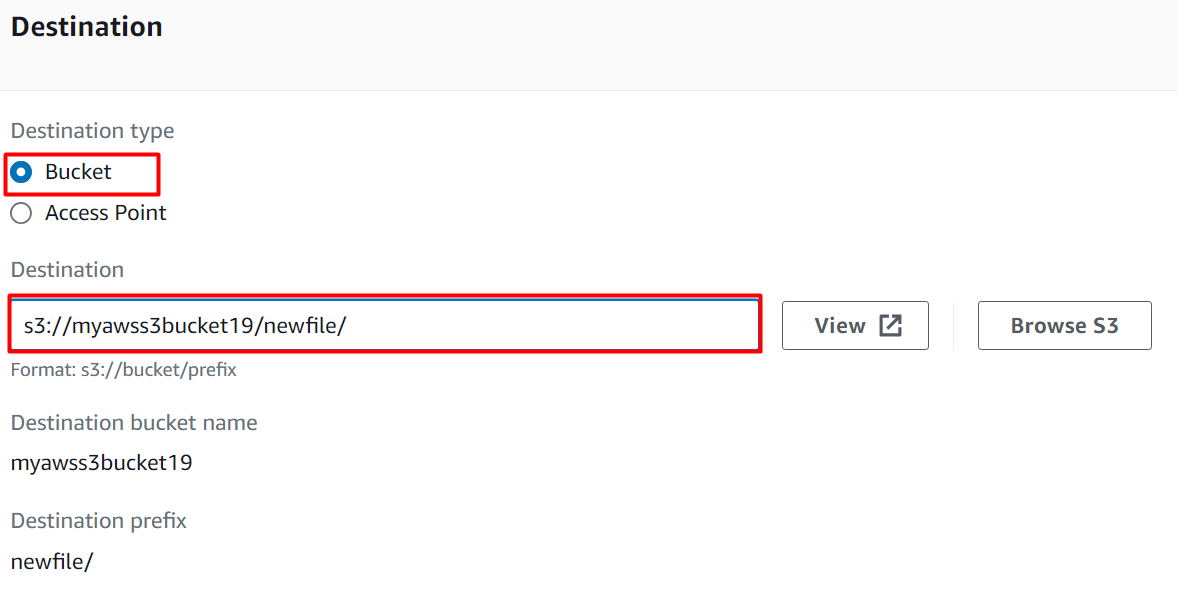
In the Destination section, select the “Bucket” as the Destination type. Since we are copying the object to the same bucket, therefore, in the Destination text field, provide the link of the S3 bucket by following the format:
<s3BucketName>: the name provided is the same as the current bucket used in this Event-driven Architecture.
<prefix>: The user can provide any prefix of choice. For this demo, we have provided “newfile” as the prefix:
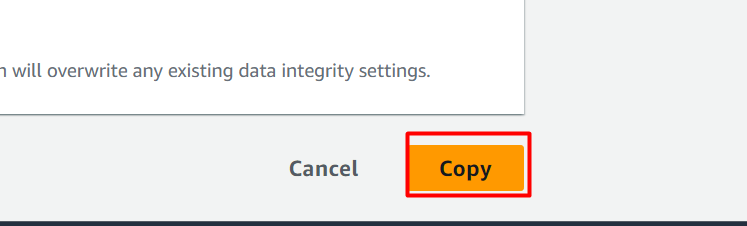
Keeping the default settings, click the “Copy” button:
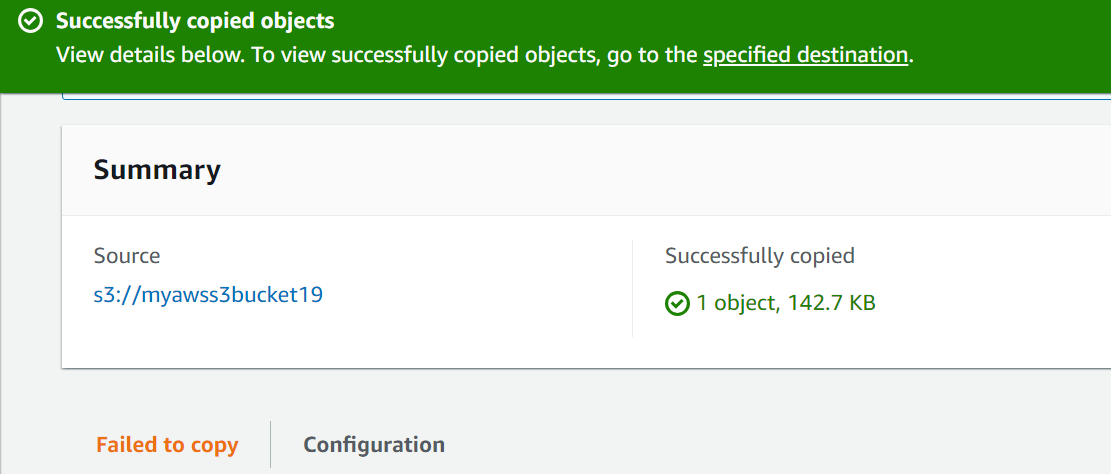
The object has been successfully copied to the same S3 bucket:
Go to the Lambda Function Dashboard and select the second Lambda Function. Inside the console of the second Lambda Function, tap the “Monitor” tab and select the “View CloudWatch logs” button:
Within the Log streams, click the latest log stream created:
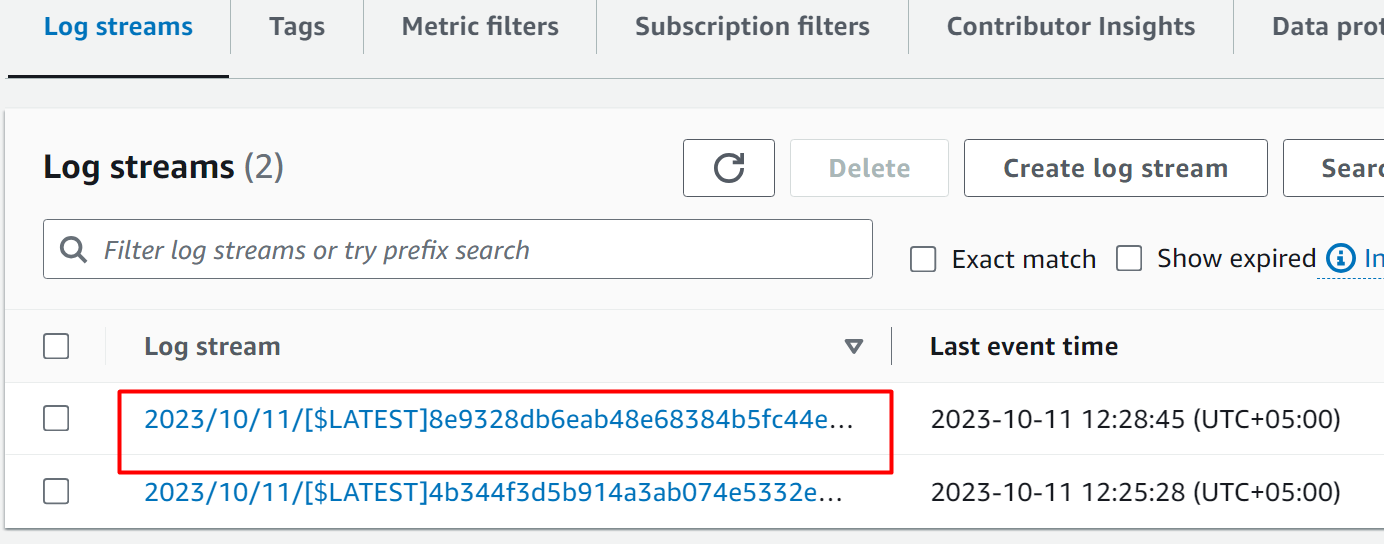
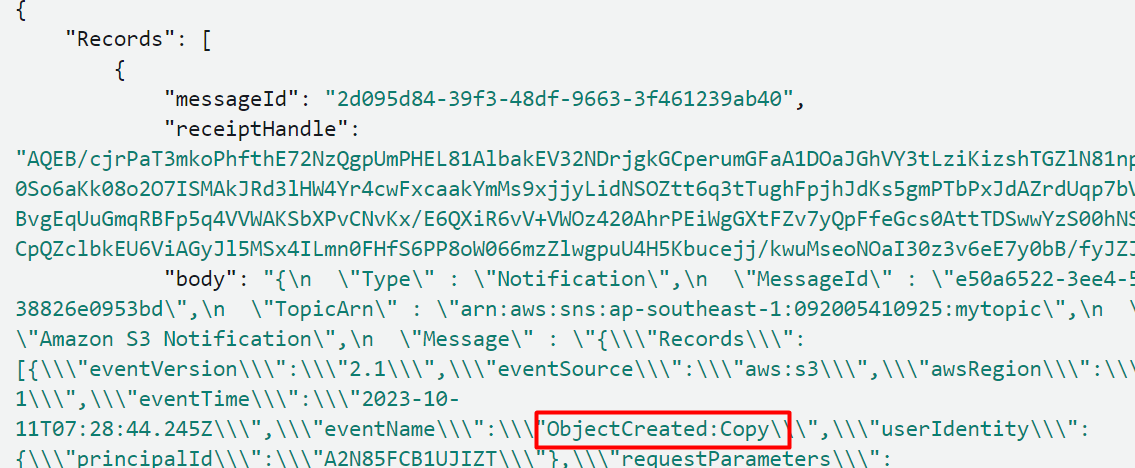
Here, in the Log events, we can see that the message body contains the “Copy” keyword. By this, this message should be received by the second queue:
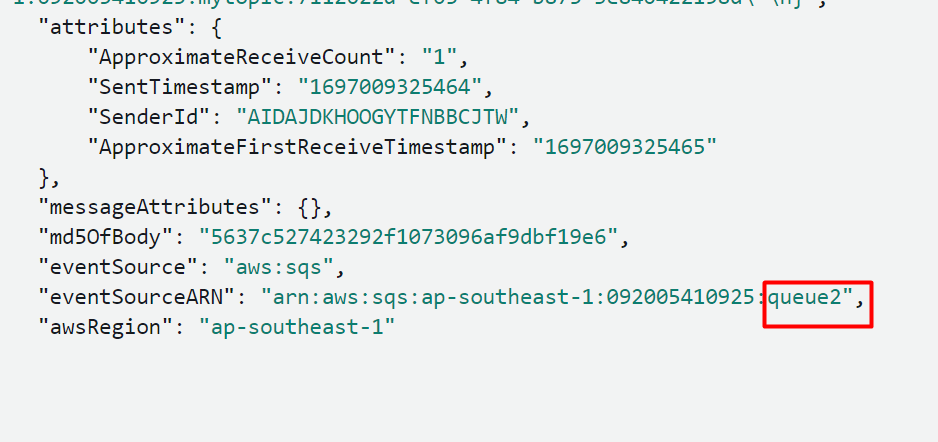
Upon scrolling down further, in the attributes section, it has specified the queue from which the event was forwarded to the Lambda function:
When to Use Event-driven Architectures?
Following are the use cases when Event-driven Architecture should be used:
Independent Components
Event-driven architectures are used best when the changes made inside one component do not impact the other components.
Multiple Stacks
This approach is also extremely useful in cases where an application is running on multiple stacks. By using EDA, information can be easily shared among different components of an application without coupling.
Auditing
Event-driven architectures are also a preferred approach when the user has to audit every single activity on the application. Instead of auditing and monitoring resources manually, users can use EDA to be notified whenever any anomaly, changes, or updates occur.
Parallel Processing
As the components of EDA operates in an asynchronous manner, therefore, this approach is best suited where multiple components are required to work in parallel.
That is all from this guide.
Conclusion
To build Event-driven architecture, create an S3 bucket with event notification, SNS topic, SQS queues, Lambda Function, and IAM roles with required permissions. Attach the IAM roles with the required Lambda Functions. Similarly, the SNS topic will be attached to the S3 bucket. Whenever an object is uploaded to the S3 bucket, it will create an event that will notify the SNS topic through the Event notification.
The SQS will filter the contents of the message and then forward it to the respective queues. The queues are added as a trigger to the Lambda function. The message will be forwarded to the Lambda functions by the queues for further processing. The output of these events will be displayed in the CloudWatch logs. Event-driven architectures enable users to modify the existing application without affecting the overall functionality. This article presents detailed information and a practical demonstration of building Event-driven architectures in AWS Lambda.
Source: linuxhint.com