How to Attach tmux to Existing Session
Nevertheless, managing all your work on a single terminal window can be challenging. While most Linux distributions allow you to open multiple terminal windows, they don’t provide methods for managing and exchanging information between them. This is where tmux comes in.
tmux allows you to run and manage multiple instances of the terminal shell, either as multiple windows or panes in a single window.
While tmux works by creating a new session, there are ways to link it to a previously running session. This guide will help you learn how you can attach tmux to an existing session.
We’ll go over the basics of a tmux session, how to initialize it, and how you can attach your newly opened tmux window to a previously existing one.
Initializing tmux Sessions
Essentially, a tmux session refers to an open terminal. Each session acts as an individual terminal, allowing you to execute multiple commands simultaneously.
To start tmux, type the following in the terminal:
tmux sessions can be initialized by creating separate windows as CLIs or opening more than one terminal in a single window in the form of panes. This can be achieved via the following shortcuts.
- Ctrl + B and type w Allows you to select from a list of windows
- Ctrl + B and type 0 Allows you to switch to window number 0. Replace 0 with any number to move to that window
- Ctrl + B and type o Allows you to switch to the next pane
- Ctrl + B and type ; Allows you to alternate between both panes
- Ctrl + B and type x Allows you to close a pane
These shortcuts are what will lead to the creation of multiple sessions.
Sometimes, you wish to open up a session along with a previously open session. This can be achieved with the help of the “attach” option which will be discussed in the later sections.
List Running tmux Sessions
To attach tmux to an existing session, it is necessary to get the session’s ID or name. For this purpose, we’ll make use of the “$tmux ls” command.
The “ls” in “$tmux ls” refers to “list sessions”. This command is used to list the details about running tmux sessions. You can use it to get the session ID and number of a running session.
This section of the guide will explain how you can list your running tmux sessions. We’ll be using Ubuntu 20.04 LTS in this tutorial however the method shouldn’t be any different for other distributions.
Let’s take a look at the steps.
First, open the command terminal on your main Linux distribution. The shortcut key is Ctrl + Alt + T.
Once that’s done, proceed to type the following:
To initialize more than one session, you can use the shortcuts mentioned in the previous session.
To list the number of open sessions, type the following command:

This will display the following as output. Details of these options are given below.
- 0: refers to the session ID assigned by tmux.
- The number refers to the default name for the sessions.
- (created <date>) refers to the date and time for the newly created session.
- (attached) represents the newly attached tmux session.
Attaching tmux to Existing Sessions
This section of the guide covers how you can attach tmux to existing sessions.
To achieve this, make sure that you have tmux installed and running with multiple sessions already initialized on it.
Once that’s done, use the following command to attach tmux to an already existing session:
Alternatively, you can also attach a session to an existing session by referring to the name of the existing session. To do this, type the following in tmux:
tmux also provides you with the option to set a custom key bind to display the list of sessions that are available. This can be done by tweaking the tmux.conf file. To do this, navigate to the home directory and open the tmux.conf file with the text editor of your choice as follows:
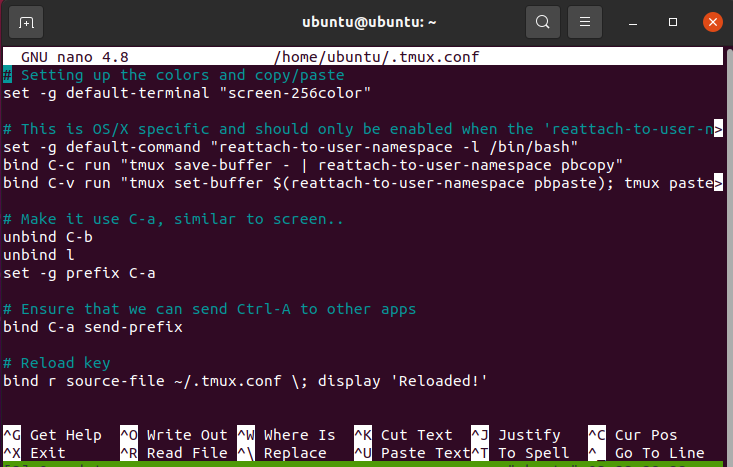
Once the file opens, add the following line to display lists by pressing a key of your choice:
You can also kill sessions by typing the following in the terminal:
Or
This should kill an existing tmux session.
Conclusion
This was a guide on how you can attach new sessions to existing tmux sessions. We covered the basics of tmux sessions, along with how to initialize and list running sessions. Lastly, we looked at methods to attach new tmux sessions to existing sessions and also how to terminate them.
Source: linuxhint.com