How to Add Space Between Columns without Affecting Rows in an HTML Table?
How to Add Space Between Columns Without Affecting Rows in an HTML Table?
The padding left and right properties are used to add spacing between columns without affecting the overall layout of the table. This property allows developers to add extra spacing and this spacing does not affect rows.
Follow the below steps:
Step 1: Create a Table Structure
Let’s assume there is a table in the HTML file that contains four rows and three columns:
After executing the above code webpage looks like this:

The output confirms that a table structure has been created.
Step 2: Applying Horizontal Padding
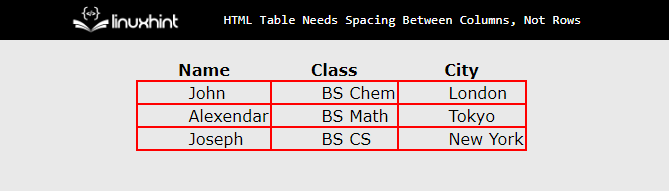
To add spacing between columns from the left side, use the “padding-left” CSS property. After applying this property, the data looks like the right alignment. The reason is that padding is only applied from the left side.
Now select the “td” element in the CSS portion of the styles that can be applied using the inline method. Then, add padding of “50px” to add spacing and add border property for better visualization purposes:
padding-left: 50px;
border: 2px solid red;
}
After executing the code, the webpage looks like this:
The output displays that the space is added between the columns of the table.
Now, to set the padding from the right side, the “padding-right” property is utilized. In the same manner, but now cell data looks “left aligned”. The code is:
padding-left: 50px;
border: 2px solid red;
}
After executing the above code, the webpage looks like this:

The output confirms that the space between the columns is increased by applying padding on the right side.
Step 3: Combination of Padding Left and Right
As in the above step, the data is not center aligned in both cases and that makes the data unprofessional. To make it prominent without breaking the design sense. Both properties can be utilized at the same time as below:
padding-right: 60px;
padding-left: 60px;
border: 2px solid red;
}
After executing the above code, the webpage looks like this:
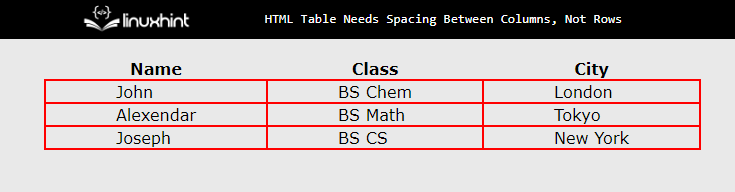
The output confirms that the space is added between the columns and the data is also center aligned.
Conclusion
The space between the table columns can be added with the help of padding left and right properties. These properties add extra space from the right and left directions to the cell. Both properties can be used at the same time or separately. This article has successfully demonstrated how to add spacing between the table columns without affecting rows.
Source: linuxhint.com