How to Add or Remove Tags with AWS EC2 Instances?
This article demonstrates the implementation of managing the AWS EC2 instances with tags.
What is an EC2 Instance?
AWS has launched the “Elastic Container Server (EC2)” service. It provides the functionality of deploying and hosting various applications on the instances along with the features of implementing load balancing and auto-scaling. With EC2, AWS has saved its users from extensive research of buying the right type of servers and then racking and stacking them. To learn more about EC2 instances, refer to this article: “What are EC2 Instances in AWS”.
How to Manage AWS EC2 Instances with Tags?
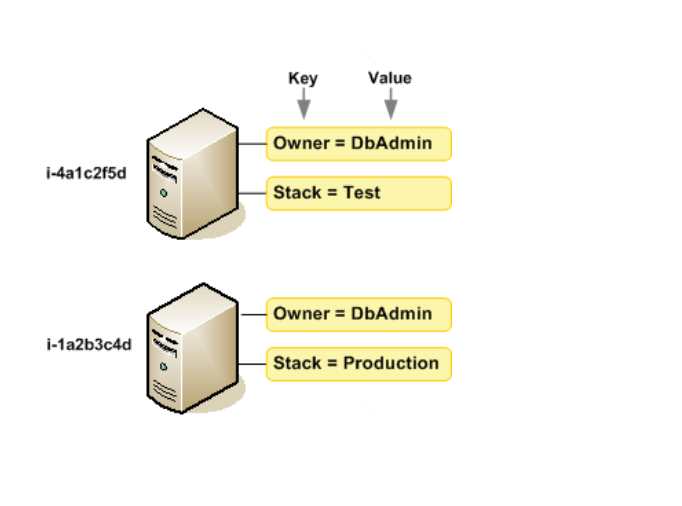
A tag act is referred to as a label that is assigned to each EC2 instance and consists of the key-value pairs. With tags, users can efficiently and uniquely identify and categorize their EC2 instances. EC2 tags help the users to manage and monitor their instances, images, and other EC2 resources. By default, EC2 allocates a tag to each instance at the time of its creation. However, user can also customize these tags based on their preference:
Let us explore some steps in which we can implement tags with EC2 instances:
Step 1: EC2 Dashboard
For adding tags with EC2 instances, first, we will be required to create an EC2 instance. To learn more about creating an EC2 instance, refer to this step-by-step guide: “How to Create an EC2 Instance in AWS with Step-by-Step”.
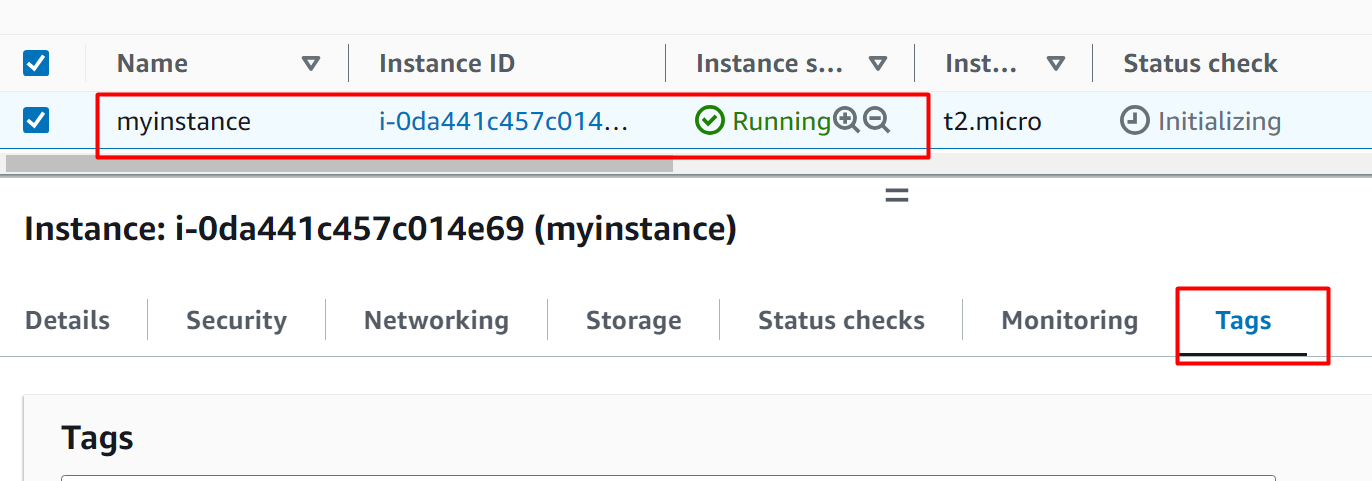
In this tutorial, we have our EC2 instance up and running. Click on the instance’s name and tap the “Tags” option from the below-displayed menu:
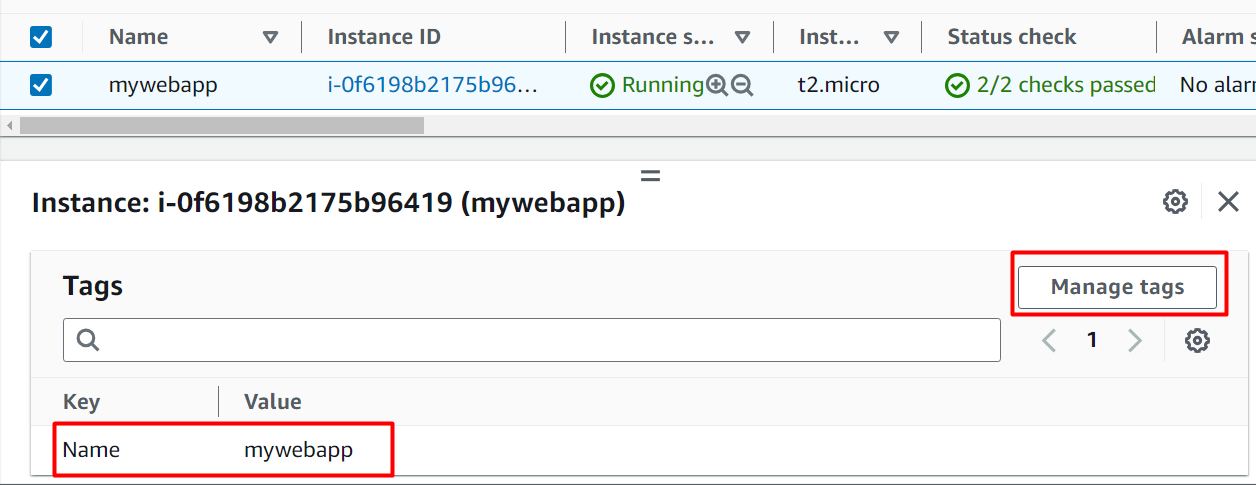
Step 2: Manage Tags
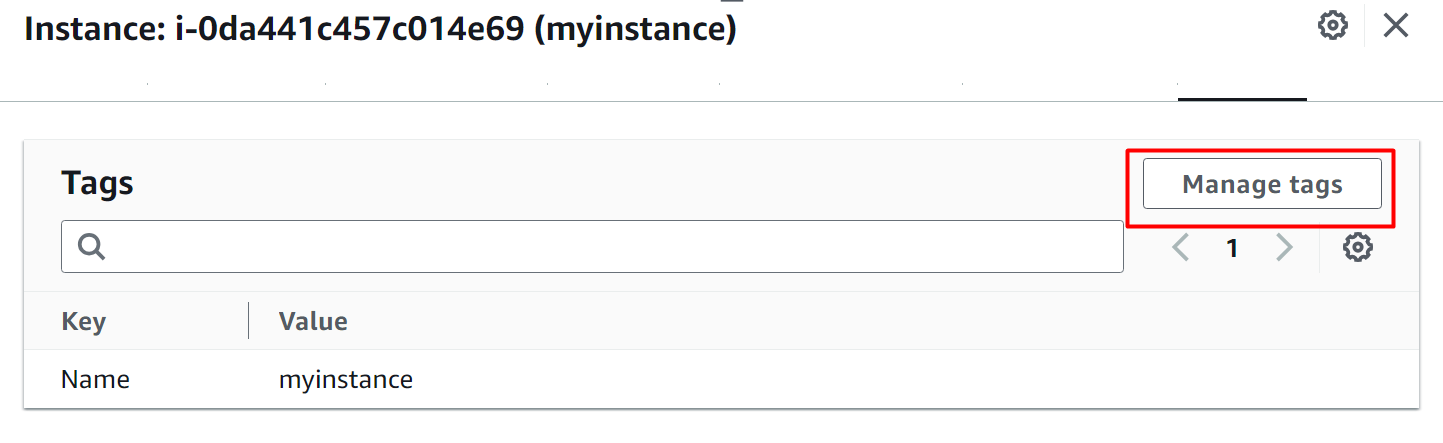
From the Tags option, click on the “Manage tags” button to add new tags to the EC2 instance:
Step 3: Add New Tags
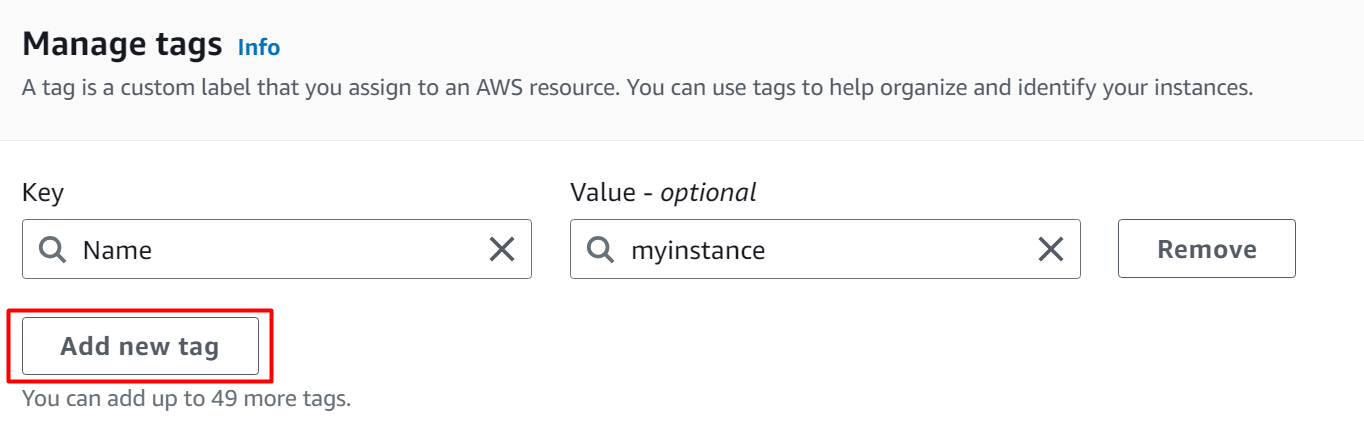
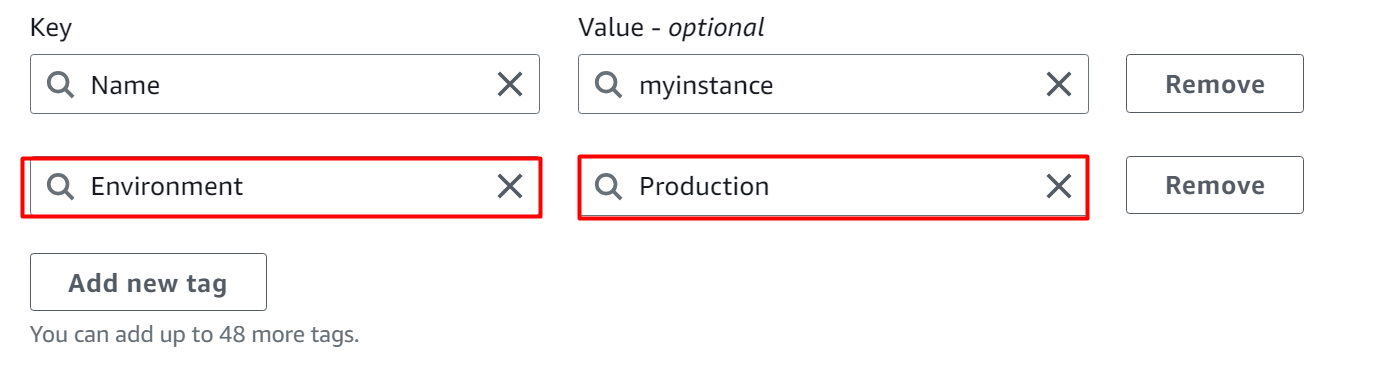
Click on the “Add new tag” button to add the tag. With one EC2 instance, the user can add fifty tags:
In the following image, we have added a new tag to the instance whose Key-value pairs are “Environment” and “Production”:
Step 4: Remove a Tag
Users can also remove the tag attached to an EC2 instance. The “Remove” button is given next to each tag’s key-value pair. Tap the “Remove” button for the deletion of a tag:
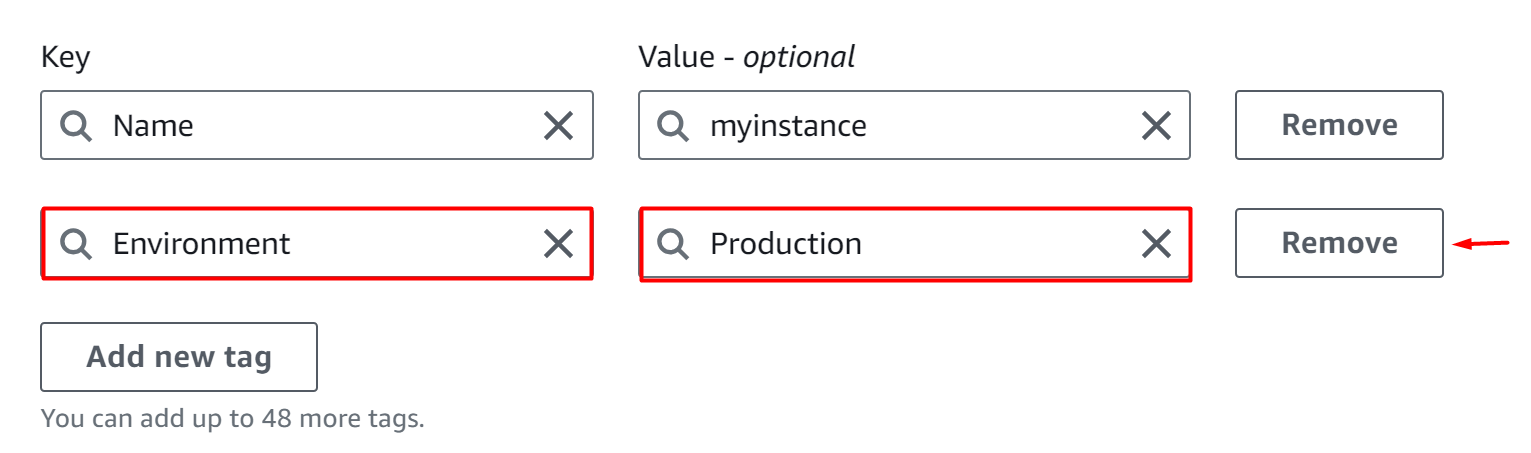
This will delete the tag from the EC2 instance. Here the tag has been successfully removed:
Step 5: Save and Apply Changes
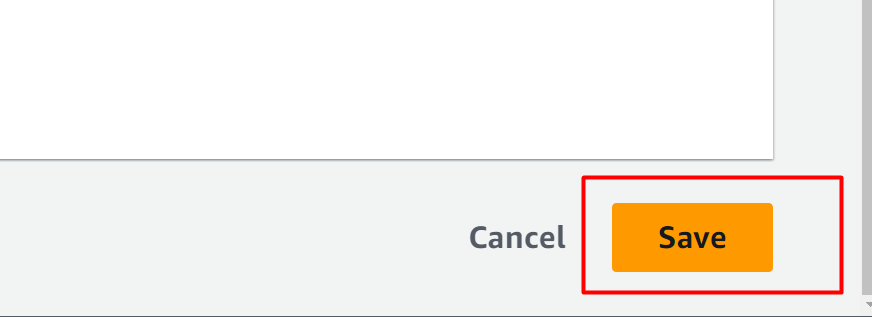
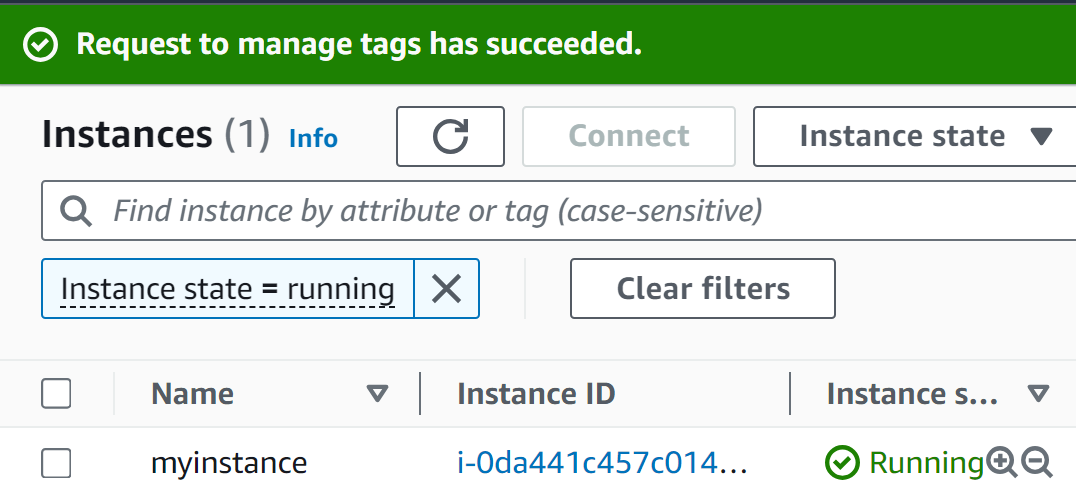
To apply these changes, click on the “Save” button located at the bottom of the interface:
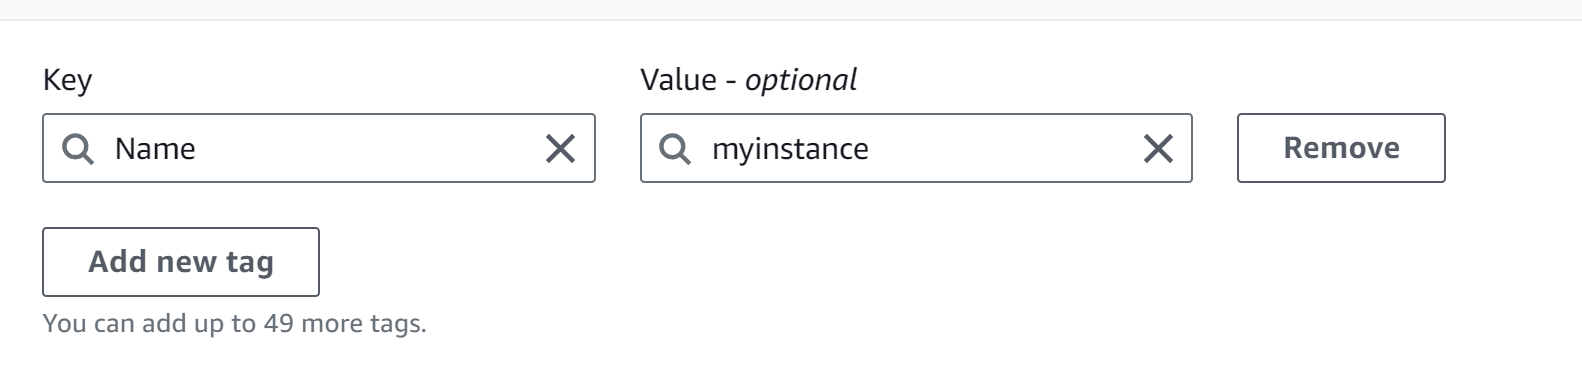
The changes are successfully configured to the EC2 instance:
Bonus Tip: How to Modify the Configured Tags With EC2 Instances?
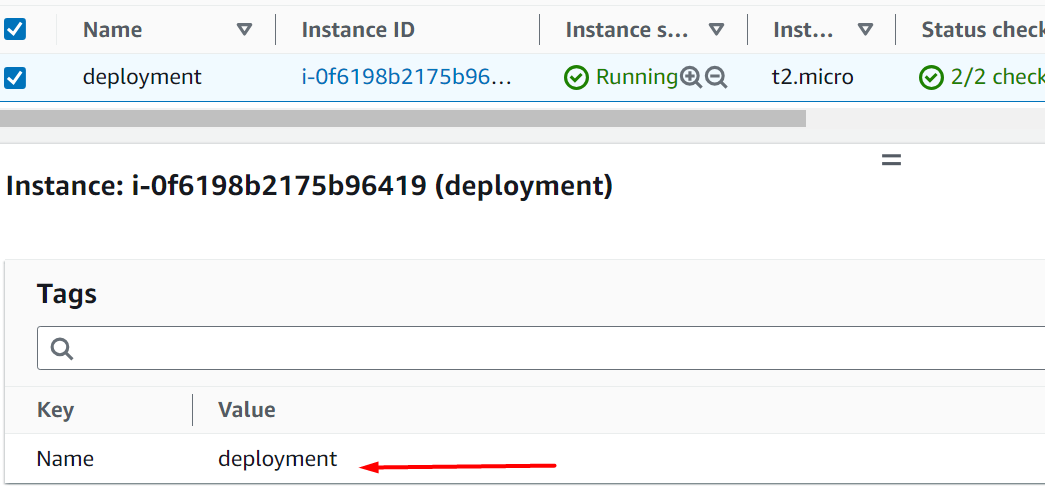
To edit the attached tags, click on the “Manage tags” button from the Tags interface. We will edit the value of the “Name” tag:
This will display the following interface. Provide a new value for the Key in the highlighted field and hit the “Save” button to apply changes:

Here the value of the tag has been successfully updated:
That is all from this guide.
Conclusion
To configure tags with the EC2 instance, click on the “Add new tag” or “Remove” tag button from the Manage tags interface of the selected EC2 instance. These tags enable the user to monitor and manage the resources, achieve cost-effectiveness, uniquely identify them, and group them based on their functionality. This article is a manual for adding and removing tags with EC2 instances.
Source: linuxhint.com