How to Add HDMI Input to Raspberry Pi
If you are the one searching for a way how to use Raspberry Pi as a display to other devices using HDMI Input, you can read this guide where you will learn:
- Why Raspberry Pi Doesn’t Have HDMI Input Port
- Why is it Useful to Add HDMI Input Port to Raspberry Pi
- How to Add HDMI Input to Raspberry Pi
- How to Add HDMI Input to Raspberry Pi Using Command Line Utility
- How to Add HDMI Input to Raspberry Pi Using OBS Studio Software
- Conclusion
Why Raspberry Pi Doesn’t Have HDMI Input Port
The Raspberry Pi device doesn’t have an HDMI Input port because the device has not been designed to handle the processing power of other systems. Connecting another system to your Raspberry Pi device through HDMI Input port will consume a lot of Raspberry Pi power resources, allowing the device to heat up quickly and can cause several damages to your device.
Why is it Useful to Add HDMI Input Port to Raspberry Pi
Adding an HDMI Input port to Raspberry Pi is useful because it poses several benefits, which are given below:
- You can use Raspberry Pi as a display for other devices, this allows you to connect a game console like Nintendo Switch, Xbox or other devices to Raspberry Pi.
- You can also use Raspberry Pi as a video recorder, this can be done by connecting a camera and camcorder to Raspberry Pi with HDMI Input port and recording videos.
- You can also use your Raspberry Pi as a video surveillance system. This can be possible if you connect a security camera to Raspberry Pi using HDMI Input port and use it to monitor your home.
How to Add HDMI Input to Raspberry Pi
You can add HDMI Input to Raspberry Pi using:
- Command Line Utility
- OBS Studio Software
How to Add HDMI Input to Raspberry Pi Using Command Line Utility
To add HDMI Input to Raspberry Pi using command line utility, you can use the following steps:
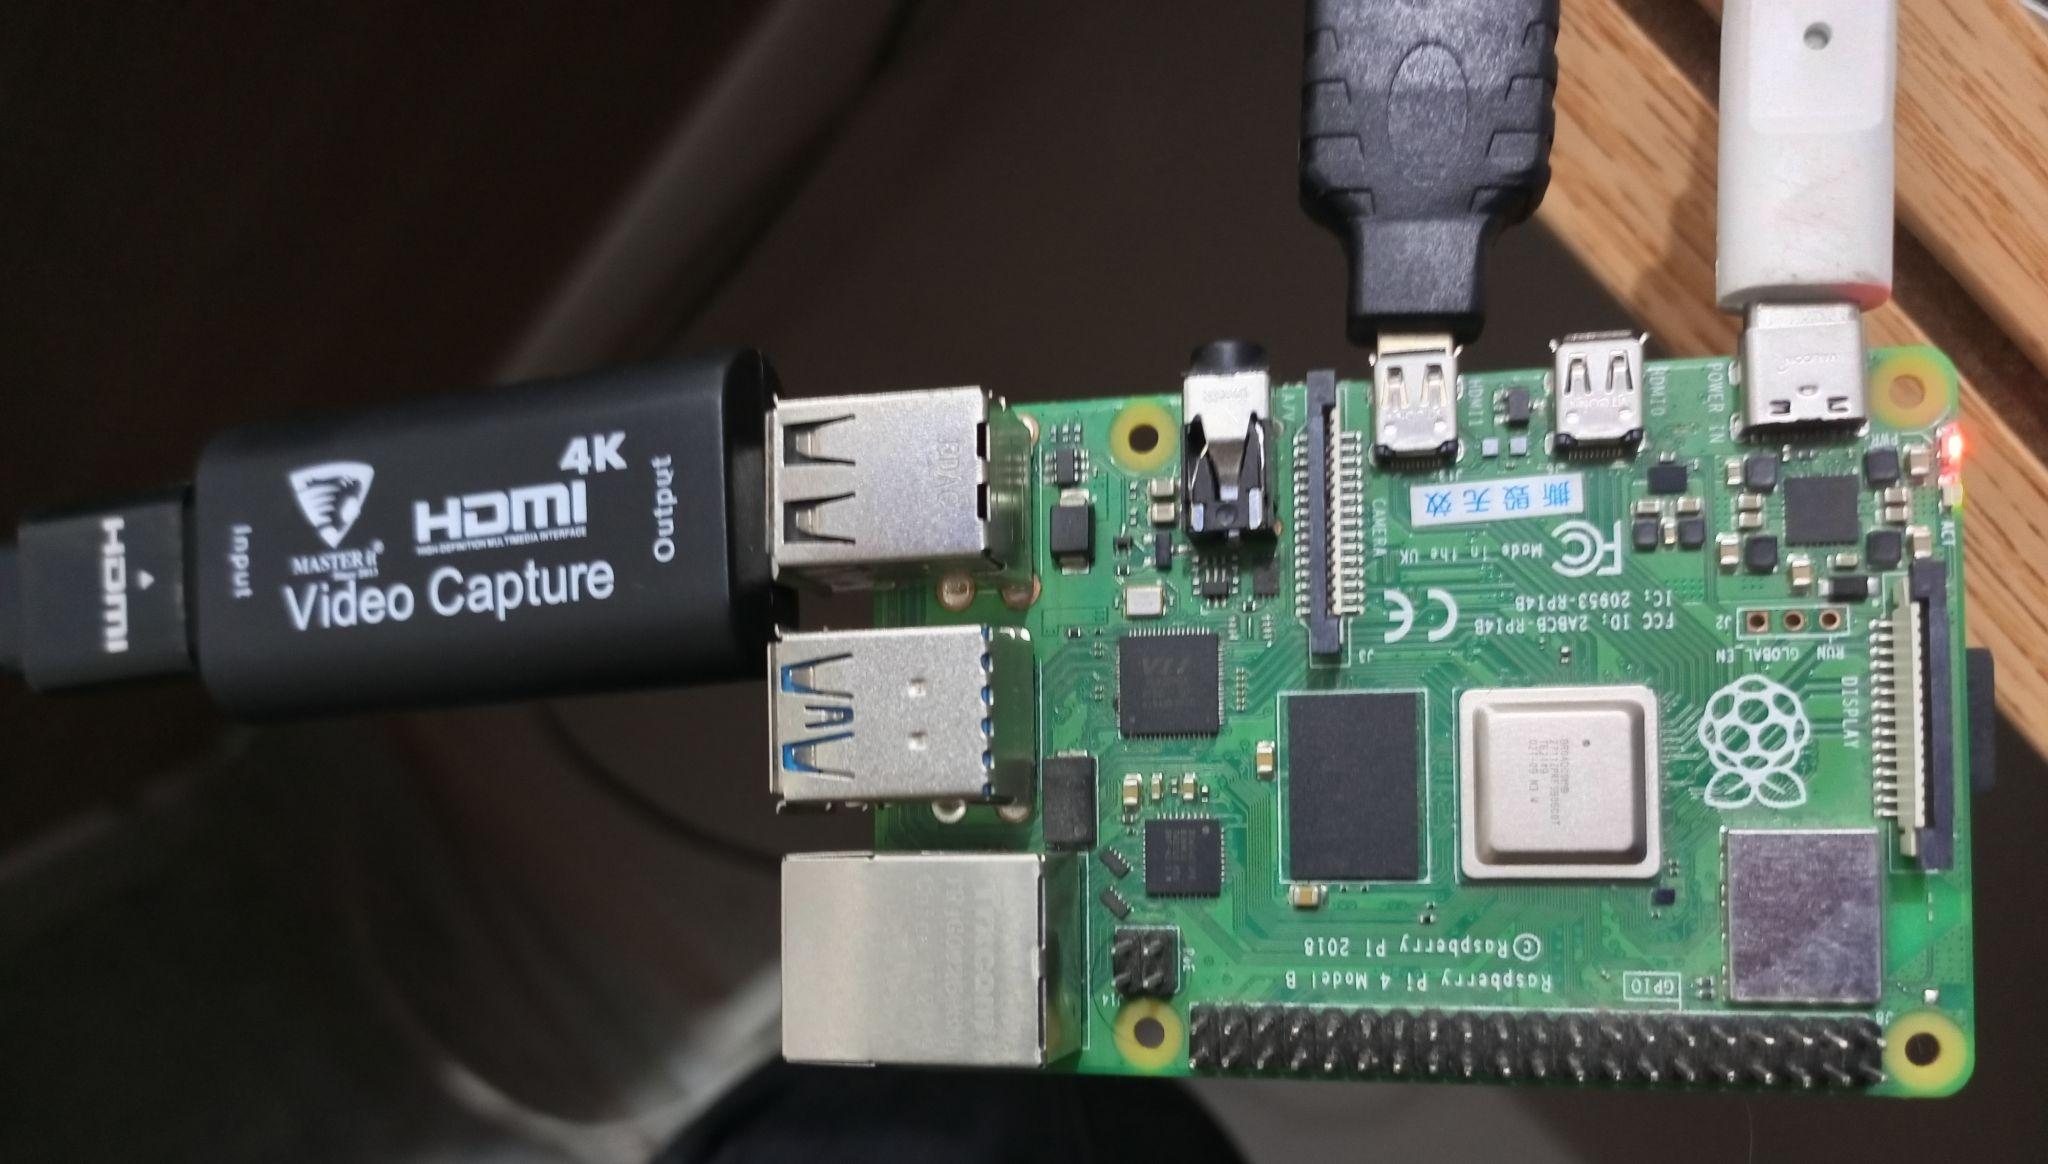
Step 1: Connect USB Video Capture Card to Raspberry Pi
Before doing the main process within the system, you must connect the USB Capture Card into the Raspberry Pi device’s USB port. Then use an HDMI Cable and insert one end into the USB Capture Card and other end into the Laptop, XBOX, or other systems.
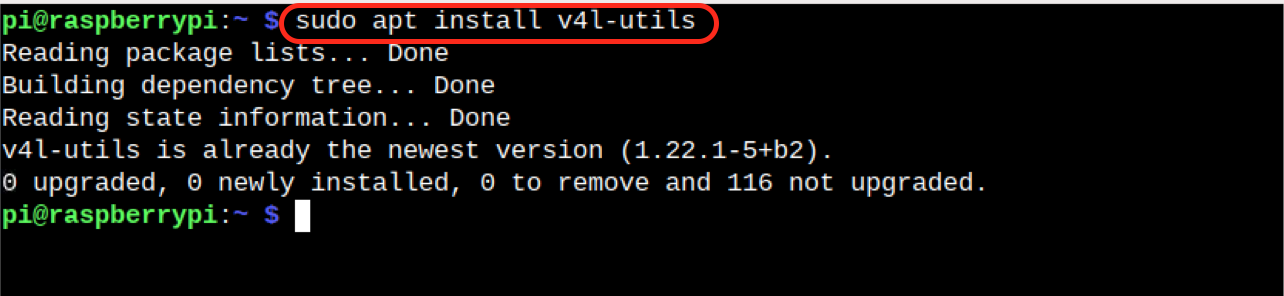
Step 2: Install Media Utilities on Raspberry Pi
The Raspberry Pi system includes a built-in suite of media utilities that allows you to handle media devices. However, if you have uninstalled it by mistake, you can reinstall the utilities using the following command:
Step 3: List Media Devices Connected to Raspberry Pi
You can list media devices connected to your Raspberry Pi device by running the following command:
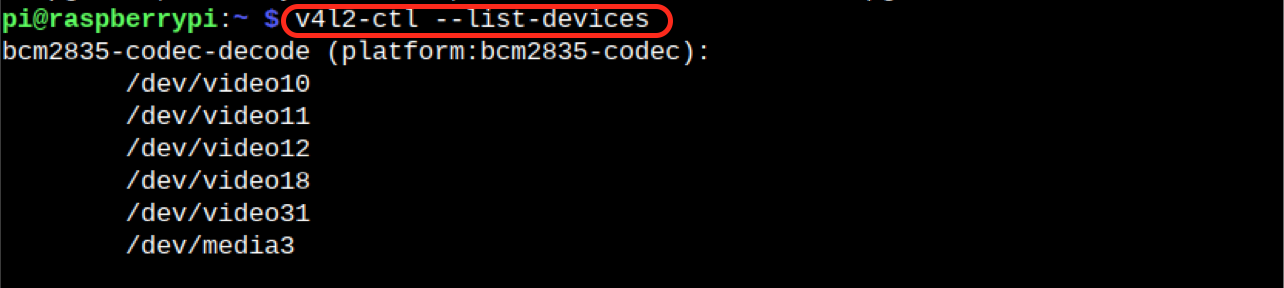
Step 4: Check your USB Video
Since we are using the USB Capture Card, so our focus should be the USB Video, as shown below:

Step 5: Display 720p 60 fps Video from HDMI Capture Card on Raspberry Pi
To display a 720p and 60 fps video from an HDMI Capture Card on Raspberry Pi, you can use the following ffplay command with the USB Video mode:
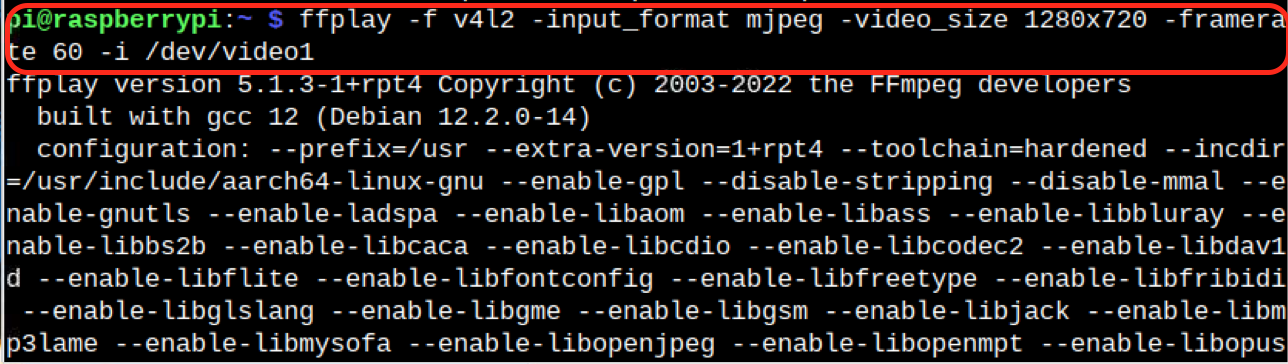
Note: If video1 is not working, you can try using video0.
Once successful, you will see the other system view on your Raspberry Pi screen. In my case, I have used the laptop display on Raspberry Pi through HDMI Input port:
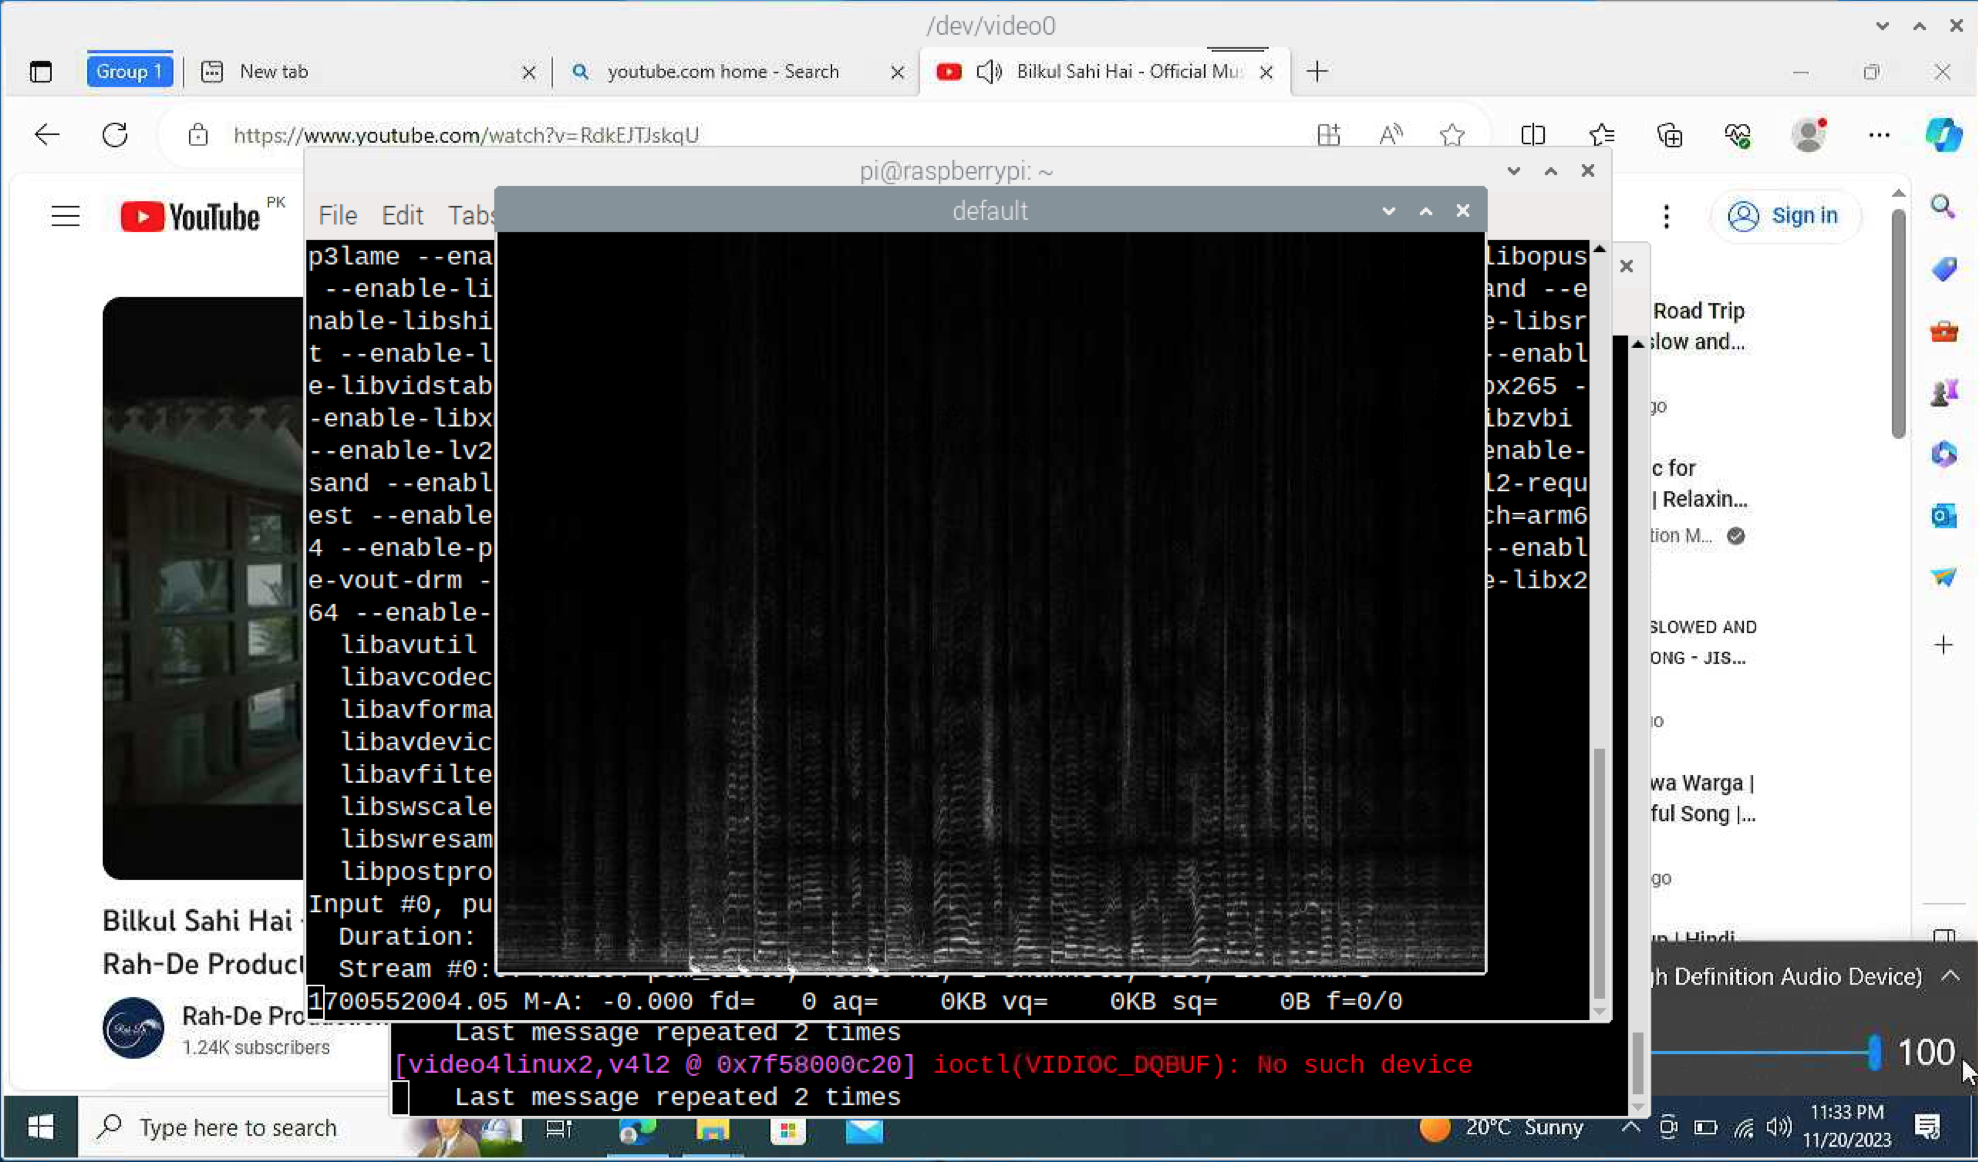
Step 6: Listen Audio on Raspberry Pi from USB HDMI Capture Card
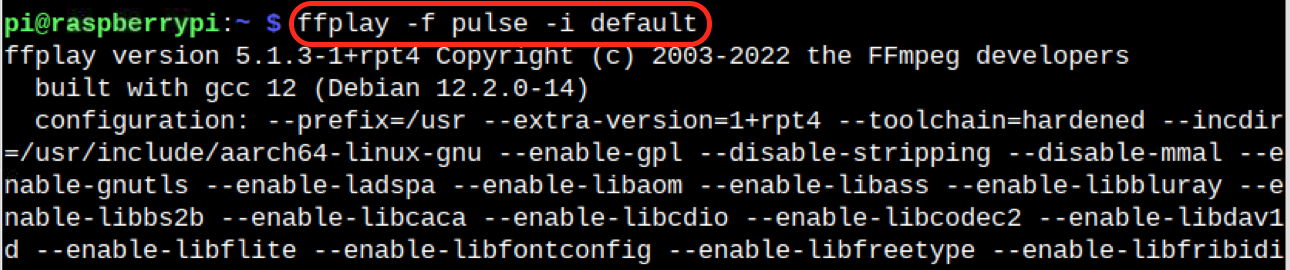
If you want to listen audio from another system onto your Raspberry Pi from USB HDMI Capture Card, you can simply run the following command:
Note: You must connect speakers or headphones with your Raspberry Pi device to listen to audio since the Raspberry Pi device doesn’t have built-in speakers.
Step 7: Display 1080p 30 fps Video from HDMI Capture Card on Raspberry Pi
To display a 1080p and 30 fps video from an HDMI Capture Card on Raspberry Pi, run the following command:
How to Add HDMI Input to Raspberry Pi Using OBS Studio Software
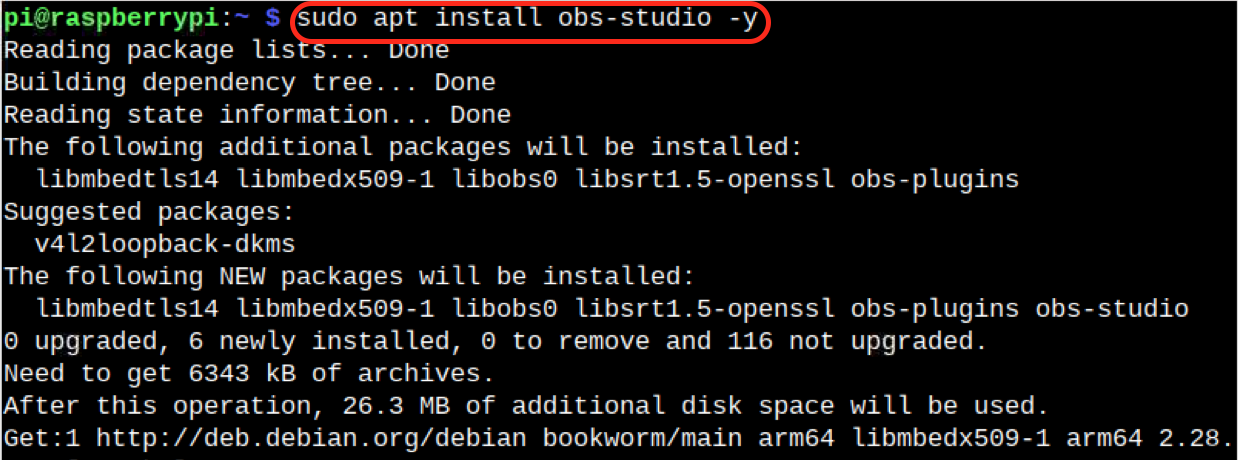
OBS Studio is a free and open-source software that allows you to view the other system display using the HDMI Capture Card. If you don’t like using command-line utility to add HDMI Input, you can install OBS Studio on Raspberry Pi from the following command:
However, for the older version of Raspberry Pi system, you can install OBS Studio from Pi-Apps through here.
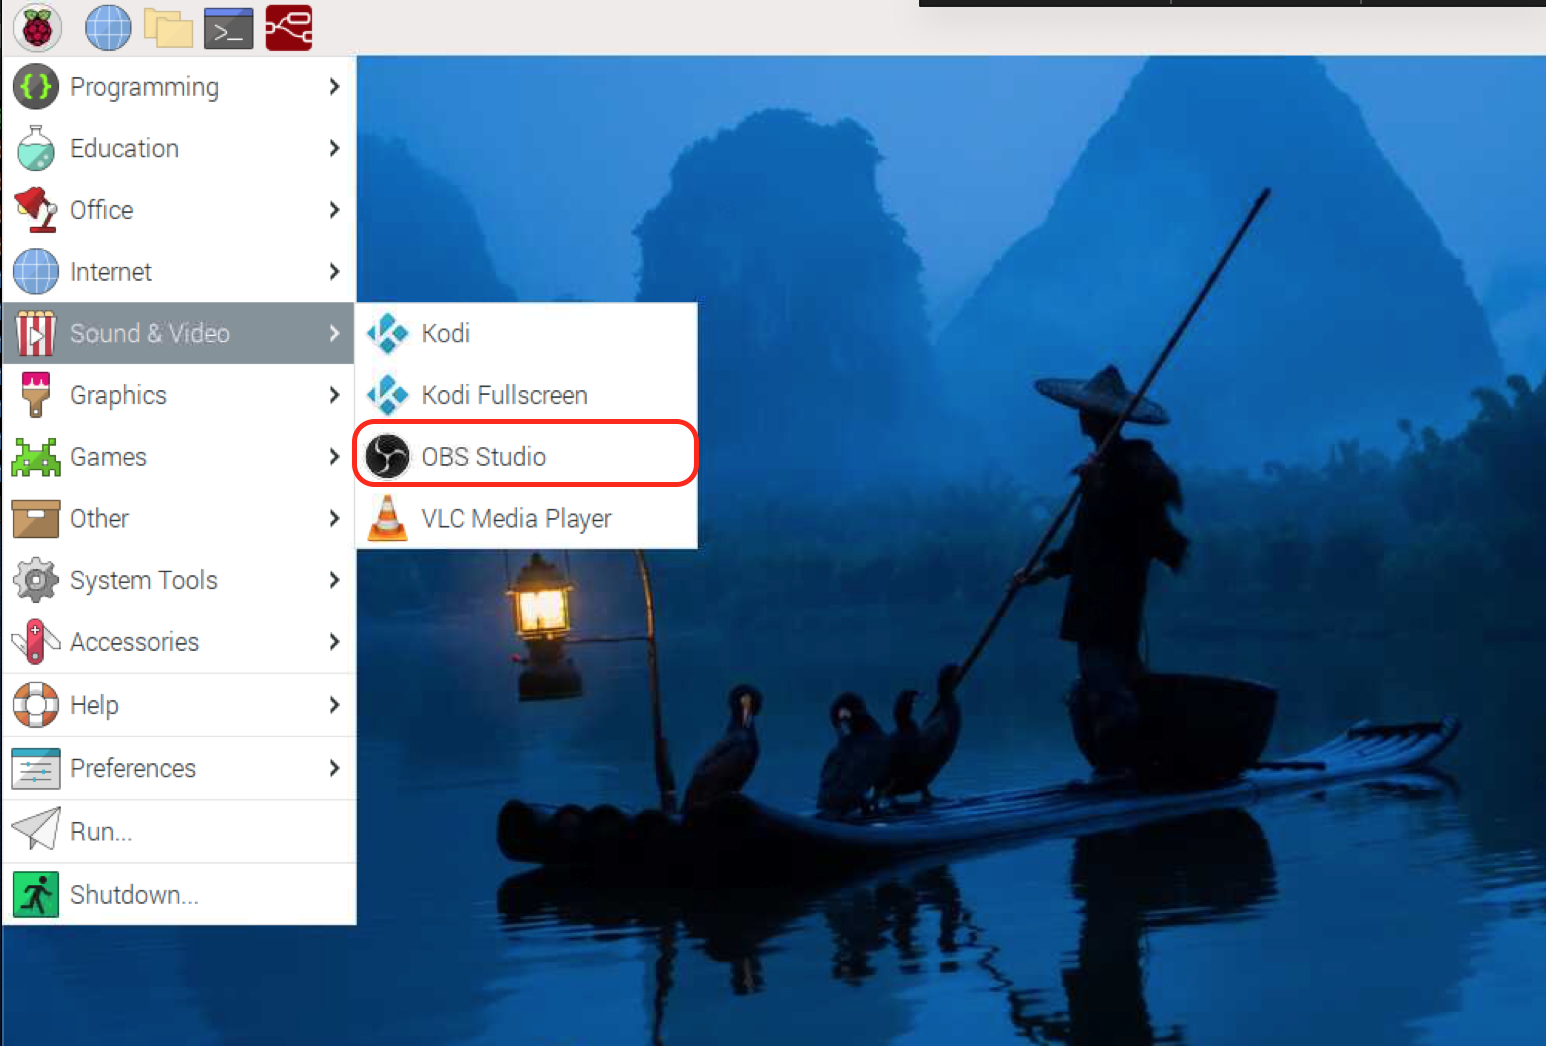
After that, you can run OBS Studio from the main menu in the Sound & Video option:
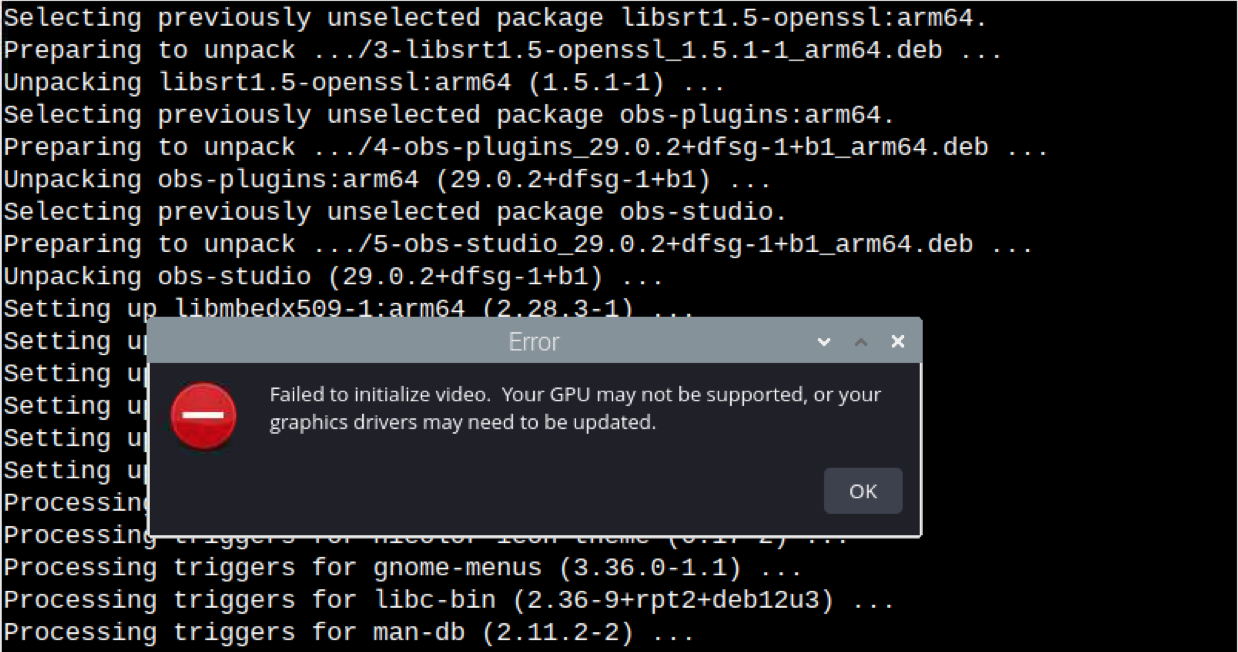
While running OBS Studio on Raspberry Pi, you may experience the error “Failed to initialize video. You GPS may not be supported..”, as shown below:
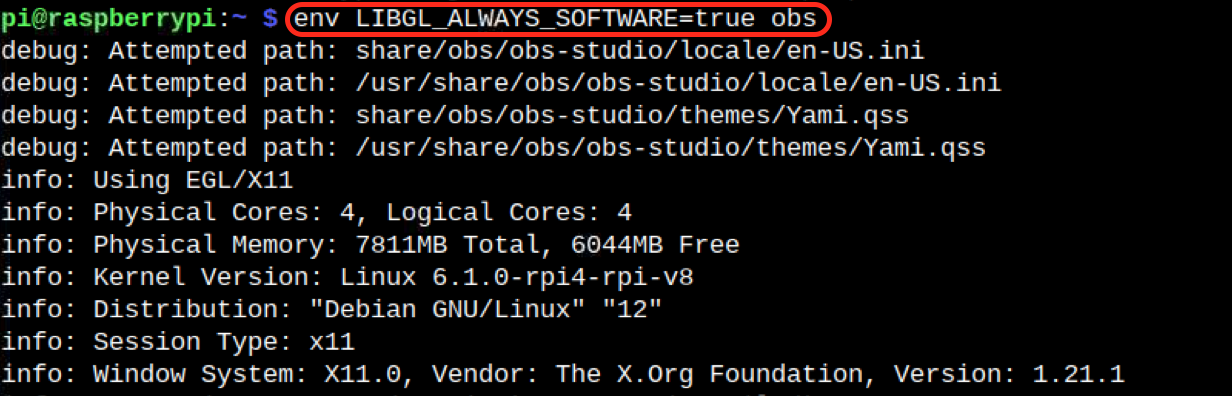
You can fix this error and run OBS Studio on Raspberry Pi from the following command:
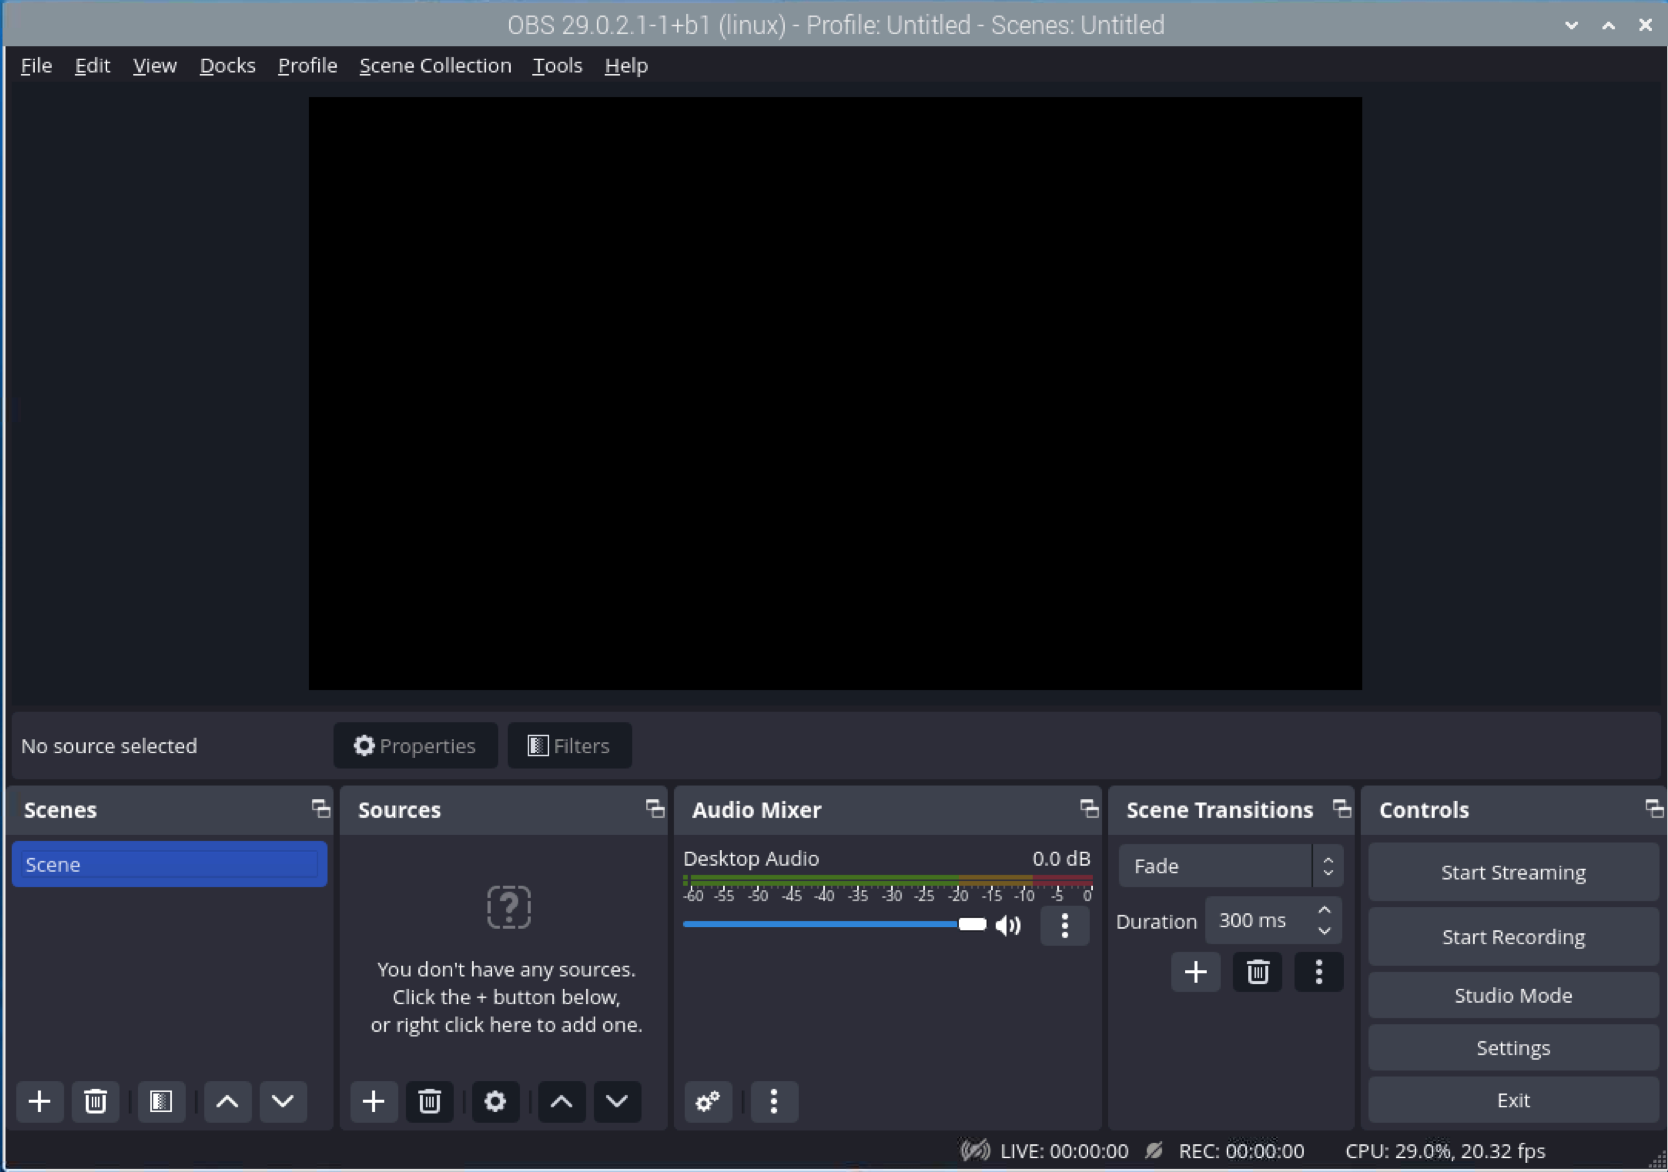
After running the OBS Studio on Raspberry Pi, follow here for detailed step by step instructions to use the software for HDMI Input. The only difference from the provided guide is that you have to insert HDMI Capture Card into your Raspberry Pi instead of laptop and then use the same steps to view other system displays onto your Raspberry Pi device.
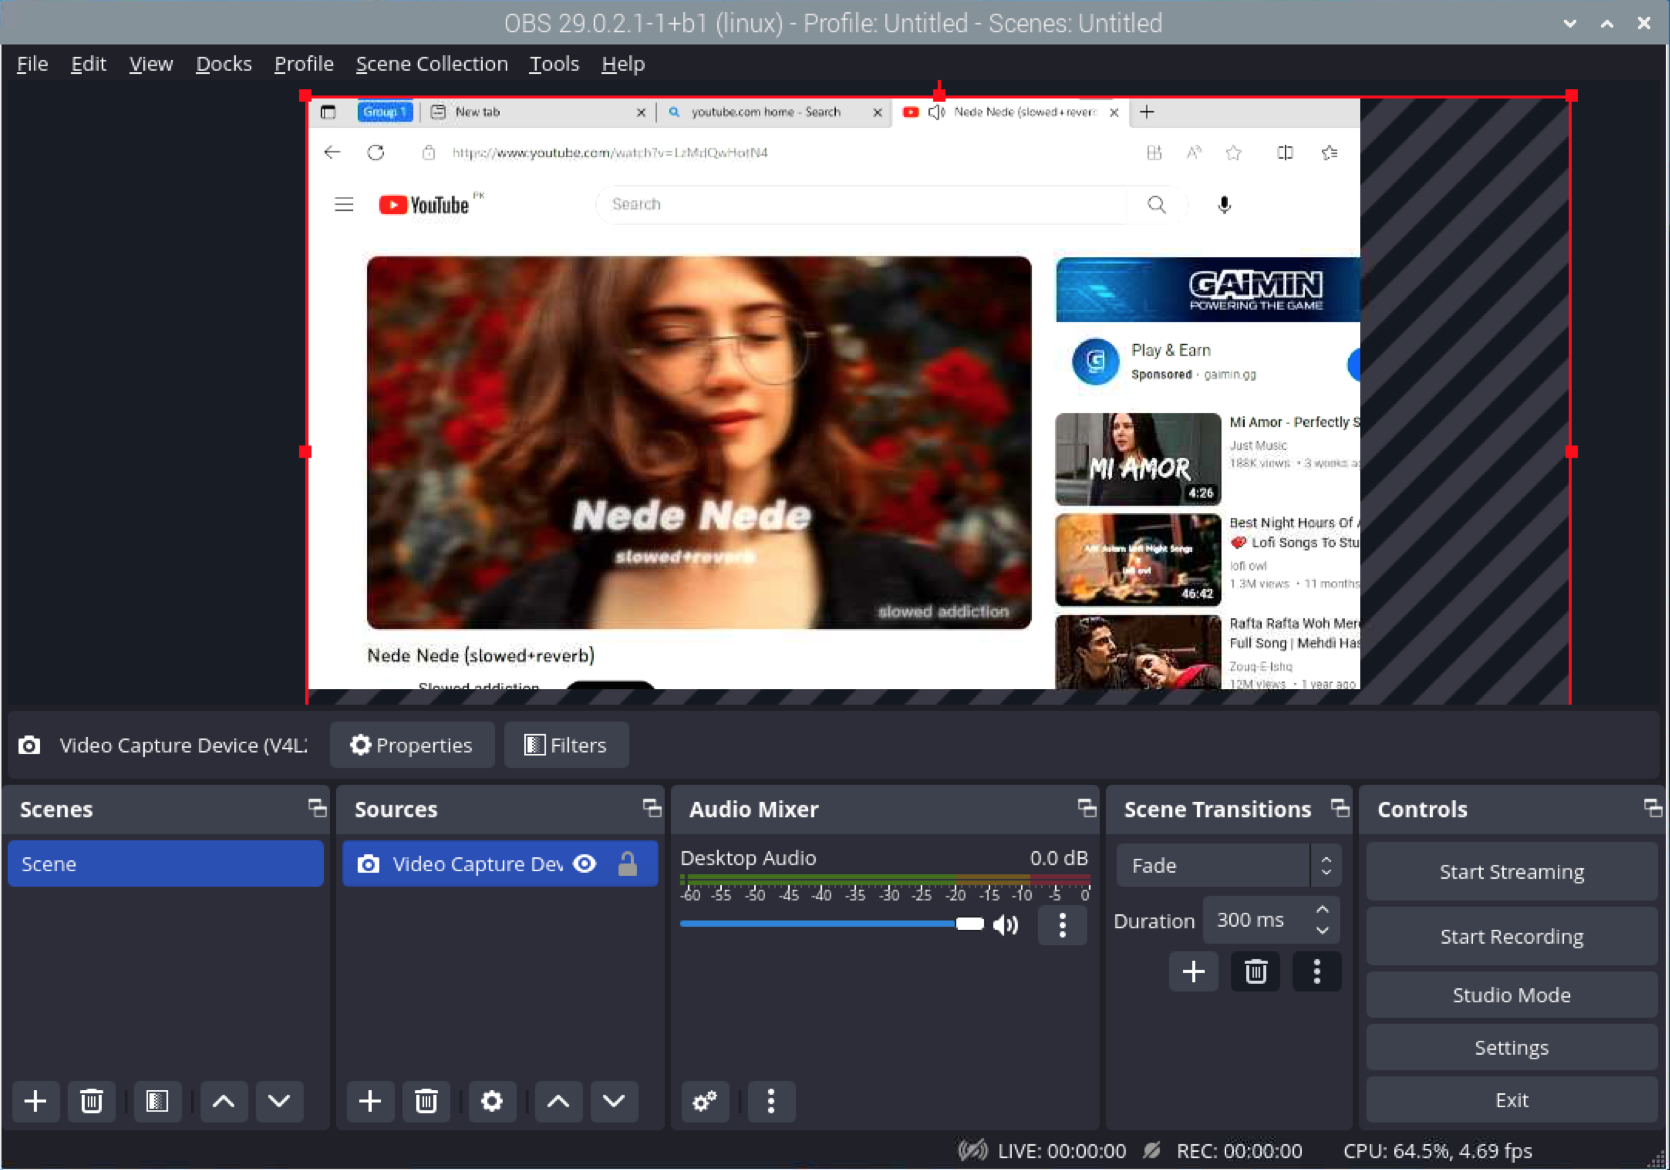
In the below picture, I have used OBS Studio to add HDMI Input to Raspberry Pi and view the laptop display on Raspberry Pi:
Conclusion
Raspberry Pi doesn’t have an HDMI Input port but you can use your Raspberry Pi as a display for other devices by using the USB HDMI Capture Card. You have to insert the HDMI Capture Card into the Raspberry Pi device, insert the one end of the HDMI cable into the Capture Card port and the other end into the other system. Then you can use the command-line utility or OBS Studio software to add the HDMI display on Raspberry Pi for other systems. The complete step-by-step instructions for adding an HDMI Input port are provided in the above section of this guide.
Source: linuxhint.com