How to add favicon in HTML
Any type of image can be utilized as a favicon or you can create your favicon by using different freely available logo maker tools and then add it with your website title in the head tag of HTML. Also, while using an image as a favicon, you should keep in mind that a small image often works better.
In this guide, we will briefly discuss about adding a favicon in HTML. So, let’s start!
Adding a favicon to your website in HTML
To add a favicon to your website in HTML, follow given below steps:
Step 1: Convert the image to “.ico” or “.png” file
Adding the favicon, .png or .ico file formats are used. If you do not have a .png or .ico file then convert it first using different freely online available tools such as ICO Convert. The next step is about adding the favicon to the website.
Step 2: Add converted image in project directory
Add the converted favicon image into your web project directory where you have your main “index.html” file located. For instance, we have added our “favicon.ico” file in the “PROJECT1” directory:

Below snipping shows the basic code of the website title in HTML. The favicon will be added after the “<title>” element.

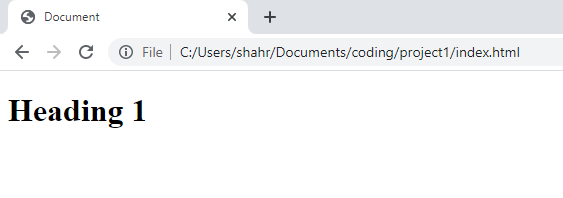
At this point, we have not linked the added “favicon.ico” to our HTML file. So it will show the following output:
Step 3: Provide the path of the image in link tag
Use the “<title>” element and provide the path of the image, as shown in the below code block:

After adding the “<title>” element, we will save the file and access it on the web browser to see the result:

The above-given images shows that our added favicon image is successfully set as an icon of the website.
Conclusion
To add a favicon in HTML, first of all, select an image and convert it to “.ico” or “.png” format using any online image converting tool such as ICO Convert. After that, add the converted image to your project directory and then link it with the HTML file by utilizing the “<link rel=”shortcut icon” href=”favicon.ico” type=”image/x-icon”>” tag. This guide demonstrated how to add the favicon to your website using HTML.
Source: linuxhint.com