How to Add and Setup Ticketer Bot in Discord
This write-up will demonstrate the steps to add and set up a Ticketer bot in Discord.
How to Add a Ticketer Bot on Discord?
To add a Ticketer bot in Discord, apply the following steps.
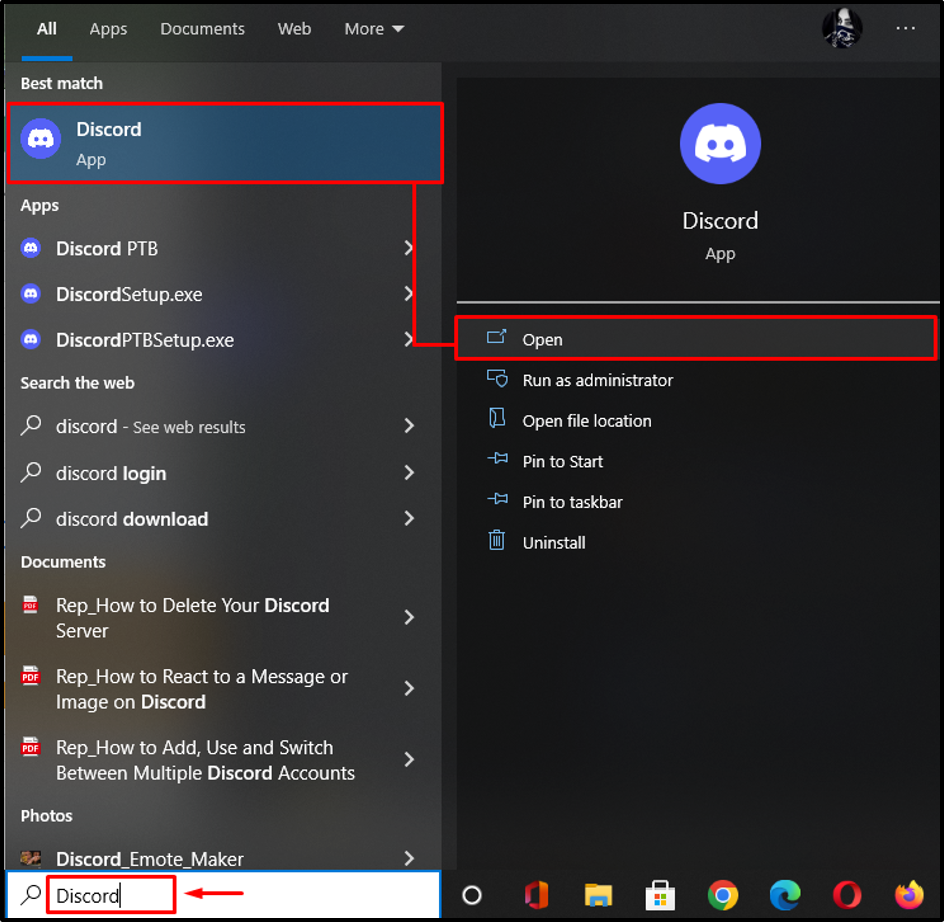
Step 1: Launch Discord
Firstly, open the Discord app via the “Startup” menu:
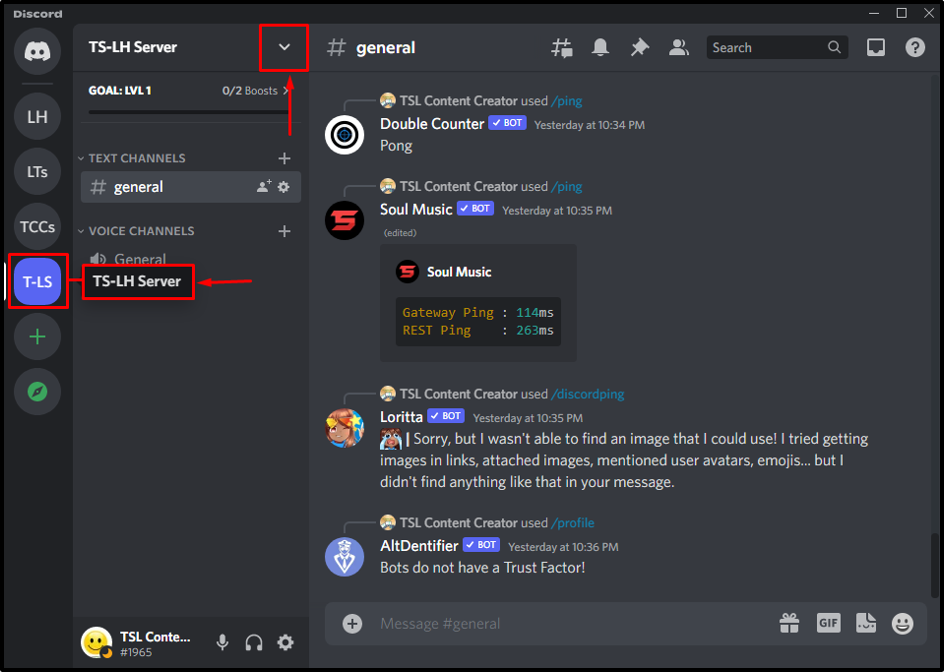
Step 2: Select Particular Discord Server
In this step, select the server that needs to be integrated with the “Ticketer” bot:
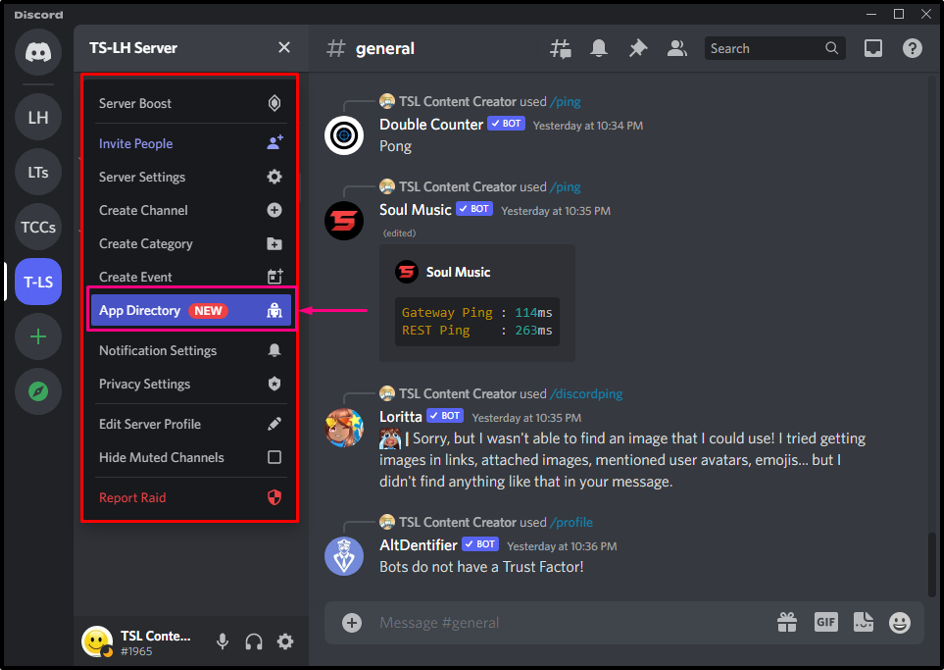
Step 3: Access App Directory
Select the “App Directory” option from the server menu:
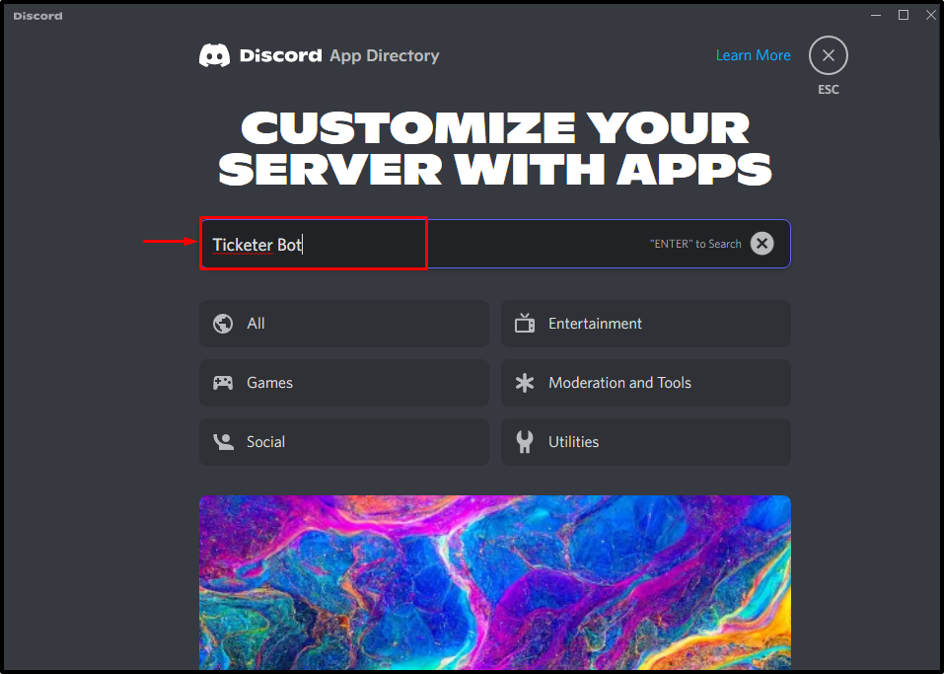
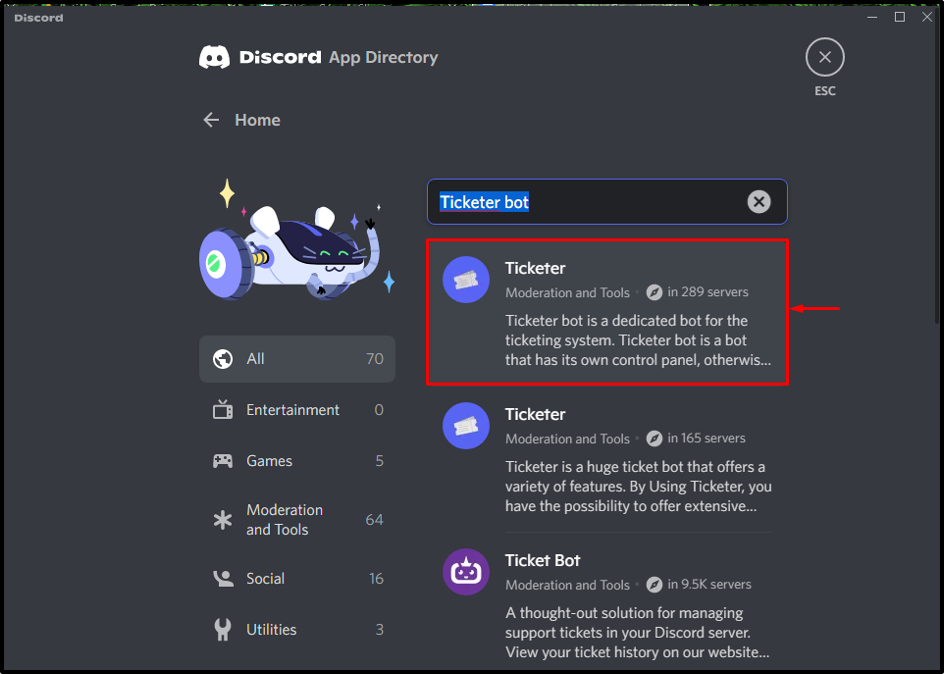
Step 4: Search for Ticketer Bot
Now, in the search bar, write out “Ticketer” bot and hit “Enter”:
Step 5: Select Ticketer Bot
Then, select the required bot from the search results:
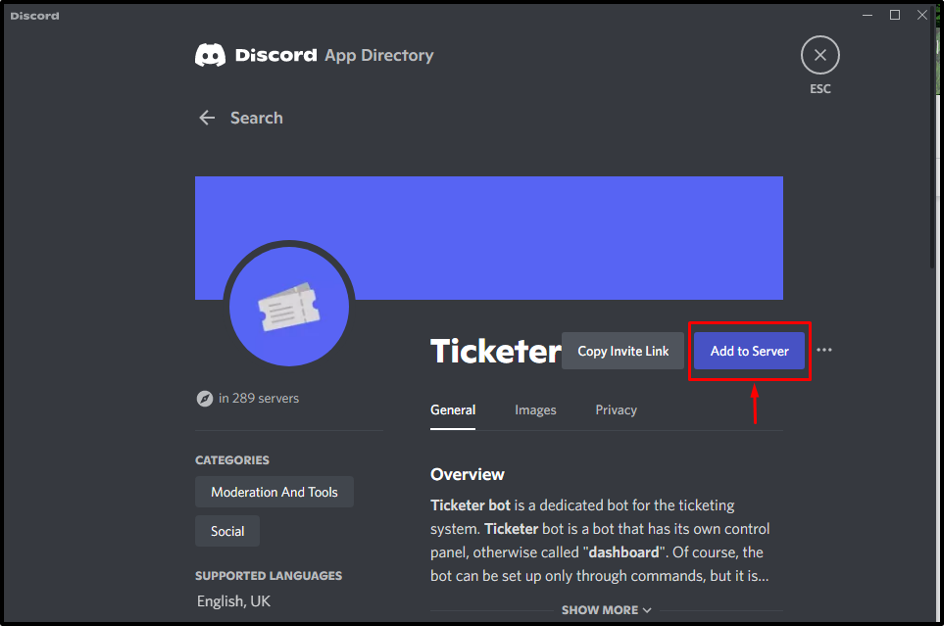
Step 6: Add Ticketer Bot to Server
Upon clicking the selected bot, you will be navigated toward another window. Then, click on the “Add to Server” button for adding the Ticketer bot:
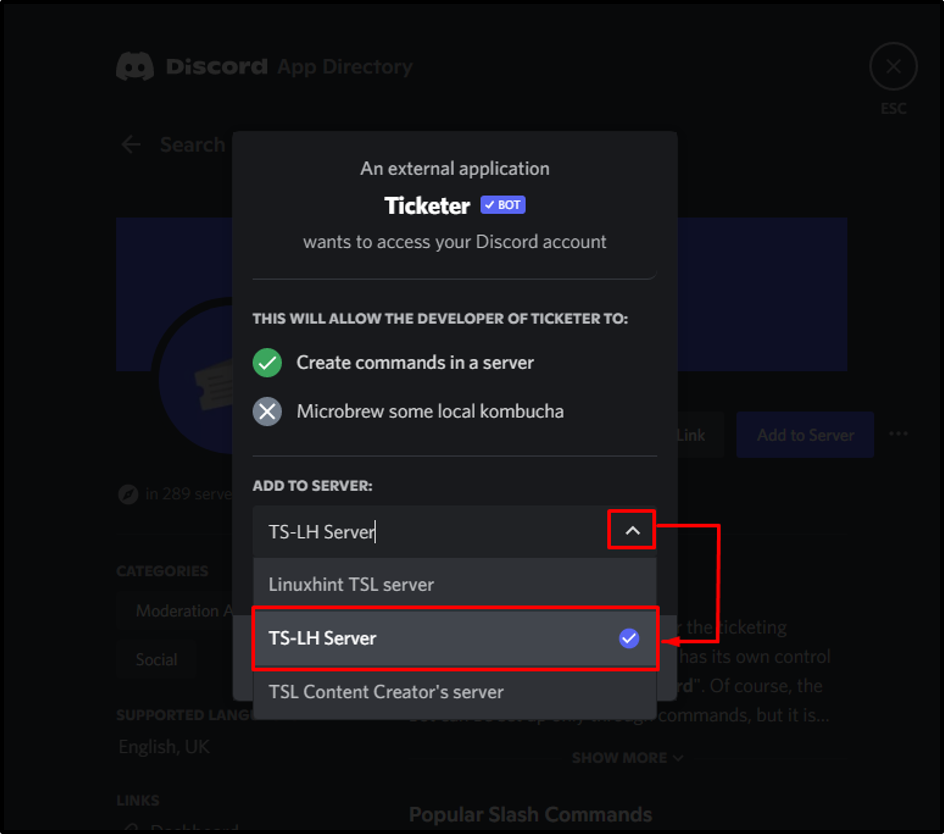
Step 7: Choose Desired Discord Server
In this particular step, select the desired server that needs to be integrated with the Ticketer bot. In our case, we have selected the “TS-LH” server:
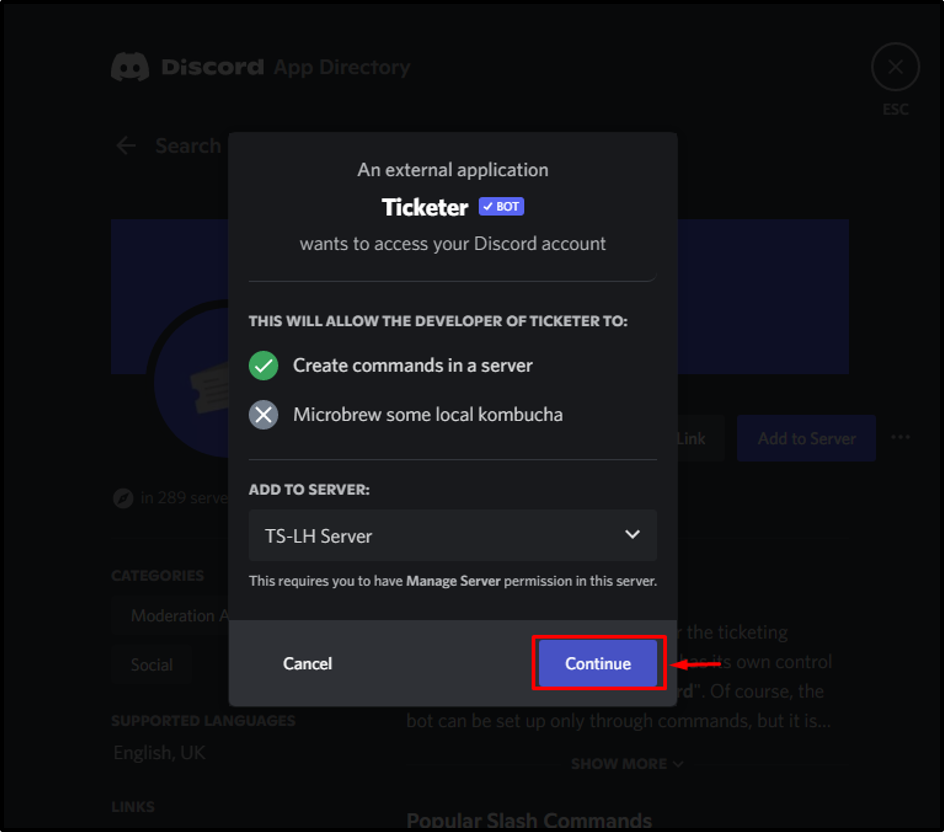
Then, click on the “Continue” button:
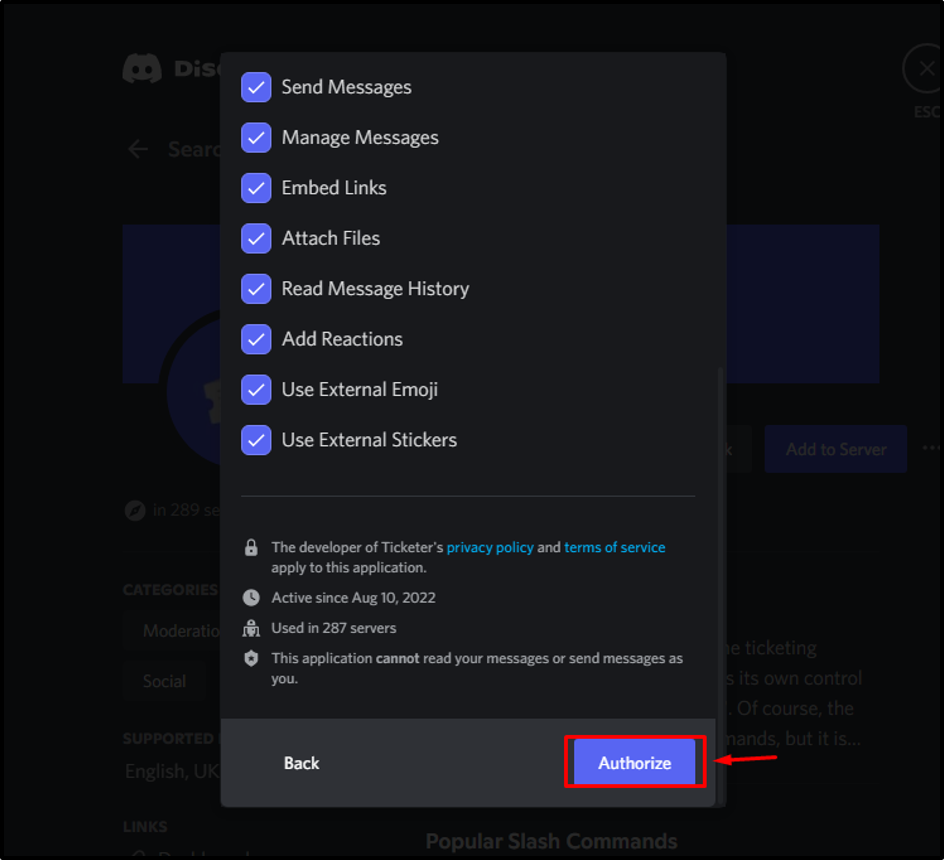
Step 8: Grant Required Permissions
Check all the required permissions that need to be granted to the Ticketer bot and click “Authorize”:
Step 9: Fill Captcha Box
In this step, verify your identity by marking the highlighted captcha box:
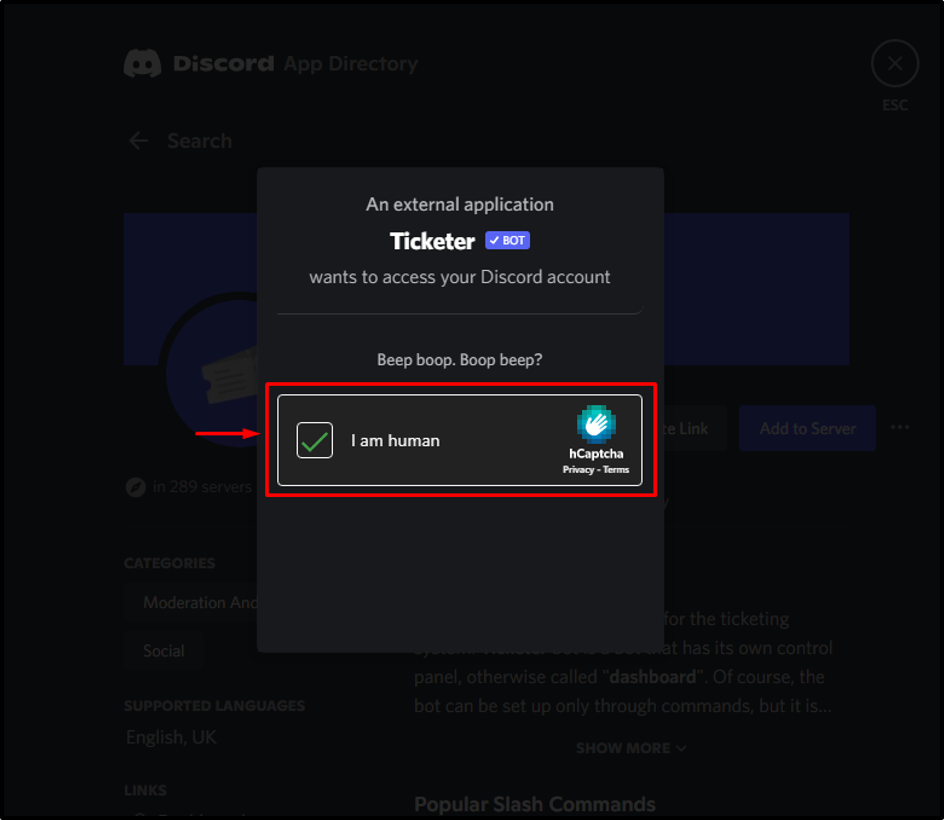
It can be seen that the “Ticketer” bot has been authorized successfully:

How to Setup Ticketer Bot on Discord?
To set up a Ticketer bot on the Discord server, follow the below-listed steps.
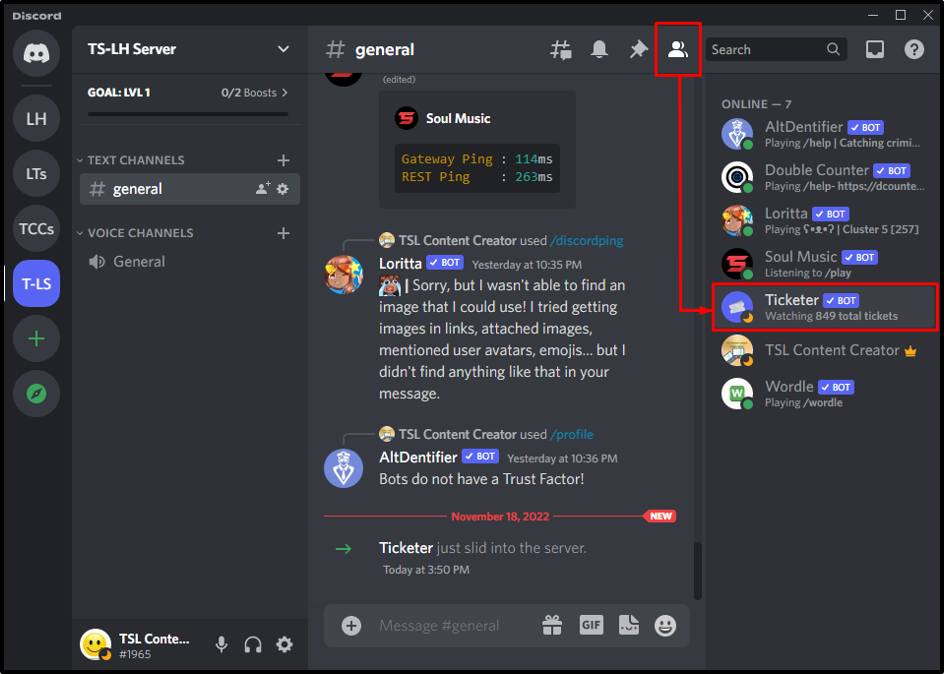
Step 1: Access Server Member List
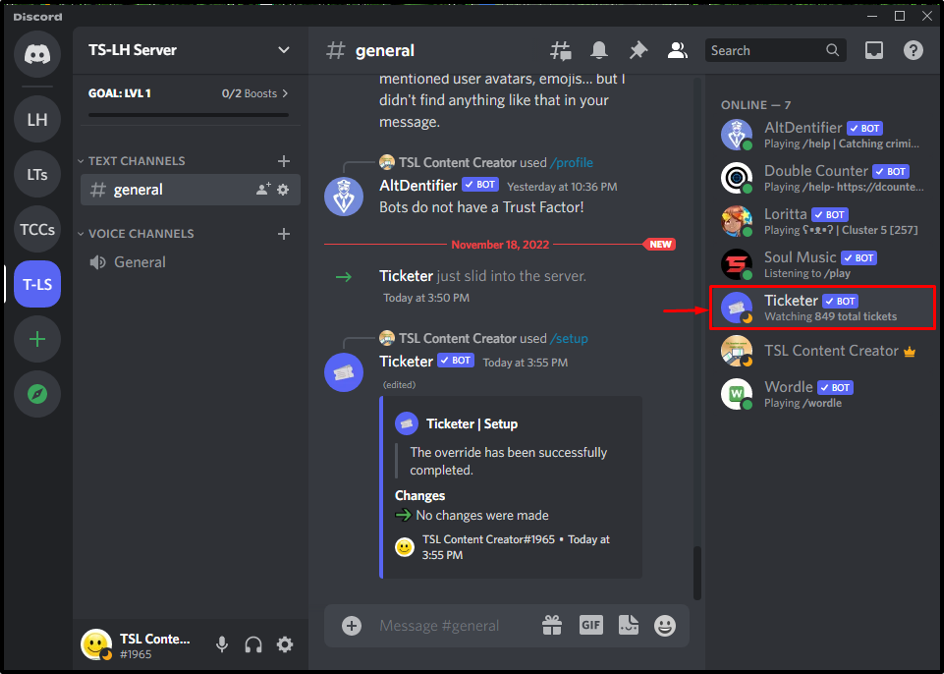
Firstly, ensure the presence of the Ticketer bot in the server Members list:
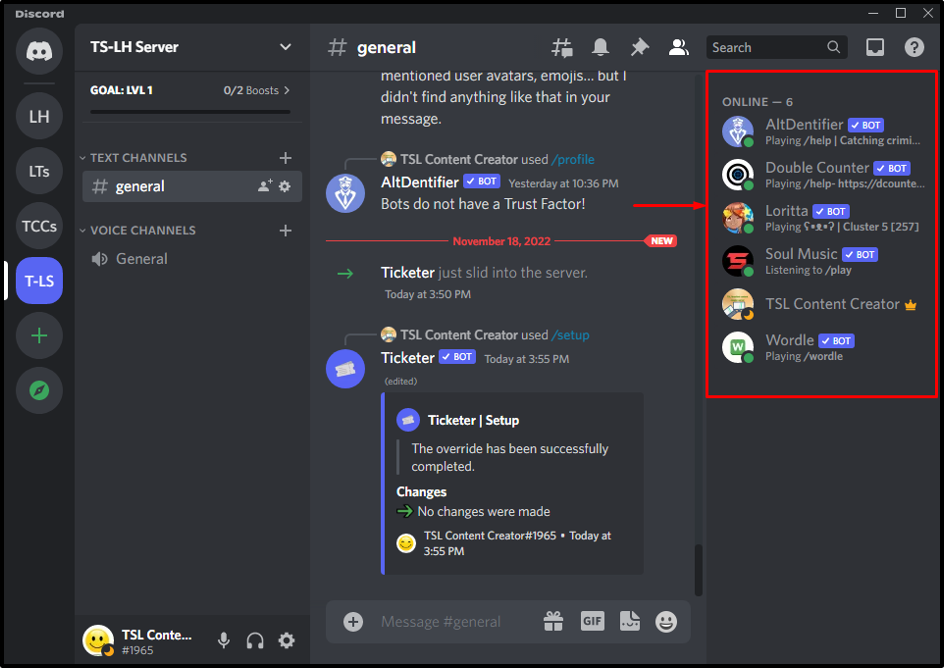
Step 2: Setup Ticketer Bot
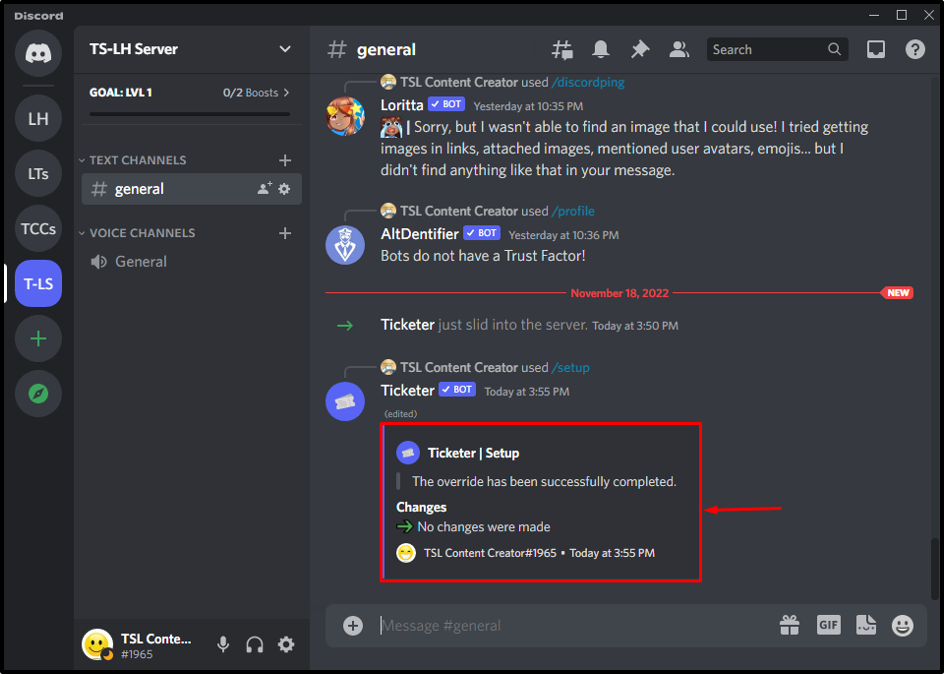
Move to the text channel and type the “/setup” command in the message area to set up the Ticketer bot:
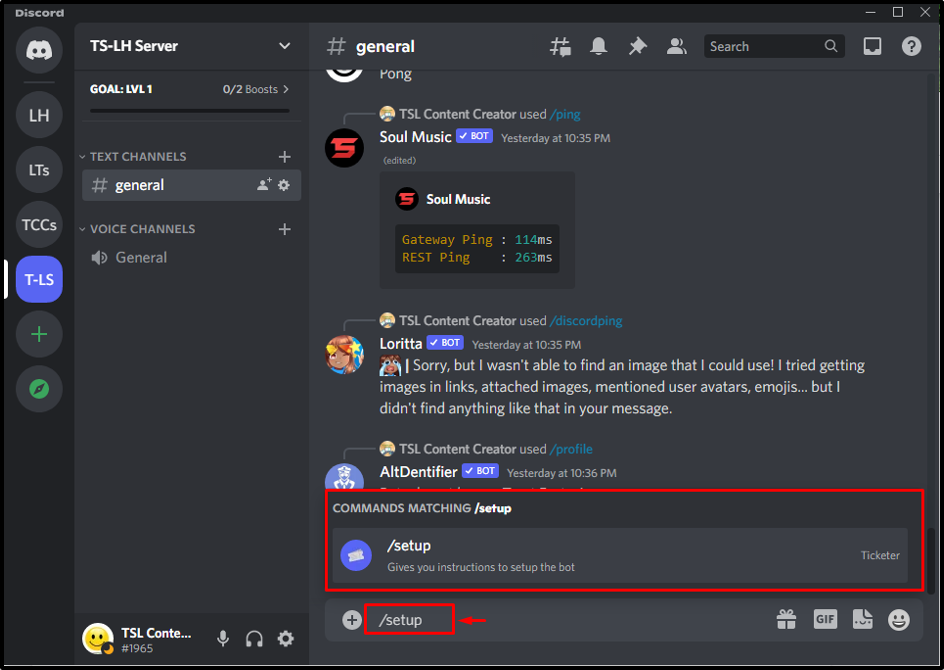
The following message will appear on the screen after the Ticketer bot is setup successfully:
Ticketer Bot Commands List
Let’s check out some other commands related to Ticketer Bot:
| Commands | Description |
|---|---|
| /setup | Gives the instructions to set up the bot |
| /resend | Re-sends ticket message |
| /dashboard | Displays the dashboard |
| /help | Displays command list supported by the bot. |
| /claim | Claims the current ticket |
How to Remove Ticketer Bot From Discord Server?
To remove the Ticketer bot from the Discord server, apply the below-stated steps.
Step 1: Select Ticketer Bot
Firstly, select the “Ticketer” bot from the integrated server as shown below:
Step 2: Remove Ticketer Bot
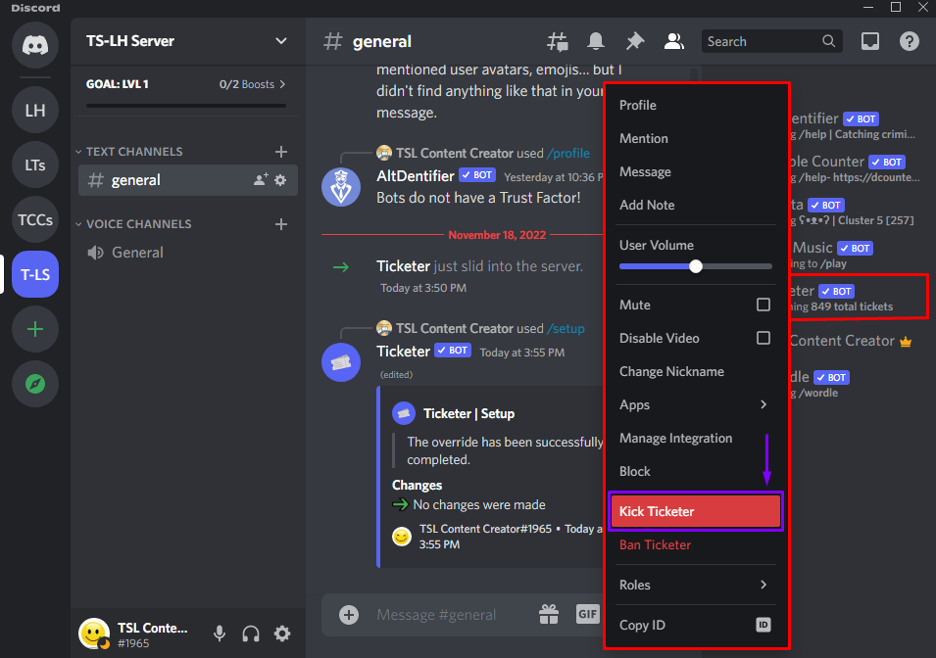
After doing so, right-click on the “Ticketer” bot. The following options will appear from where you have to select the “Kick Ticketer” option:
Step 3: Confirm Removing Process
Add the reason for removing the Ticketer bot and hit the “Kick” button:
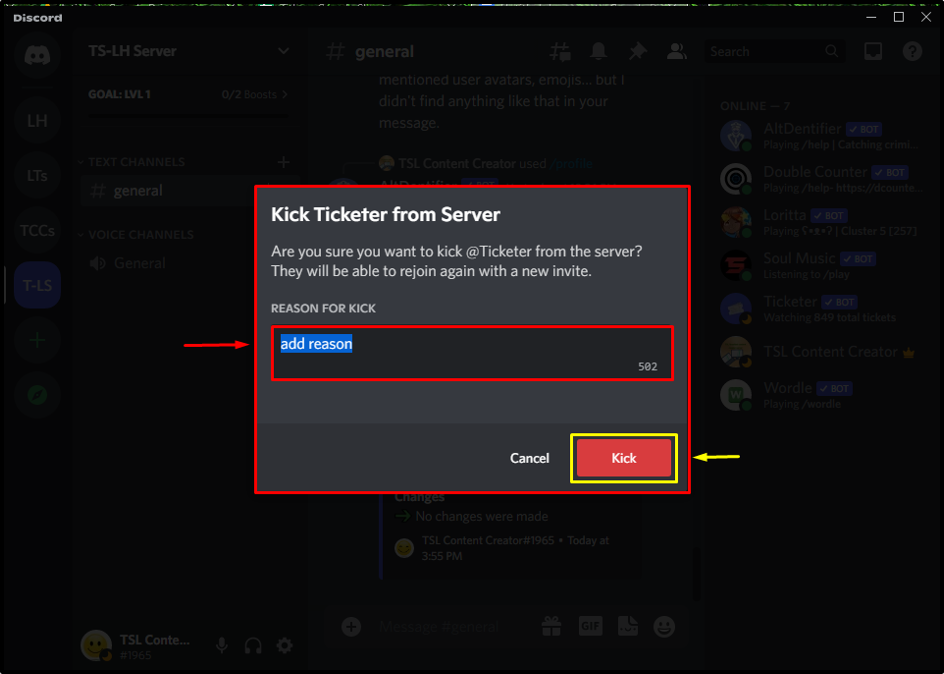
As a result, the Ticketer Bot will be removed successfully from the server:
We have provided the easiest steps to add and set up the Ticketer bot on Discord.
Conclusion
To add and set up a Ticketer bot in Discord, search for the bot in the Discord app directory, integrate it with the required server and grant access to it. After doing so, the bot will be authorized and ready to use. Then, type the “/setup” command for setting the Ticketer bot. Moreover, for removing the Ticketer bot, right-click it and hit the “Kick” option. This blog demonstrated the procedure to add and set up a Ticketer bot in Discord.
Source: linuxhint.com