How to Access WordPress Dashboard
In this blog, we will demonstrate how to access WordPress and its dashboard
Prerequisite: Setup WordPress on Windows
WordPress is used for the speedy development of websites. It can be used in both versions: “WordPress.com” to manage websites remotely and “WordPress.org” tool to create and manage websites locally before publishing them live. In order to set up WordPress on Windows, follow our associated article “How to Setup WordPress on Windows?”
What is WordPress Dashboard?
The WordPress Dashboard is a main component of the WordPress tool that is used to create and manage websites and their content. It provides us with many useful options such as Posts to manage and publish posts, Pages to design and manage pages, Appearance, Plugins, Media to maintain website media, and additional settings. WordPress dashboard is simpler and easier to use also for beginners.
How to Access the WordPress Dashboard?
In order to access the WordPress dashboard, go through the given instructions.
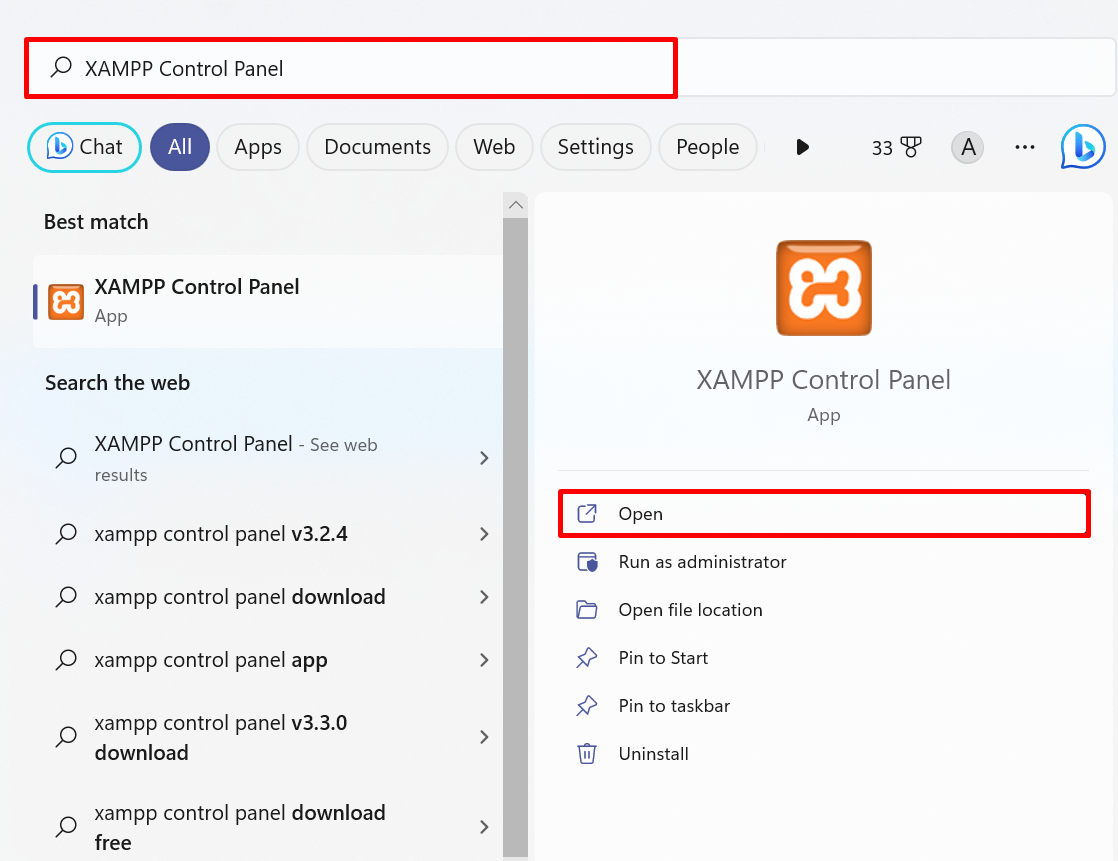
Step 1: Launch Xampp Control Panel
First, open the installed Local server management tool such as Wamp or Xampp via the Start menu. For instance, we will launch the “Xampp Control Panel” via the Windows Start menu:
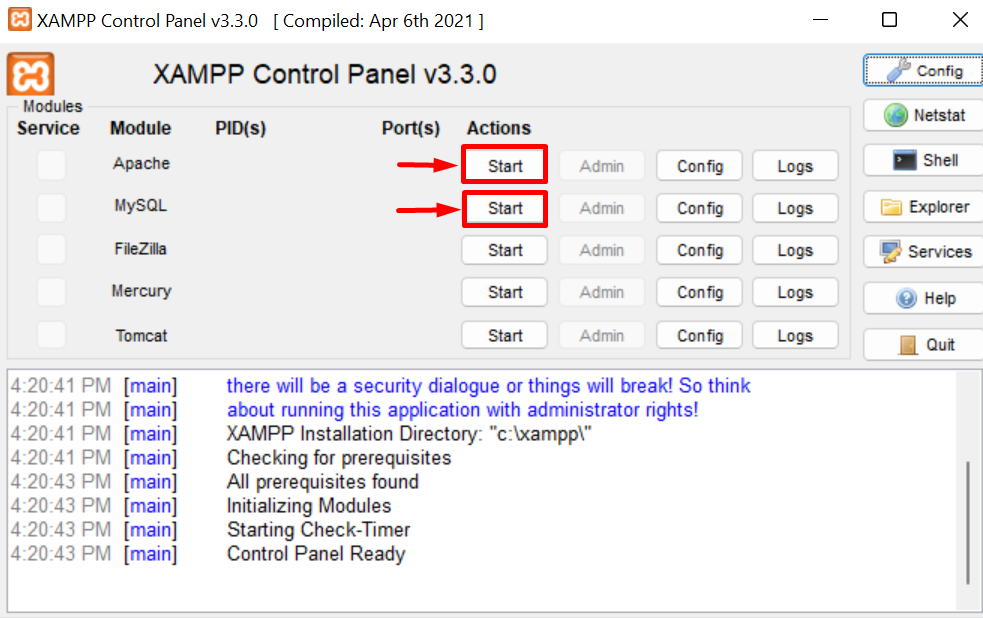
Step 2: Start Local Server
Next, start the MySQL and Apache services to access the WordPress website. For this purpose, click on their respective “Start” buttons:
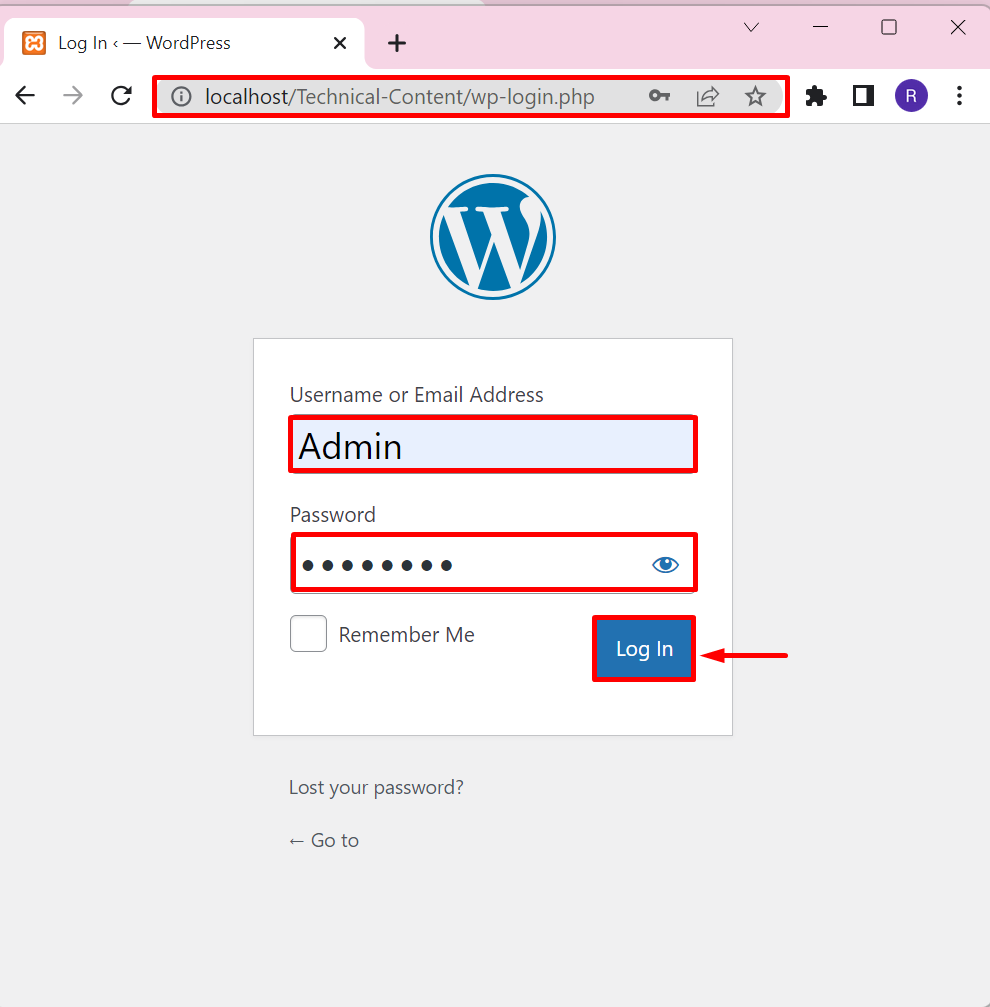
Step 3: Log in to WordPress Dashboard
To access the WordPress login page, visit the “http://localhost/<Website-Name>/wp-login.php” URL. After that, add the login credentials and hit the “Log In” button:
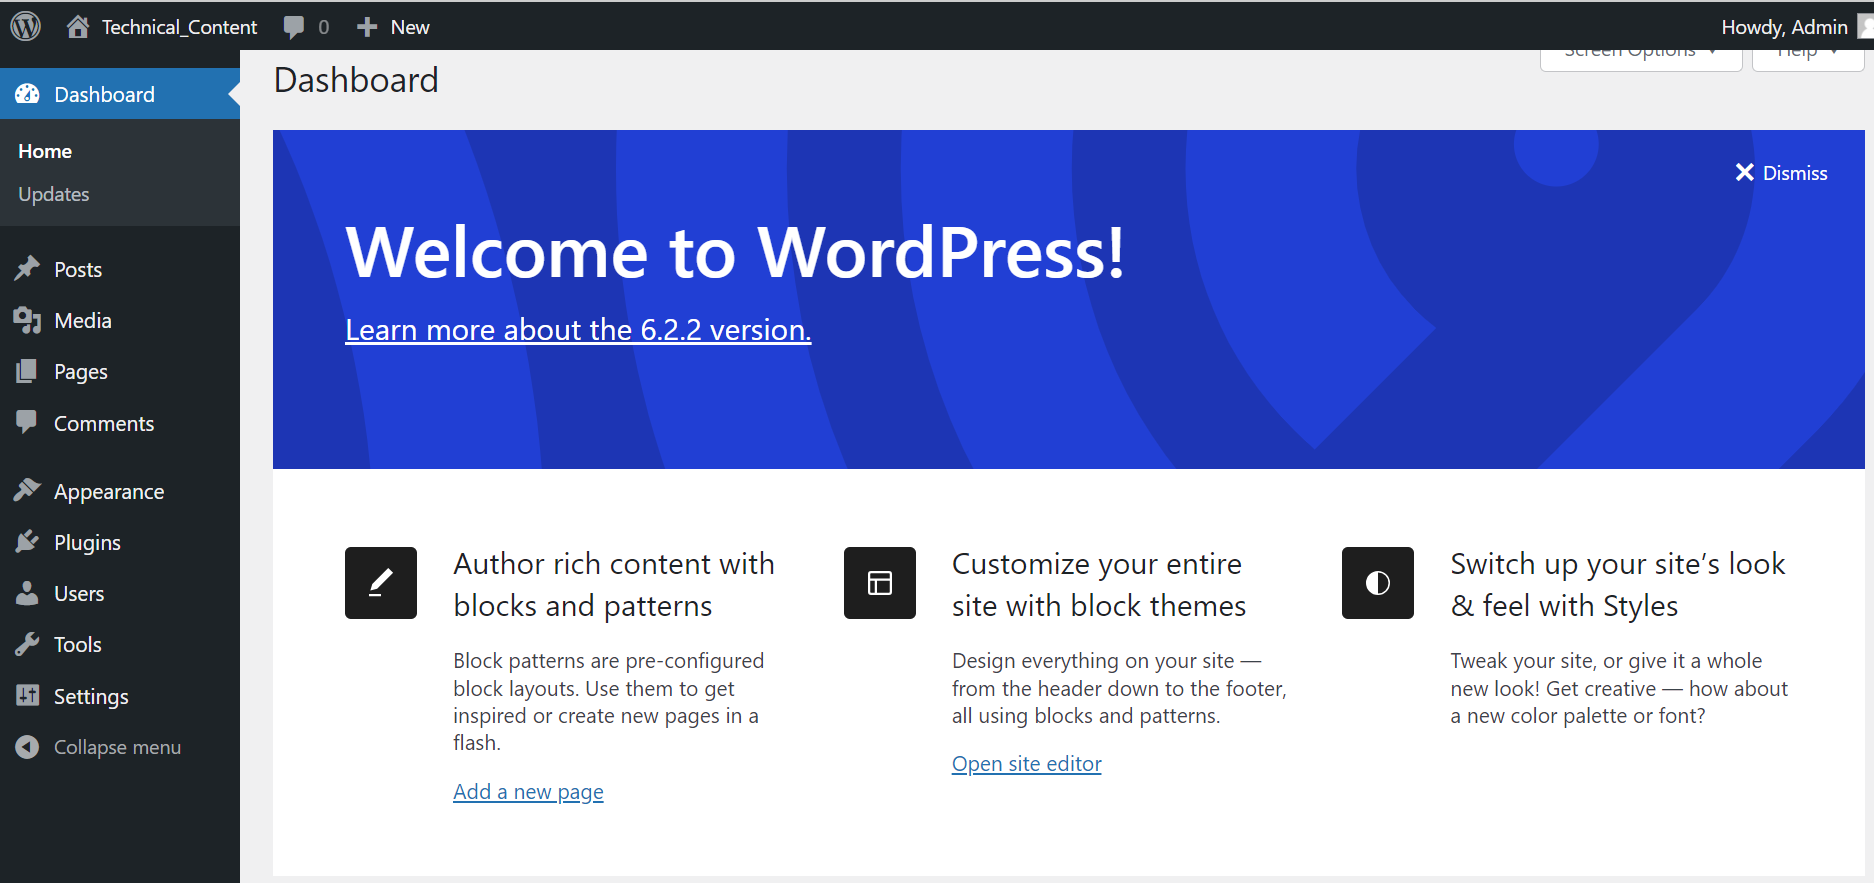
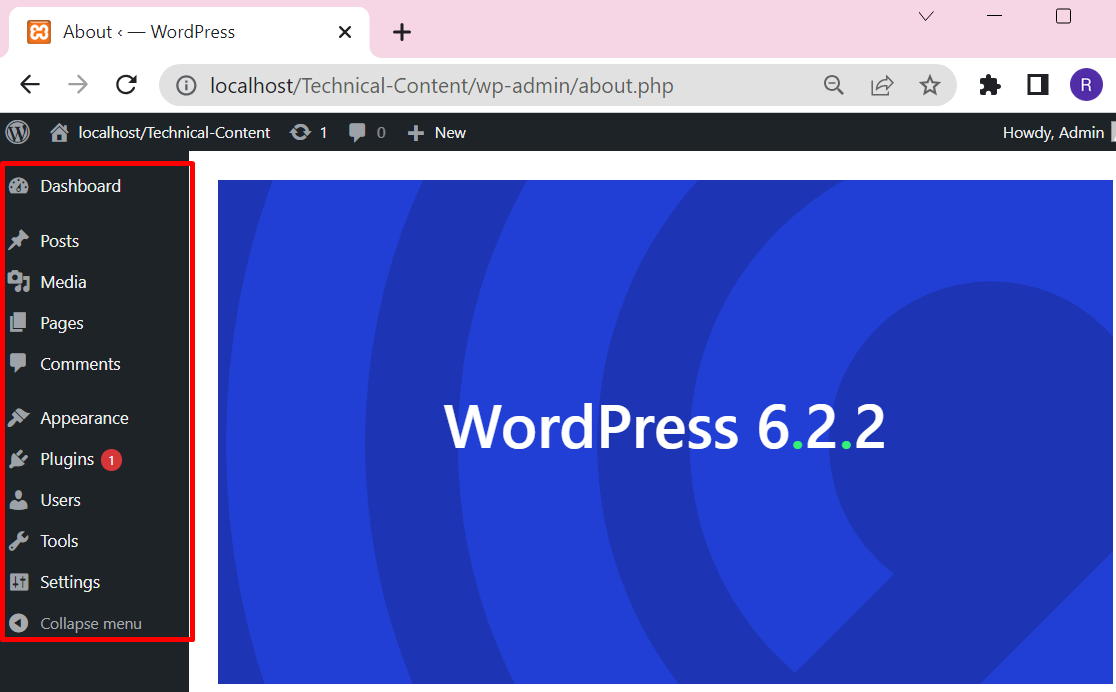
As a result, the WordPress dashboard Window will appear on the screen:
What are the Main Components of WordPress Dashboard?
After logging in to WordPress, the user views the WordPress dashboard first. The main options or components of the WordPress dashboard are listed below:
Let’s discuss each of the above-mentioned options one by one:
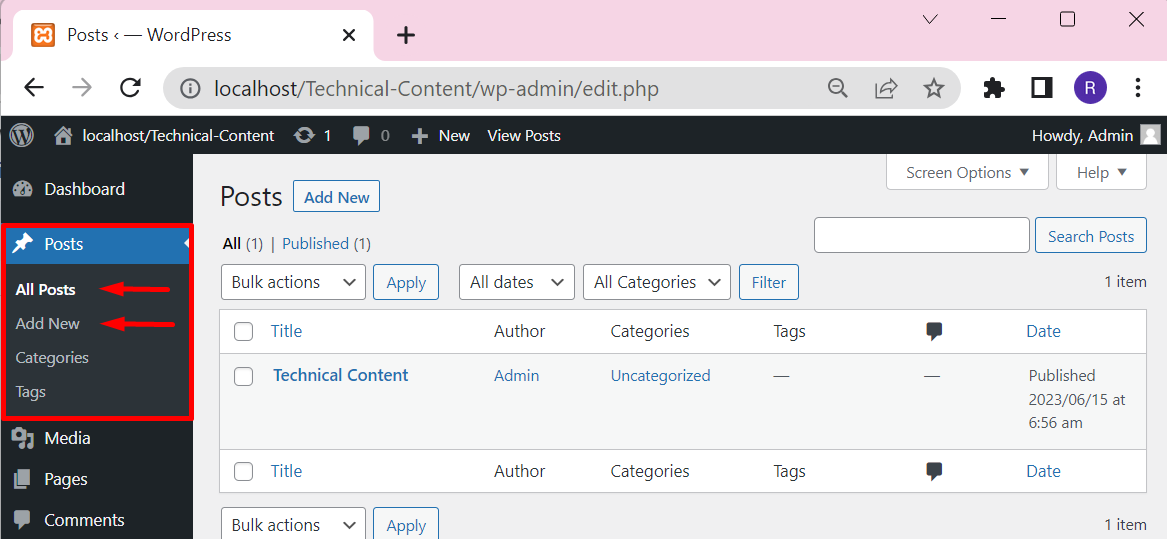
Posts
The WordPress “Posts” menu is used to manage website posts. This menu contains the following options:
- “All Post” option is used to manage all WordPress posts. It maintains the record of each post and users can also publish, edit, delete, and view any post.
- “Add New” is mostly used to design and publish new posts on WordPress websites.
- “Categories” define the generic category of the post.
- “Tags” are used to define the WordPress post more specifically:
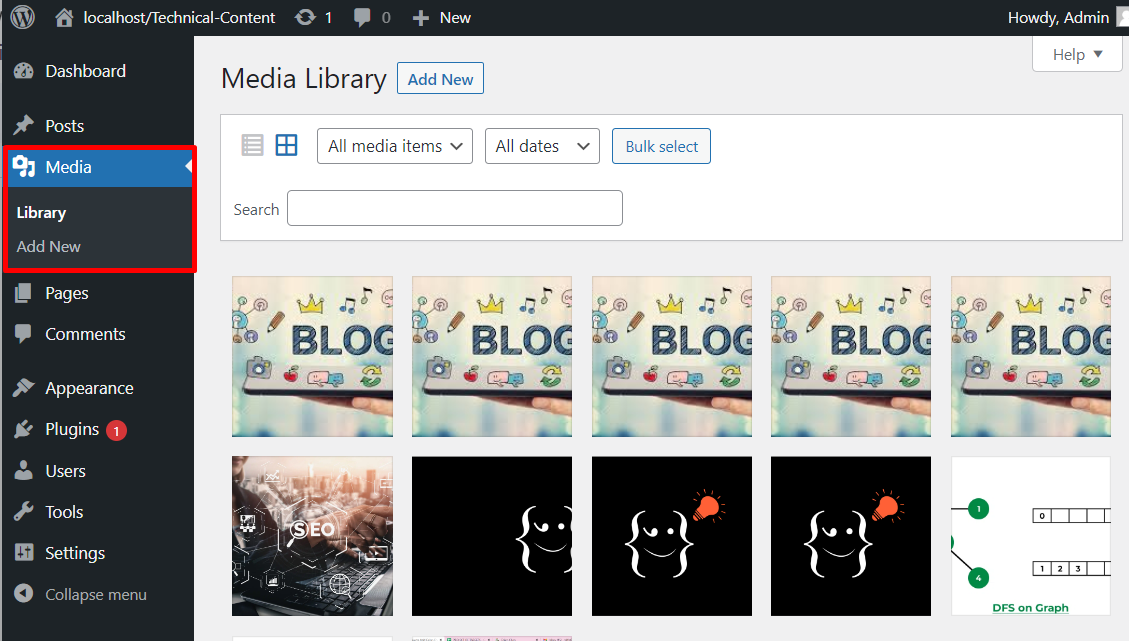
Media
Media options in the WordPress dashboard are used to manage WordPress or Website media such as images, thumbnails, videos, and many more. Users can add new, update, or remove media files easily:
Pages
Pages are considered the heart of any website. It is utilized to show the content of the website. The WordPress dashboard contains the Pages menu that has the following options:
- “All Pages” option is used to manage all WordPress pages. From this option, the user can edit, create, and remove the website page. Above all, users can directly view the number of published pages, and draft pages which is helpful to manage the WordPress pages more effectively.
- “Add New” option is mainly used to create and design new web pages:

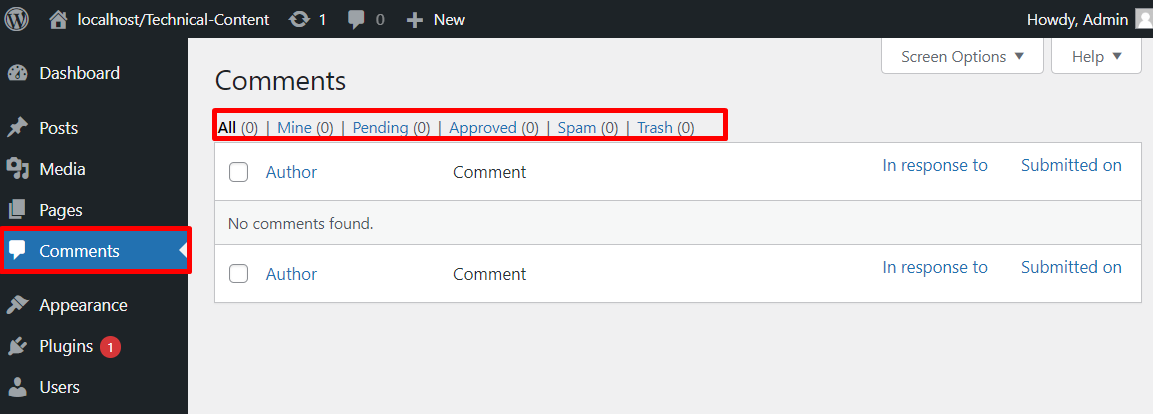
Comments
Comments are used to manage pages or post comments. In the comment section, users can view, publish, spam, or remove the comment from the website. All the major comments settings are managed through the “Comments” sections:
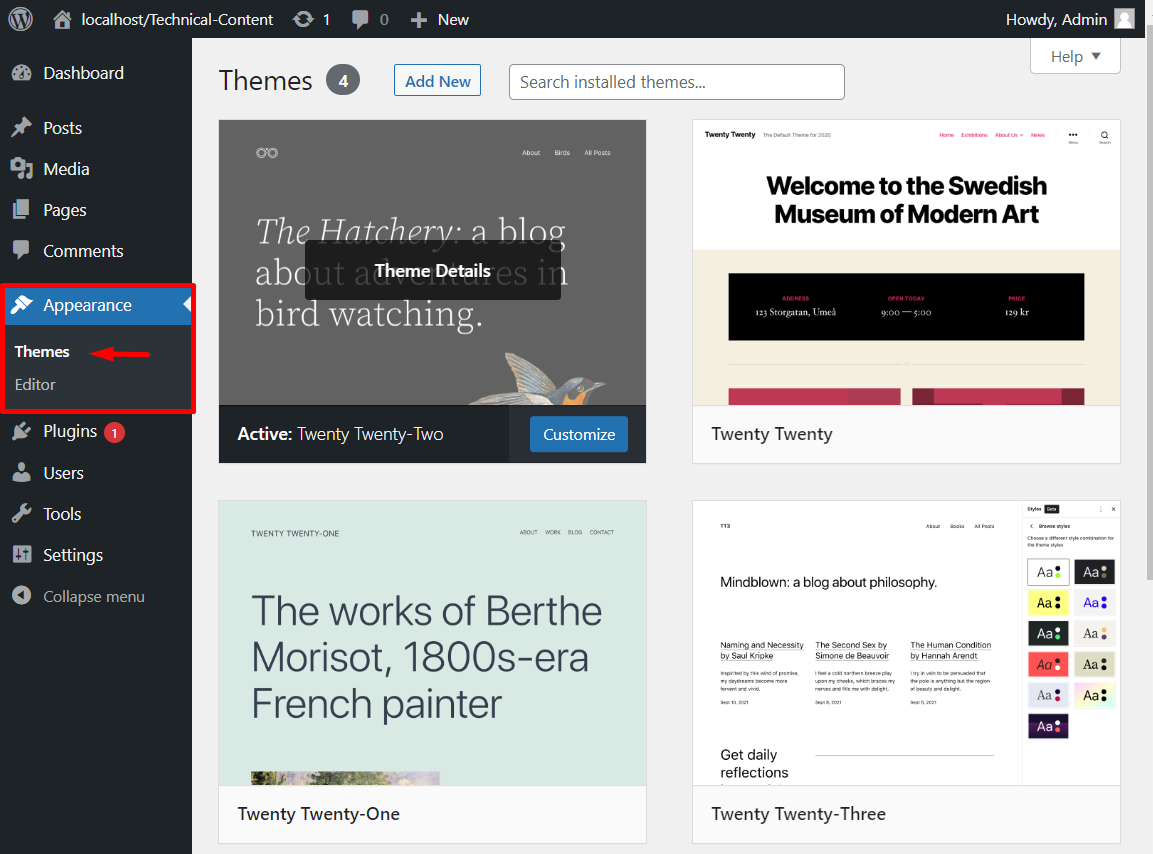
Appearance
This option is mainly responsible for website appearances that contain “Themes” and “Editors” settings. The Appearance menu can contain various additional options such as Menus, Widgets, Customize, Header, and Background depending upon the activated theme. The Themes option is mostly used to apply themes for WordPress websites, users can use and install different themes according to preference:
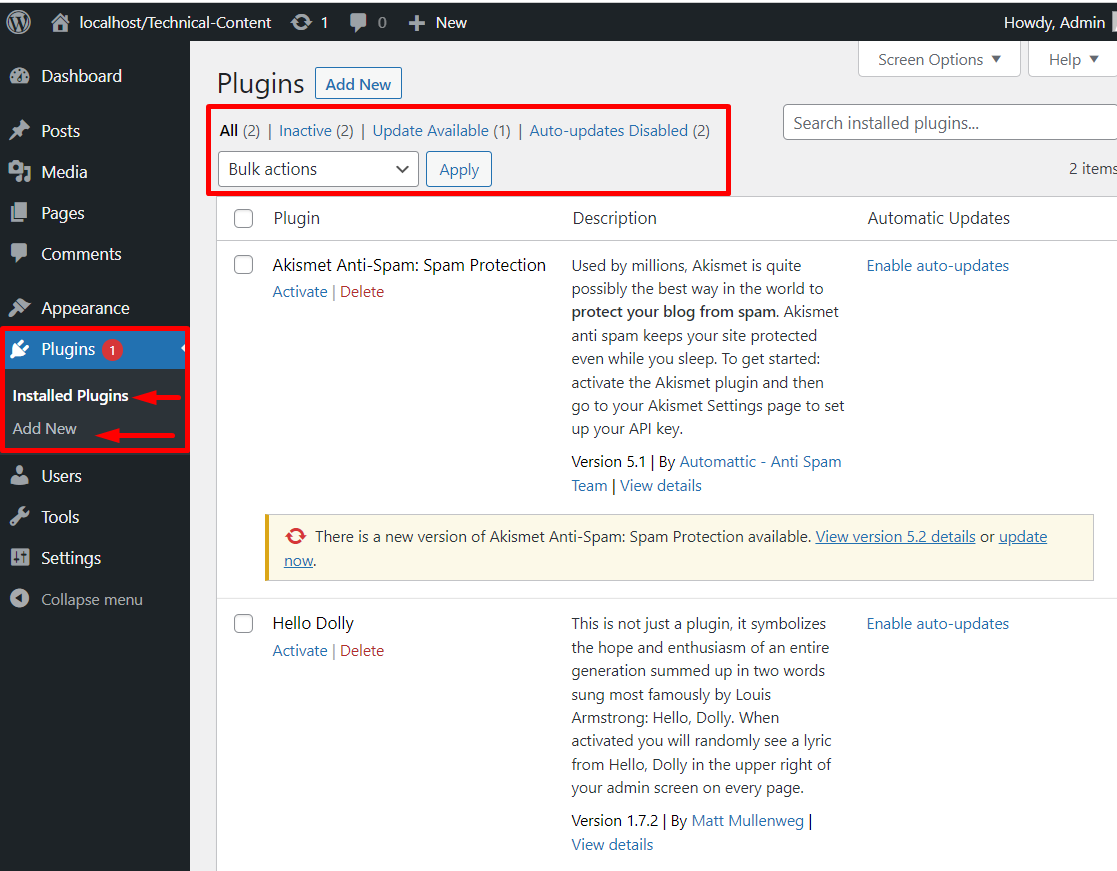
Plugins
The “Plugins” menu is a core feature of WordPress. It enables us to add an extra layer of features to the website without using a single line of code. It is software that includes functionalities to automate most WordPress tasks. Numerous plugins are available in WordPress that can be accessible from the WordPress “Plugins” menu. This menu contains the “Installed Plugins” and “Add New” options. The Installed Plugins option contains all the installed plugins and users can easily manage them by activating, deactivating, disabling, or removing them. The Add New option is used to add or upload new plugins to the WordPress dashboard:
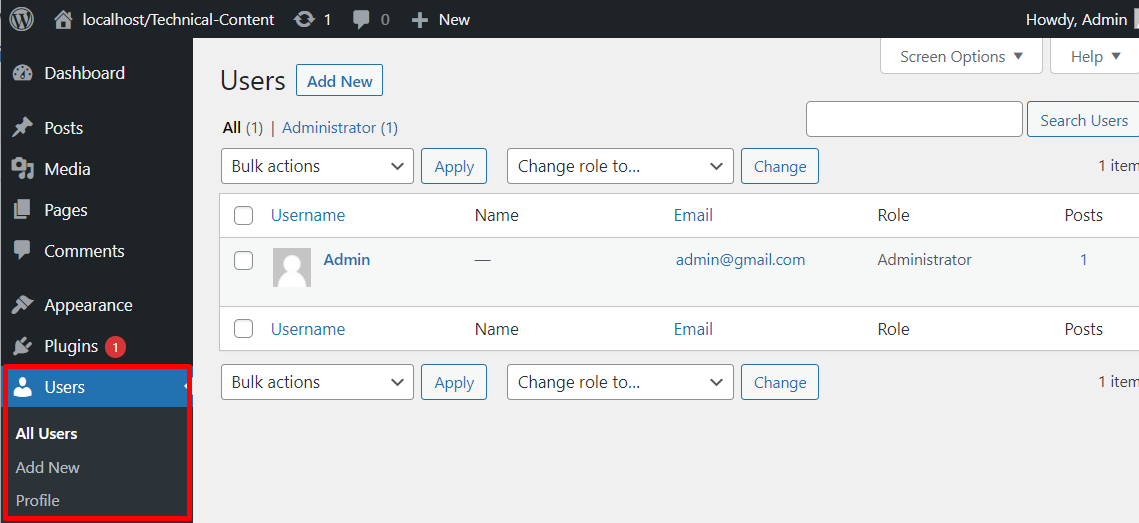
Users
Users menu of the WordPress dashboard is mainly responsible for managing WordPress users. From the User menu, the user can add a new user, and assign a specific role such as admin, moderator, editor, or author. From the “Add New” menu, WordPress users can add new users and from the “Profile” option, they can manage user profiles such as set names, site URLs, Contact Info, Biography, and many more:
Tools
Tools options contain additional tools to manage websites in WordPress. It contains the following options:
- “Available Tools” shows and manages installed tools.
- “Import” is used to install additional tools.
- “Export” downloads or export web content, pages, blogs, or media.
- “Site Health” is used to check site health, performance, critical issues, and recommendations.
- “Export Personal Data” is utilized to export personal data by sending a request to a specific username or email.
- “Erase Personal Data” allows users to delete anonymizing data.
- “Theme File Editor” Provide the code of the active theme to make changes.
- “Plugin File Editor” Provide the code of active plugins to make changes:

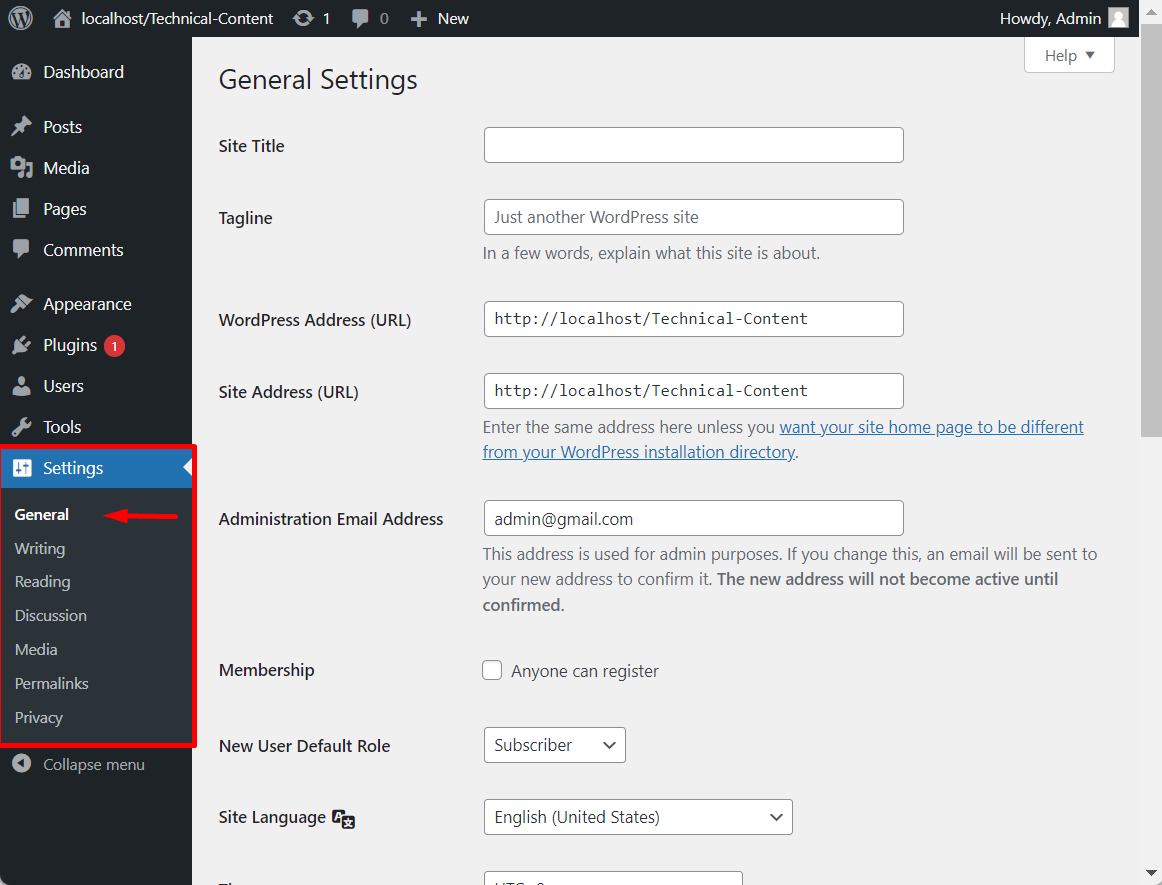
Settings
The settings menu contains WordPress basic settings that are listed below:
- “General” settings contain site url, site title, wordpress address, and language.
- “Reading” settings contain the pages and post information and set the home page, blog page, number of posts visible on the blog page, and so on.
- The “Discussion” settings contain information and basic settings related to the discussion or comment section.
- “Media” settings contain basic settings related to media such as thumbnail size, image size, quality, and many more.
- “Permalink” settings manage the WordPress permalinks.
- “Privacy” settings manage website policy used to create and manage policy pages:
That’s all about the WordPress dashboard.
Conclusion
To access the WordPress dashboard, first, start the local server manager such as Xampp or Wamp. After that, navigate to “http://localhost/<Website-Name>/wp-login.php” Url to open the WordPress login page. Next, provide the login credentials and access the WordPress dashboard. Upon doing so, WordPress will appear on the screen with different options such as Posts, Pages, Media, Comments, Plugins, Appearance, Users, Tools, and Settings. This blog has provided the complete detail on the WordPress dashboard and how to access it.
Source: linuxhint.com