How Install to Java in Windows 11
In this article, we will learn about the complete method with detailed instructions for the installation process of Java in Windows11. Java installation is a whole procedure that has steps to perform for the settings management to use for Java for functioning. This tutorial will be really helpful for the Java programmers who do not understand the Java’s new features in Windows 11 and want to understand it in a simple and understandable manner.
Why Does the Recommendation of Java “8” Hyped Up?
The most important reason that we can choose all of them is the LTS (long-term support) version because not all the Java versions have an LTS version in it. Java 8 is the best option for running the applications on the system that are installed separately. The operating system works fine on them as well. If we talk about the performance and speed, Java 8 comes first as it is faster and tunes for the work performances. There are multiple reasons by which the Java 8 is supposed to be the best version and is recommended for the better performance and liability of speed running though that improves the productivity of the user.
Still, Java 11 is here but the most used is the Java 8 because of its great functionality and features that makes the users don’t want to update to any other Java version.
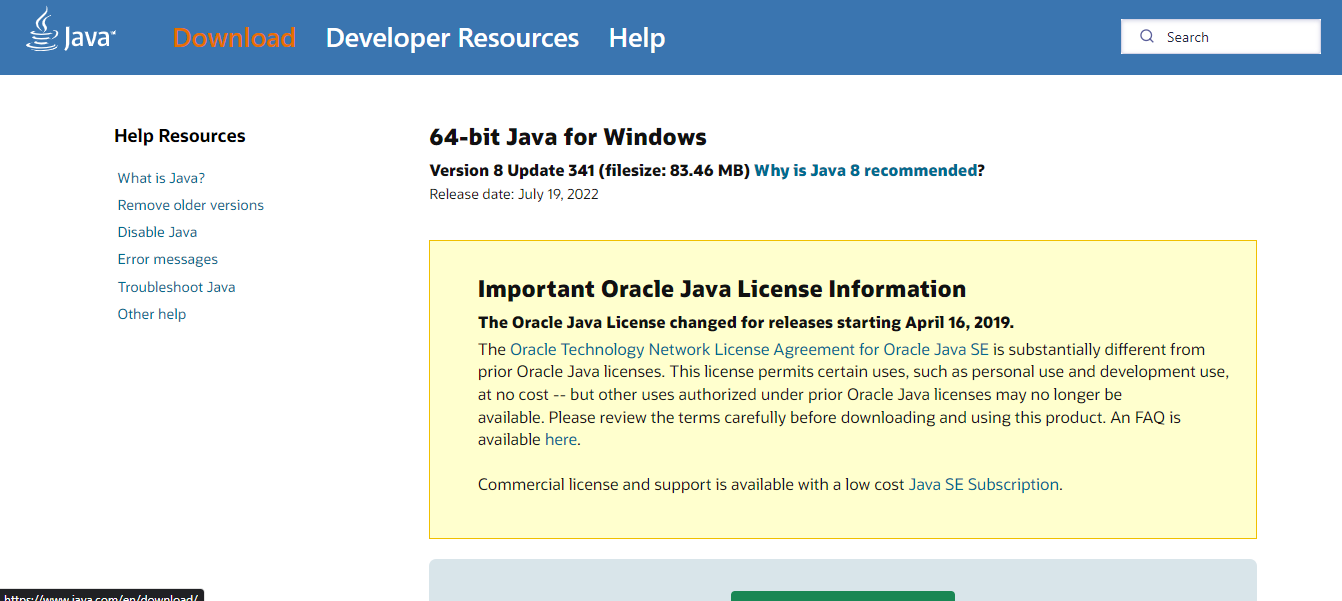
Downloading Java for Windows 11
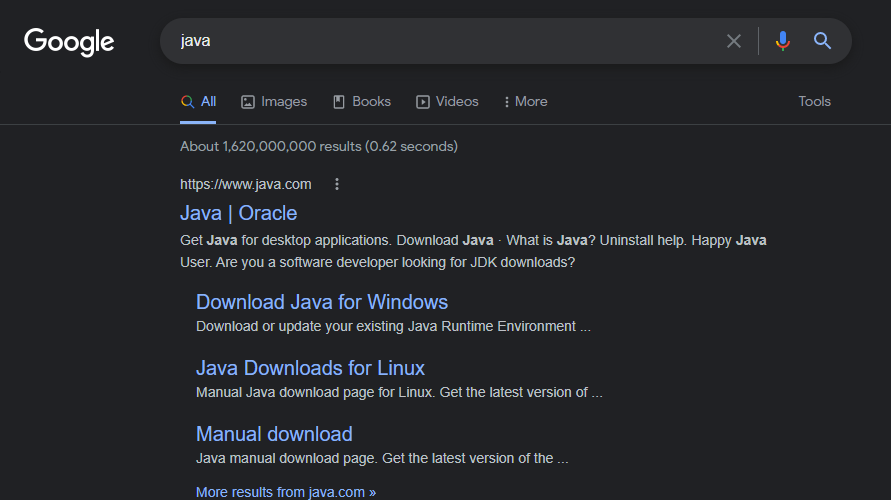
As we have to install Java on Windows 11, do we have to download Java first on Windows 11? To download the oracle, the website has the “17.0.1” development kit that is available for downloading for Linux, Windows, and mac. Also, the new versions are released in time, but the process of the installation is the same.
For the version selection, just go to the oracle website for downloading and choose the latest version available in Java and get it to download. Generally talking about the version, download the Windows Java version “java x64” or the “Java x64 MSI”. Choose from one of these two installers.
The JDK software development kit is required for the creation and compilation of the activities supported version of Java. Windows keeps the security prioritized so it can prevent from downloading Java for security purposes. Don’t worry about this, we just have to turn off all of the malware software manually from the settings until the installation is done.
Once the installation is done, we can turn on the antiviruses to protect our system again. The Java program does not strict on that. The websites used to download the needed security to protect it from any kind of disturbance to happen in the system by any other system.
Checking the Java Installation in the System
First, we check whether Java is installed or not in our Windows 11. The following are the methods that we can follow for the installation of Java:
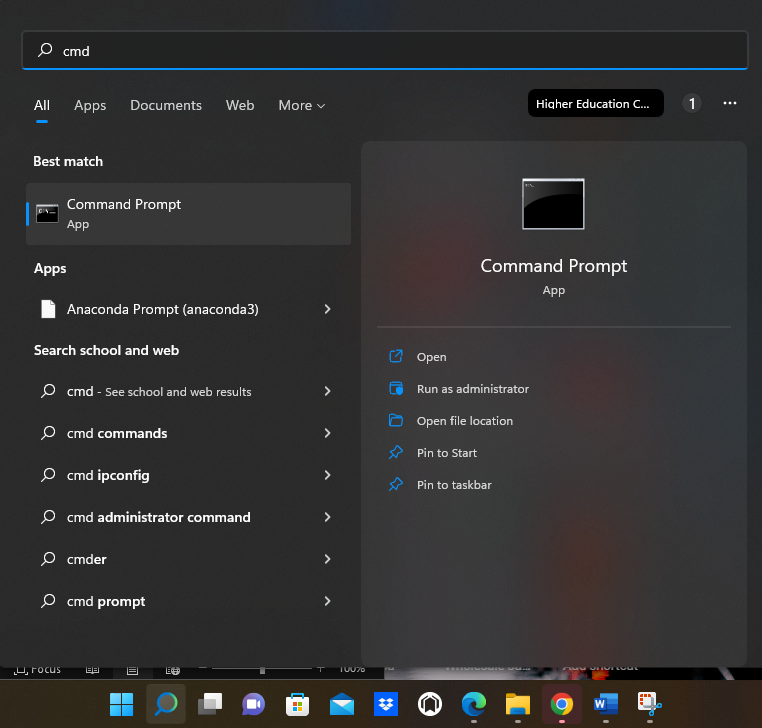
Step #1:
Open the utility in Windows for that search “utility” in the search bar in the start menu. Or use the “window + s” keys to open the utility.
Step #2:
Search the cmd (command prompt) and press enter.
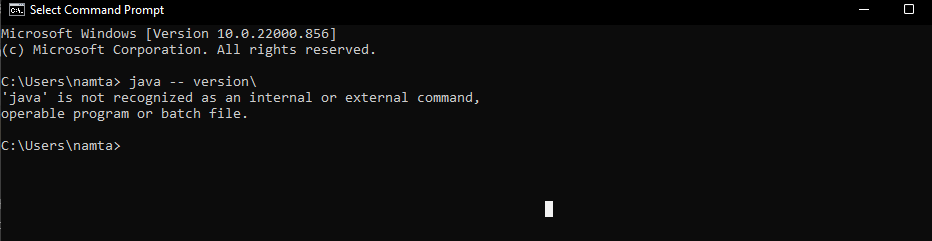
Step #3:
In the cmd (the command prompt window), write the “java – – version” and press the “enter” key. A comment will appear that gives the information about Java that it’s installed and will show the version installed, too. Otherwise, the second condition is that we will get a message as “not recognized Java (internal or external)”. That comment means that Java is not installed in the system.
Where Will the Java Folder be Located in Windows 11
The path for the Java installation on Windows11 is located in the “folder C”. The complete path is “C:\ProgramFiles\Java\jdk-version-number\”. We can easily find it in the file folder location. The default location is “C” but that does not mean that we cannot change its location. We can relocate the Java wherever we feel it should be in the system that is convenient to us.

Procedure for the Installation of Java in Windows 11
Here, we will discuss the procedure for the Windows 11 Java application installation. Follow up on the step-by-step instructions for the successful installation of Java in Windows 11.
Step #1:
First, we have to go to the genuine website of Java by searching for the downloading process. Then, as we download for Windows, go to the Windows tab in the download options. To date, the newest version available should be downloaded.
Step #2:
In the Windows installer, there are options available for the four types of installation packs which are “java x64”, “java x64 compressed”, and “MSI java x64” installer. The one that we choose here is the “java x64” installer for this installation.
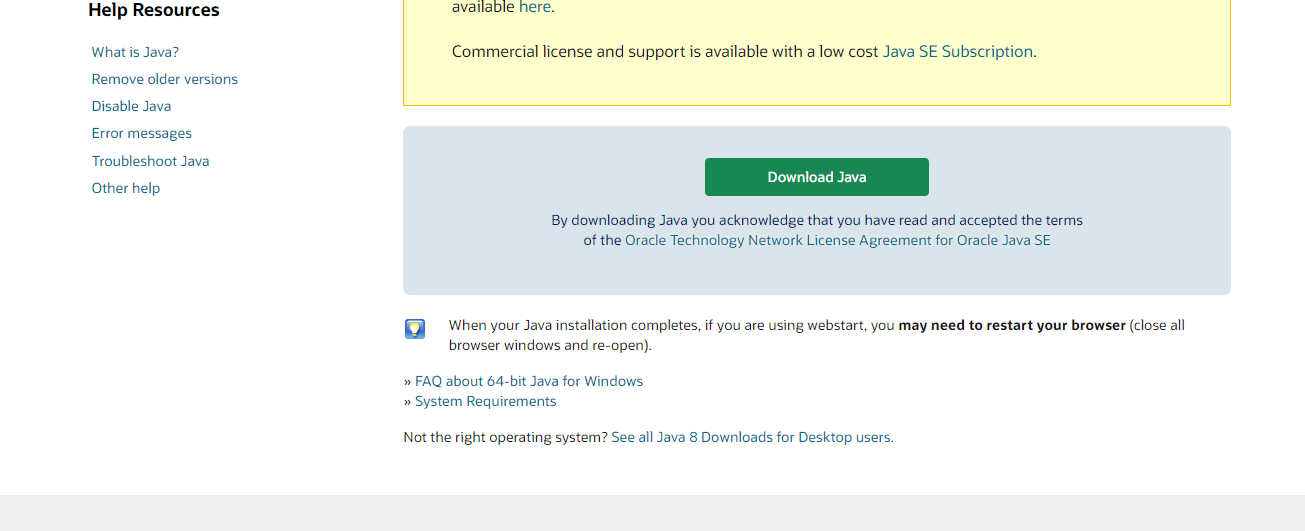
Click the download button which is shown in the following image to download Java in Windows 11.
Step #3:
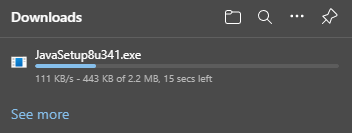
Wait for a while for the installer to complete the download. After that, click the file explorer and click on the running of the installer that we just downloaded. The wizard set up page will pop up. Click on the “next” to continue the process.
The installation starts from this window:
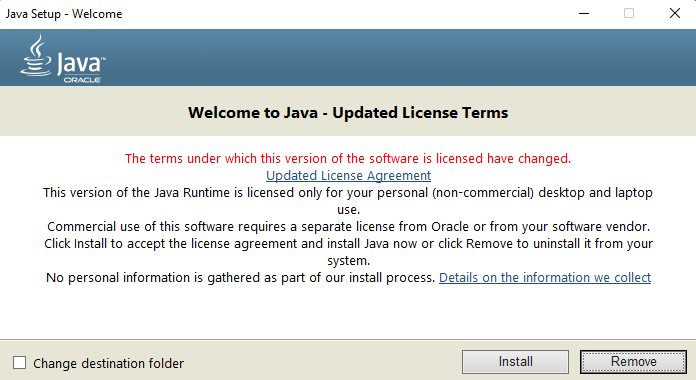
Step #4:
Now, another page will appear. We can now change the path by clicking on the “change” button as we want our installation of the program to be of that setting. Then, click the “next” button again and wait until it is finished.
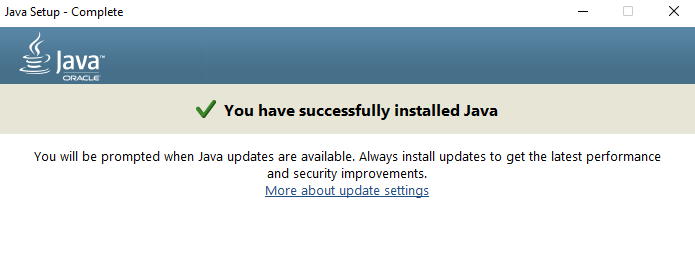
Step #5:
We have now installed Java in our “Windows 11” system. There, we will also get the tutorials on Java as we click the “next”. Those tutorials will help us use the Java application to perform the tasks. We do not need to reboot the system after the installation of Java in Windows 11. But do remember to enable the antivirus that we turned off temporarily for the installation.
Conclusion
As the number of applications come up from time to time, Java is still one of the most used applications for application development of the various programs with the best results performance that everyone is hyped up to use it. We learned the complete tutorial of the Java installation in Windows 11 and the above versions with the descriptions. Java boosts the performance of the applications which is the reason that many applications depend upon the Java language. The “EE” version of Java has more supported functions and features that are advanced. It is the best programming language that is used for the back-end projects of computing which is why the Java language is used in many program development.
Source: linuxhint.com