How Do I Record Audio on Ubuntu?
This post pens down a brief description of how I record audio on Ubuntu using the following software packages:
Method 1: Using the “Gnome Sound Recorder” Application
The “Sound Recorder” is one of the most well-known gnome applications. It is used to record audio continuously for up to three hours. It has a simple and efficient interface that offers a straightforward process to perform this task.
How to Install Gnome Sound Recorder?
Simply use the “apt” default package manager to install the “gnome-sound-recorder” in Ubuntu:
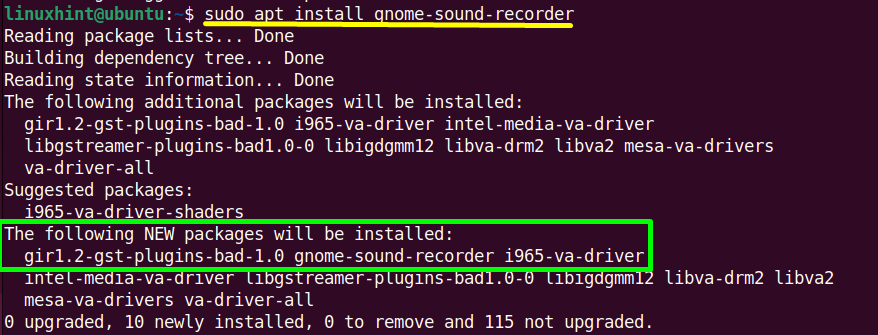
The “gnome-sound-recorder” has been installed in Ubuntu.
Recording Audio Using Gnome-Sound-Recorder
The steps provided here demonstrate the usage of the “GNOME Sound Recorder” on Ubuntu to record audio on Linux:
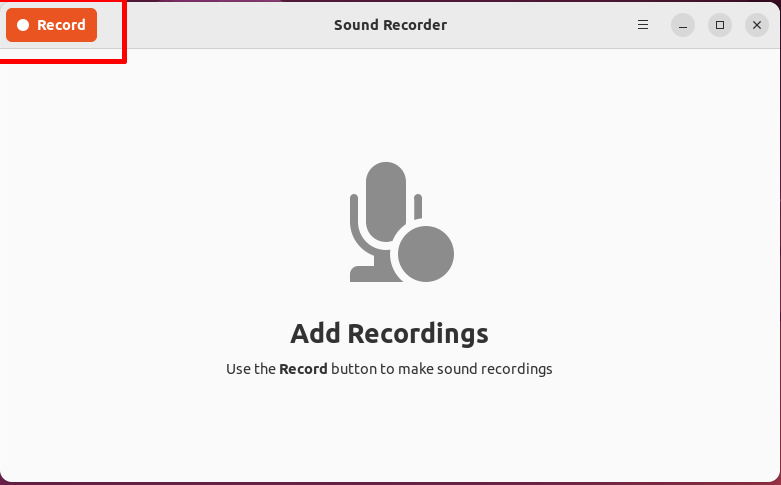
Step 1: Open Sound Recorder
Type the “gnome-sound-recorder” in the terminal and hit the “Enter” key. It will open up the “sound recorder” tool having an interface like this:
Step 2: Record Audio
Click on the highlighted “Record” button located in the left top corner to start recording the audio using the microphone:
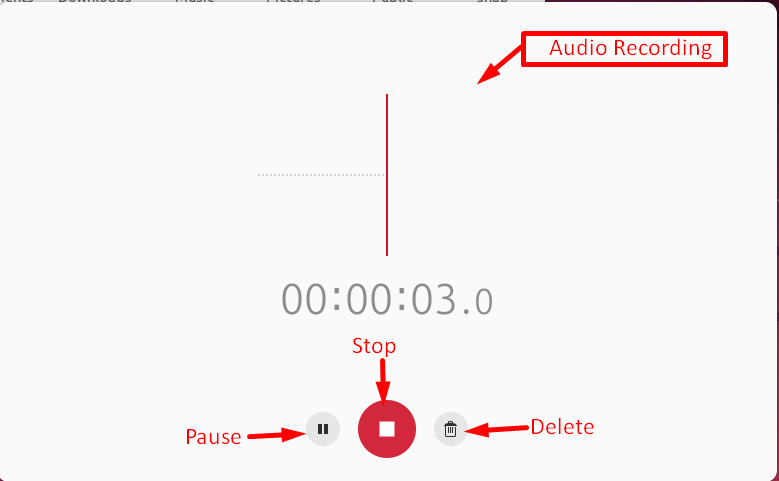
The audio recording has been started, and it can be managed through “Stop”, “Pause”, and “Discord/Delete” buttons.
Step 3: Save and Download the Recorded Audio
Tap on the “Stop” button and the recorded audio will be stopped. It will pop up a new window like this:
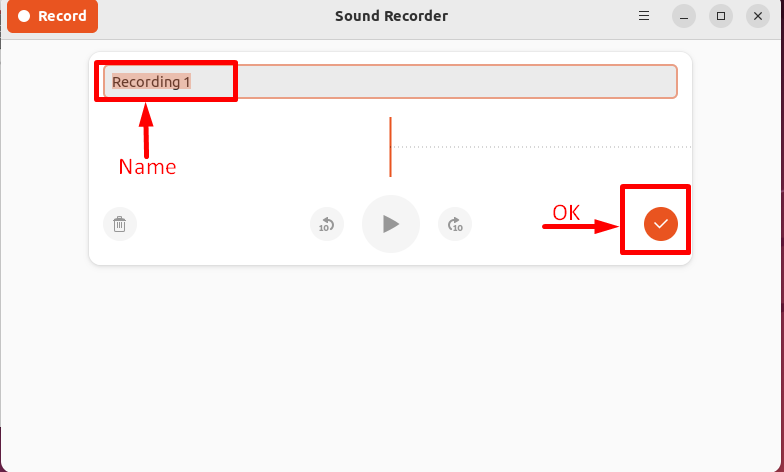
The user can change the name of the audio as per requirements. After that hit the “OK/Save” button to save it into its own interface:
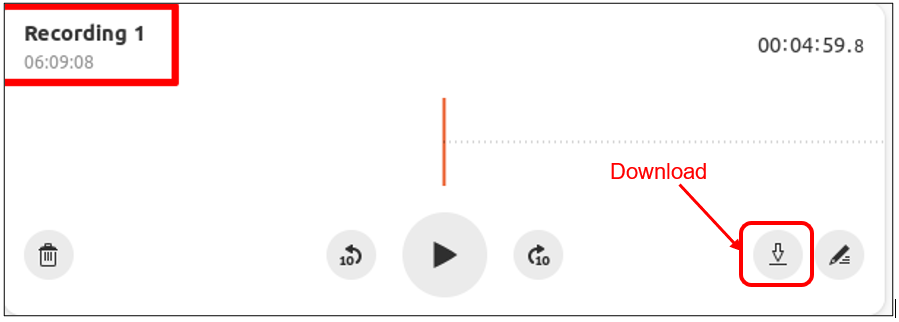
The “Recording 1” has shown in the top left corner. Click on the “Download” button to “Export” it into the desired i.e., “Music” folder:
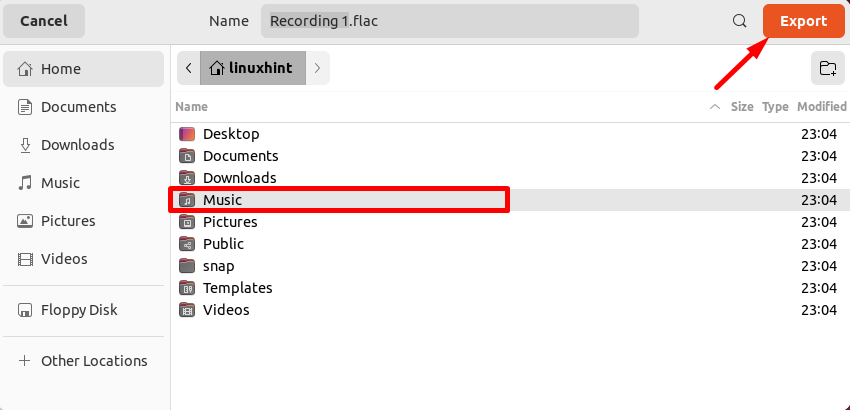
The “Recording 1” has been downloaded into the “Music” folder:

How to Remove Gnome Sound Recorder?
Execute the below-mentioned command to completely (including dependencies) remove the sound recorder application from Ubuntu:
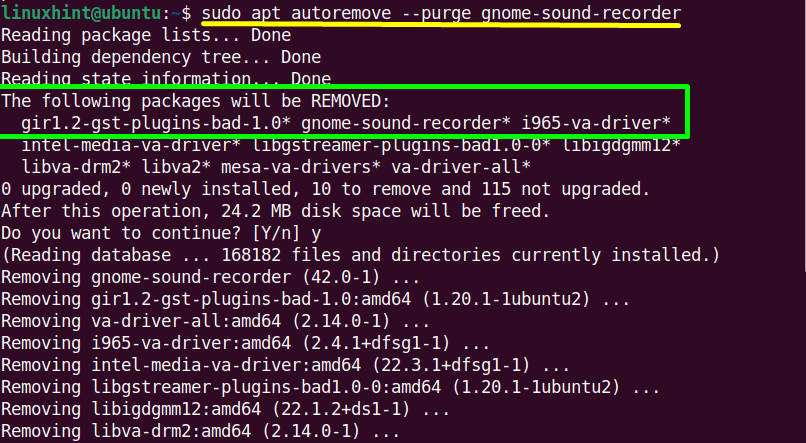
The “gnome-sound-recorder” tool has been removed from Ubuntu.
Note: The “sound recorder” only records the audio/voice from the microphone that’s why it is not suitable for various situations.
Method 2: Using the “Audio Recorder” Application
The “Audio Recorder” is a free and open-source audio recording tool in the Ubuntu operating system. It records audio in different situations like in video calling on skype and many others.
How to Install Audio Recorder?
Follow the steps provided below to install this useful utility and then use:
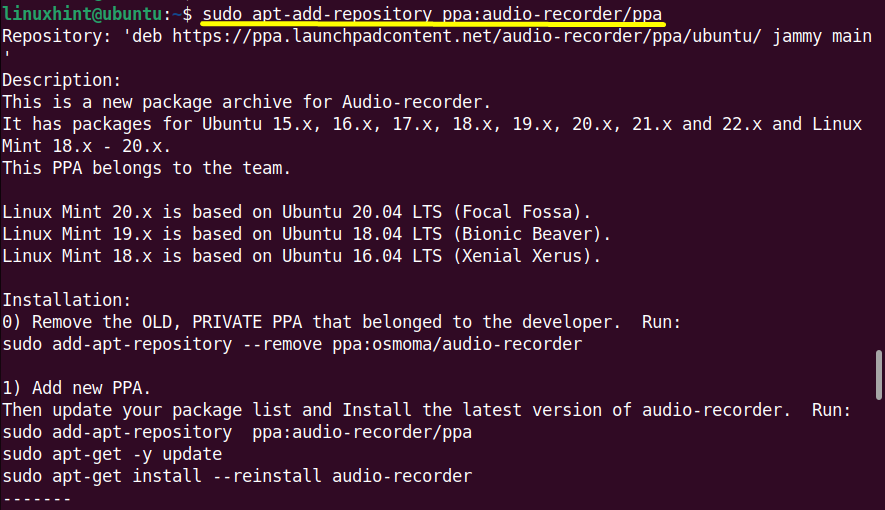
Step 1: Add PPA Repository
First, add its official PPA repository because it is not present in the “Ubuntu” default repository. To perform this operation, execute this command:
Step 2: Install Audio Recorder
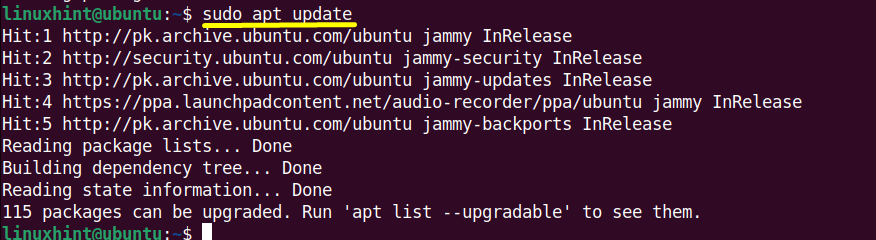
Next, update the Ubuntu system to get the updated list of the available packages present in the repositories:
Now, install it using the command:
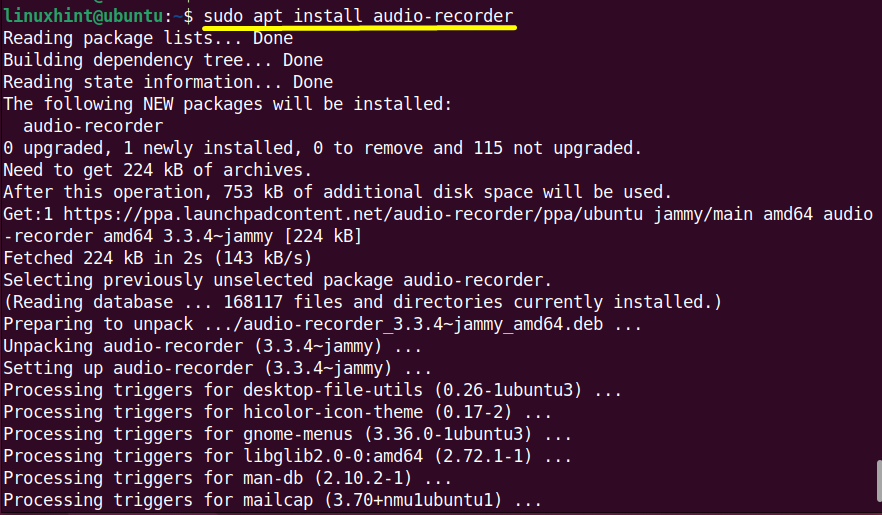
The “audio recorder” has been successfully installed in Ubuntu.
Recording Audio Using Audio-Recorder
The “audio recorder” application can be easily used and launched using the specified guidelines.
Step 1: Launch Audio Recorder
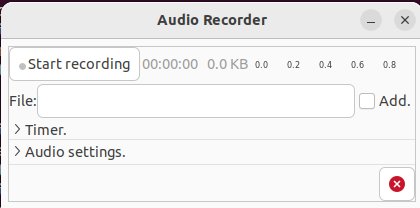
Launch the app by simply writing the “audio-recorder” name in the terminal and pressing the “Enter” key to launch it showing the simple interface:
Step 2: Start Recording
Hit on the “Start Recording” button. It will start the audio recording quickly:

Step 3: Save the Recorded Audio
Click on the “Stop Recording” button to stop the audio:

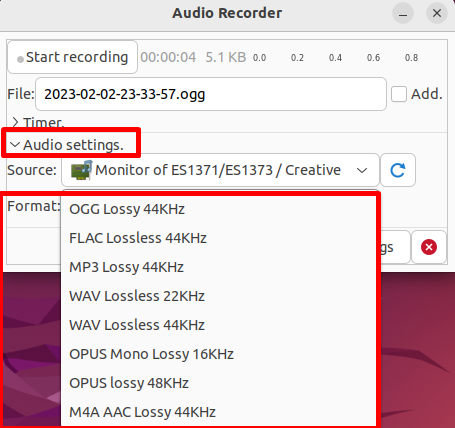
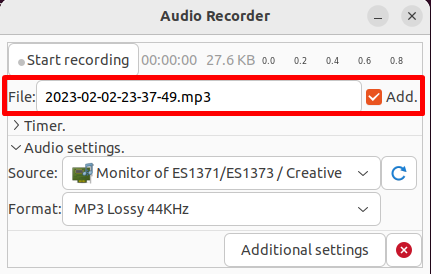
The user can save the recorded audio in different formats like “FLAC”, “SPX”, “MP3” and so on by utilizing the “Audio settings” drop-down list:
The recorded file follows the filename format “year-month-date-hours-minutes-seconds”. Mark the “Add” checkbox to save:
The above-recorded file will be saved in the “Audio” directory inside the “home” directory as shown below:

How to Remove Audio Recorder?
When the audio is recorded type the “autoremove” command for the uninstallation/removal of “audio recorder” from Ubuntu:
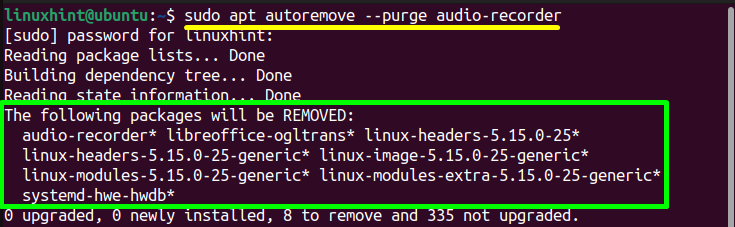
The “Audio Recorder” application has been removed from Ubuntu.
Conclusion
In Ubuntu, the “Gnome-Sound-Recorder” and the “Audio Recorder” applications are used to record the audio. The “Gnome Sound Recorder” is a simple tool to record audio using a microphone while the “Audio Recorder” records audio from various sources. This post has listed possible aspects of how I record audio on Ubuntu.
Source: linuxhint.com