How do I Connect my EC2 to Load Balancer?
Let’s start with the connection of the EC2 instance to the load balancer.
How to Create a Load Balancer?
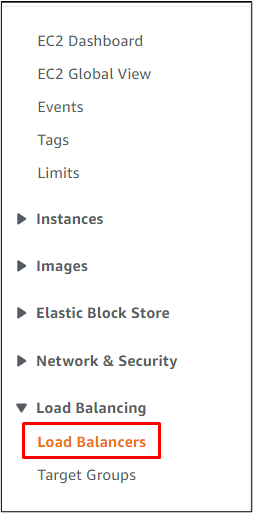
Visit the EC2 dashboard and click on the “Load Balancers” link from the left panel:
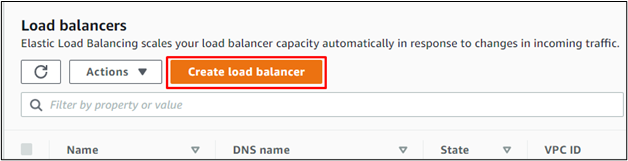
Click on the “Create load balancer” button to be directed to the configuration page:
Select the type of load balancer according to the requirements:
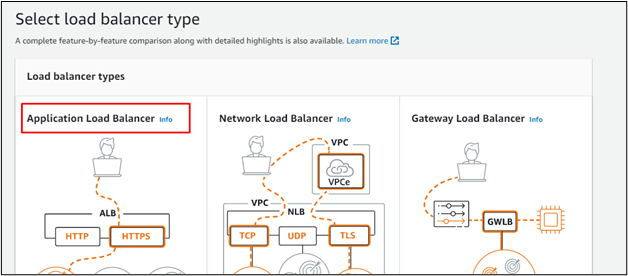
Simply click on the “Create” button for the selected type of load balancer:

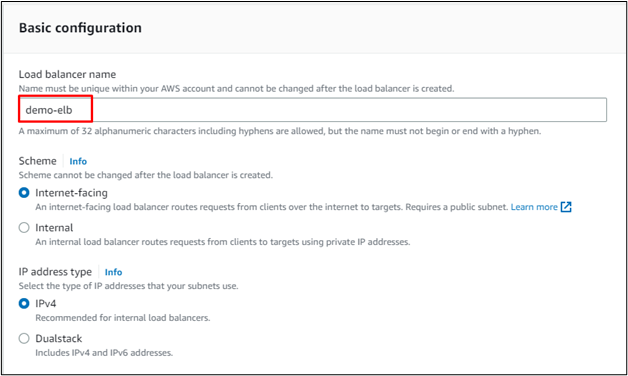
Type the name of the load balancer:
Choose the VPC to be connected to the load balancer and mark the checkbox for the “Availability Zones” available in the Mappings section:
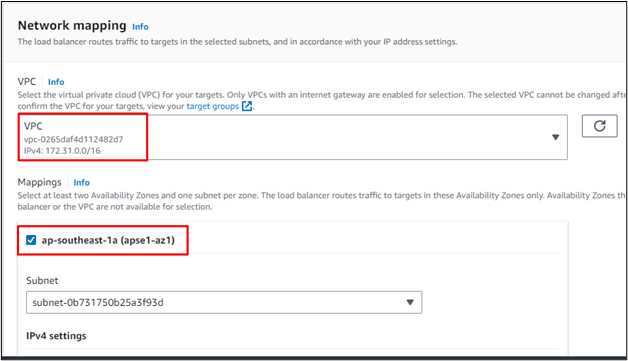
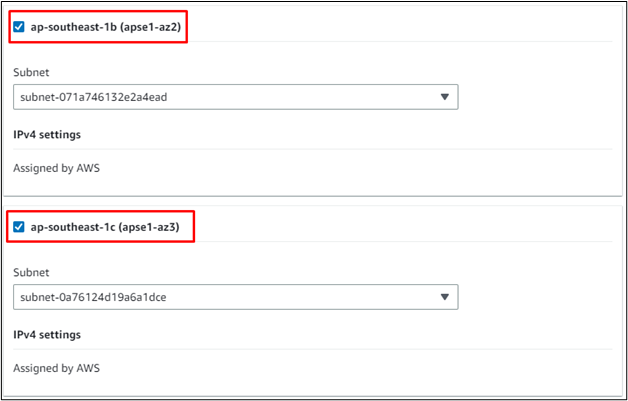
It is required to tick at least two of the checkboxes for the AZs:
How to Create a Security Group?
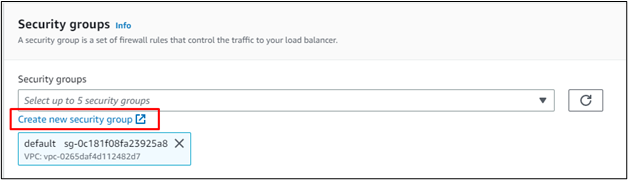
Scroll down the page to locate the security groups section and click on the “Create new security group” link:
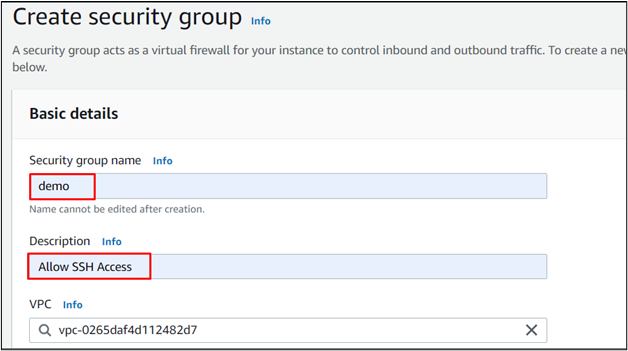
Type the name and the description of the security group:
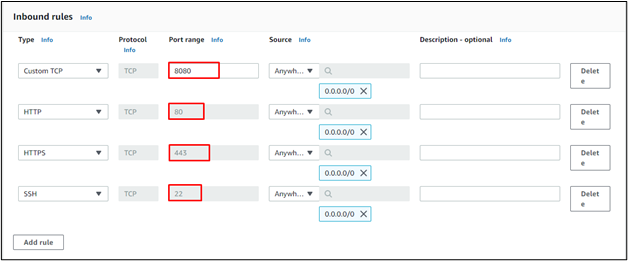
Edit the Inbound rules by clicking on the “Add rule” button. Allow ports “8080”, “80”, “443”, and “22” to get traffic from anywhere on the internet:
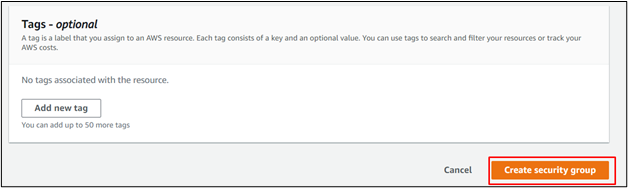
Scroll down to the bottom of the page to click on the “Create security group” button:
Head back to the Load Balancer configuration page and select the created security group:

How to Create a Target Group?
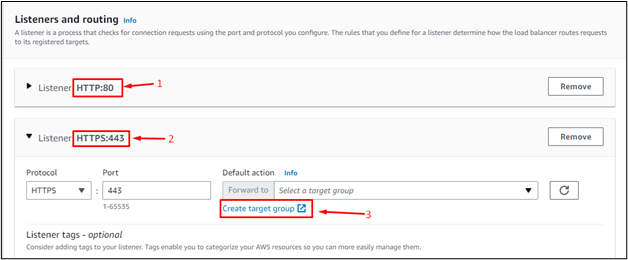
Scroll down the page and click on the “Add listener” button from the Listener section:
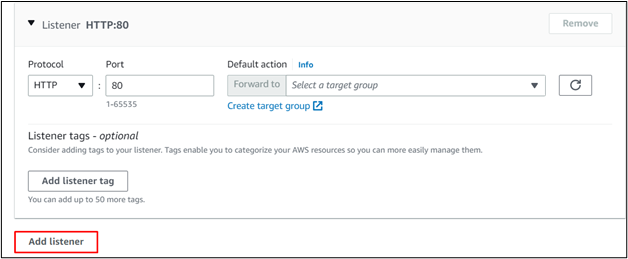
Add HTTP listener and click on the “Create target group” link to open a new tab:
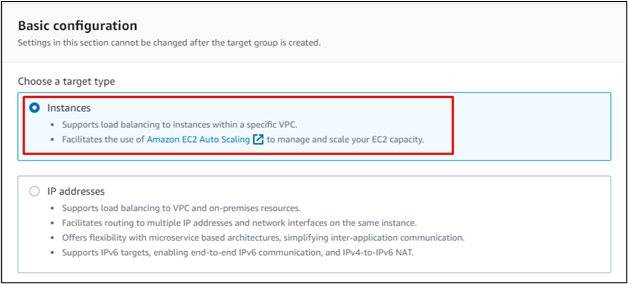
Select the “Instances” as the target for the load balancer:
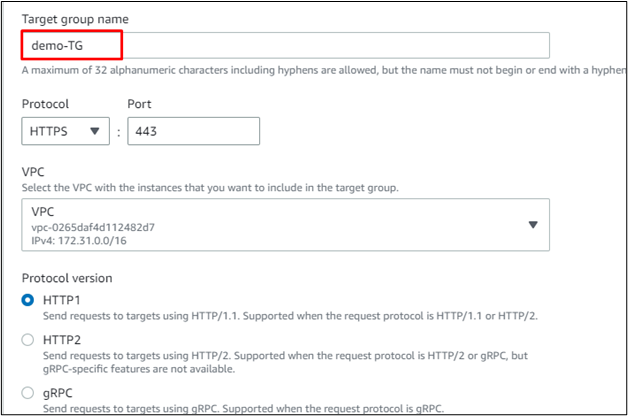
Enter the name of the target group:
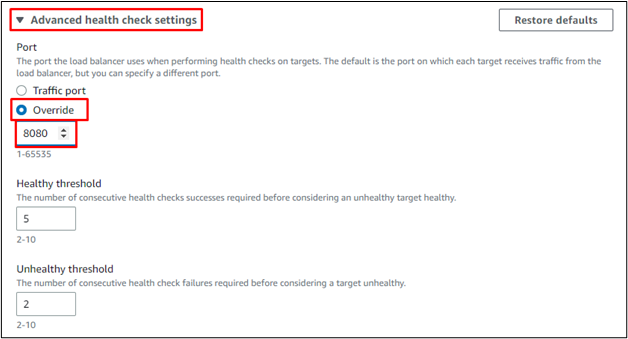
Scroll down to expand the “Advanced health check settings” section to select the “Override” option and type “8080” for the port:
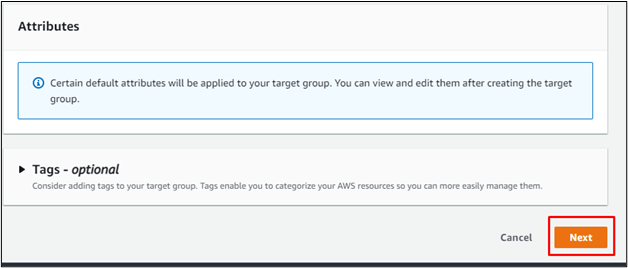
Click on the “Next” button from the bottom of the page:
How to Connect EC2 to Load Balancer?
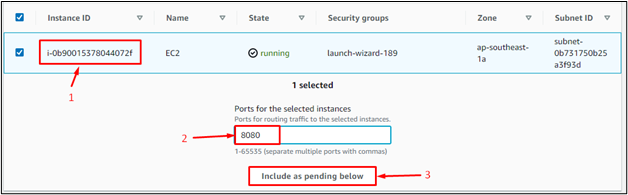
Select the EC2 instance and provide the port number to include the instance as a target group:
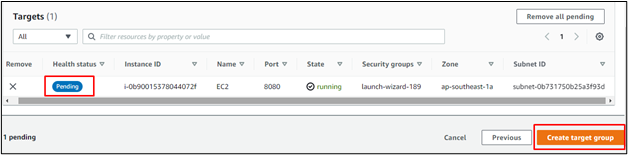
Scroll down the page which contains the selected EC2 instance in “Pending” status and then click on the “Create target group” button:
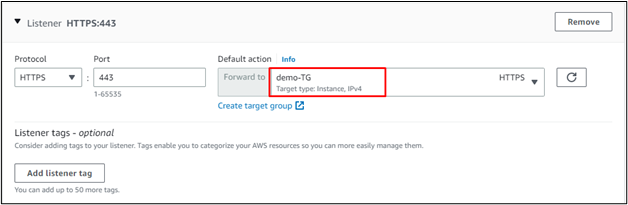
Head back to the load balancer page and select the Target group created in the previous step:
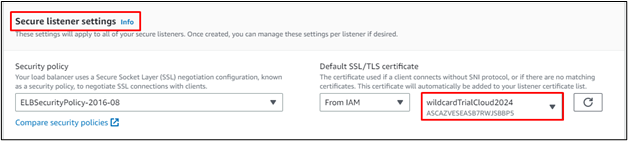
Locate the “Secure listener settings” section and provide SSL/TLS certificate:
Review the configurations and click on the “Create load balancer” button:
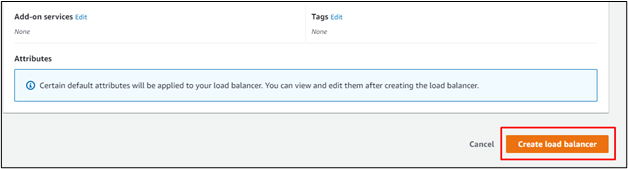
The load balancer has been created successfully:

How to Verify the Connection With EC2 Instance?
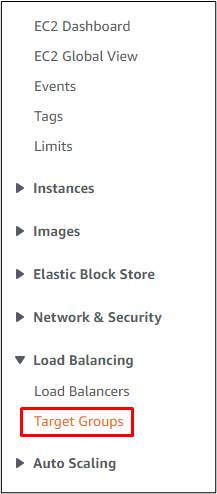
To verify that the EC2 instance is connected to the load balancer, click on the “Target Groups” page from the left panel:
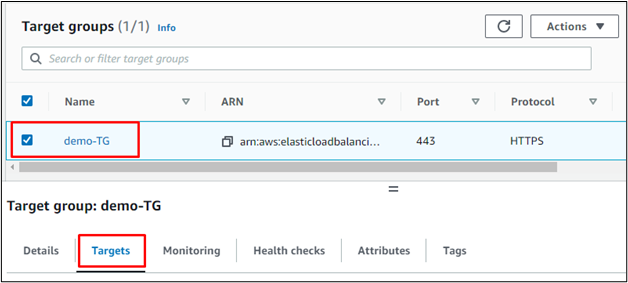
Select the target group and head into the “Targets” section:
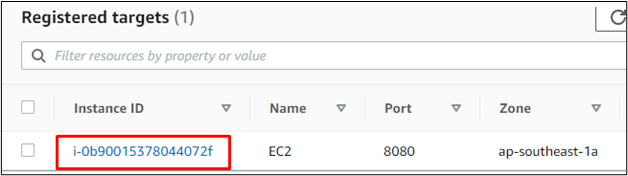
The EC2 instance is placed as a registered target with port 8080 as a listener port:
This was all about connecting the EC2 instance to the load balancer.
Conclusion
To connect EC2 to the load balance, visit the Load Balancers page from the EC2 dashboard and select the type of load balancer. Configure the load balancer by providing the security groups and listener ports to get traffic. Configure the target group by attaching an EC2 instance and then add it to the load balancer. After creating the load balancer, visit the target groups page to verify that the EC2 instance is connected to it. This blog guided about the method for connecting the EC2 to load balancer.
Source: linuxhint.com