How and When to Perform a git clone depth 1 Example
Sometimes, it can be problematic while working with repositories containing large binary files or with a long history, especially when developers are required to download it every time.
This study will explain
Let’s move ahead and learn about the above-mentioned points!
What is a git clone depth 1?
The git clone depth 1 helps software developers to have a full Git commit history along with the capability to check any Git branch utilized for parallel feature development while programming. However, automation scripts and ongoing integration build rarely require a full commit history. Developers only need a single commit on a specific Git branch and any associated Git sub modules. Hence, this is what a git depth 1 delivers.
Example: How to Execute a git clone depth 1?
To perform a git clone depth 1, first, go to the GitHub account, copy the specific repository HTTP URL to the clipboard, and open up the Git bash terminal. Then, navigate to the Git directory and set the remote URL using the “$ git remote set-url origin <url>” command. After that, run the “$ git remote -v” command to verify the update remote URL. Lastly, execute the “$ git clone –depth 1 <url>” command to perform the git clone with one level depth.
Now, go to the below-provided steps to understand the above procedure!
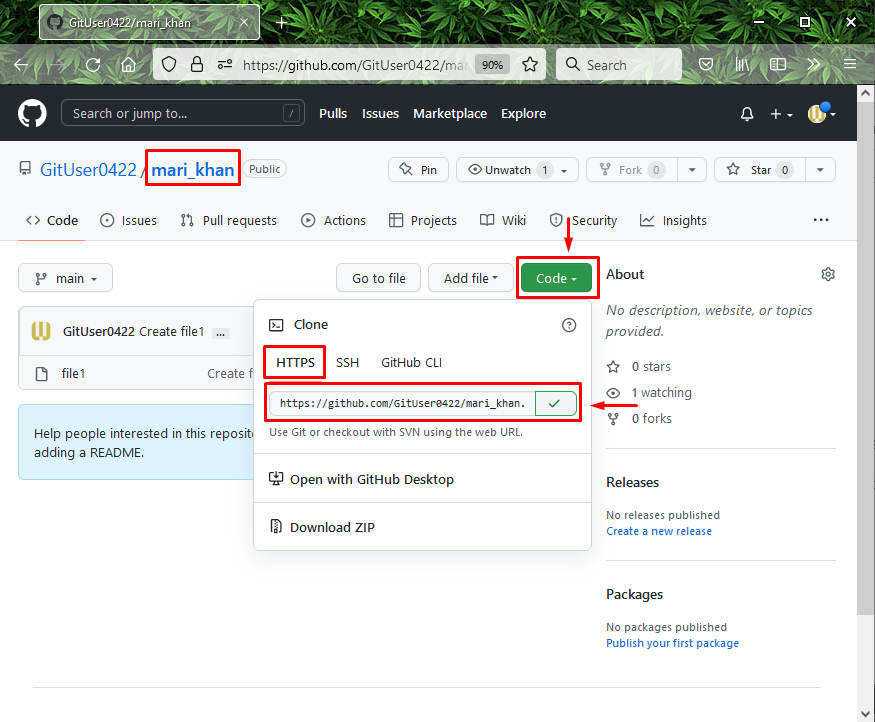
Step 1: Copy Remote URL
First, open up the GitHub account and move to the repository. Then, click on the “Code” button and copy the HTTP URL to the clipboard:
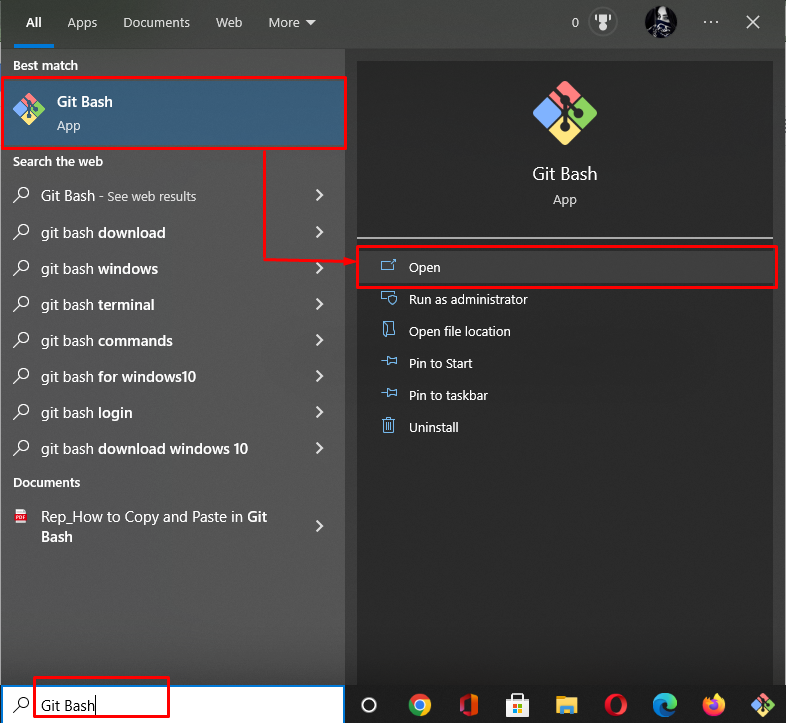
Step 2: Open Git Bash
Next, search and open the Git bash with the help of the “Startup” menu:
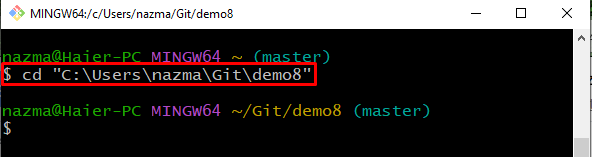
Step 3: Move to Git Local Directory
Now, move to the Git directory with the help of the following command:
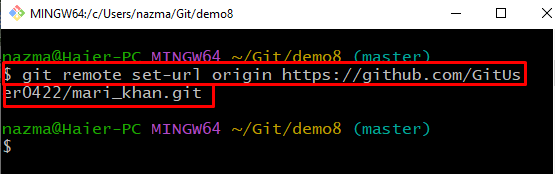
Step 4: Set Remote Origin
Execute the below-provided command to set the remote origin using the copied URL:
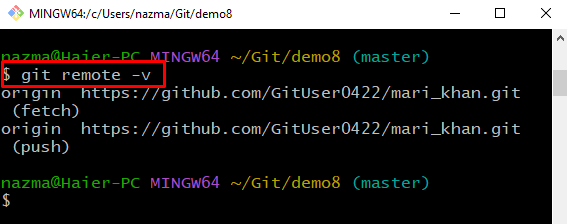
Step 5: Verify Set Remote Origin
Then, verify the set remote origin using the “$ git remote” command with the “-v” option:
As you can see, the remote origin is successfully set according to the provided remote URL:
Step 6: Execute git clone depth 1 Command
Lastly, perform the “git clone” command with “–depth 1” option with the remote repository copied URL:
As you can see, the git clone is performed successfully:

That’s it! We have discussed how and when to perform git clone with the one-level depth.
Conclusion
To perform a git clone depth 1, first, open up GitHub and copy the remote repository URL on the clipboard. Next, launch the Git terminal on the system and move to the local repository. After that, set the remote URL by executing the “$ git remote set-url origin <url>” command. Then, verify the updated remote URL using the “$ git remote -v” command. Lastly, execute the “$ git clone –depth 1 <url>” command to perform the git clone depth 1. In this guide, we have talked about what git clone depth 1 is and how to perform a git clone depth 1 example.
Source: linuxhint.com