Hello World Program in C++ Language
In this Linuxhint article, you’ll learn how to enter the world of programming by taking the first step and creating the “Hello World” program in the C++ language.
We’ll explain the step-by-step guide on how to create a file with the “.cpp” extension to develop a program in the C++ language. We’ll also show you how to compile the code with GPP and run a program from the Linux command line.
Then we’ll show you how to insert the necessary headers and namespaces, create the main() function, and write the “Hello World” program.
How to Create a File with the “.Cpp” Extension to Write a Program in It
Every program in this language starts with a file with the “.cpp” extension in which the main function of the process is written.
To create this file, we need to go into the Linux administrator and right-click on the directory where we want to save it. An “options” menu is then displayed where we left-click on the “Create new document” option and select “Empty document” from the menu that appears.
Once we create the file, we select it, right-click, and choose “Properties” from the pop-up menu.
In “Properties”, we add the “.cpp” extension to the name of the file, accept it, and close it.
How to compile and Run the Code in C++
Compiling and running a program is a necessary step to understand the following examples. Therefore, we’ll show you how to do this task in this section.
To compile a file in the C++ language, we need to open the Linux command console and use the following command syntax:
Like gcc, gpp calls the compiler and compiles the specified file in the path/filename.cpp. The “-o” abbreviation specifies the name of the executable file that results from the compilation.
If the code contains errors, the compiler returns a message for each reported error. If it’s successful, it returns nothing.
To run the output, we must use the following command syntax:
The name of the output must always be preceded by the “./” characters.
How to Include the Necessary Headers and Namespaces
After you create the file, you need to include the headers and namespaces that define the functions that we’ll use.
The library in C++ language are inserted into the program with the following syntax:
In this case, we only use the “iostream” library.
The libraries and namespaces that we use are the first things that the compiler must read. They must appear first before the definitions and the main() function.
The use of a namespace is declared by its identifier which is preceded using the namespace declaration. Next, let’s look at the syntax that is used to declare the use of a namespace.
In this case, the use of the std namespace is declared in the following line of code:
How to Create the Main() Function in C++ to Write the Program Inside It
Every program in the C++ language starts with the main() function. The variables are defined in it, and the headers and namespaces are included. From there, the code is executed which calls the functions and processes the data.
The main() functions can exit and return empty, exit empty and return with data, or vice versa.
In this case, it exits empty and returns the same way. Now, let’s look at the syntax to create such a main() function:
{
}
The compiler processes everything between the two curly braces as part of the main() function.
How to Write a “Hello World” Program Using the Printf() Function in C++
The printf() function is an output function that is part of the standard input and output library iostream. This function prints the string that was sent as an input argument.
In this example we’ll create the “Hello world” program using the C++ printf() function.
To do this, we create and open a file with the “cpp” extension and insert in it the iostream library at the beginning of the code.
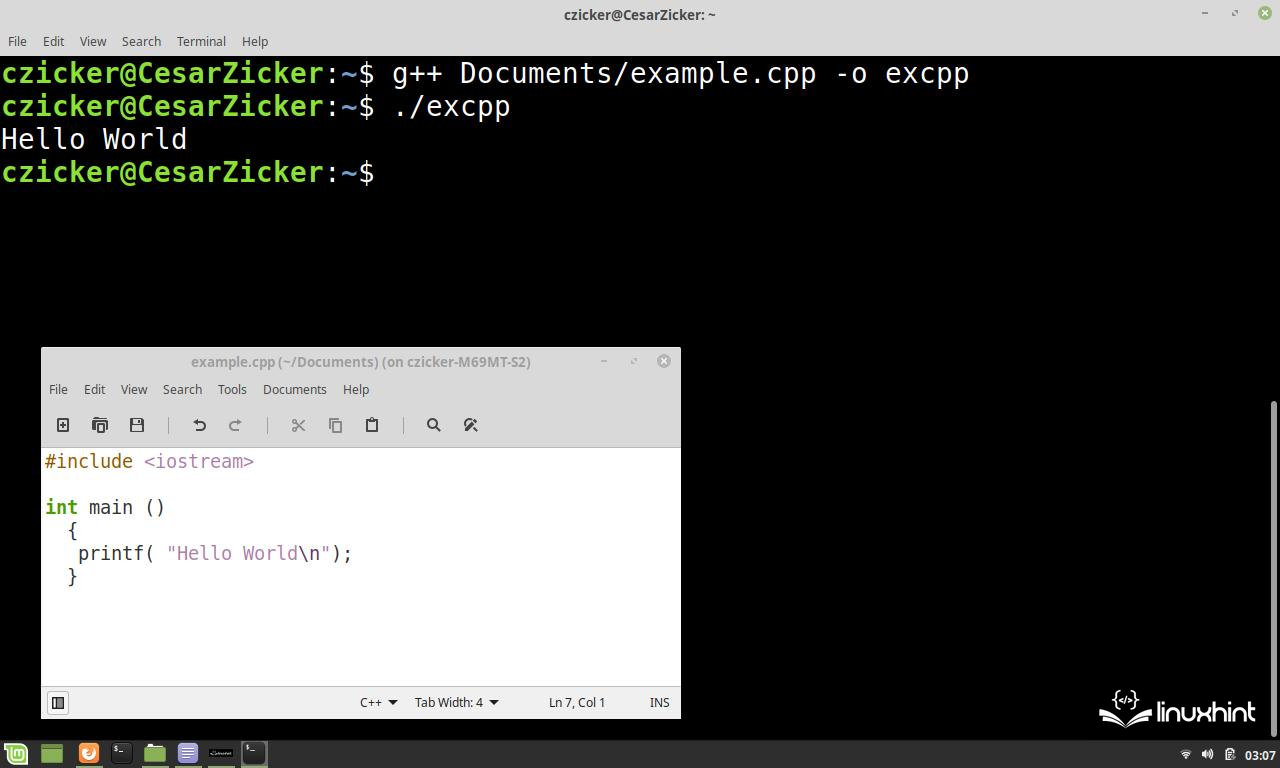
Then, we open an empty main() function and insert in it the printf() code line followed by the “Hello world” string in parentheses. Calling the printf() function with the string as input argument prints its contents to the command console. In the following example, we see the complete program with the call of the printf() function:
The following is an image which shows the compilation and execution of this code. As you can see, the printf() function prints the “Hello world” string to the screen:
How to Write a “Hello World” Program Using the Cout Object in C++
The cout object belongs to the standard namespace and prints the string that follows the << operator on its output. You can also concatenate several strings that must be preceded by this operator. The << endl statement shows the end of the line.
In this example, we’ll create the “Hello world” program using the C++ cout object.
To do this, we create and open a file with the “cpp” extension and insert the std namespace at the beginning of the code.
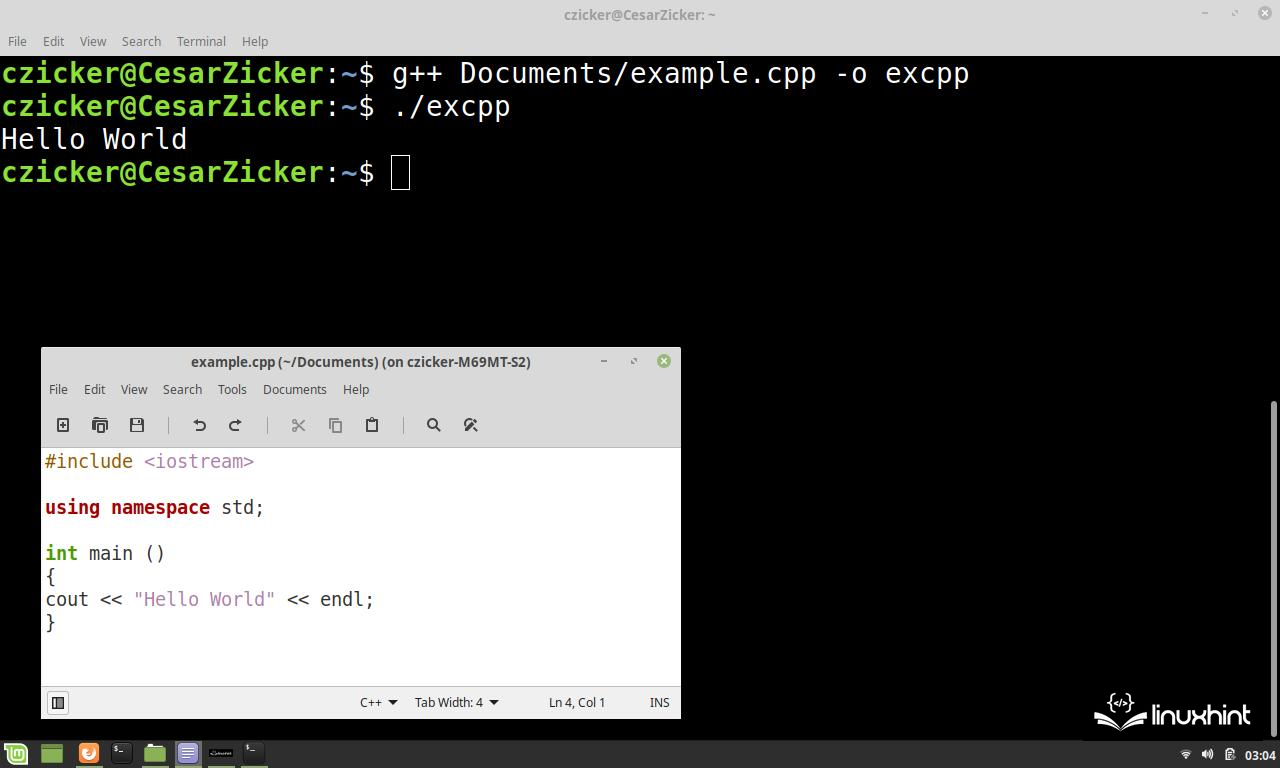
Then, we open an empty main() function. We then add the cout code line in it, followed by the << operator and the “Hello world” string. Let’s look at the complete code for this example in the following:
int main ()
{
cout << "Hello World" << endl;
}
The following figure shows the compilation and execution of the “Hello world” program using the cout object of the C++ standard namespace:
Conclusion
In this Linuxhint article, we explained the step-by-step guide on how to create a “Hello world” program in the C++ language from scratch. To give you the knowledge that you need to create a program, we included several sections that show you how to create a C++ file to write a program, create a main() function, compile it, and run the code from the Linux command console.
Finally, we learned how to create a “Hello World” program with two output methods, and how to implement the printf() function from the iostream library and the cout object from the std namespace.
Source: linuxhint.com