Git Merge Without Auto Commit
In this post, we will explain how to Git merge without auto-commit.
How to Git Merge Without Auto Commit?
To merge the Git branch without auto-commit, utilize the “git merge branch –no-commit” command by following the provided procedure.
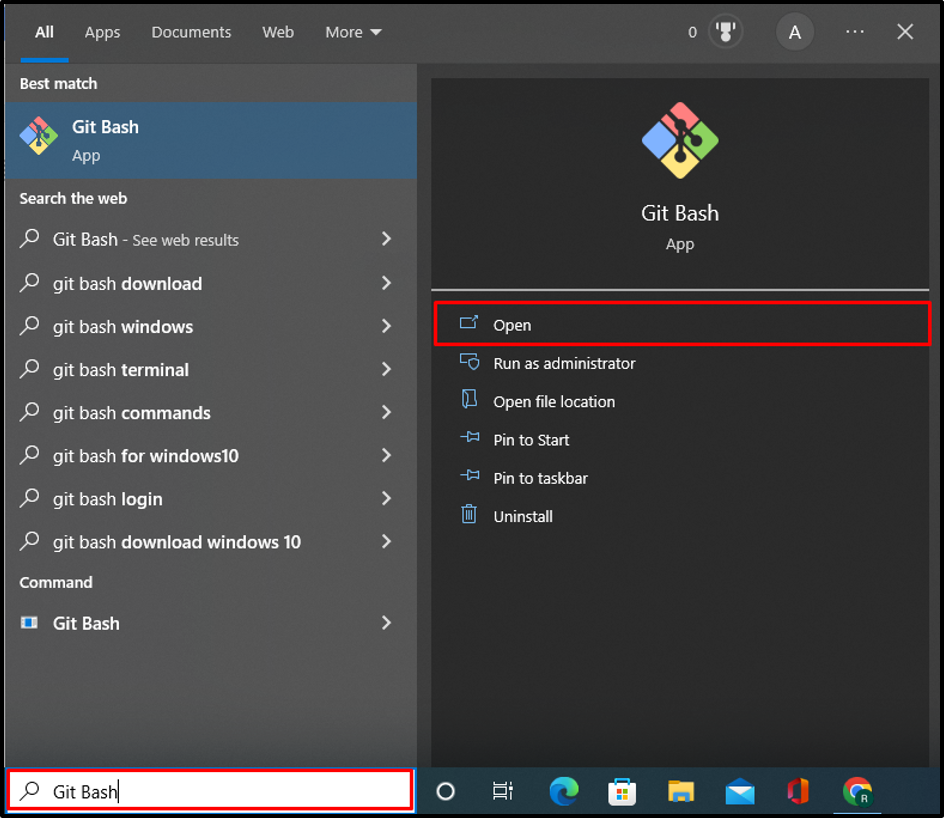
Step 1: Open Git Terminal
From the Windows Startup menu, open the “Git Bash” Git terminal:
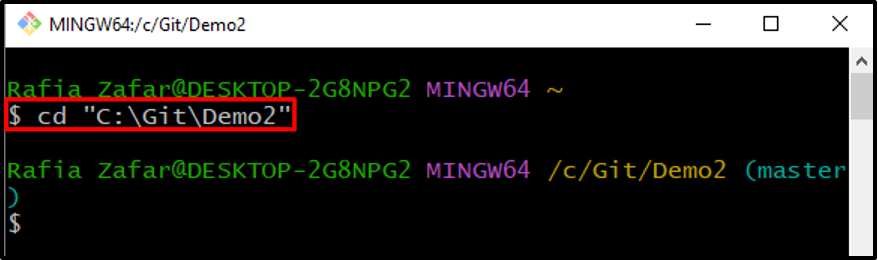
Step 2: Move to Git Repository
Utilize the “cd” command to move to the Git repository:
Step 3: Create New Branch
Create a new branch by executing the “git branch <branch-name>” command:
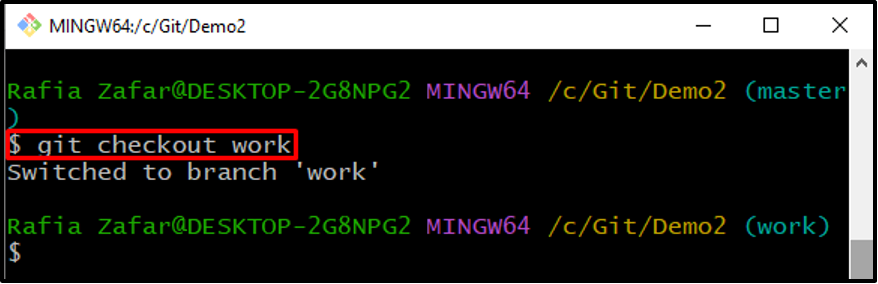
Step 4: Move to New Branch
Switch to the newly created branch through the provided command:
Step 5: Create New File
Use the “touch” command and create a new file:
Step 6: Add File to Tracking Index
Next, add the file to the tracking index using the below-mentioned command:
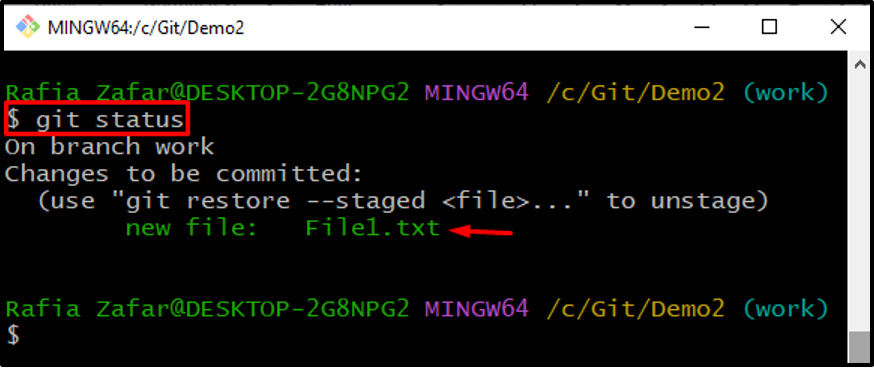
Verify the Git repository state by checking its status and ensure that the untracked changes are added to tracking an index or not:
Step 7: Commit Changes
With the help of the “git commit” command, commit the tracked changes:
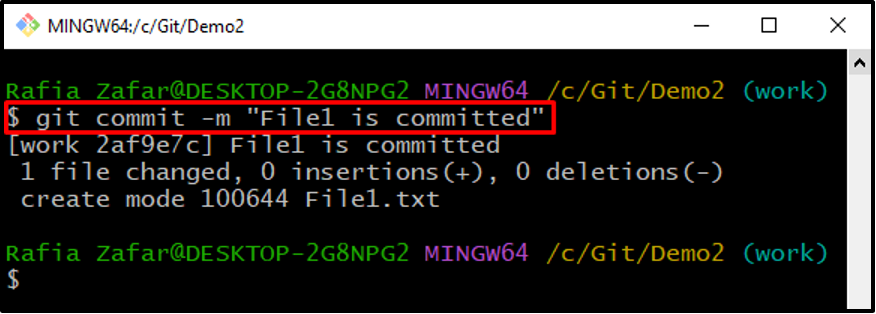
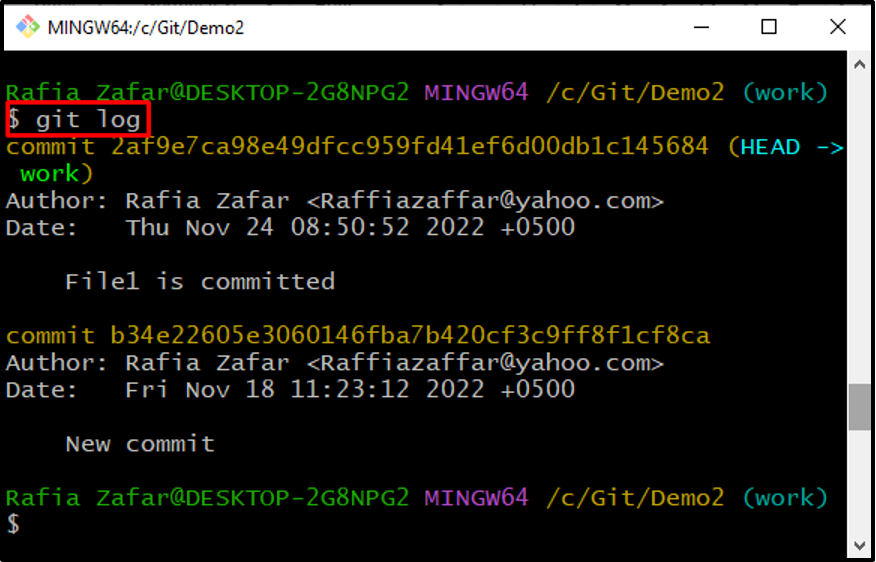
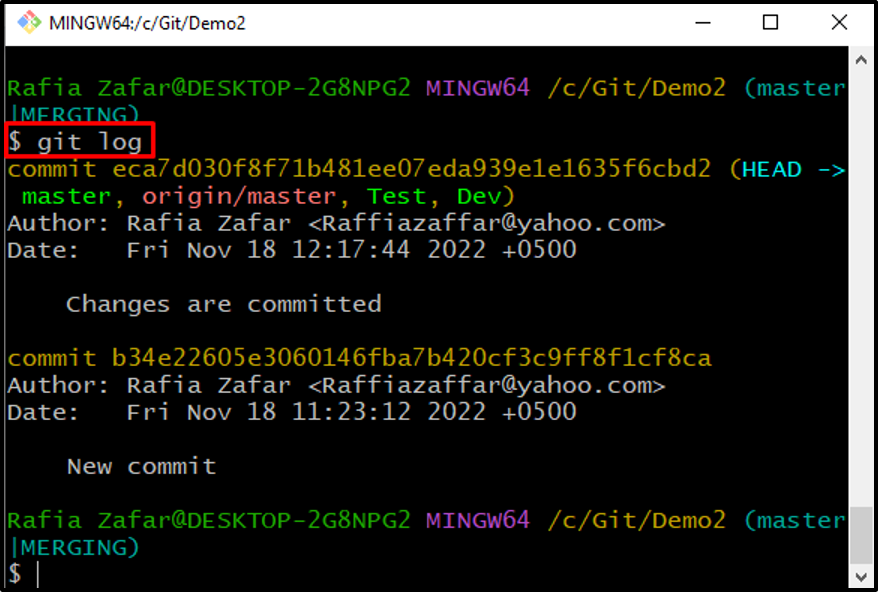
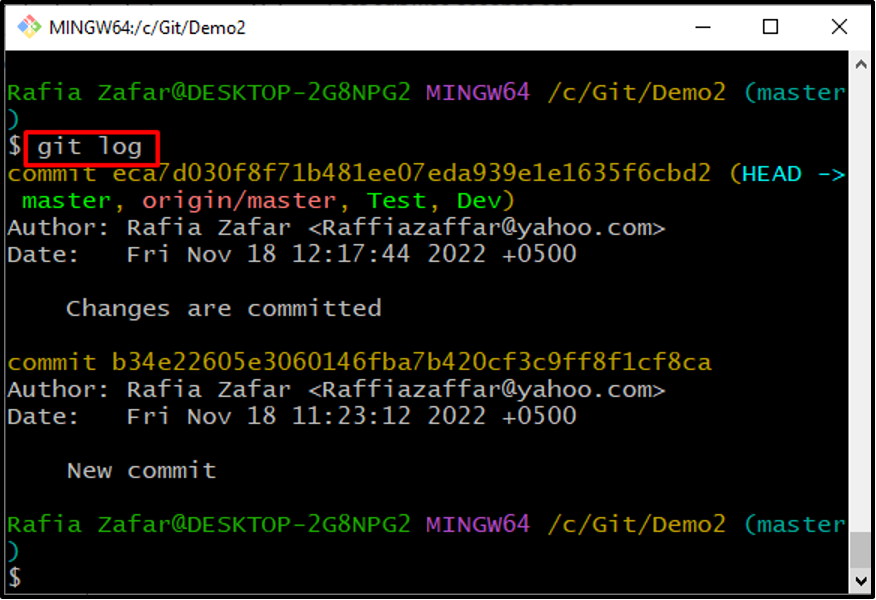
Check the repository log to confirm if the changes are committed or not:
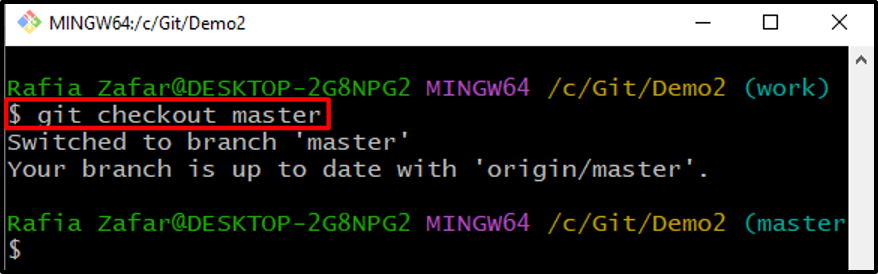
Step 8: Switch to Master Branch
Next, switch to the branch in which you want to merge the new branch using the “git checkout” command. For instance, we have opened a “master” branch:
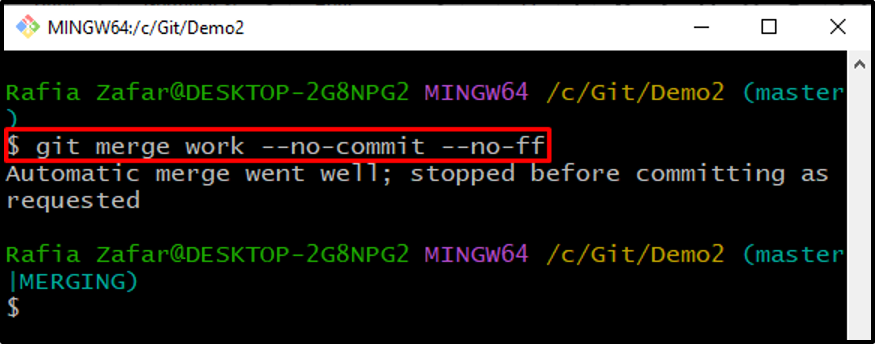
Step 9: Merge Branch
Next, merge the Git branch without an auto-commit:
Check the git log to verify whether the merge commit is generated or not:
The output indicates that we have used the “git merge” command without auto-commit:
Bonus Tip: Remove Commit After Git Merge
To remove commits after Git merge operation without canceling the merge process, you can utilize the “git reset <head reference number>” command. For this purpose, check out the provided instructions.
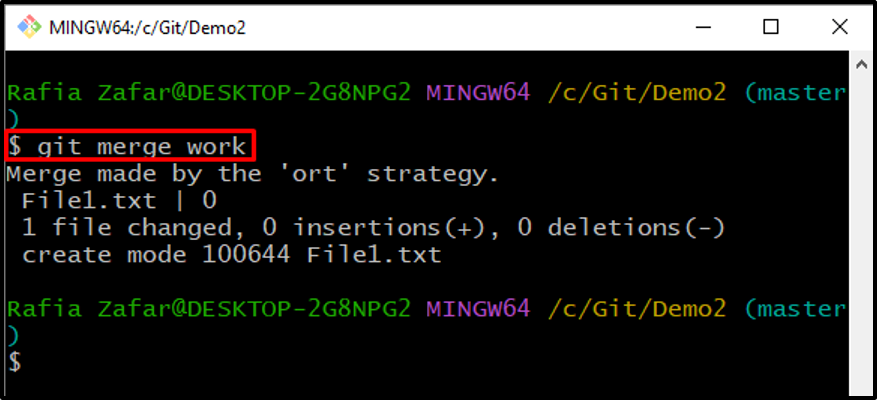
Step 1: Merge Branch
First, merge the branch through the “git merge” command:
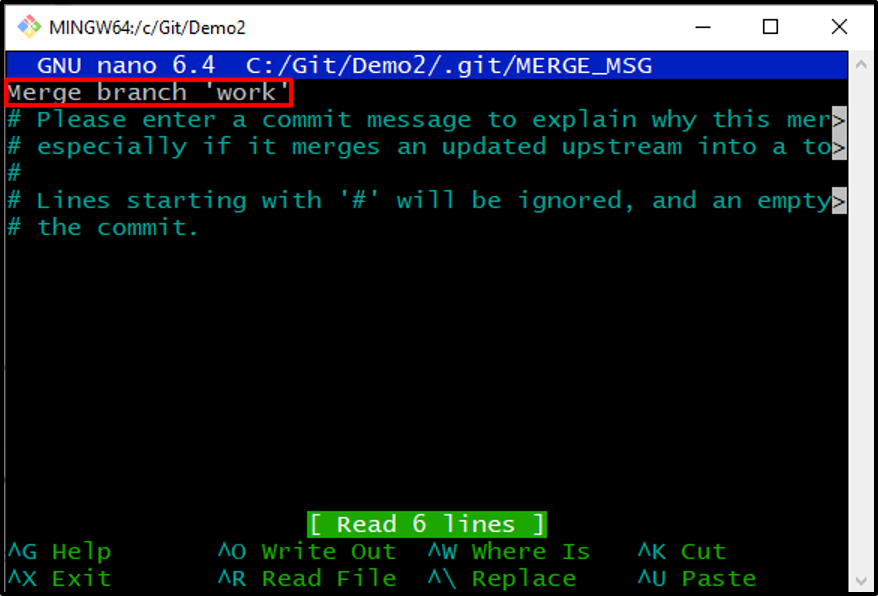
Upon doing so, the text editor will appear on the screen. Edit the commit message and hit the “CTRL+S” key to save the message. Then, press the “CTRL+X” to exit the nano editor:
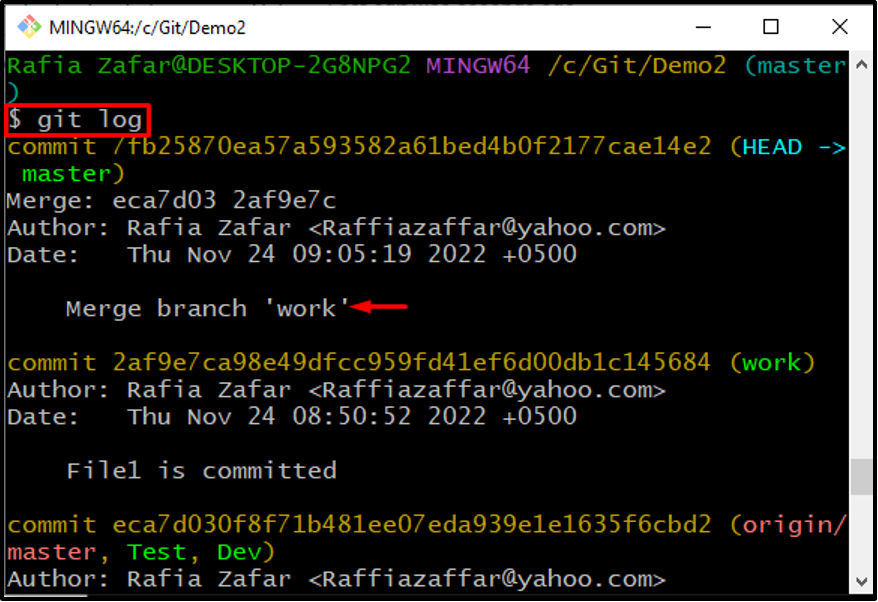
Check the repository logs to confirm whether the commit message is saved or not:
The output shows that we have merged the branch with the commit:
Step 2: Remove Commit Only After Git Merge
Now, remove the commit message after the Git merge by using the “git reset” command:
Again, verify the Git repository log to check if the commit message is removed or not:
Here, you can see we have removed the commit only after the Git merge:
We have demonstrated how to use Git merge without auto-commit.
Conclusion
To use the “git merge” command without auto-commit to merge branches, first open the Git local repository. Switch to the branch in which you want to merge another branch through the “git checkout <branch-name>” command. After that, use the “git merge <branch-name> –no-commit” command to merge the branch without auto-commit. This post has elaborated on how to use the “git merge” without auto-commit.
Source: linuxhint.com