Git Merge hotfix Branch Into feature Branch
This post will provide the procedure to merge the hotfix branch into the feature branch.
How to Git Merge hotfix Branch Into feature Branch?
To merge the hotfix branch into the feature branch, a user needs to perform the following steps:
- Navigate to the Git directory.
- Create and add a new text file to the staging index. Then, commit changes to the repository.
- Create and switch to the “feature2” local branch.
- Create and add the file to the staging index in the new branch.
- Commit all changes to the Git local repository and switch back to the Git main working branch.
- Create and switch to the “hotfix” branch, perform the needed task and commit changes to the repository.
- Execute the “$ git merge –no-ff <branch-name>” command.
- Switch back to the feature2 branch and check the reference log history.
Step 1: Move to Git Directory
Use the “cd” command to navigate to the Git directory:
Step 2: Generate a New Text File
Now, make a new text file in the Git directory through the below-stated command:
Step 3: Add File Into Staging Area
After creating a file, track it to the staging area by running the provided command:
Step 4: Update Git Directory
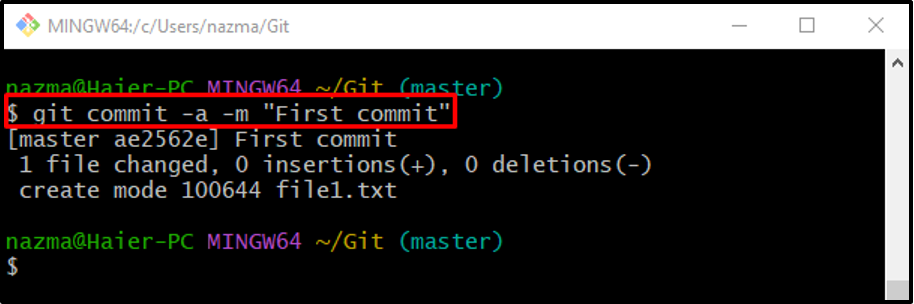
To commit the changes to the repository, run the “git commit” command:
In the above-stated command:
- “git commit” command is used for committing the changes to the directory.
- “-a” option, also known as “–all”, is used to add all the keep and commit all the made changes.
- “-m” option is used for adding the commit message into the directory.
Step 5: Make and Switch Local Branch
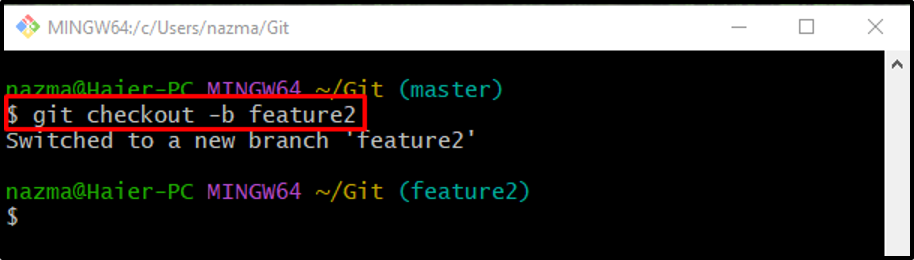
To create and switch to a new local branch immediately, execute the “git checkout” command:
As you can the “-b” option in the above-provided command that is known as the “branch” is utilized for creating a new branch:
Step 6: Update File
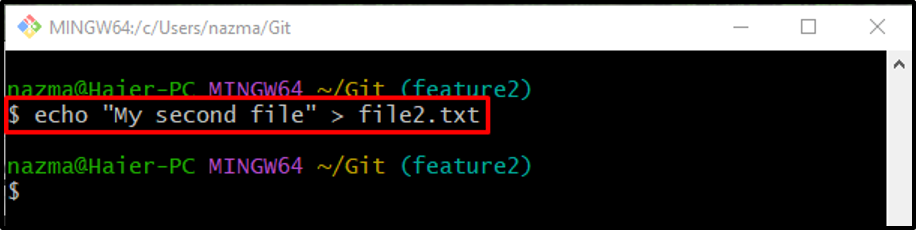
Next, update the required text file:
In the above command, the “echo” command will first check if the particular file exists or not. If it exists, the added text will be appended to it. On the other hand, if files are not placed in the Git directory, it will create and then update them:
Step 7: Track File Into Staging Area
To move the file into the staging index from the working directory, run the git add .“ command:
Step 8: Commit Changes
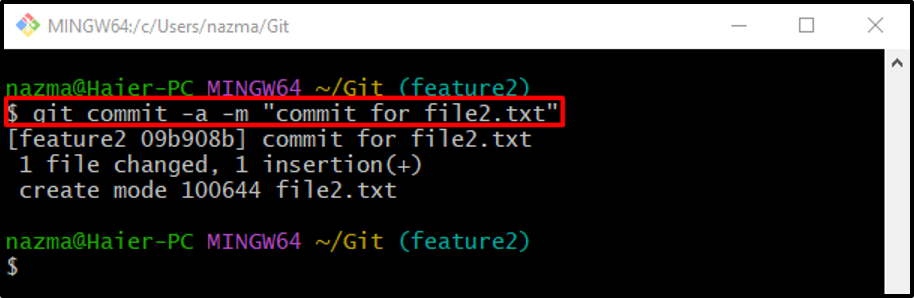
Now, add the changes from the staging area to the Git repository:
The above-executed command contains:
- “-a” or “–all” option keeps all the added changes.
- “-m” option indicates the commit message.
Step 9: Switch Branch
After modifications in the newly created branch, switch back to the previous main branch through the “git switch” command:
Step 10: Create hotfix Branch
Next, create a new branch named “hotfix” by utilizing the “git branch” command:
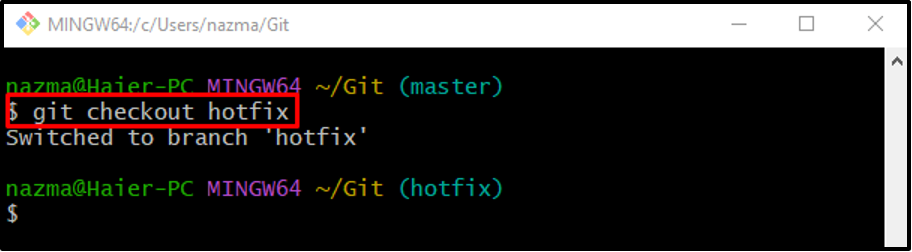
Step 11: Checkout to New Local Branch
Execute the below-given command to switch from one branch to another:
Step 12: Create and Update New Text File
Then, create and update the file using the “echo” command:
Step 13: Add Changes to Staging Index
Run the “git add” command to add the newly created file into the Git directory:
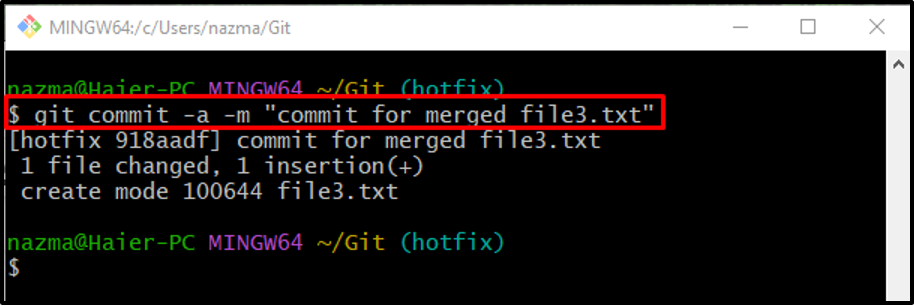
Step 14: Commit Changes
Use the “git commit” command to commit changes along with the commit message:
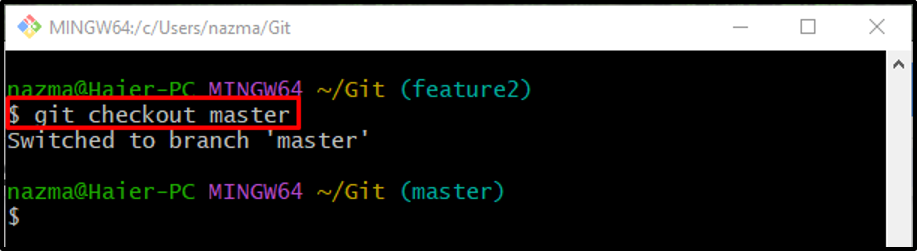
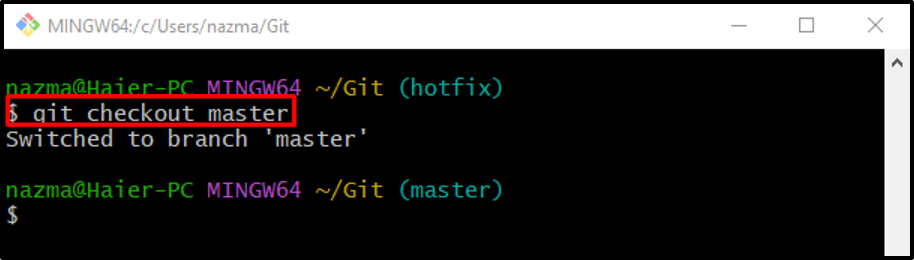
Step 15: Switch Back to Main Working Branch
Switch back to the Git main working branch “master” by executing the following command:
Step 16: Merge Branches
To merge branches, execute the “git merge” command along with the “–no-ff” options:
Here, the “–no-ff” option is used not to perform fast-forward operation with the merging process. As a result, a text file will open with the default text editor and ask you to add a comment. So, add, save commit, and close the file:
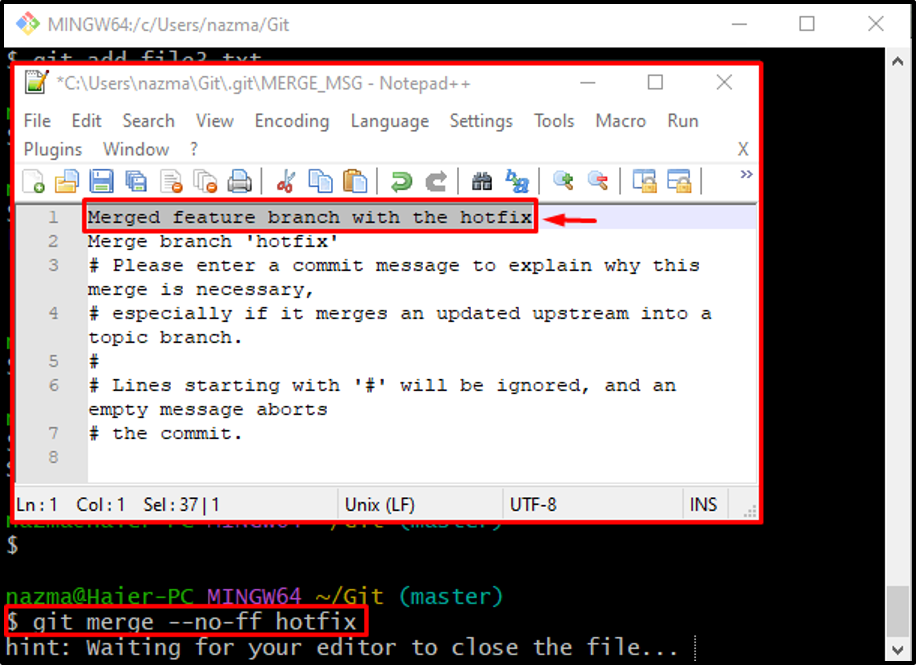
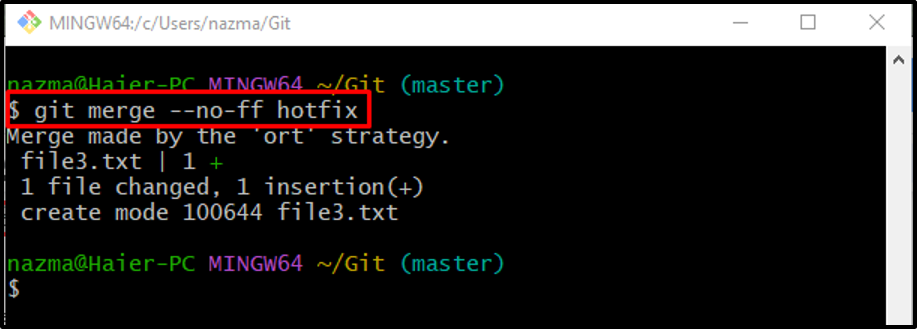
After adding the comment, the output will somehow look like this:
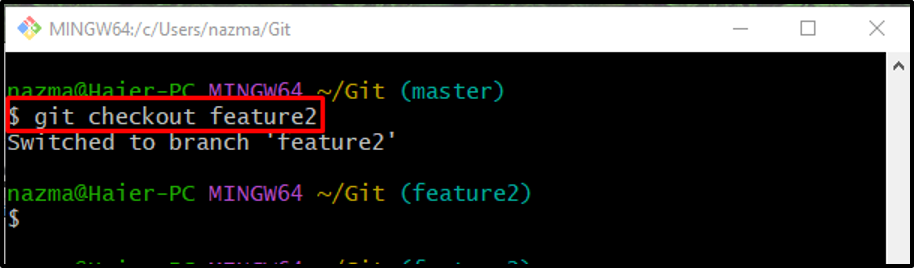
Step 17: Switch to feature2 Branch
Upon doing so, switch the branch to “feature2” using the “git checkout” command:
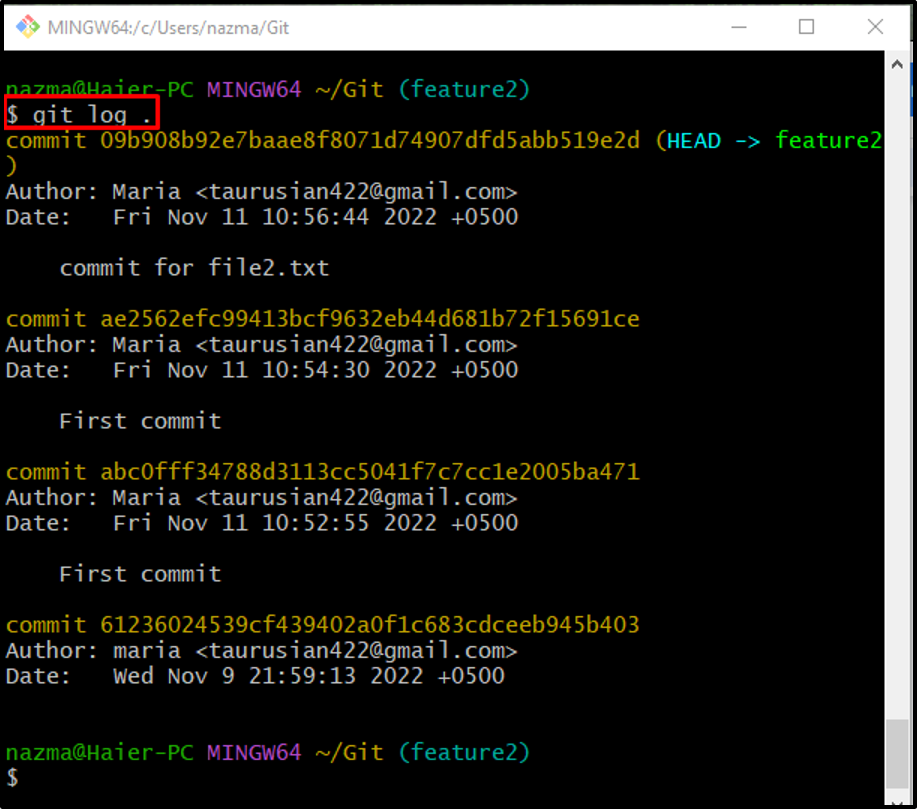
Step 18: Check Git Directory Reference Log History
Lastly, check the Git directory reference log history:
The below output shows that the specified branches are merged successfully and contain the same content:
That’s all! We have explained merging the hotfix branch into the feature branch.
Conclusion
To merge the hotfix branch into the feature branch, first, move to the Git directory. Create and add a new file, then commit changes to the repository. Next, create and switch to the “feature2” local branch, create and add the file to the staging index in the new branch. Commit all changes to the Git local repository and switch back to the main branch. After that, switch to the “hotfix” branch, perform the desired task and commit changes to the repository. Finally, run the “$ git merge –no-ff <branch-name>” command. This post described merging the hotfix branch into the feature branch.
Source: linuxhint.com